Level 8: Wreck of the Maria Doria
Back to Tomb Raider 2 Walkthrough
Level 8: Wreck of the Maria Doria
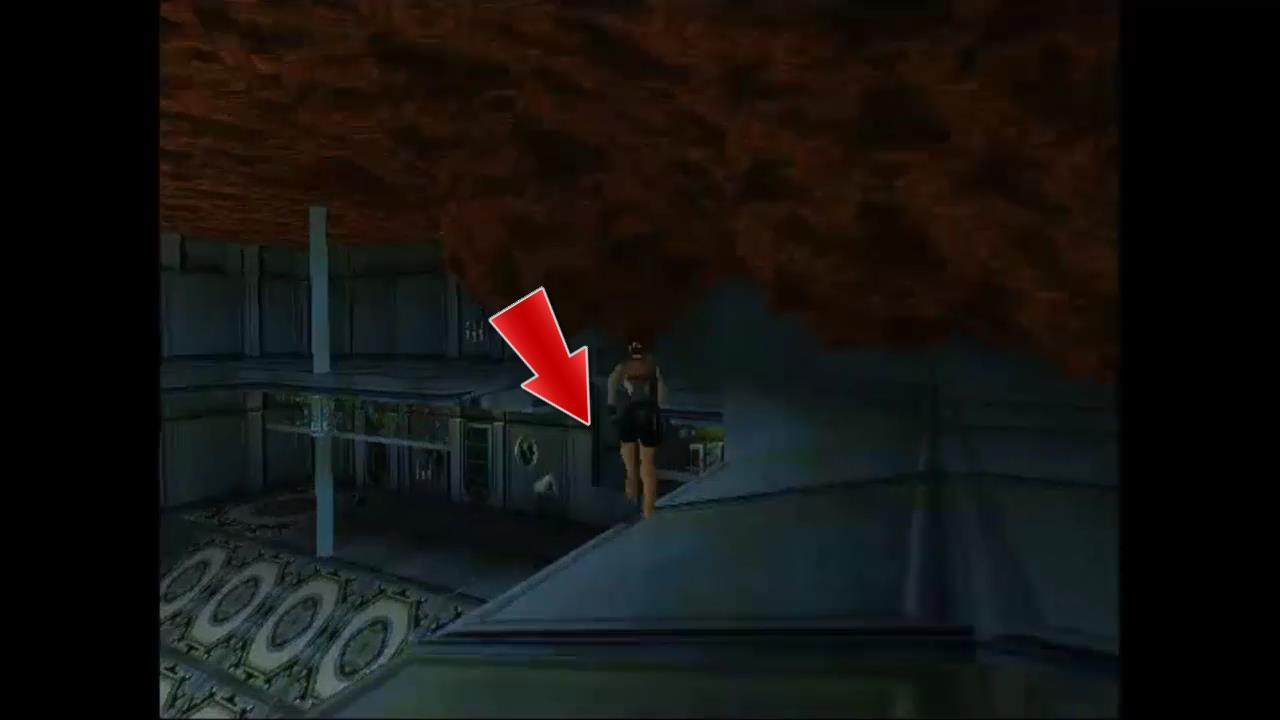
Run around the corner and drop straight into the water to engage the diver. Turn around and pull up out of the water and shoot the diver. Drop down into the water and pick up the harpoons at the bottom. Turn around and go through the bronze tunnel until you can pull up into another room.

Pick up the large medi pack, slide backwards down the slope and hang onto the edge at the end. Drop down onto the tiles and through them to the floor below. Make sure you have enough health to survive these drops.
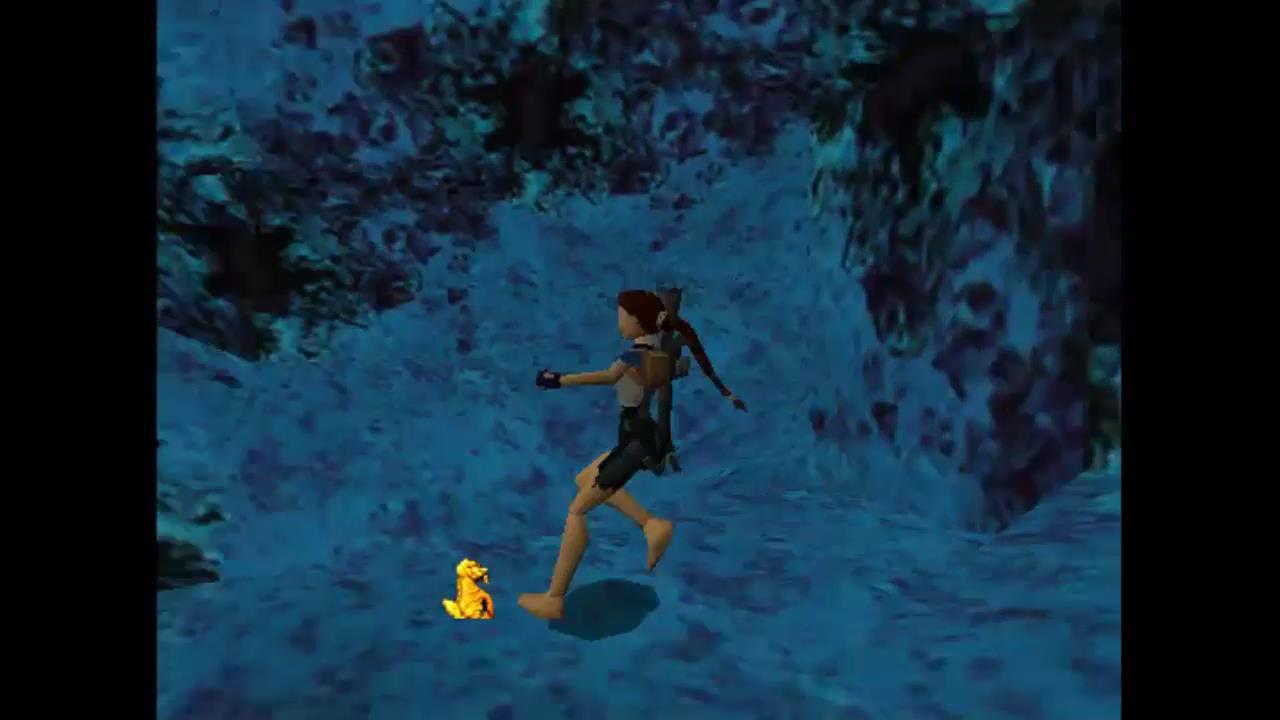
You’ll be attacked by a guy with a club and an armed guard who drop 2 small medi packs and automatic pistol clips. Enter the room where they came from and turn to the left to the upturned chairs. Turn around to face the entrance to this room and jump up to grab the edge of the duct above. Follow the duct along, killing a rat along the way and then drop down to an alcove with the Silver Dragon.
When you climb back into the duct you’ll be attacked by an armed guard. Take him out and head back to the main room. When you drop down head to the movable blocks to the left. There are three blocks here that lead to the Ballroom and Restroom.
Pull the first block out once then get around behind it and push it away from the other blocks. Move around to the side and push it into the corridor twice.
The Ballroom
Pull out the block behind the first one and then run around it into the blue corridor that takes you to the Ballroom. Drop down and run to the right. Do a roll to face the way you came and take out the three thugs who attack. One drops down from the corridor you came through and another two from around the corner. They drop flares and a large medi pack.
Head into the Ballroom area and take out the guard on the balcony level on the opposite side of the room.

Turn around and head through the passageway to the right of where you entered the Ballroom. Walk slowly through the glass to the right. Turn around and hop backwards, grabbing the edge as you fall. Drop down and grab the edge of the ledge below. Pull up and grab the Restroom Key. Jump across the gap to grab the edge of the floor, pull up and head back to the Ballroom.
The Restroom
Go to the left and run out of the Ballroom back to the three movable blocks. One you have already pushed into a side corridor. Push the second one into the corridor behind it. Pull the third one out and across to unblock the access to the Restroom.
Enter the Rest Room and head to the back right. Use the Restroom Key on the lock near the upturned chairs to open the door to the left with a button behind it. Push the open to open the glass doors and a thug with a bat will attack.
Head behind the closest glass doors and push the button behind them to open up a passageway on the balcony level of the Ballroom. You can see the Circuit Breaker behind the glass to the left but you can’t reach it yet.
Head back to the first button and push it to close the glass doors. This will allow you to reach the Circuit Breaker from behind the glass doors later. When the glass doors are closed run back out of the Rest Room and into the Ballroom.
Ballroom Again
Stand on the bit of upraised floor in the back right corner and jump up to grab the balcony edge.
Head to the left. Your path will be blocked by a bit of wall. Drop backwards and hang onto the edge. Shimmy across to the left and, past the center section to the far left. Pull up run around to the left. Follow the balcony all the way around and do a running jump to grab the ledge ahead with the Circuit Breaker.
Jump back and follow the balcony back to the center section. You’ll need to drop back and shimmy across to the right to get past the wall. climb up through the central passageway that you opened earlier.
The Five Doors
Follow the passageway around to a corridor with five doors. Two on the left, two on the right and one at the end. Open the second door on the right with the wheel and drop down into the room beyond.
Grab the movable block on the ground floor and place it beneath the switch on the wall.
Pull the switch to open the door above. Pull the second movable block, on the higher level, out once so you can reach the door above. Climb through the door and drop down to the passageway beyond. Follow it around to the left, through the open room, and around another passage. Kill the thug with a baton and drop down into the next room.
Pull the movable block out and grab the Rusty Key that was underneath it.
Now push/pull the block until it’s underneath the switch to the right side of the room when facing the metal door. Climb on top of it and pull the switch and open the metal door. Pull and push the block so you can exit through the metal door. This takes you back into the five door hallway opposite the first door you opened.
Turn to the right and use the Rusty Key on the lock on the left to open the door. Drop down into the room below and pull out the movable block in the corner. You want to position it so it becomes an extension of the upper level walkway.
Pull the movable block on the upper level out twice and climb over it to a third movable block. Push this once to reveal a corridor to the right. Run through and drop down into a wider corridor.
As you run forwards you’ll come across some breakaway tiles. Run down one side and then immediately flip backwards before you get to the end. This should trigger some barrels rolling down just in front of the tiles. Now run across the tiles on the other side of the passageway and up the ramp to the right. Climb into the duct up ahead where you’ll find the Jade Dragon.
Drop back down to the ramp and follow the passage around to the right. Pull up and take down the armed guard.
Room with Hole and Water
Drop through the hole in the middle of the room to the floating wooden platform below. Dive into the water and pull the lever on one of the end walls underwater. This will open a door higher up in the room which is on a timer. Quickly climb back up to the wooden platform and through the hole back into the room. Climb into the door that you just opened and pull the switch to open the door that just closed behind you.
Head to the right and the door will close. Turn around so you back is facing the ramp, hop backwards and grab the edge when you slide down. Pull up once or twice until the trapdoor closes and you can stand.
One side has a passageway with a switch inside. Climb up to it and pull the switch to open the door to this room and also a blue panelled door somewhere else.
Jump back up the ramp, head out the door and drop back down to the room with the hole in the middle. Turn to the right and climb into the passageway on the end wall with blue walls.
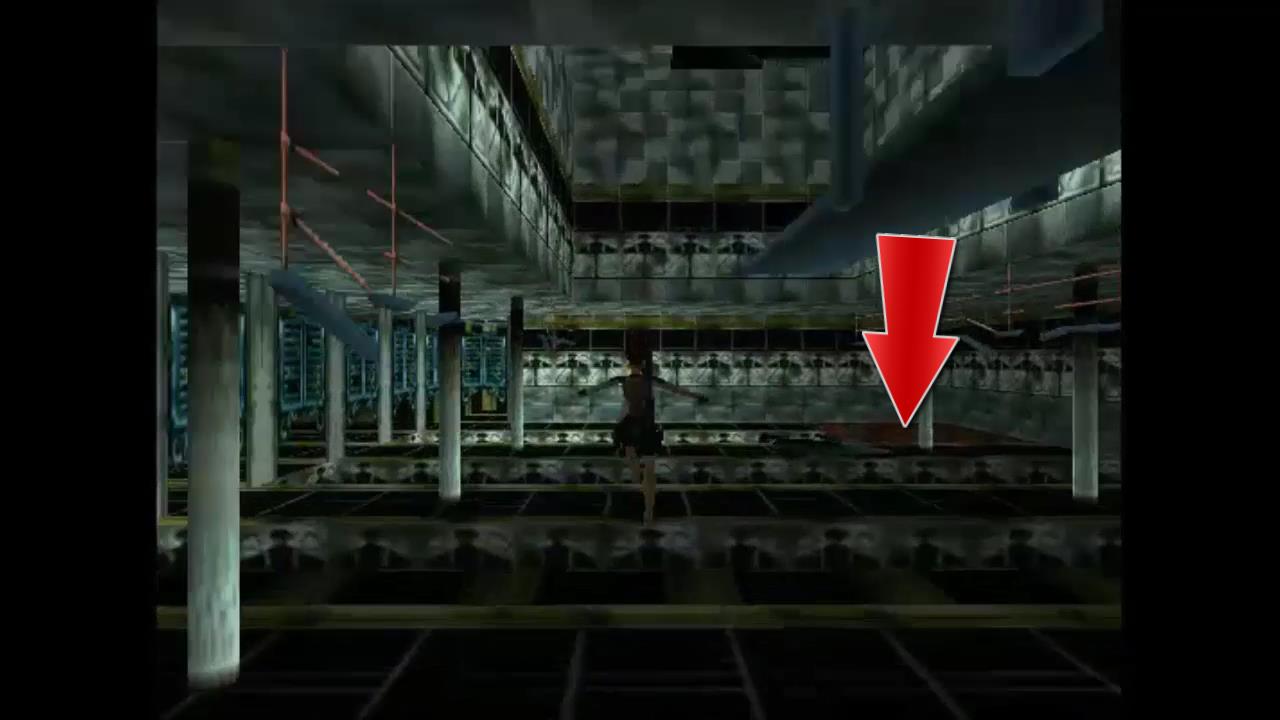
Follow the passage through to a large room with a sloping floor. This is actually the roof as the entire wreck is upside down.
Drop down once to the top level of the room and take out the gunmen. Run around to the left and press the button on the wall. This lowers a tile so that you can jump down to the lower level. To get there run all the way around the level to the other side and take a running jump through the tile to the lower level.
Turn to the right and pick up the second Circuit Breaker. Head back around the other way and press the button on the wall. This removes the water from the Room with the Hole in the Middle and also opens a trapdoor for a short while so you can get up to the higher level.
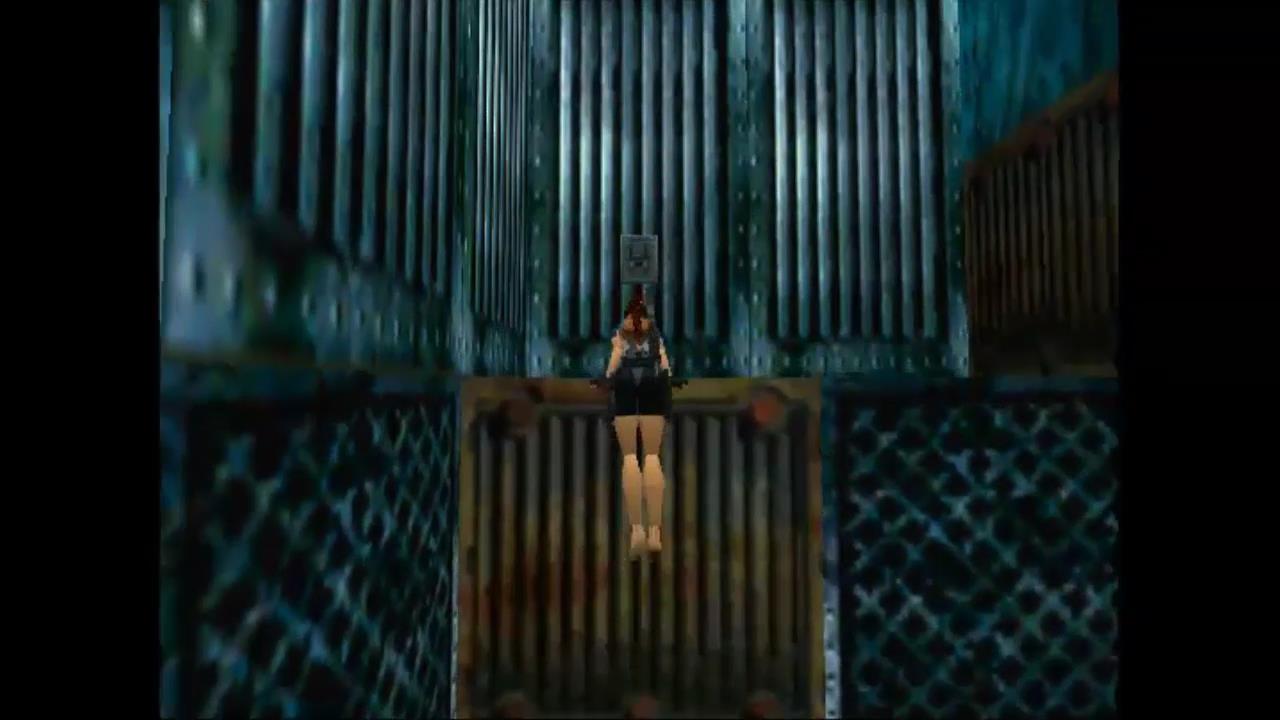
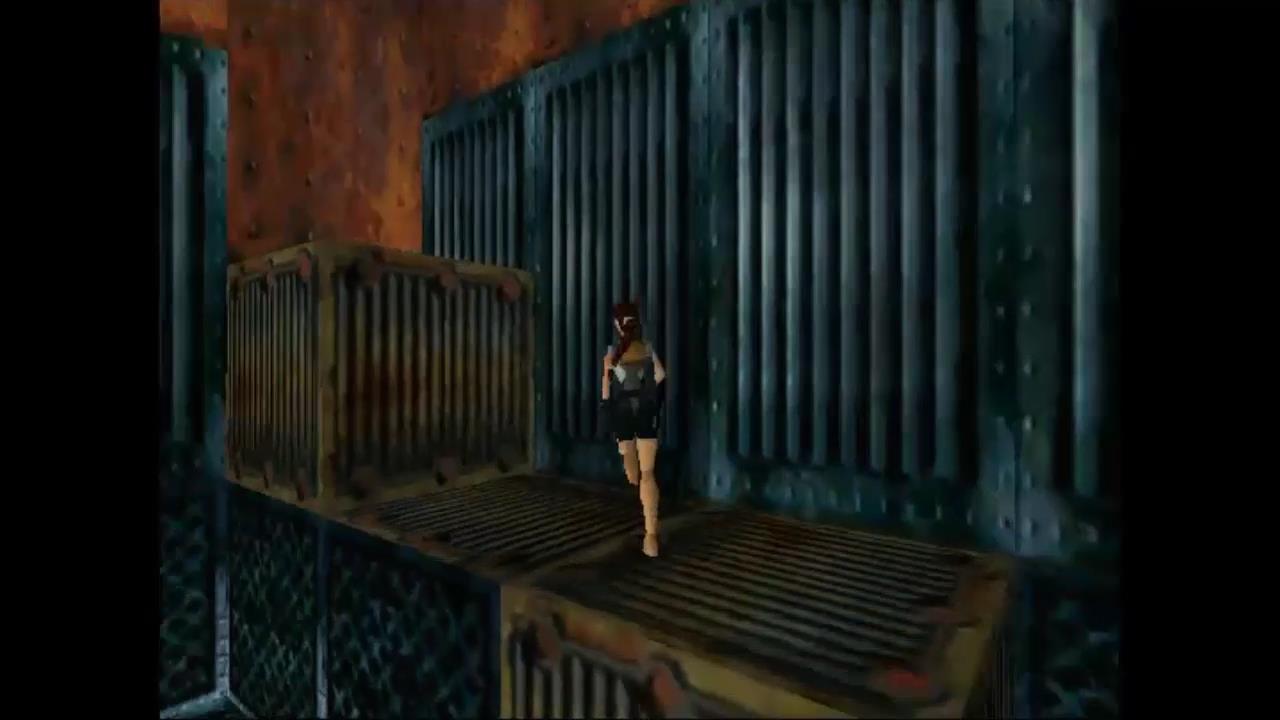
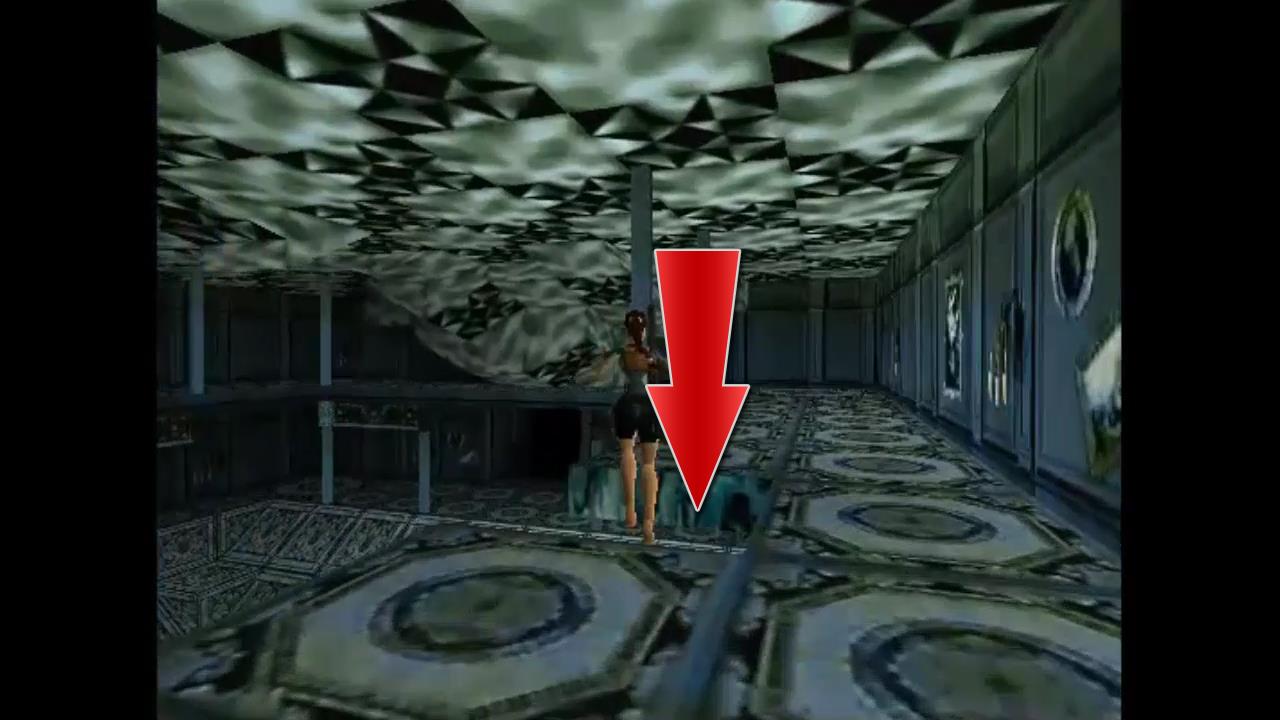
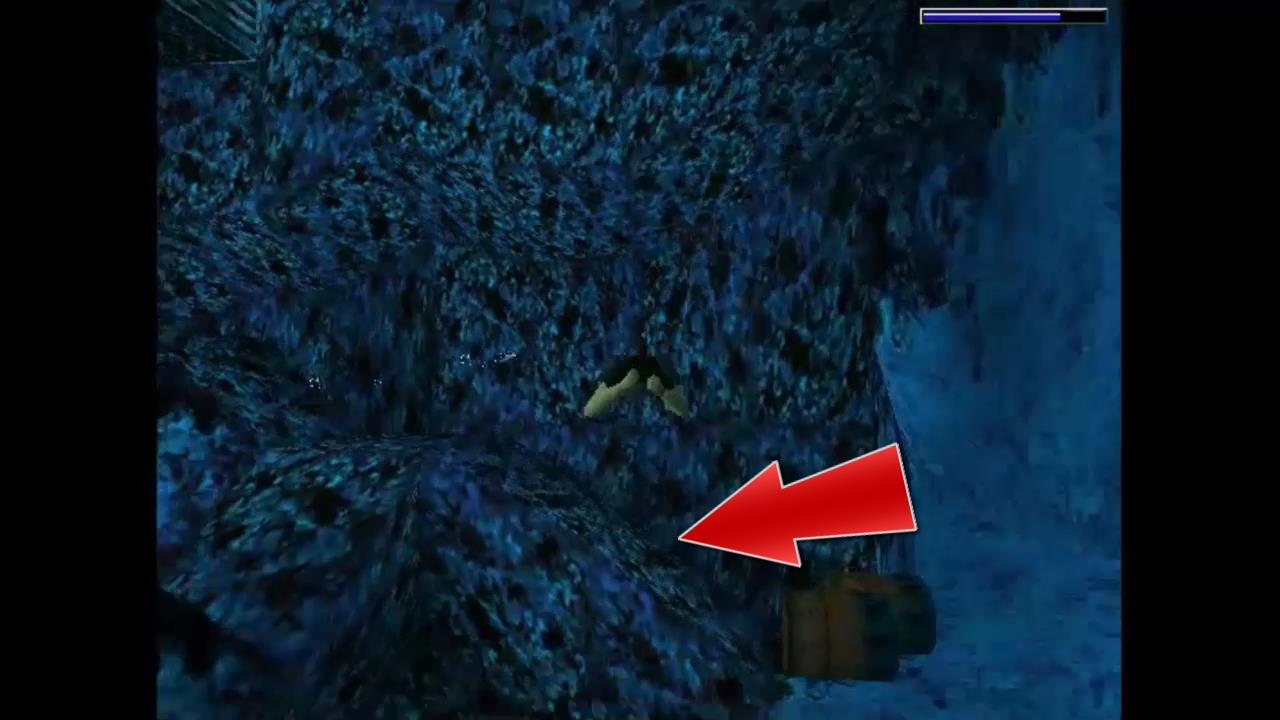
Run to the left to the structure shown in the picture above and climb up to the higher level. Head back out the passage you came through and drop back down to the Room with a Hole in it. Drop through the hole to the platform and onto the floor.
Open the door with the wheel and go through up the ramp to the right. Climb up the block at the end. Ignore the path to the left and continue straight forwards, dropping down to behind the glass doors you opened and closed earlier. Pick up the third Circuit Breaker.
Before you leave the way you came press the button on the wall to open a trapdoor somewhere else. Not the button behind the glass doors the other one on the side wall.
Climb back up and now take the path which is now to your right. Drop down to the right back into the Restroom. A couple of thugs will attack, dropping two harpoons and Uzi clips.
Head out of the Restroom and go left, back to where you begun the level. In the corner is a small pool of water.
Drop into the water, pick up the small medi pack at the bottom and continue through the flooded passage. The tunnel winds around towards the top. Half way up you’ll find a lever. Pull the lever to open the hatch above and continue upwards to take a breath.
Pull out of the water and quickly take out the three thugs. They drop a large medi pack, Uzi clips and two sets of shotgun shells. To the right you’ll see three burners. Place a Circuit Breaker before the first one to turn it off. Move to the left to place the second and third Circuit Breakers to turn all of the burners off.
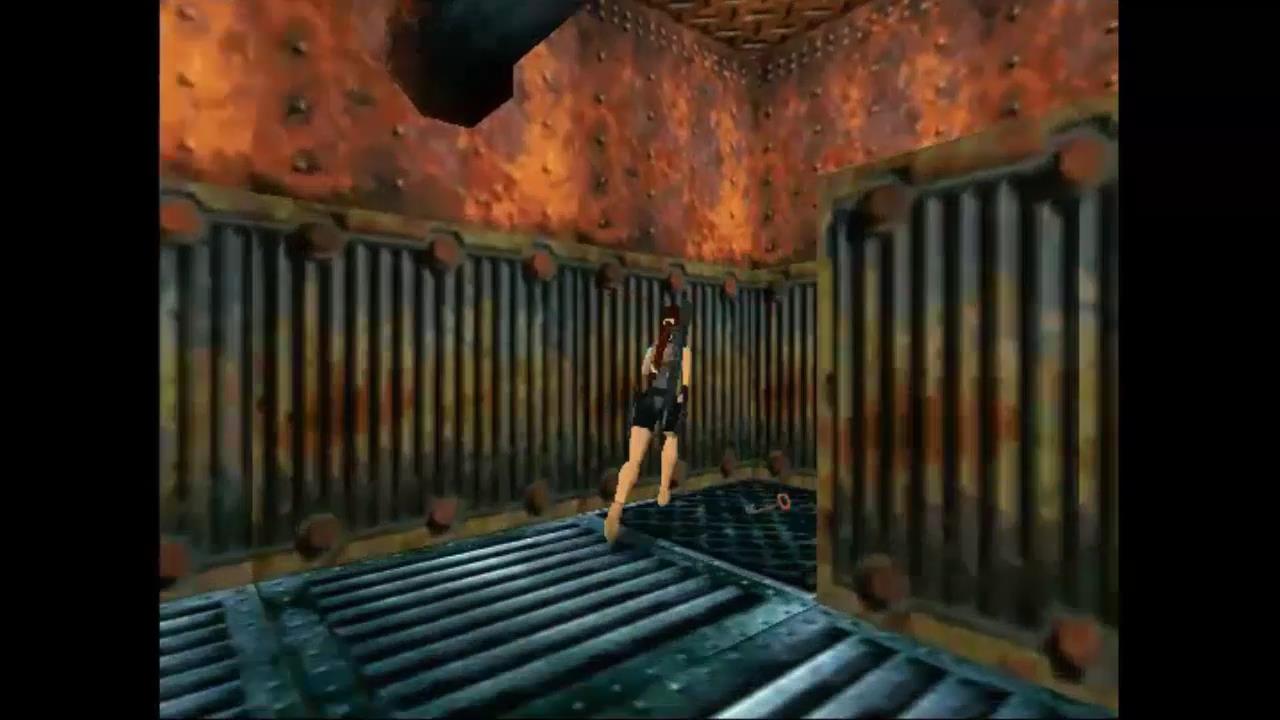
Now you can pull out the movable block at the end three times and climb on top of it. Use it to climb up into the passageway above and take out the thug with a wrench. Pull the switch to rotate the ducts in the large room so that Lara can jump across them without slipping off.
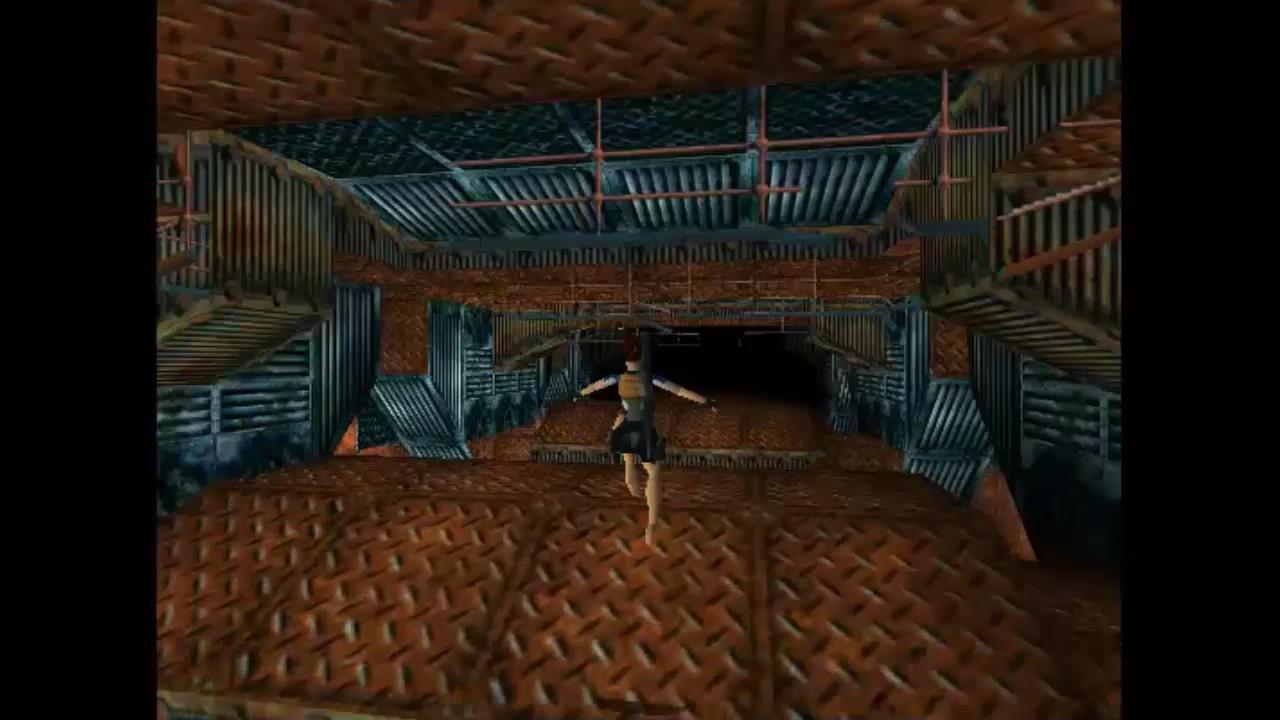
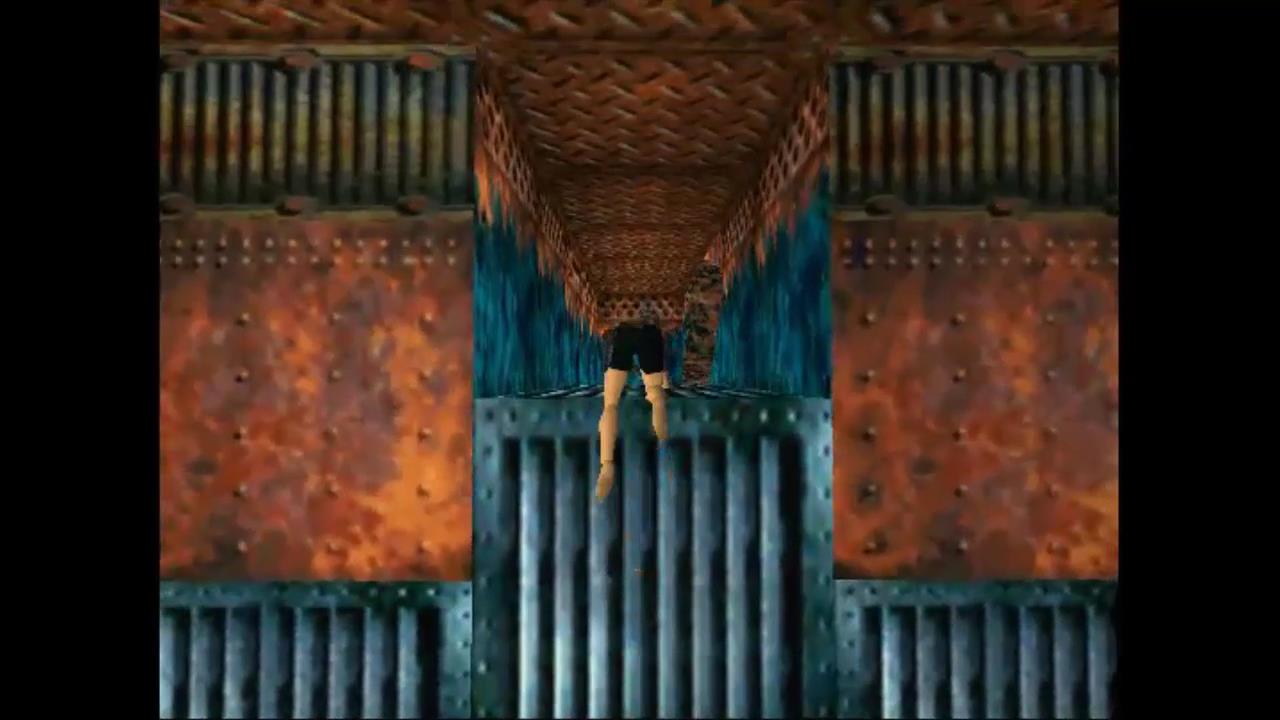
Make a running jump to the first duct, a running jump to grab onto the second and then the third. Lastly do a standing jump into the end passage. Drop down into the water far below. Swim through the tunnel, pull up and get out of the water.
The Bridge
This is the bridge area of the ship. If you wade into the water you should draw out a Barracuda. If you wade around to the right you’ll be able to pick up two harpoons.
Wade to the left to the dry passage. Take out a guard who drops a small medi pack. Continue forwards to the glass windows. As you stand next to them you’ll get a shot of the outside of the ship and a Key lying in the water.
Head to the left, past the flickering light and open the door at the end with the wheel handle. Inside this room is a switch. Pull it to open up a passage at the other end of the cabin. It’s on a timer so run out of this room and across to the other side as quickly as you can.
Inside this room pick up the shotgun shells and then push the movable block once to reveal a switch hidden behind it. Pull the switch to open up a trapdoor which leads out to the sea.
Run back to the flickering light and take a left. You want to head left and forwards until you find the trapdoor that was opened.
The Golden Dragon
Drop down into the ocean and swim as fast as you can past the sharks and barracudas. The ship curves around to the right but we’re going to pick up a secret first. Continue straight ahead into a passage ahead and slightly up. Follow this passage through the water until you can finally surface into a small cavern with the Golden Dragon. As a bonus for finding all three secrets you’ll get two sets of grenades and automatic pistol clips.
Cabin Key
Drop back into the water and follow the ship around which will now be to your left from picking up the dragon. Follow it around until you find the key that you saw from the bridge windows. This is the Cabin Key. Pick it up and follow the ship back around to the trapdoor.
Head out of this passage and go to the right. Turn right again around the cabin room and in the darkness you’ll find a lock. Use the Cabin Key to open the door. Inside is a switch. Pull the switch to open a trapdoor. Head out of the cabin and take a left. Drop down into the hole in the floor and pull the movable block so it’s under the switch above. Pull the switch above to open a hatch in the Cabin Room.
Run back to the Cabin and climb up the hatch that you just opened. Run down the passage with guns read and drop down to the room below. This upside down room has a domed floor which is actually the roof. Take out the gunmen on the lower level first.
You can drop down a gap in the floor around to the right and you’ll land on a safe block beneath.
Climb up to the side and pick up the small medi pack and M-16 clips from the guards. In a dark passageway you can find another 3 sets of M-16 clips.
Now dive into the water, ignore the divers and find the two barrels on the sea floor. Swim towards the barrels and take the passageway to the left of them.
Follow the passage around past the sea serpents. Near the second sea serpent is an opening above where you can take a breather if you need it. Otherwise swim forwards to opening in the side of a rusted ship to end the level.
Next Level: Living Quarters