Level 9: Living Quarters
Back to Tomb Raider 2 Walkthrough
Level 9: Living Quarters
Swim through the opening and pull the lever directly to the left of the hole to open a trapdoor. Roll around and swim up through the trapdoor. Climb up into the inside of the ship. A thug appears. Take him out and pick up the small medi pack that he drops. Continue in the direction he came from into the Engine Room.
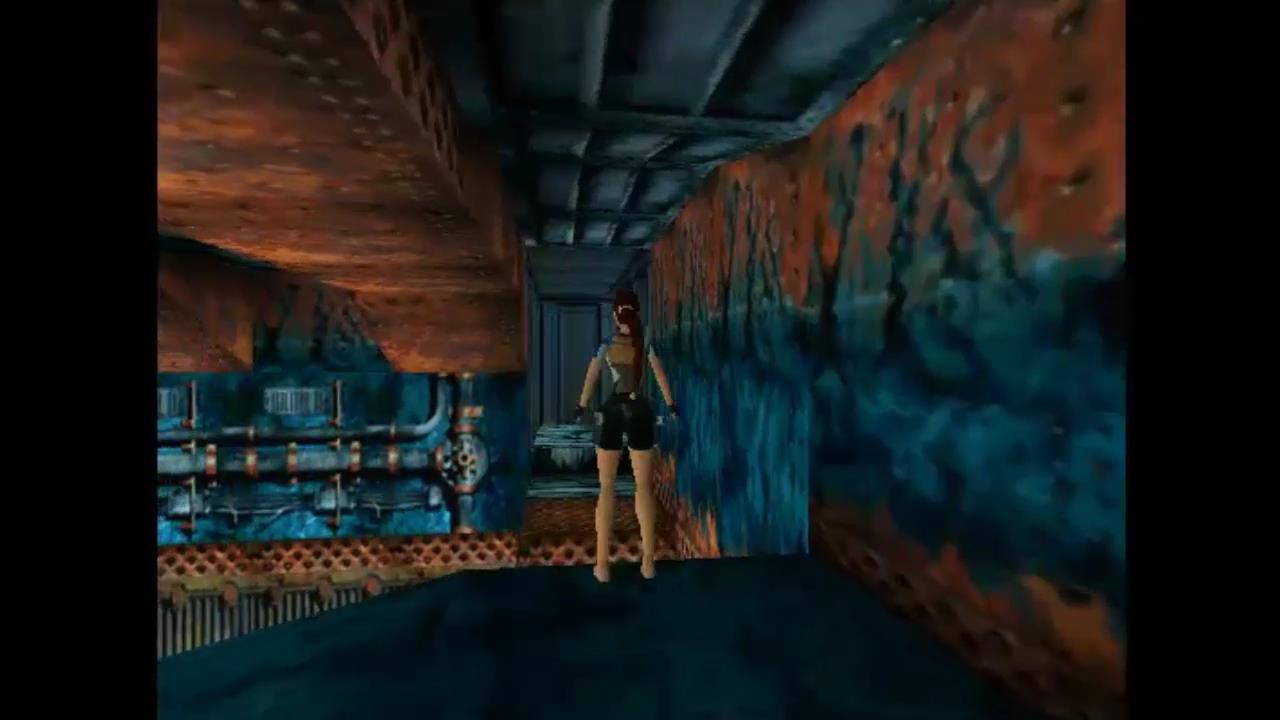
Engine Room

Head left to the end of the room and climb up the block in the center. Go over it and into a passage directly on the other side. Follow the passage around, drop down and take out the thug with a wrench and armed guard. Pick up the two harpoons and automatic pistol clips.
Go to the t-intersection and hop backwards to avoid the rolling barrels. A guard follows along behind so take him out as well.
Burner Room
Take a left at the intersection to enter the burner room. Stand up the top of the ramp and do a running jump over the burners to grab the gap in the wall.
Shimmy across to the right, over the burners and drop down on the other side. Pull the switch to turn off the burners. Now turn to the left and climb up into another room.
Climb up the ladder and follow the passage along to a room with a hole in the floor. Pull the switch to altar the positioning of the pistons and then drop through the hole. This takes you back out to the Engine Room.
This time climb onto the block directly in front of you or slightly to your right. Turn to your left. You’ll be jumping across the pistons all the way to the other side of the room and grabbing a secret along the way.
Silver Dragon
Do a standing jump to grab the first piston and then another one to the second. A running jump to grab the third and then turn to the right to view the Silver Dragon.
It’s a long jump to the ledge with the dragon but you can make it. Take a running jump to land on the ledge and pick it up. The next jump to the exit is even harder. If you want just drop down and jump across the pistons, this time all the way to the Engine Room exit.
Movable Blocks
Take out the armed guard as you run down the passage. He drops auto pistol clips. Run all the way down to the end of this corridor and push the movable block at the end three times to open up a passage to the left. Go down this passage and push the movable block once to reveal the gap in the floor to the left. Jump over the gap to the other side and pull the first movable block back twice. It’s a little hard to describe in words. Watch the video around the 7 minute mark to see what I mean.
Jump across the gap once more and head around to the right. Now you can get behind the first movable block to pick up the two sets of shotgun shells. If you don’t have the Shotgun yet you can find it here instead of the shells.
Drop down the gap in the floor to the room with a hole in it and a switch. Pull the switch up this time, which moves the pistons back to their original position. Don’t fall down the hole. Instead climb back up to the corridors with the two movable blocks and go down the passage back to the Engine Room.
Engine Room
Take a standing jump to the first piston, a standing jump to grab onto the second, a running jump to grab onto the third and turn to the right to view the switch.
Do a running jump to grab onto the ledge and then pull the switch which floods the burner room. Jump back to the piston and then down to the floor. Head through the passage and drop into the now flooded Burner Room. As you enter the Burner Room on the left is a switch. Pull it to open the door opposite.
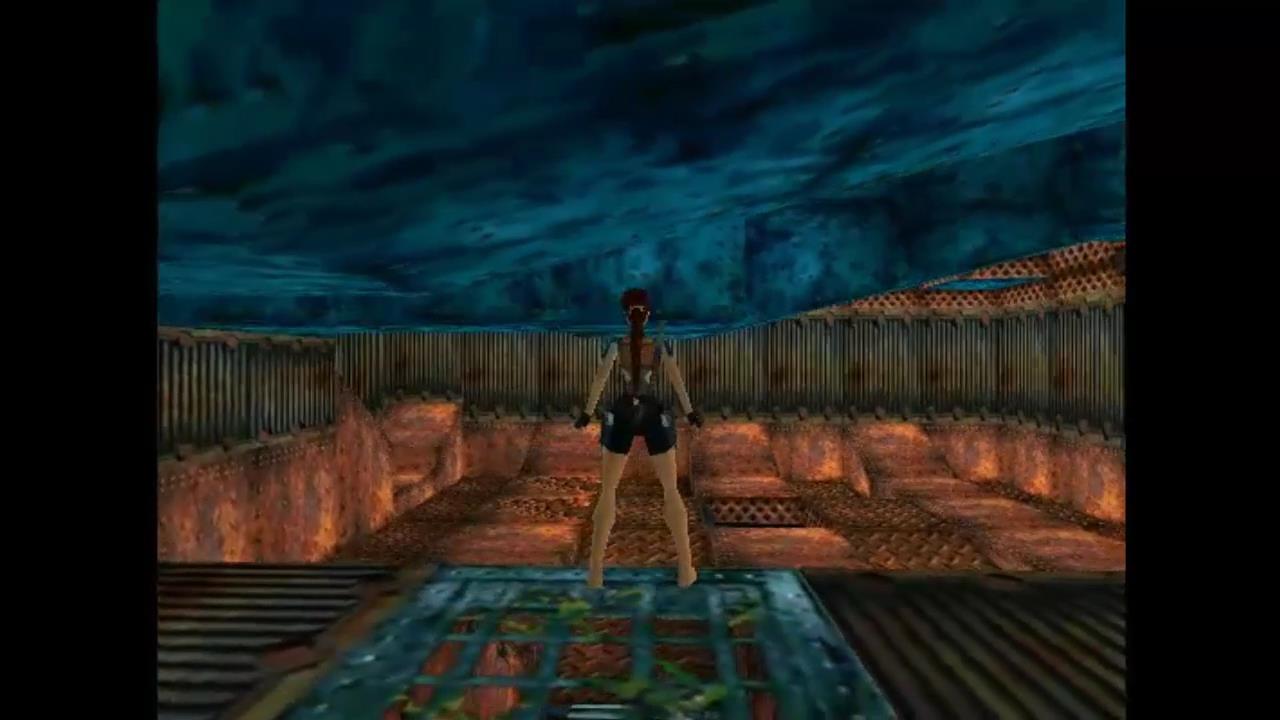
Take the exit, swim down a hole to the ocean floor, continue through a small tunnel and pull a lever at the end. A diver will attack but you may be better off just ignoring him. Stay to the left as there is a giant eel to the right. The lever opens a trapdoor above and just outside the cave. Head out of the cave and pull up through the trapdoor.
Room with Blue Ducts
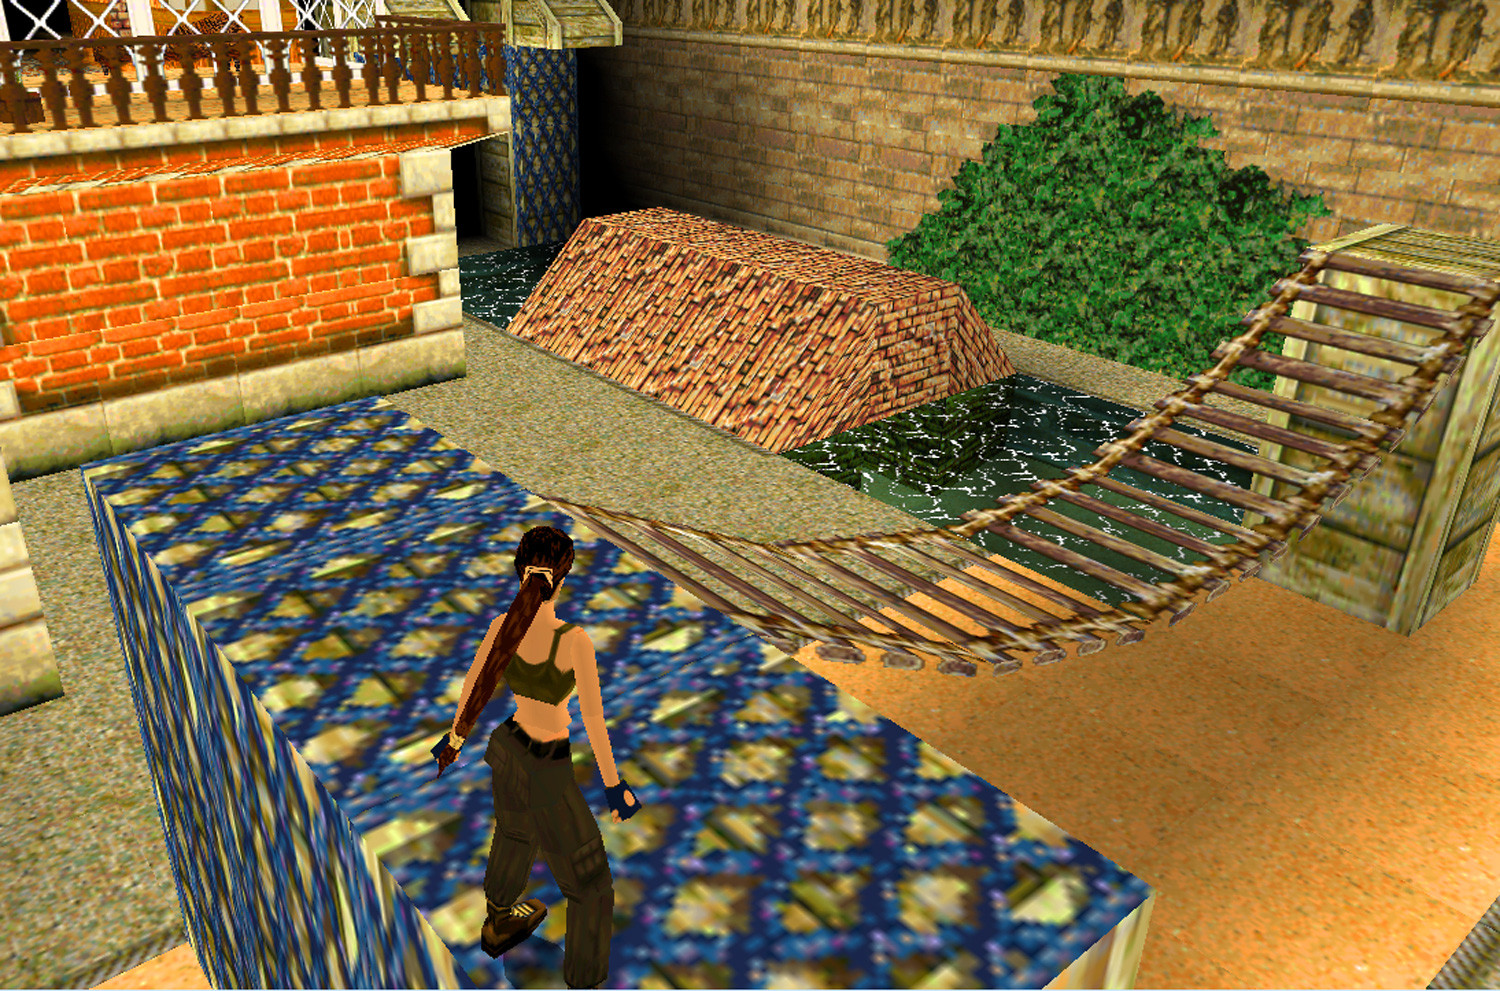
There is a man running around on top of the blue ducts. You might want to get rid of him before continuing. Jump over the small ramp to the center portion of the room. Head to the right and turn around to face the trapdoor you came in. Do a standing jump to grab the side of the blue duct ahead and pull up. Here is the starting position for this jump.
Run over the ducts to the right and take a running jump into the passage at the end to the left.
Run through the passage. A thug with a wrench attacks from a passage to the right. Kill him in follow the passage he came from to a hole in the floor with the Golden Dragon protected by glass.
Stand on the left side of the hole and use the roll to drop down without hitting the glass. You can now pick up the Dragon, walk through the glass and climb back out.
Go back to the intersection and continue to the right. Slide down to the left and kill the barracudas in the shallow water.
Once the barracudas are dead drop down the gap in the shallow water and follow the tunnel outside the ship to the Jade Dragon. As a bonus for collecting all three secrets you’ll also get four sets of M-16 clips.
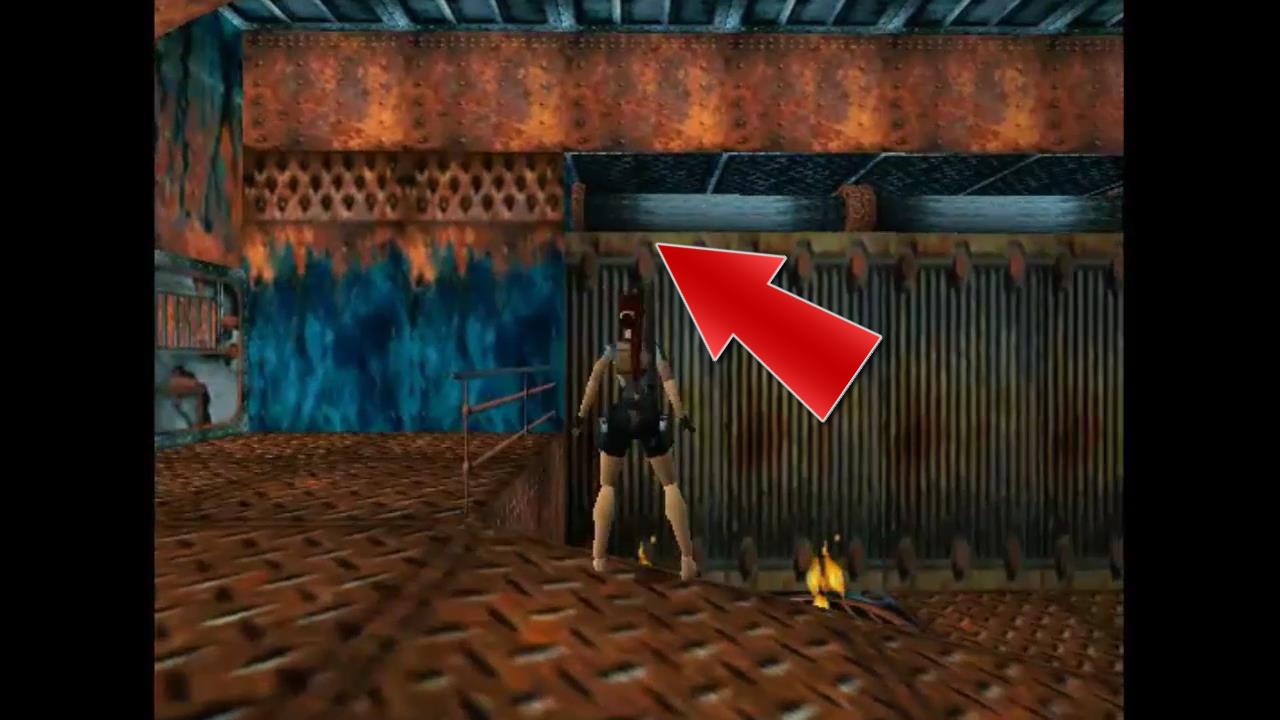
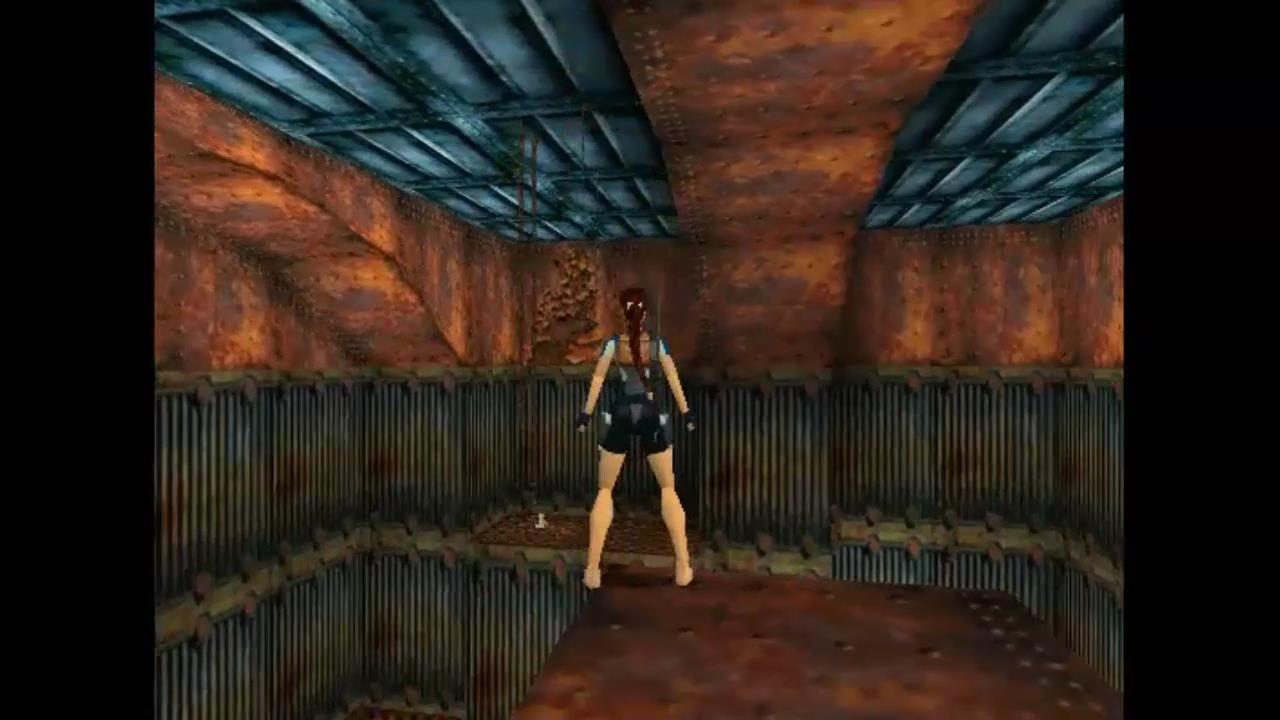
Head back into the ship and go past the shallow water along the sloped floor. Jump past the sloped blocks to the darker area at the end. You want to stand here as in the picture below. Do a flip to the left and then jump forwards to grab onto the crevice in the wall.
Shimmy across to the right and pull up when you can. Climb over to the other side of the wall. Run to the back right side of this room and drop down.
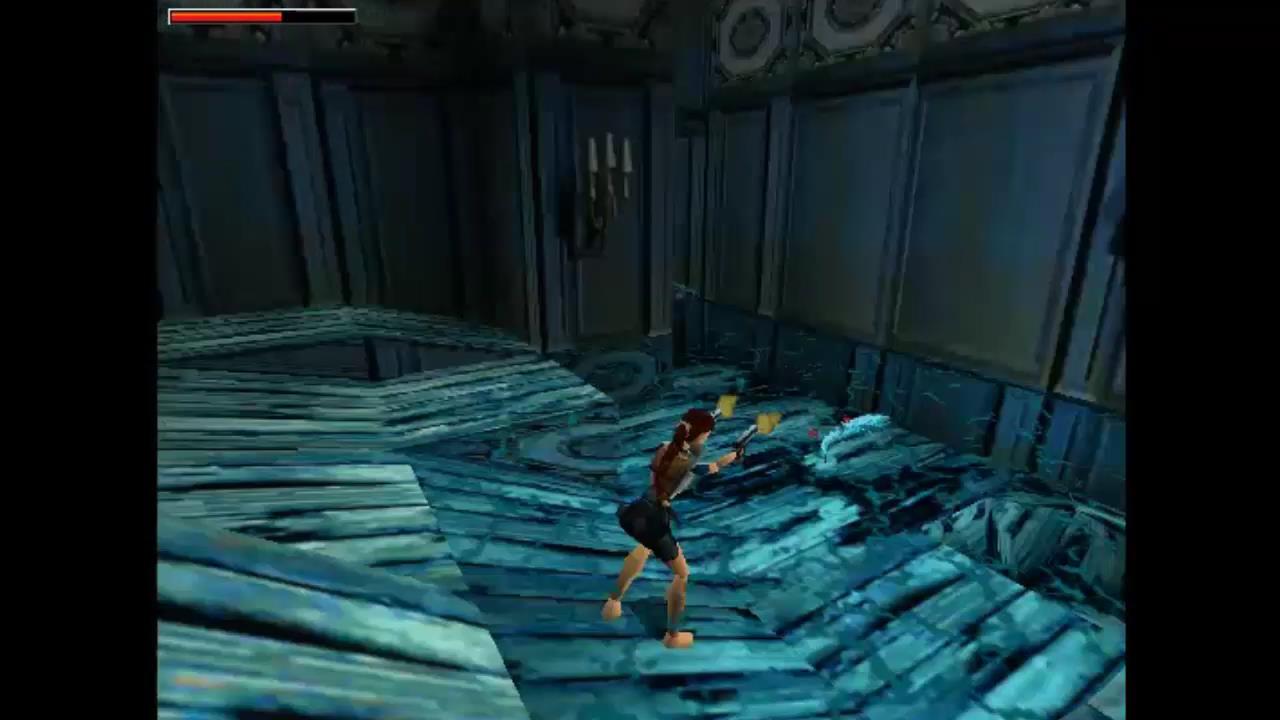
Theatre Lobby
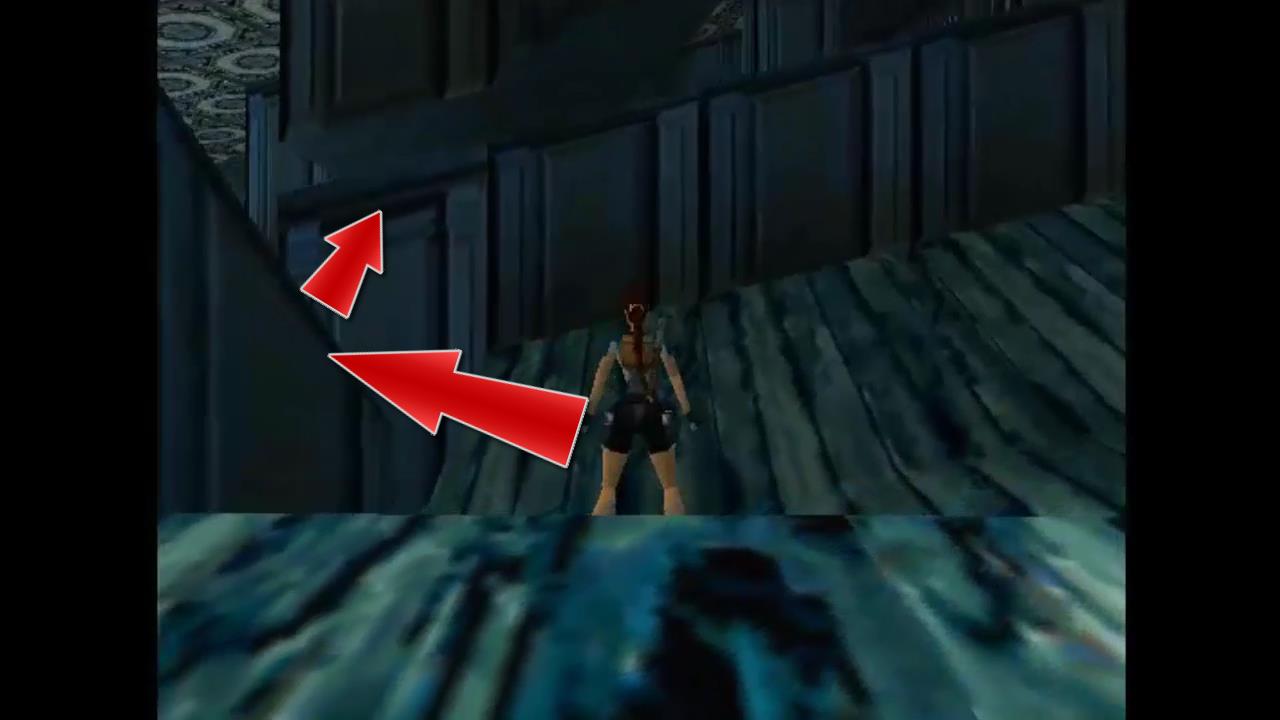
As you enter a man will attack from the ramp on the right. Take him down and head up the ramp. Before you jump down to the room with the chequered floor continue to the end of the lobby area and pull out the movable block once. You’ll need to get around to the back of it later.

Jump down into the chequered floor area and take out the guard if you haven’t done so already. Another two attack from around the corner to the left. Drop into the gap in the floor at the end and pull the movable block out once. Climb over it to pick up the Theatre Key behind it.
Head back to the beginning of the chequered room area and follow the path to the left. This is only unblocked because you pulled out the movable block earlier.
The Theatre
Follow the carpet around. There is a lock on the left to enter the Theatre. A guard will attack from around the corner so take him out first and then use the Theatre Key to unlock the glass doors.
Run up the steps into the Theatre. There are three guards here that you’ll need to deal with. Two around the seats and one in the Theatre Box. Take them out and then jump to the Theatre Box on the right side when facing the stage.
Pick up the Uzi clips on the chair and then pull the switch to open the stage curtains. Head around to the back of the curtains and pull the movable block out once. Climb on on top of it and up to the opening to the left. Drop down and head to the left, over the gap to push the button on the other side. This button floods the gap in the chequered room.
Head back through the Theatre to the chequered room. A guy will attack you along the way. Go to the end of the chequered room to the gap and swim across to the exit on the other side. This ends the level.
Next Level: The Deck