Level 4: Opera House
Back to Tomb Raider 2 Walkthrough
Level 4: Opera House
The Opera House level is pretty tricky and may take you a little longer to complete than the previous levels. This walkthrough will take you through the most obvious path to completion while finding all of the secrets.
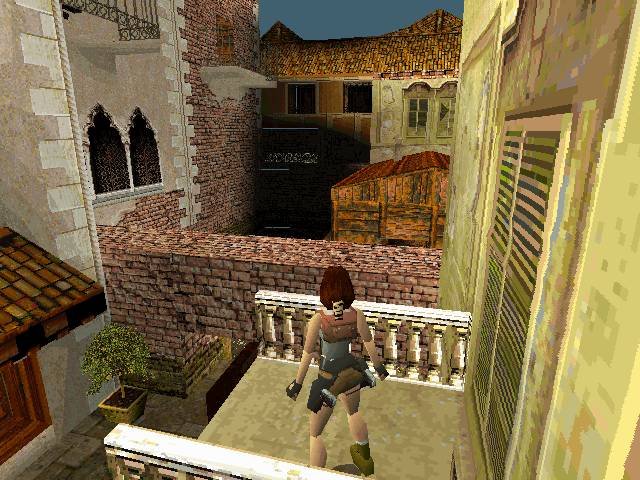
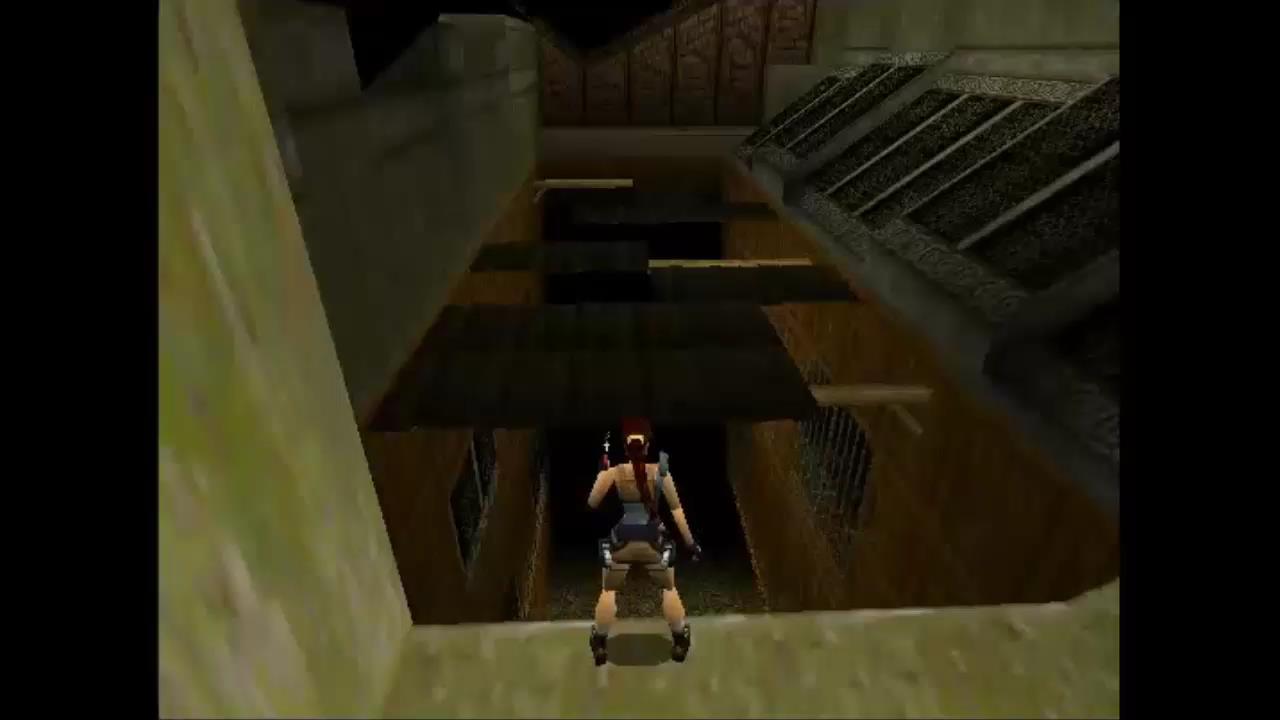
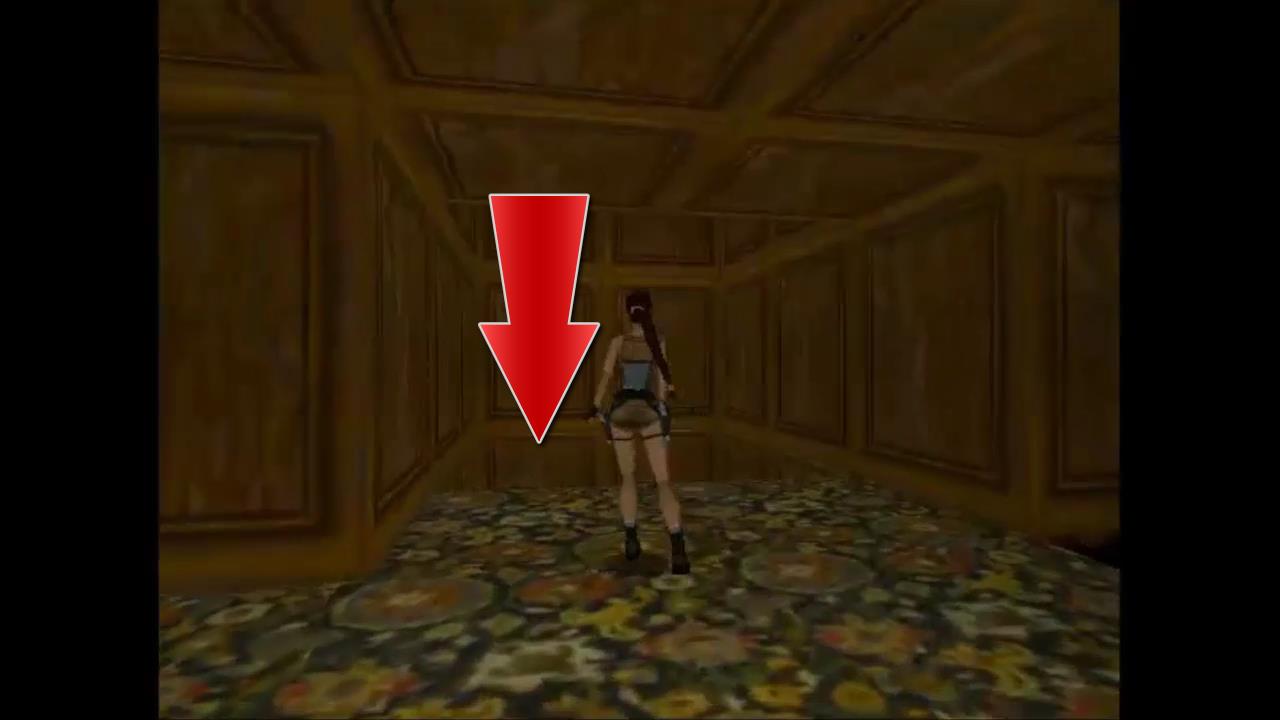
You begin by sliding down and landing on a wooden platform just in front of a swinging box. Dive off diagonally to the left into the water and climb up the ladder. Move to the right and drop onto the first platform. Turn around and jump up to grab the next higher platform. Pull the switch to open a trapdoor on one of the roofs.
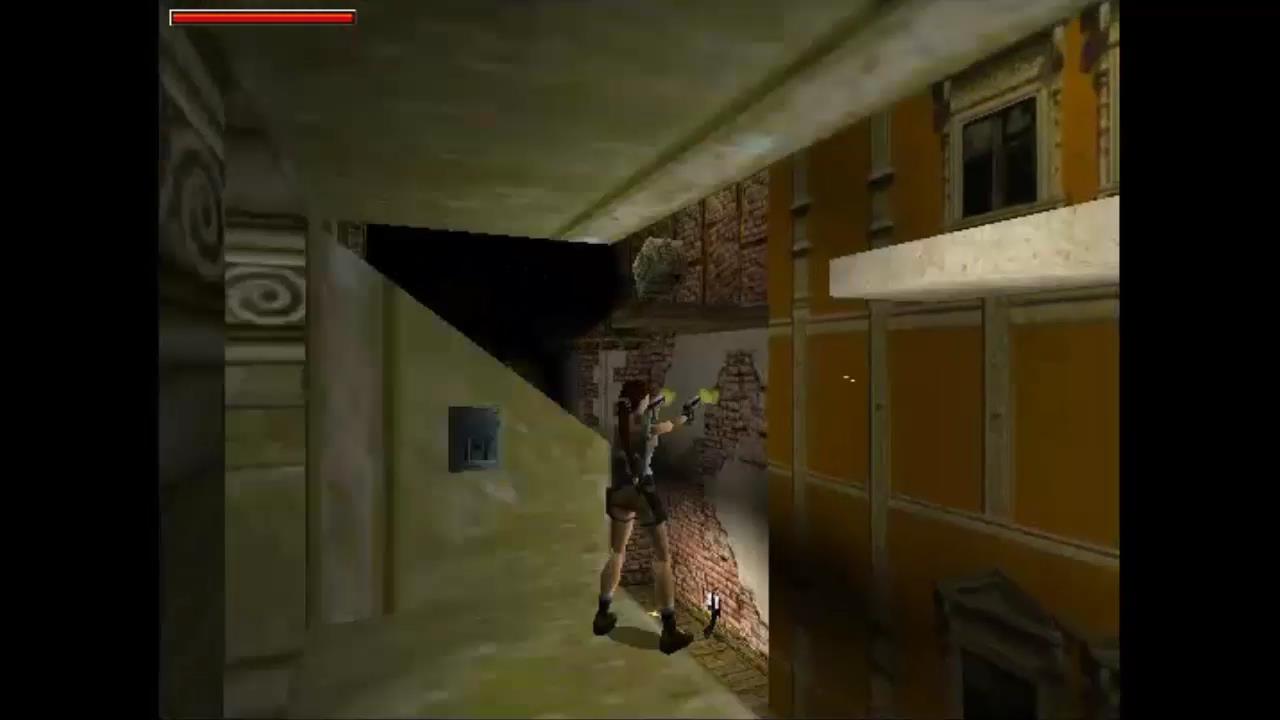
From here you can sidestep to the right and shoot the gunman down below.
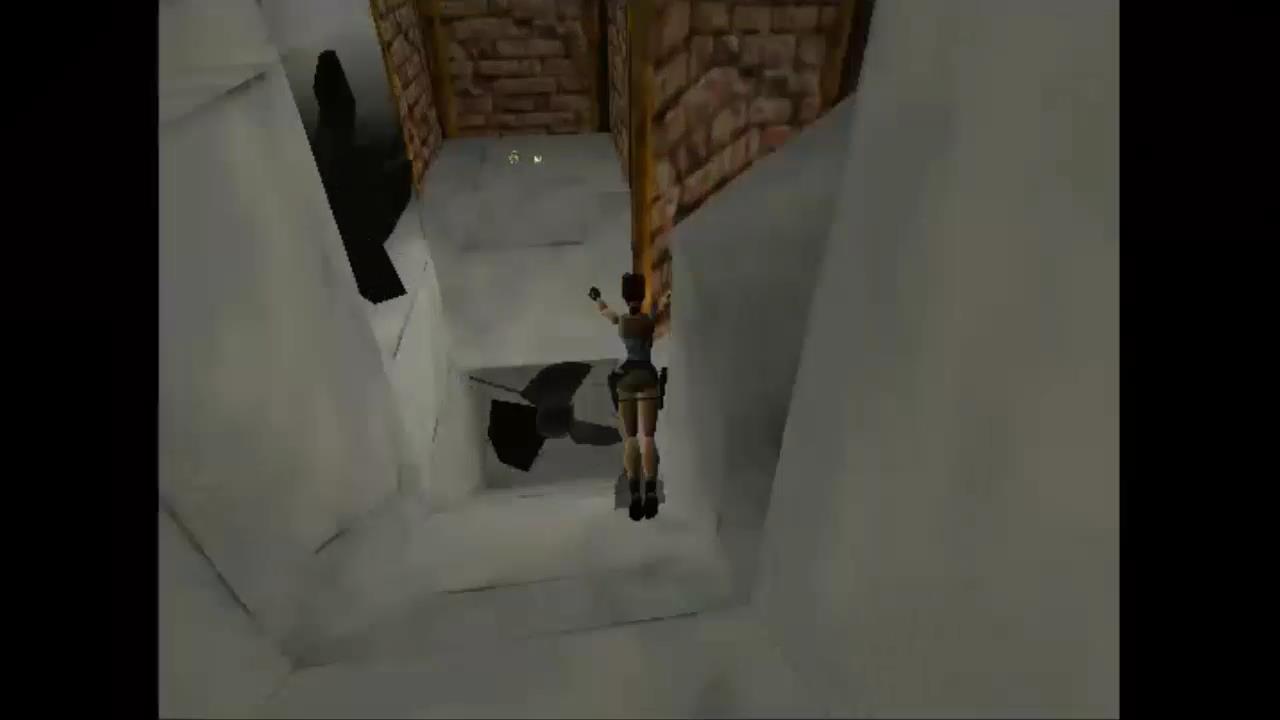
Jump back onto the ladder and continue climbing up. Move to the right and drop onto the next highest ledge. Jump diagonally across to the ledge and then do a running jump to the white ledge on the other building. Turn to the left and do a running jump to grab the wooden platform where you first began the level.
Move over to the right before climbing up so you’re out of reach of the swinging box. Time your running jump to the trapdoor you opened with the switch.
Inside is a guy with a club so immediately roll and take him out before picking up the Ornate Key. Climb up the stairs and take out another guy who comes out of the door at the top. He drops a small medi pack. Going through the doorway will take you to the ledge halfway up the ladder with the switch.
Jump back to the ladder and climb up again. Drop down to the right up the top and head back over to the white ledge and across to the wooden platform where you begun.
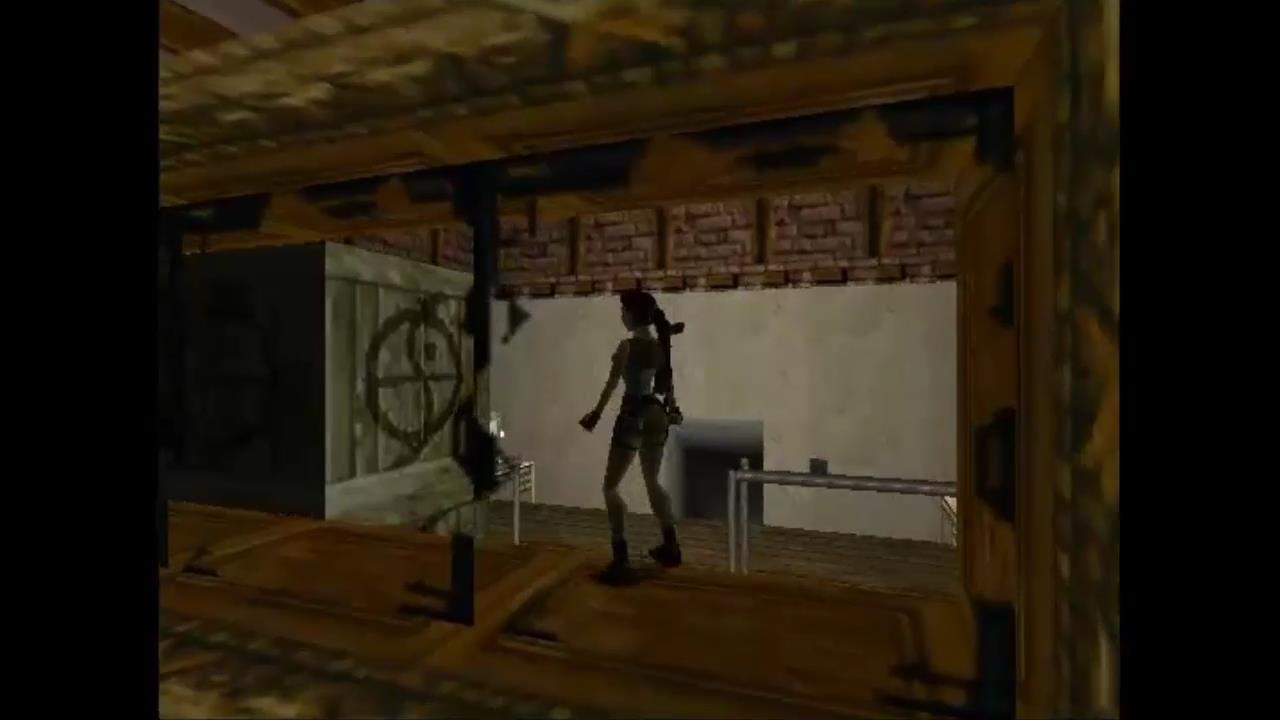
This time continue forwards and jump across the other side to grab onto the rooftop. Do a standing jump diagonally to the right to land on the square patch of rooftop below. Walk backwards and drop down to hang off the side of the roof. Shimmy over to the left.
Drop down and grab the lower ledge. Pull up and jump through the glass window. Walk carefully through the glass and climb up the ladder to the left. Climb all the way up the ladder and pull up. At the end is a door with a lock. Use the Ornate Key to open the door.
Continue around the passage to another ladder. Climb up it to the top.
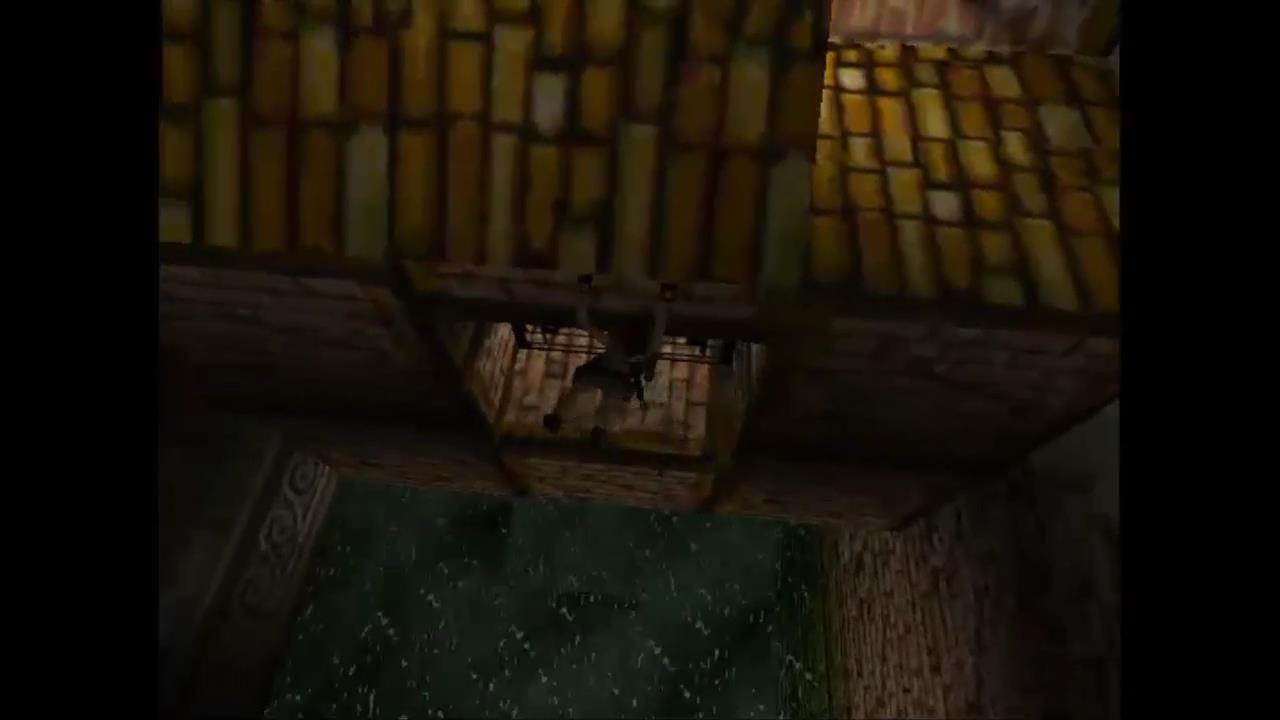
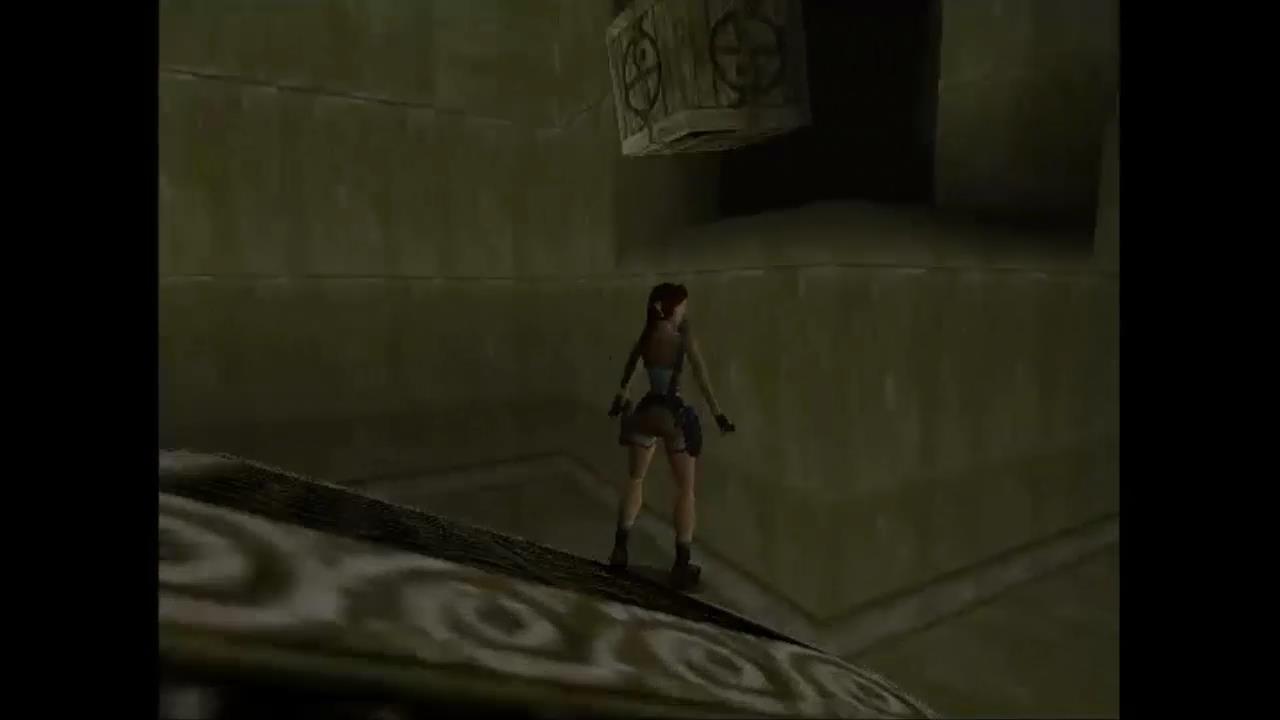
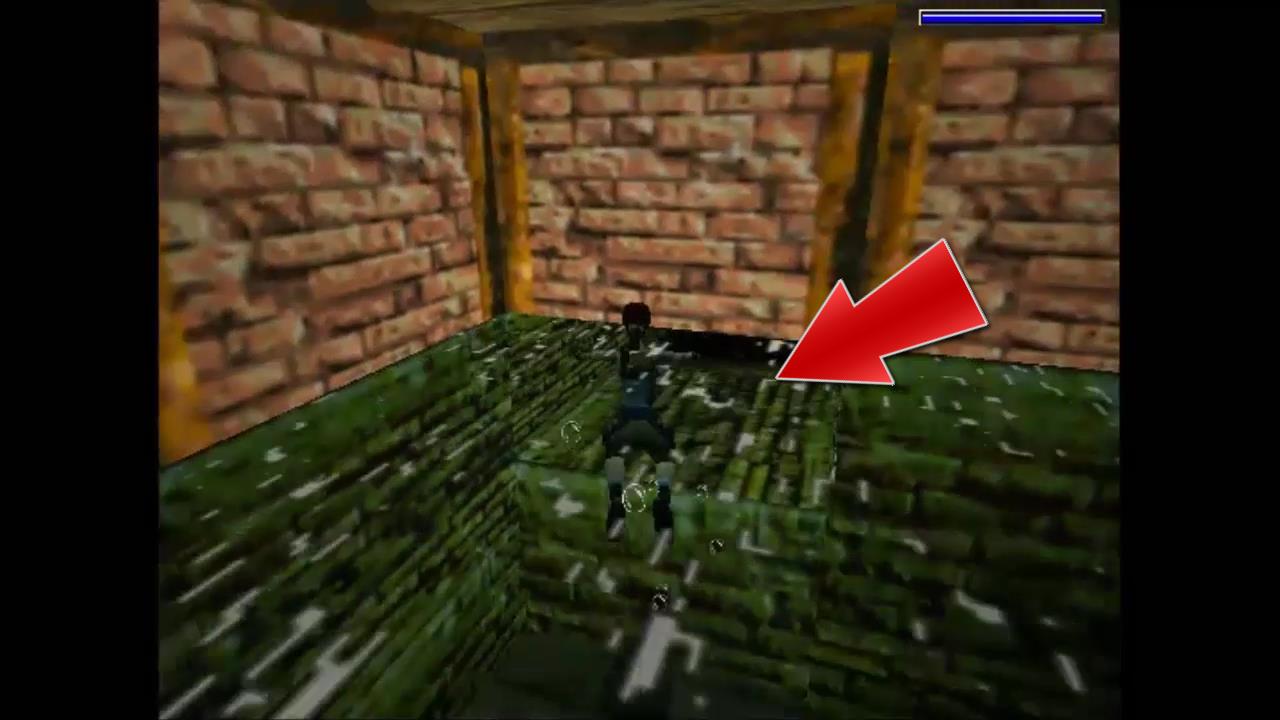
You’ll be overlooking a broken roof. The tiles will crack as you walk over them. To get across make a standing jump to the first tiled roof area. Run as far as you can diagonally across the roof tiles to perform a running jump to the last roof section and then one more running jump to grab the ledge at the end.
Turn right, climb up the pillar and make a jump diagonally to the right to head down another passageway. You’ll come out on the roof of the Opera House. Take out the baddies before dropping down. One will have auto pistol clips and another a large medi pack. The ones at the back will have shotgun shells and a small medi pack.
Go to the corner with the swinging box and do a standing jump from the corner of the roof to grab onto the ledge.
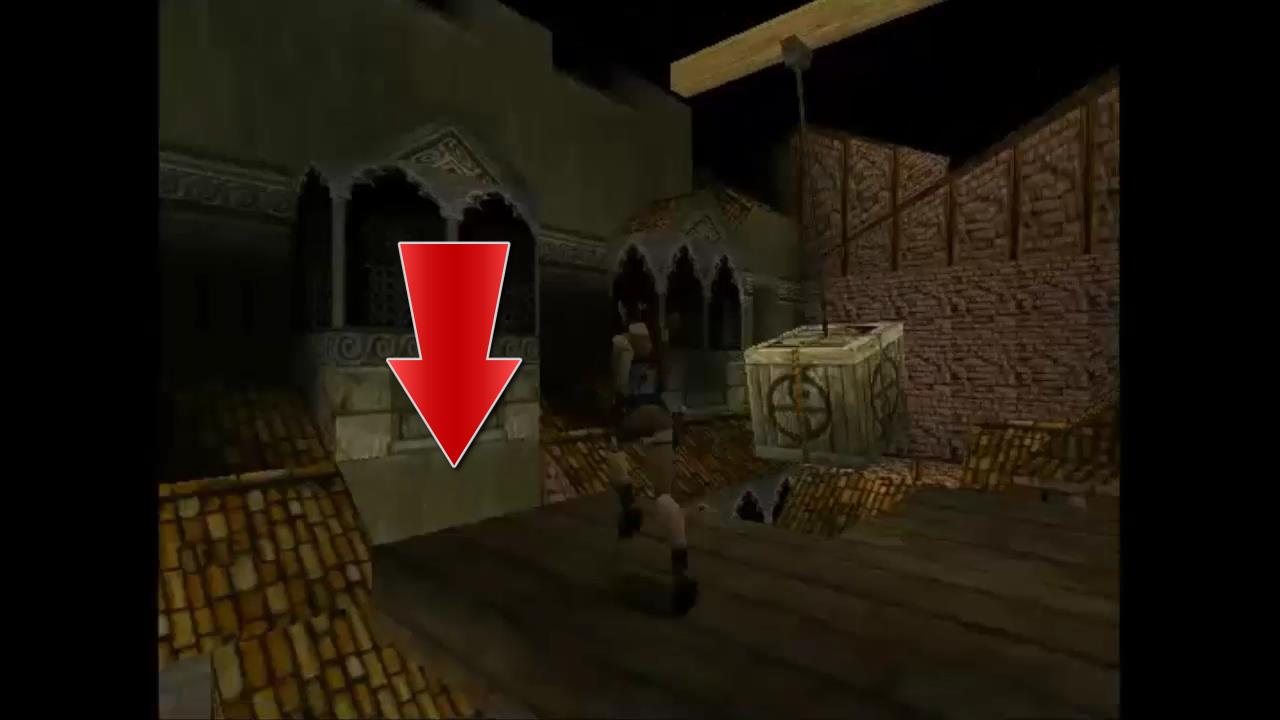
Grapple over to the left and pull up when you’re out of the way of the swinging box. Run forwards and drop down a dark hole. Light a flare here so you can see what’s happening. Drop down from the crate to push a button that opens up one side of the Opera House roof.
Climb back out and kill the baddie that appeared from the trapdoor. Drop down the trapdoor into the lighting booth area of the Opera House.
There are two switches here. Only the one on the left works for now because the one on the right is missing a circuit board. We’ll be coming back here later.
For now pull the switch on the left to move the gate out of the way. Turn around and drop down safely. Walk down the ramp until the boulder is release. You can hide behind the wall to the right with the button.
Push the button now to move the gate back to close the lighting booth but providing access to the auditorium.
The Auditorium
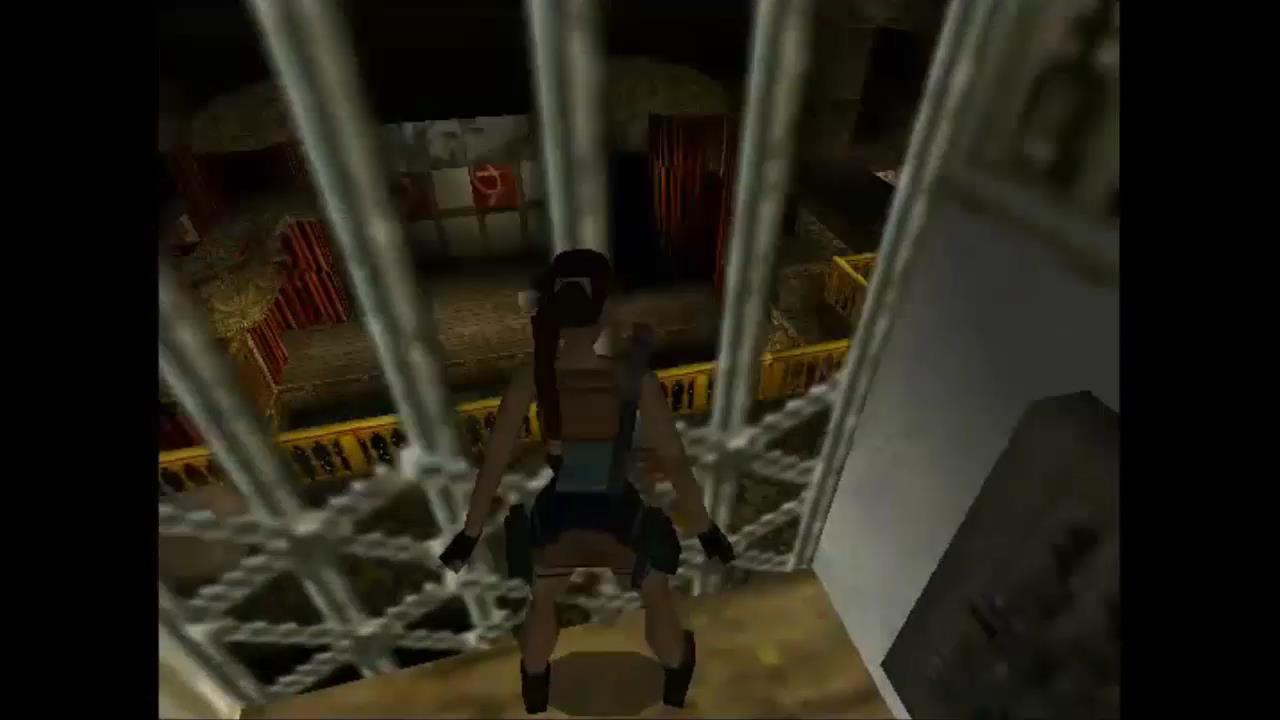
Climb back up the gate to the lighting booth and drop off to the left. Drop down to the upper level of the auditorium and be prepared for a fight with a gunman from the left who drops a small medi pack. There are four floors of the auditorium. I’ll label them from the ground floor up to the third floor. You drop down onto the third floor.
Head towards the right and take out another gunman and a dog who run out from the right passage. If you stand on the edge of the balcony here you may be able to spot another gunman on a lower level. Drop down the hole to the second floor. From here you’ll be able to shoot the two dogs running around down below. A gunman will run out as well. Shoot them all before dropping all the way down to the first floor and then the ground floor.
Run all the way across the auditorium ground floor to the other side to trigger the boulders. When you do this a gunman will appear on the staging area. With the gunman on the staging area dead you can now pick up the large medi pack that the first gunman dropped. We’ll get to the stage area later.
For now go to the back of the ground floor, away from the stage, and climb up a block here to reach the first floor. Walk across to the left side of the first floor, facing the stage. You’ll need to hop across some parts of the floor that have given way and then do a standing jump across to grab the ledge of the second floor.
Pull yourself up to the second floor, turn around and kill the gunman here if you haven’t already shot him. He drops two sets of automatic pistol clips. Go and pick them up and then drop down the hole to the right into the water below.
Pull up onto the ledge at the bottom and shoot the rat. Turn around and jump forward to grab the ledge on the level above. Kill another rat here. Turn around once more and jump forwards to grab the next higher ledge. You may see a man walking past and you can shoot him from here if you can spot him. Otherwise jump up to grab the ledge and pull yourself up into the corridor. The gunman doesn’t drop anything and there are a couple of rats here for you to deal with as well.
Take the corridor to the right from where you pulled up and go up the stairs. A dog attacks as you climb up. Follow the corridor along, veer to the left and then shoot out or jump through the windows to the right.
Dresser Room
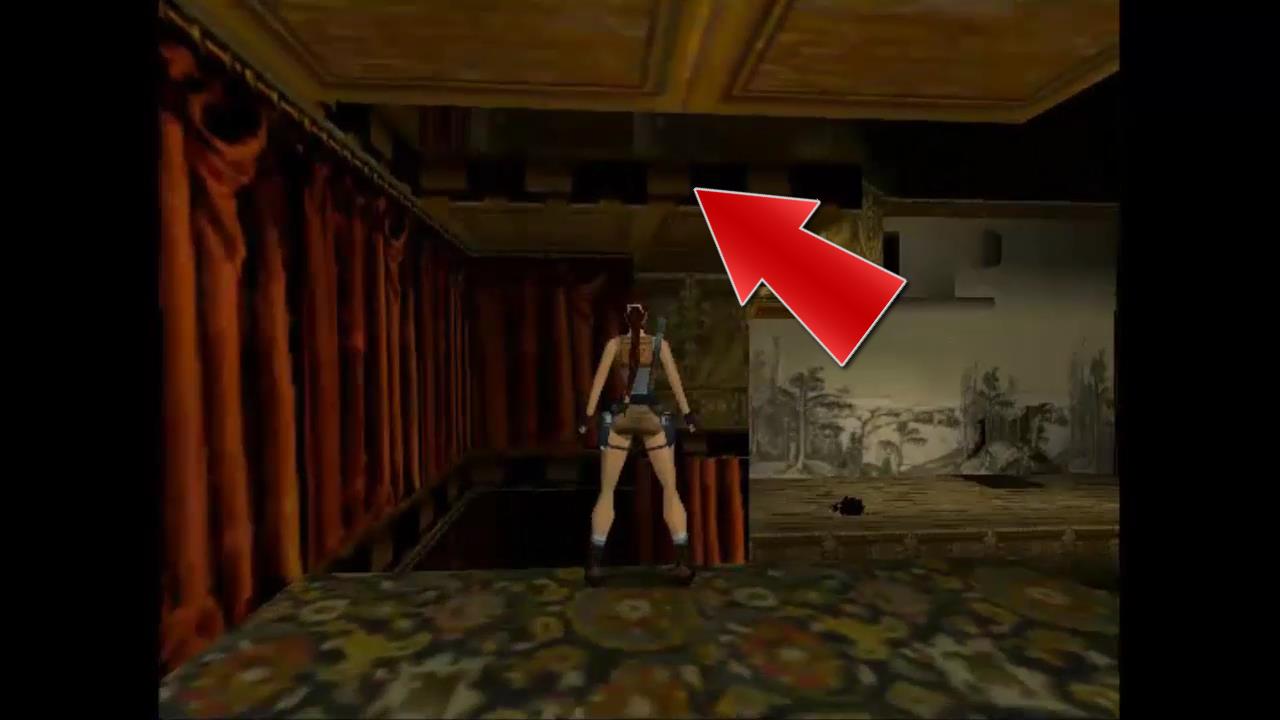
The windows overlook a dressing room. Drop down and pull the switch on the other side of the room to open the laundry chute or ventilation duct. Slide down forwards but before you get to the end jump and grab the block on the other side of the fan.
Pull up and pick up the Ornate Key. Climb up the two brick pillars to the right of you and turn around so you’re facing the location where you picked up the Ornate Key.
From this top block do a side jump to the left so you land forwards on another slide. Jump forwards before the end to land in another shaft. Follow it around and kill another rat. Stop when you get to another slide going down to the right.
Walk to the end and do three standing jumps. One across the slide and another two to jump over fans. You’ll end up on the top level. Turn around and do a standing jump to grab another ledge. Pull up and pick up the Jade Dragon. Watch out for the fan just behind it!

Once you have the statue go back to the edge of this shaft, turn around and safety drop down. Turn around and jump back over the fan to the top level you with a crate. Pull the crate out to reveal a button behind it. Push the button to open a section of wall next to it leading back to the dressing room.
Push the crate through into the dressing room. Hop on top of it and smash through the lower level windows. Inside this carpeted area is another crate. Push it on top of the first crate.
From here you need to do a jump from the lower windows to grab onto the second crate. Pull up and shoot the gunman above. Hop up to the top level, go through the windows and follow the path to the left. Continue forwards and then climb up the hole by jumping up from level to level. This is the hole you fell down from on the second floor earlier.
The Stage
Hop back up to the second floor of the auditorium. When you are up jump across to the part of the floor to the left, closer to the front of the stage, and dive into the water below. Stand on the block underwater near the stage. From here you’ll be able to jump up and pull yourself onto the stage.
Be careful of a falling sandbags from above and dog running out from the left. Go into the room the dog came from and pull the switch. This opens a gate on the other side of the stage. If you look down into the water below you may be able to see the Circuit Board that we need for the Lighting Booth. We’ll pick it up later.
Head to the other end of the stage and take out the two goons who attack with batons. One of them drops a large medi pack.
Before you do anything else run around the floor area of this room to trigger any sandbags. Go to the entrance, face into the room, jump up and pull yourself up to the next level.

Carefully avoid the glass and do a running jump across to grab the crevice to the left. Work you way over to the left until you can pull up. Press the switch to lower the drawbridge and then running jump back over to the bridge.
Walk to the other side of the bridge and then running jump to grab the ledge on the left. Pull up and then pull up to the gap in the brick wall. Turn around, shoot the rat on the wooden ledge and then running jump to grab it. Pull up, turn to the right and make your way to the other side of the room, avoiding the two swinging sandbags.
On the other side of the room is a switch that opens a trapdoor in the stage. Continue forwards, slide down onto the stage and into the water. It’s very dark here so you may want to light a flare.
Flooded Basement
Swim past the fallen sandbag to a place where you can either swim down some steps or head to the left. Take the left path, follow it to the left and swim down some steps under a wall to another room. Head to the left with shallow water where you can stand up.
On the wall at the other end of this room is a switch that opens a door on the second level (ground, first level, second level) of the auditorium. Pull the switch and head back to the other side of the room. In the wall you’ll notice a rectangular opening. Swim through it to find the Silver Dragon.
Now head back through the passageway you entered (left from exiting the tunnel) and swim down the first set of steps across to another room. Pull up, pick up the Relay Box and then climb the ladder to the top where you can enter the main auditorium from the door you opened with the switch.
The Elevator
Climb up one level, to the highest level in the auditorium, and head towards the back right, facing away from the stage. Take this passageway around and watch out for the dobermans that attack.
Place the Relay Box in the exposed circuitry to get the elevator working. You can now pull the switch to work the elevator. Before getting in the elevator there’s on more secret to find.
Press the elevator and let it go down without you. Jump across to the ladder on the left and climb up into a secret room. Walk slowly through the glass and pick up the Golden Dragon and four sets of Uzi clips. The dark passage to the left as you enter has a switch that opens a door to the right. Inside you’ll find more Uzi clips.
Climb back down the ladder and pull the elevator switch again to bring it up. Get inside and pull the switch inside the elevator to head down to a lower level. Get your guns ready. As soon as you walk into the room you’ll be attacked by two gunmen. Each of them drops shotgun shells.
Pull the switch on the wall next to the elevator to raise it up, revealing water below.
Flooded Basement
Face the ladder and drop into the water. Follow the wall along to the left and through the hole in the wall to the right to find a lever. Pull it to open up the grating to the right. Swim through the grating and pull up to take a breath. This is the shaft you dropped down from the second floor.
Dive back down again, take a left at the lever, the first left through a hole in the wall and swim all the way up the stairs. You’ll emerge under the room with a switch you where in earlier. Pick up the Circuit Board and swim back down the stairs, through the hole and take a right to the switch and through the grate to take a breath.
From here pull up and jump up all the way back to the second floor. Run around to the right and use the Ornate Key on the lock to open the door to the left. Jump diagonally to the left across to it and drop down back to the area with the lighting booth.
The Lighting Booth Again
Push the button on the wall to allow access back into the lighting booth. Climb up the ladder and use the Circuit Board on the circuitry here. Pull the switch on the right to lift up the backing of the stage.
Drop down to the left and run down the ramp. Pull up the opening to the left. You need to get back to the ground level to get over to the stage. Jump diagonally across to the ledge. Run all the way around to the left and drop down to the ground. You can also perform a dive into the water below.
A gunman runs out onto the stage. Shoot him and then swim over to the stage and pull up. Pick up the shotgun shells and head behind the stage. Two thugs with clubs drop down and attack. One of them drops a small medi pack.
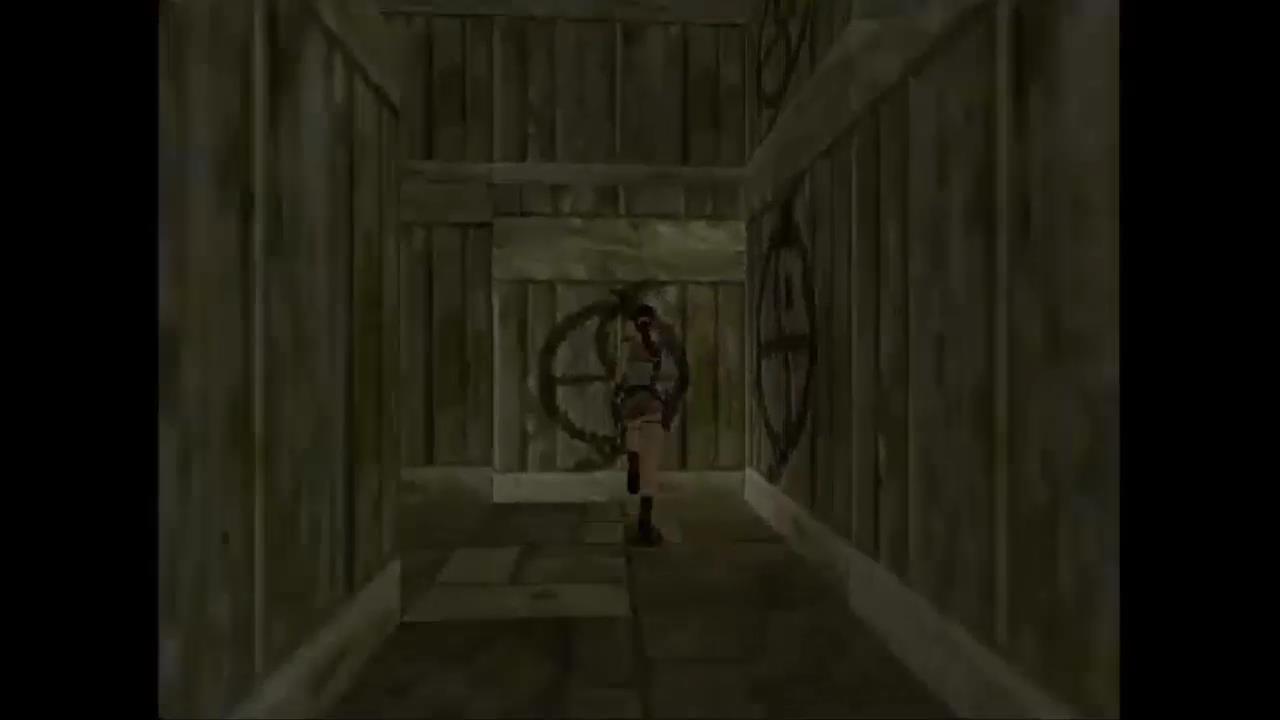
Run into the storage area. If you turn left you’ll see a light above some crates. There’s a movable box that we need to pull out somewhere underneath it. To get it run forwards, take a left, right, left and then a left. The movable box is slightly lighter than the others.
Pull it out twice, climb over it and run into the area behind it. Pull the switch, run back and climb back on top of the movable box.
Turn to the left, climb up the boxes and climb into the alcove just behind the light. This is an area overlooking the auditorium. Turn right and drop down the hole on the right. There is another hole in the floor here that you want to avoid. Instead jump over the hole in the floor and grab the ledge on the opposite side. Pull up and flip the switch.
Turn to the left after flipping the switch and you’ll see a gap with a swinging sandbag in between. Take a running jump across the gap and around the sandbag to another storage area.
Below is a strong thug with two guns and two dobermans. They won’t come out until you drop down or hang from the ledge. You may want to hang from the ledge to draw them out and pull up again. The strong thug drops three pairs of grenades.
Another thug will run out as you move forwards into the storage area. He drops a small medi pack and Uzi clips.
Run down the center of the room to the back and pull up onto a box. Turn right and hop onto another box. Turn around to face the front of the room and jump across the gap. Angle yourself slightly to the right and jump across to the other storage boxes.
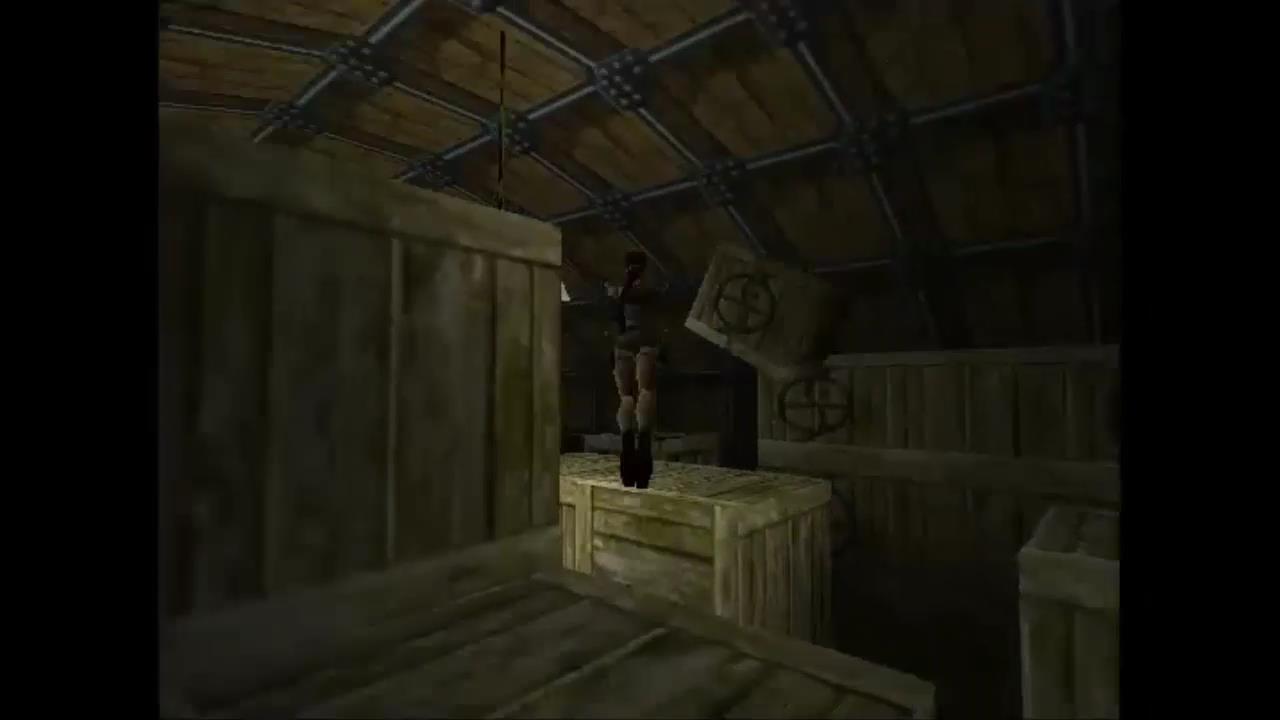
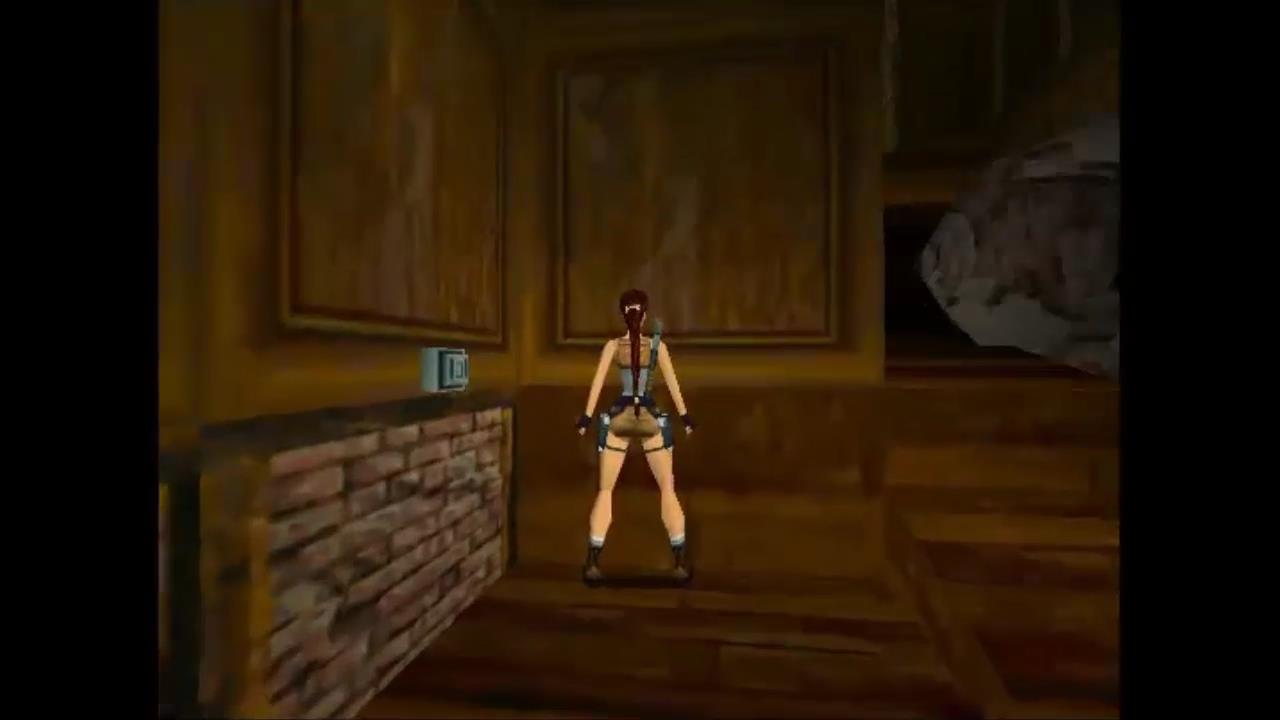
Continue jumping across the crates to the front side of the room where a button is located on the wall over one of the crates. See picture below.
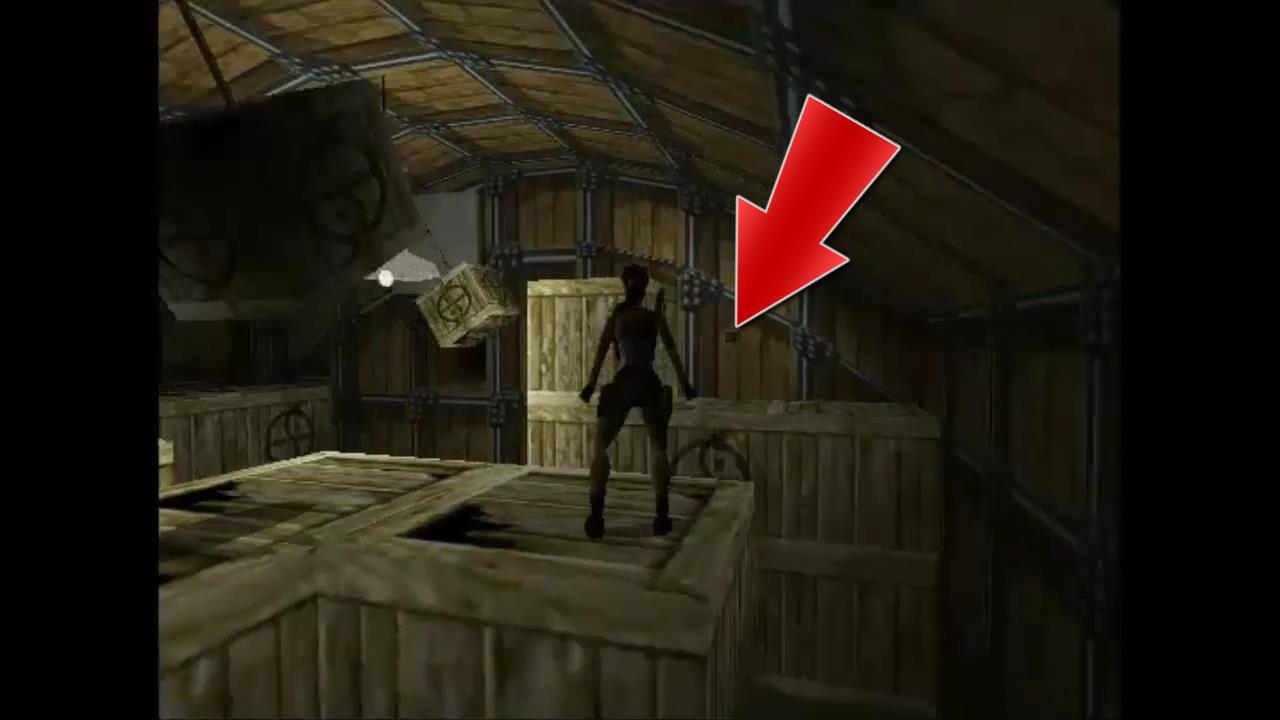
The button opens a panel at the back of the storage room. Drop down and run to the far right corner where the panel opened. You may be greeted by another gunman who drops some Uzi clips along the way.
Run through the open panel and down the passage and into the plane to end the level.
Next Level: Offshore Rig