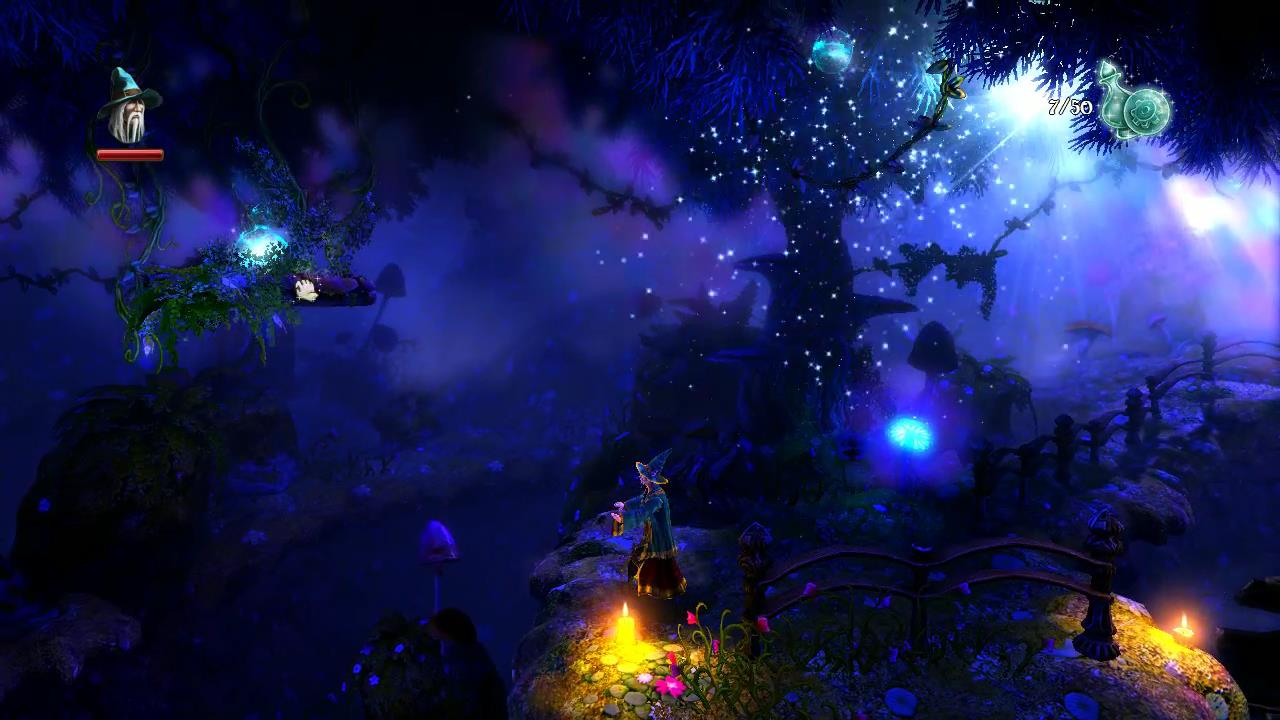
Cloudy Isles (Level 5)
You arrive on the beautiful Cloudy Isles. The first checkpoint is just to the right. Shoot the strange crab-like plants and dive into the water for a few more experience orbs.
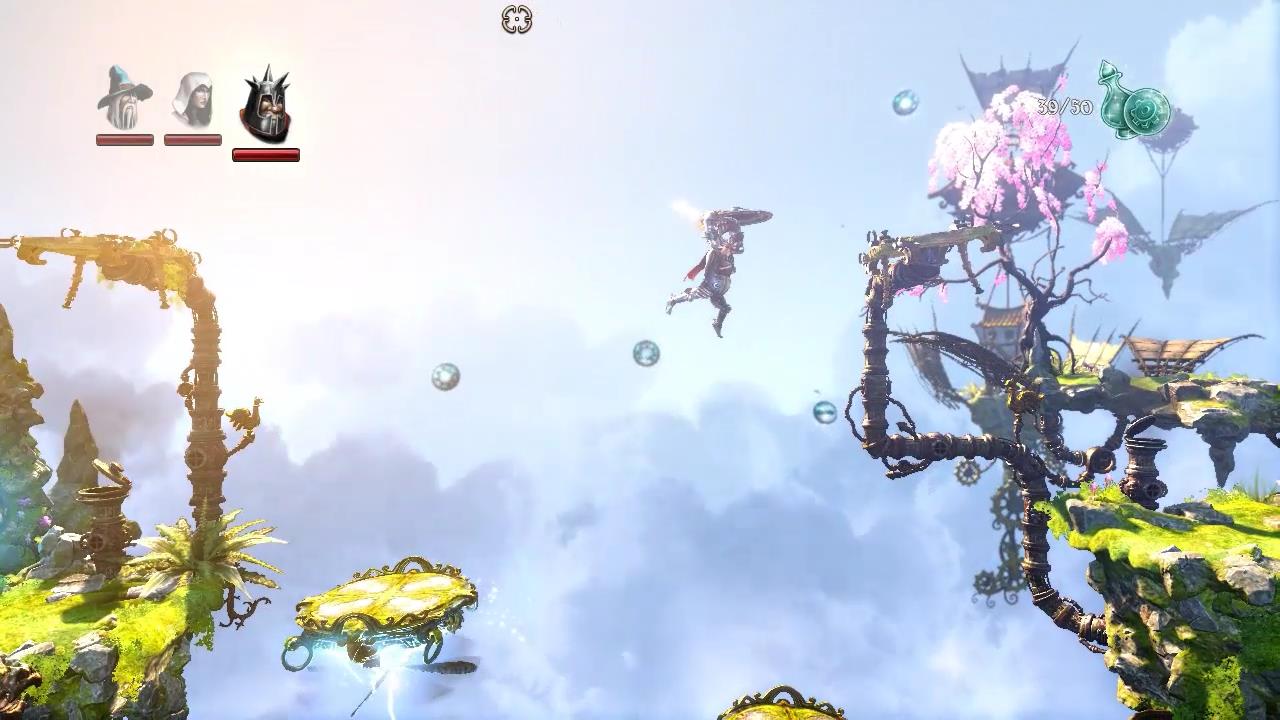
Use ice rafts to get across the lake to the second checkpoint. Either jump across the lightning clouds or grapple up to the wooden platform and use the Kite Shield to sail across to the other side.
On the other side you’ll face a goblin shaman. He’ll send out black tendrils from his staff. Fight them back and then shoot him with an arrow.
Continue to the right for the third checkpoint. Jump up to the platform to the right and use Amadeus to drag the lightning cloud and get it stuck on the platform. You’ll need to drag it under the platform to get it there.

You can now dive into the water without being electrocuted. Dive down and head to the left and up to pick up all of the experience orbs. Swim back up, make ice rafts and jump to the other side where you’ll be attacked by goblins and another wyvern.
Lift up the red door and place two boxes on top of it to hold it up. Before you go through you’ll want to pick up the chest down below. From the cart use a fire arrow or hammer to break the rock wall to the bottom right. Swing down with Zoya, or float down into the small cave for the Secret Chest with the Collectible Poem.
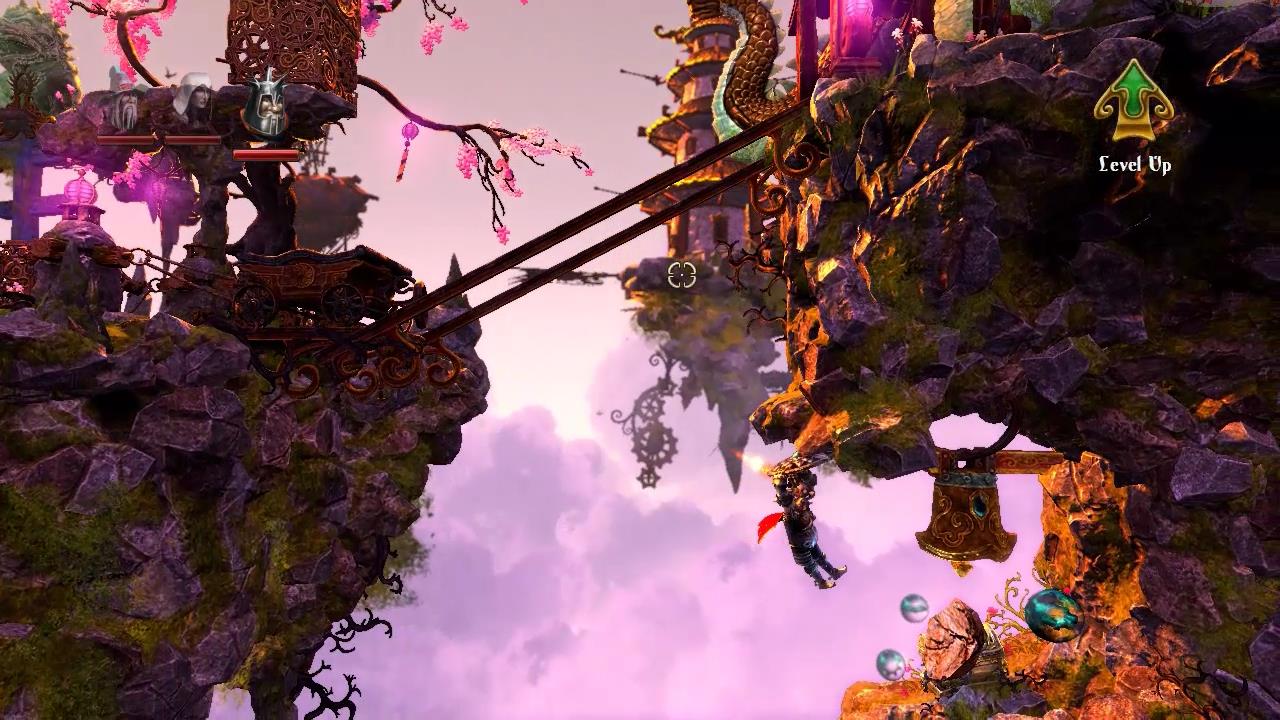
Ring the bell to call a lightning cloud and hop on it back to the top to the fourth checkpoint.
On the other side is a moving platform below a lightning cloud. Just hold a plank above the platform as you move across to direct the lightning strikes away from you. Hop up the other side and run under the second cloud in between lightning strikes.
You’ll be attacked once more by goblins, including a goblin shaman. Ahead you’ll notice a hut with four bells and the fifth checkpoint. If you pull the lever it will play a tune. You need to match the tune by moving the large bells.
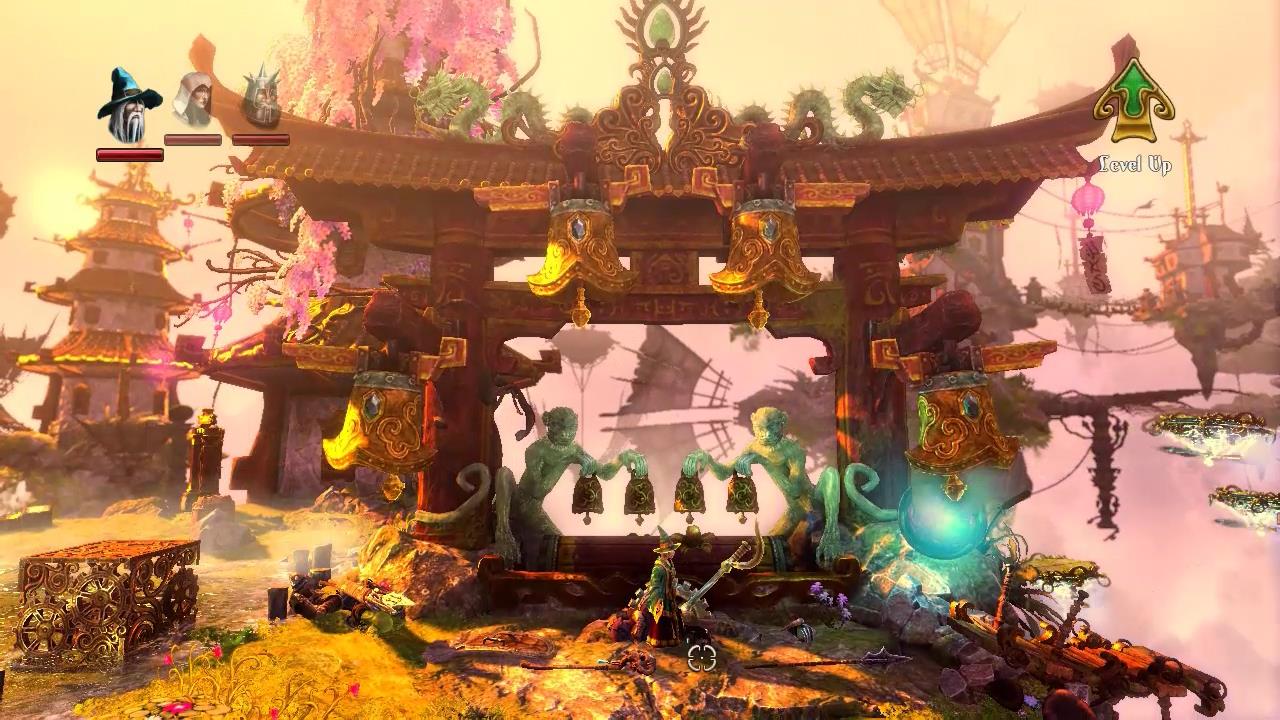
The pattern, if the bells are numbered from left to right is, 3rd bell, 1st bell, 4th bell and 2nd bell. This will call the lightning clouds so you can jump across to the other side. You’ll be attacked by a wyvern closer towards the other side. Hop up, avoiding the lightning cloud at the end and continue to the right.
It’s here you’ll find the sixth checkpoint and another rock golem to deal with. When it’s killed break the rocks on the other side of the gap to the right, use a gravity field with plank and jump across the floating platforms to the other side for the sixth checkpoint.
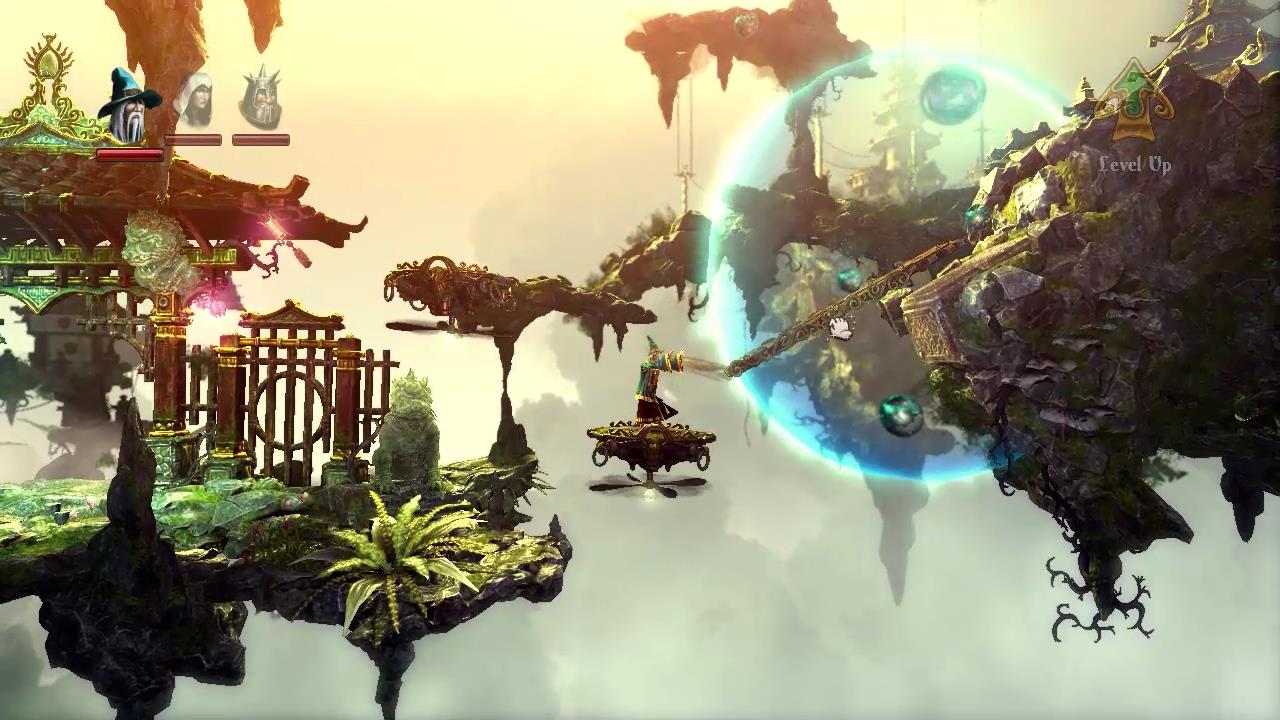
Once on the island you’ll notice some kind of generator and a lightning cloud. When the lightning cloud strikes the generator pull the lever to increase the power. This will lift up the platform, which is also a swing, to the right.
Get the platform swinging and jump onto it. From here you can jump across to the left onto the lightning cloud for the second Secret Chest with the Collectible Painting and the Last Piece of the Secret Level Map. This is the last secret for the game and if you have collected all of them you will get access to the bonus level, Dwavern Caverns.
Throw a hammer at the guard tower to the right to destroy it. Jump across it to another goblin shaman. A wyvern also attacks when you get close to the shaman.
Across to the right are two pieces of machinery. They must be connected together with lightning running through them in order to be able to get off this island.
Place a weight (box) on the lightning cloud and balance it on the left end of the first bit of machinery. This will pull the other side up and in line with the second piece.
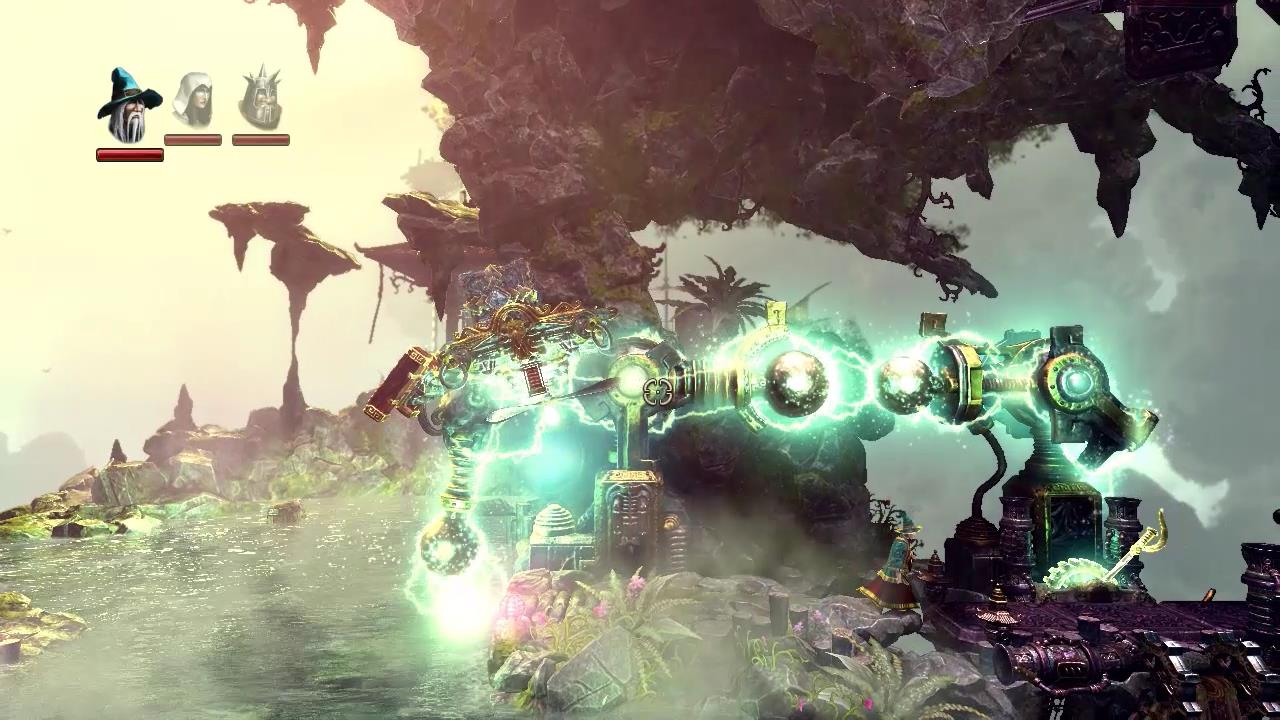
Pull the lever and away you go on the flying machine.
Next Level: Goblin Machinations (Level 6)