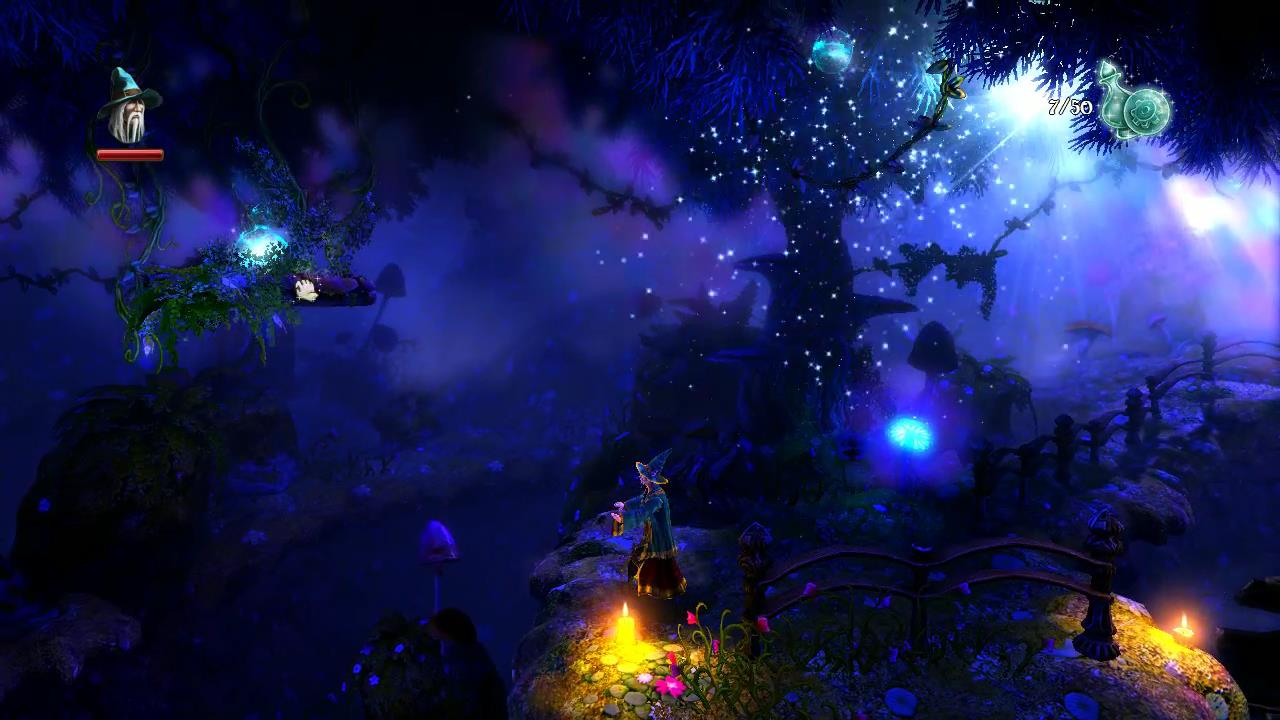
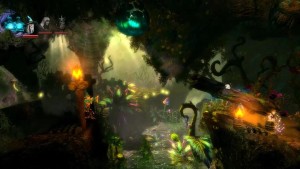
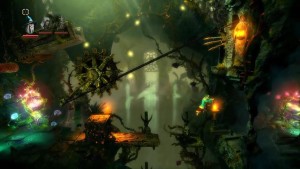
Hushing Grove (Level 7)
Get ready for a battle as there’s twice as many monsters in this level as in the previous ones. Leaving Rosabel’s house the three make there way through the Hushing Grove. Zoya’s stealth ability comes in really handy here to get past the snapping plants without being seen.
Experience Points: 90
Monster Points: 40
Level Secrets: 2
Hushing Grove
Run down the stairs and into the grove. You’ll see a water plant over half a hollow log. Use Zoya to shoot the water plant releasing the water within. Quickly switch to Amadeus and carry the water in the log to the sparkly point on the ground to the right.
This will bring to life a large plant and let you grab some of the experience orbs.
A few steps further to the right and you’ll be attacked by a few orcs before reaching the first checkpoint of this level.
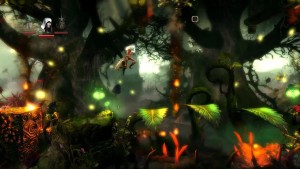
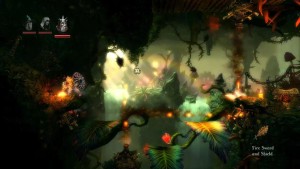
Just past the first checkpoint you’ll encounter your first snapping plant so be careful as they are deadly.
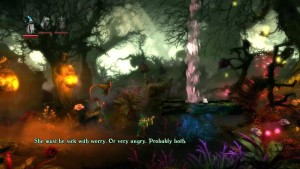
If you have Zoya’s stealth ability now would be a good time to use it! Otherwise you’ll have to jump around them, feed them goblins or distract them with the bright lamps as in the pic below.

Just past the snapping plant is the second checkpoint. Head over or under the bridge. Either way goblins will spawn on the bridge above.
Continue jumping across the bridges and take out the many goblins which attack. I like to use Amadeus to feed the goblins to the plants.
Jump onto the leaves and onto the platform with the third checkpoint just above another snapping plant.
Here there’s a swinging rock, fireballs and a wooden barrier. Jump on the leaf and break the wooden barrier to continue to the next checkpoint.
This time a rock barrier blocks your path. Pontius’ hammer should do the trick.
The next two experience potions you can get if you have the hammer throwing ability or the explosive arrows to break the rocks underneath them. Otherwise you’ll have to pass them by.
You’ll see a stream with a water plant over the top and a sparkling area on the ground to the right. Use the same trick as last time by shooting the water bulb with an arrow and then quickly changing to Amadeus to lift up the log and bring the water to the sparkly area.
To the right is another snapping plant with a lever on the other side of it. You have a bit of helping getting past it this time as the fireflies are already distracting it. If you have the stealth ability use it here to sneak underneath the plant and pull the lever.
Pulling the lever will lower a platform which should make it easier to get across to the other side with a few boxes.
Run through the forest and try to take out all the goblins without taking too much damage. Once you’ve defeated them you’ll be able to reach the next checkpoint.
Make your way across the leaves, dodging the fireballs as you go to the next checkpoint.
Drop onto the leaves and then down to the ground. There’s some rocks you can break with the hammer in the middle. Drop down into the cave and walk to the left for the first secret chest of this level. Inside is another poem.
Further to the left you’ll find an area with many fireballs and experience potions.
Climb back up to the main forest area. There’s lever which raises a bridge at the top of the high wall. Open the bridge and then place a box next to the gear on the ground to keep the bridge open. Zoya can then grapple her way up to it.
Once over the wall you’ll come to a pit of monster snapping plants! Use Zoya’s stealth ability to make your way down and to the right.
Once past the plants you’ll be besieged by goblins! Jump across the wooden platforms to the next checkpoint.
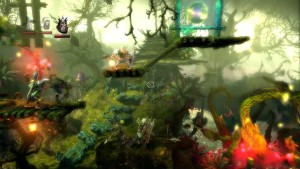
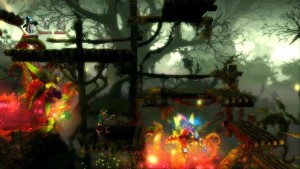
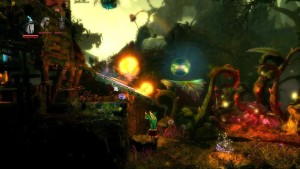
Past the next snapping plant is the entrance to a cave. Enter the cave and run on down the stairs. Here there’s a strange mechanism with flowing water and a wheel connected to a gate across the other side of the gap.
First drop down to the bottom and run to the right to find a gap so you can drop further down. Collect all the experience here and don’t forget to break the rocks at the very bottom!
To open the gate use a box and plank to get closer to the gate and then tip the water onto the wheel to open the gate. See pic below for details of how I made it across.
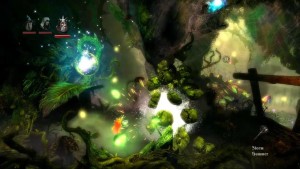
There are more spiders on the other side. Take them out and continue running through the cave. Jump through the fireballs and keep running along the ground, over a small rock ledge and down to the secret area number two.
Here you’ll have 4 sets of fireballs to worry about but you’ll be rewarded with a secret chest if you can make it across. You need to time it just right if you want to make it across without taking damage. Inside the chest is a collectible painting.
Head back out of the cave and climb up the platforms and leaves to the upper right. Continue to the right to find the conveyor belt, spinning blades and next checkpoint.
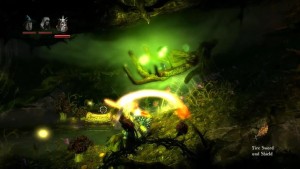
Where almost done with the level here but there’s one more big challenge to face, a goblin boss!
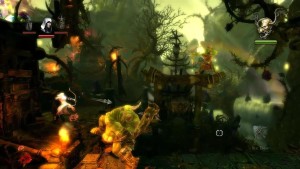
As soon as you drop down from the checkpoint the giant goblin will attack. I find it easiest to kill him with Zoya’s frozen arrows. He will slow down for a brief moment when you try to freeze him, giving you time to jump over him and continue shooting arrows.
Watch out for the two other small goblins as they will cause a problem if you leave them alive for long.
Once he’s dead pull the lever and climb up the platforms to the top. Work your way to the right past two more checkpoints until you come to a water plant.
This time use a plank to bring the water over to the sparkly area. This will make a giant plant grow that will help you avoid a snapping plant.
Jump into the giant log, through the forest and over the beautiful stream to end the level. The action continues in the Mushroom Caves.