Petrified Tree (Level 5)
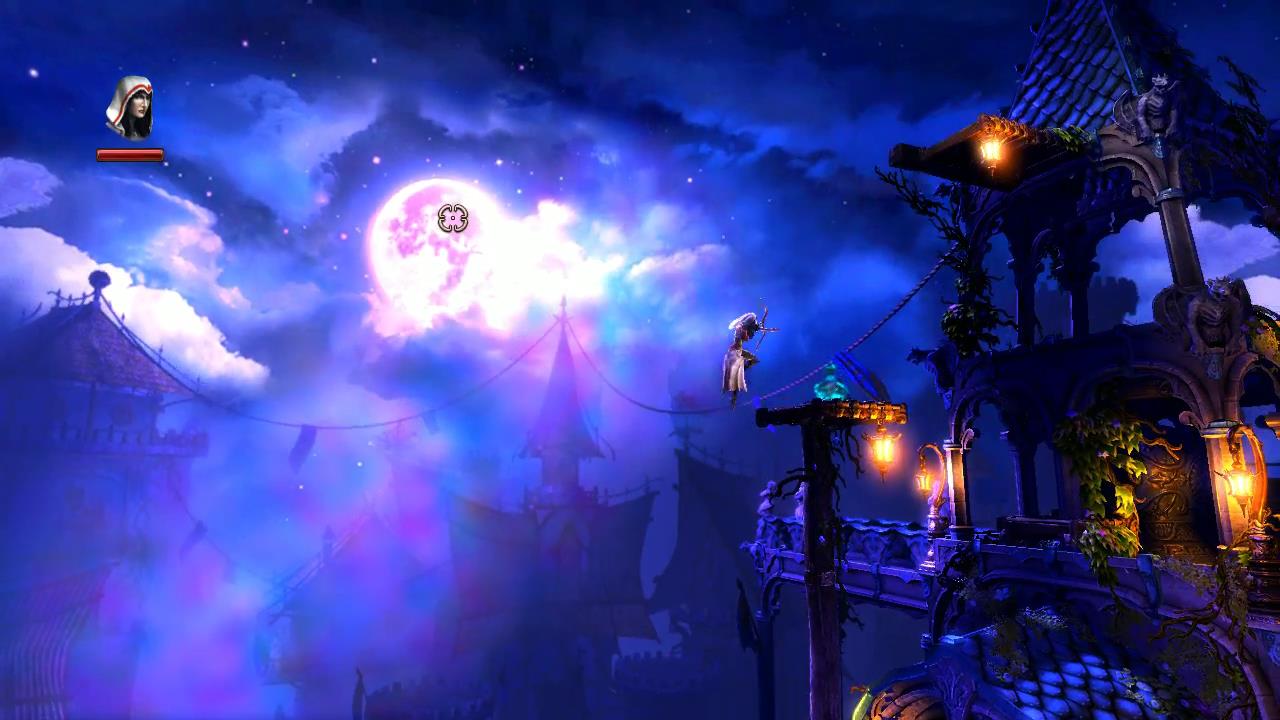
After trudging through the Marsh the heroes find themselves in front of a giant tree. Head inside and work your way past numerous puzzles and obstacles. There’s a big surprise for the three heroes at the end of this level!
Experience Points: 90
Monster Points: 20
Level Secrets: 2
Petrified Tree
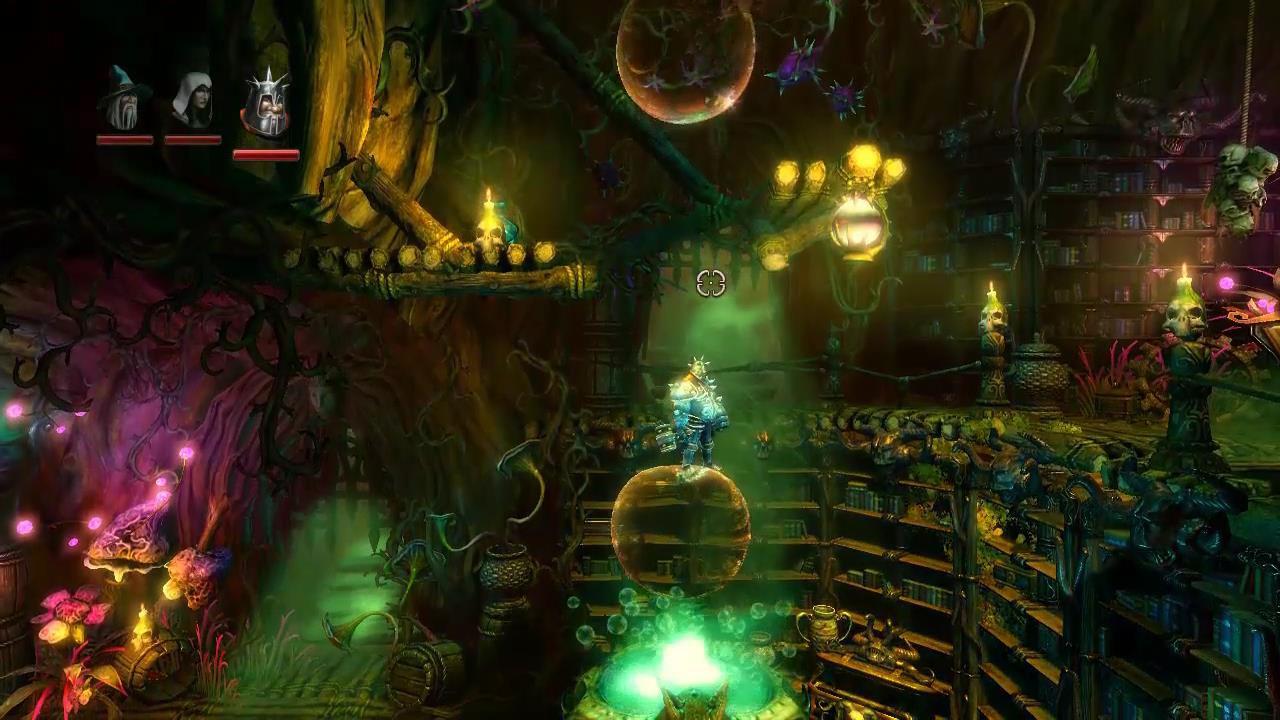
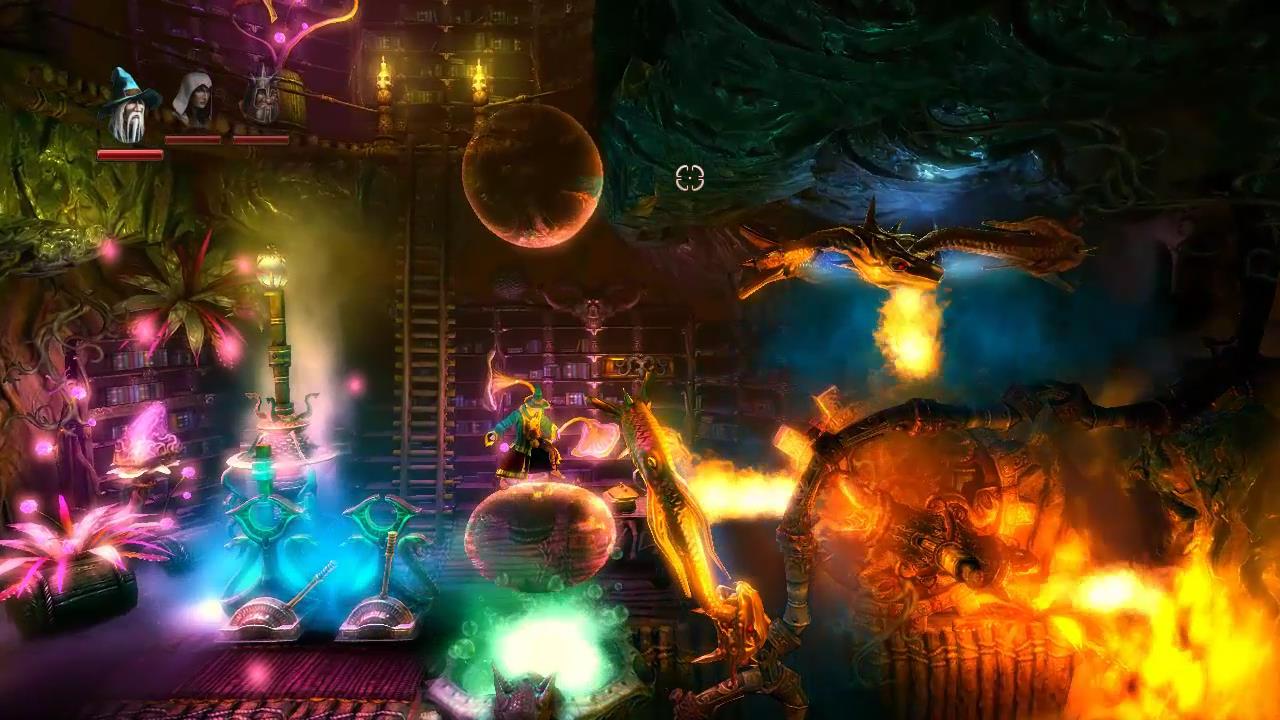
Finally out of the forest the three heroes head into a massive tree house. Climb up the stairs and break the boards at the end. A cauldron in the library is creating bubbles. Jump on one and float up.
 Head to the right for the first checkpoint. The next room has a couple of mirrors and two levers. Each lever controls one of the mirrors. Send the metal ball through the mirror to the one below and place it on the pressure plate to open the door.
A spider will attack you in the next room before reaching the next checkpoint.
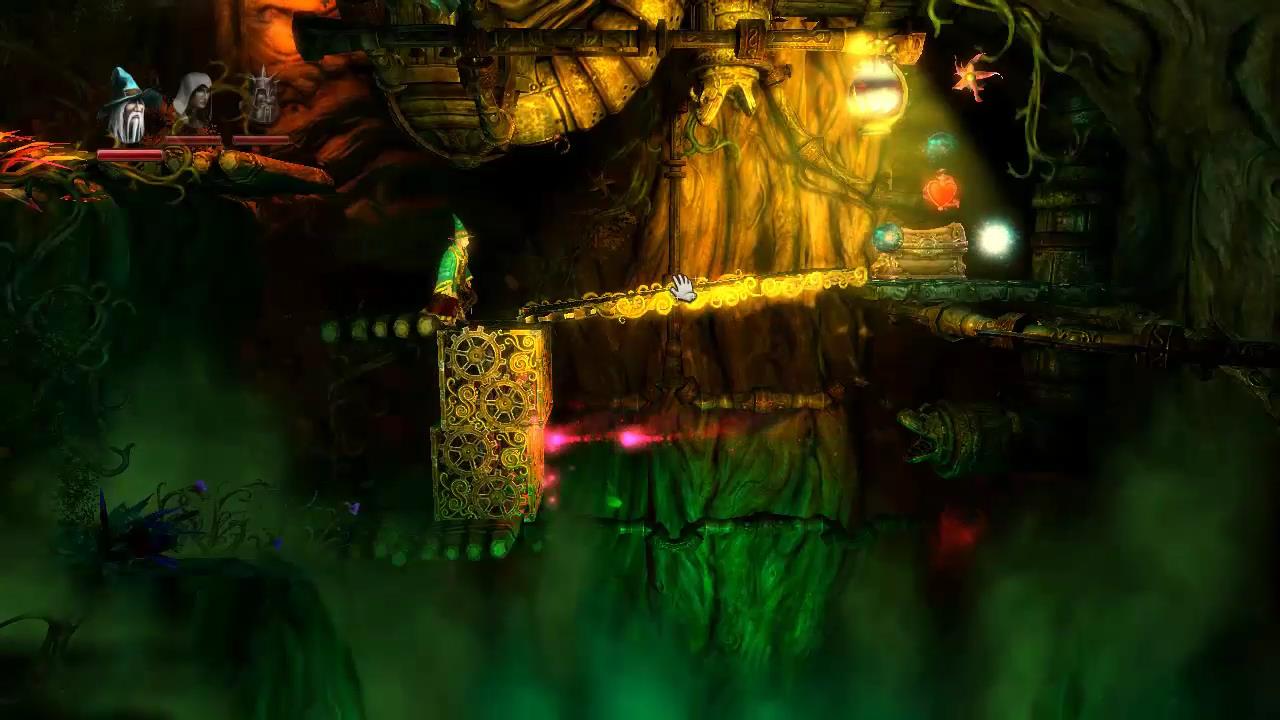
In the next room the hatch in the middle can be opened up with Amadeus. You can then drop down, walk to the left and attach the two pipes to get the flames heating up the left cauldron.
 This will start producing bubbles so you can get up to use the two mirrors to grab the experience orbs. It’s a little tricky, see the video if you’re not sure how to do it.
Float up the bubbles from the right cauldron and continue on your way to the right. Place a box on the pressure plate to open up the platform and run on through.
After the next checkpoint you’ll find two more mirrors with corresponding levers.
 Lift both of the mirrors up and place a box in one of them. The box will jump up from one mirror to the next. Jump across the box to the other side.
Once across you’ll be attacked once more by nasty green goblins. Continue to the right. When you come to a blockade place a box on the pressure plate to the right to open up the platform.
Next you’ll have to face the dreaded spinning flame wheels! Pontius can protect himself from the flames by using his shield.
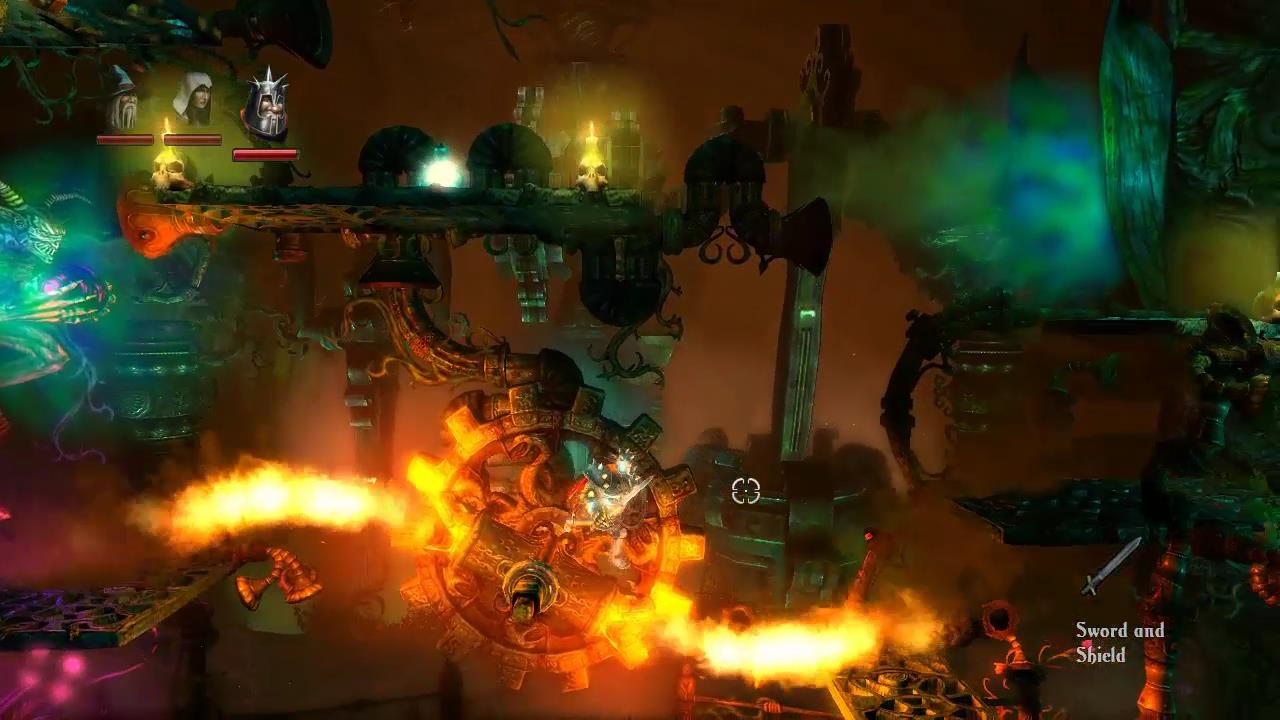 To the right are two mirrors, a cauldron and a flame. Position the right mirror under the flame so that it shoots out the left mirror and heats the cauldron. Before you do this though head to the right once the flame has been blocked off by the mirror and enter a cavern with the first secret chest.
 It’s a large gap to get across. You can just make it with two boxes and a plank. Inside the chest is a Collectible Painting.
Now heat up the cauldron with the mirrors and flame to start producing bubbles. Head across to the right to the two flames. One is fixed and the other is spinning. Move the fixed one to point away from the lever in the middle. Now you should have just enough time to pull the lever while the spinning flame is facing away from it. It may take a couple of tries to pull the lever all the way across.
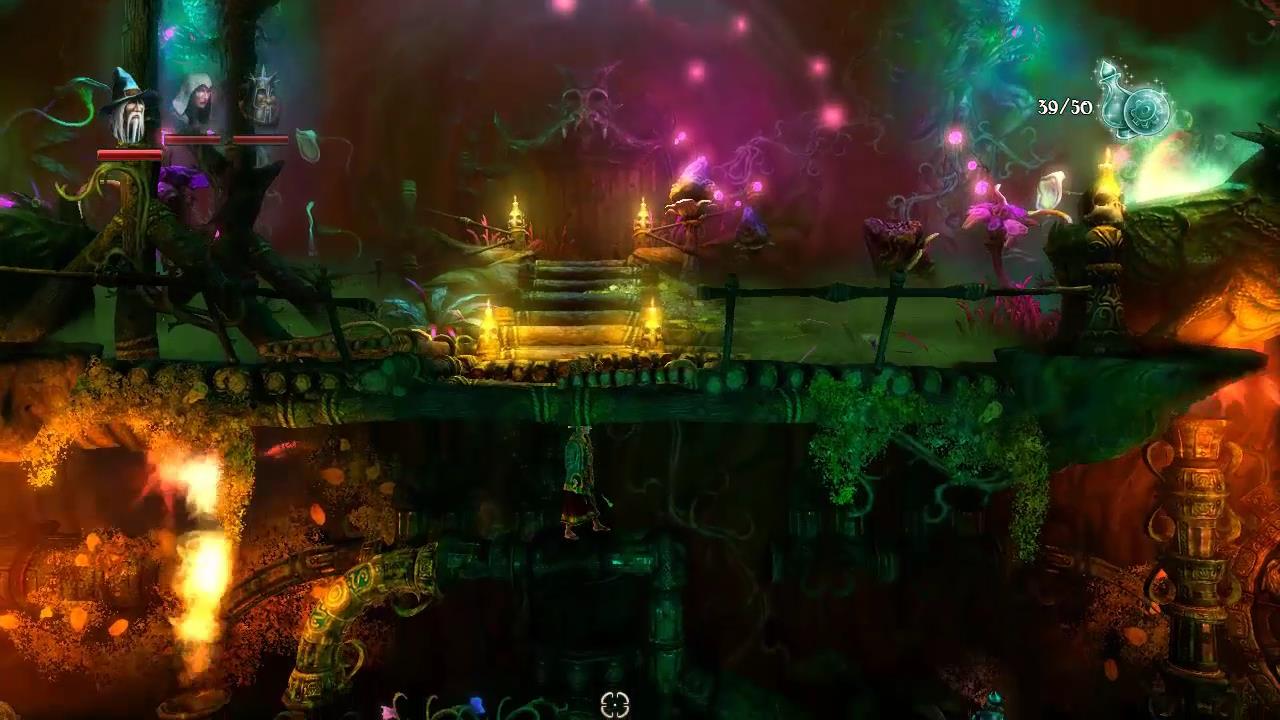
Once you’ve opened the gate head to the right for the checkpoint. Zoya can grapple under the bridge here for a few extra experience points.
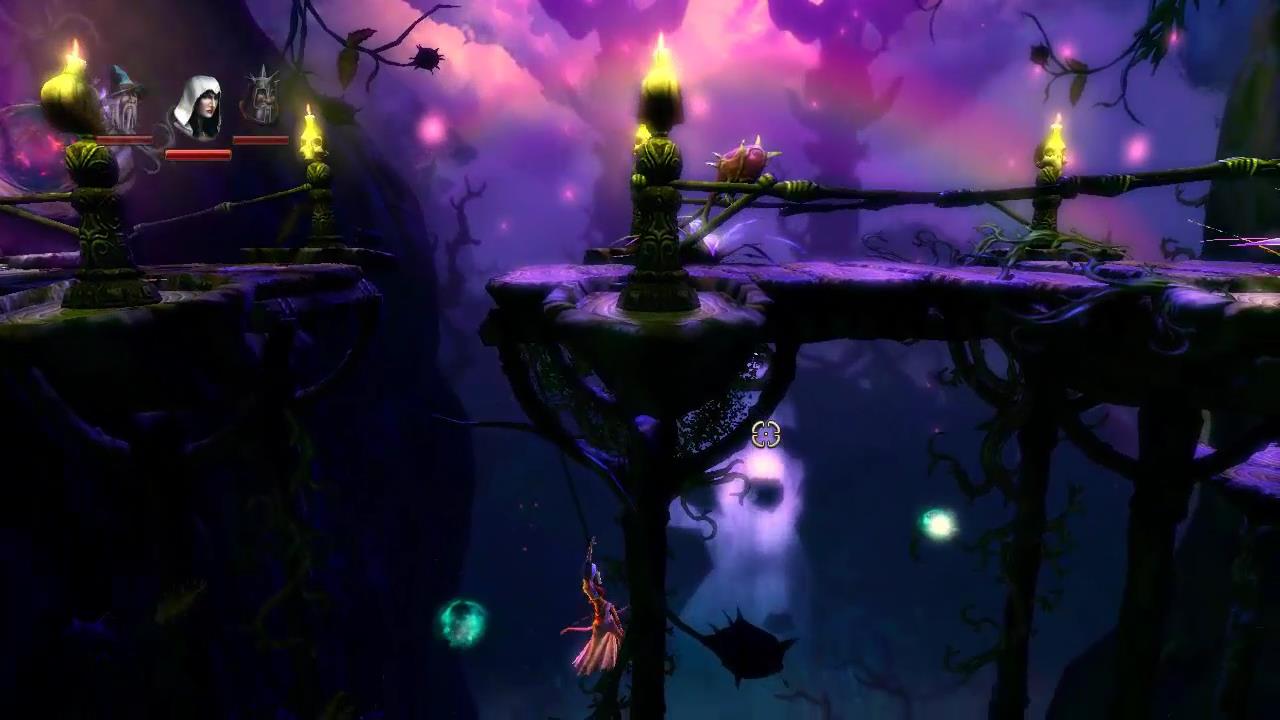 Have Zoya grapple up to the platforms above. Unfortunately this will release a horde of goblins. You’ll be attacked from all sides so fend them off as best you can with Pontius.
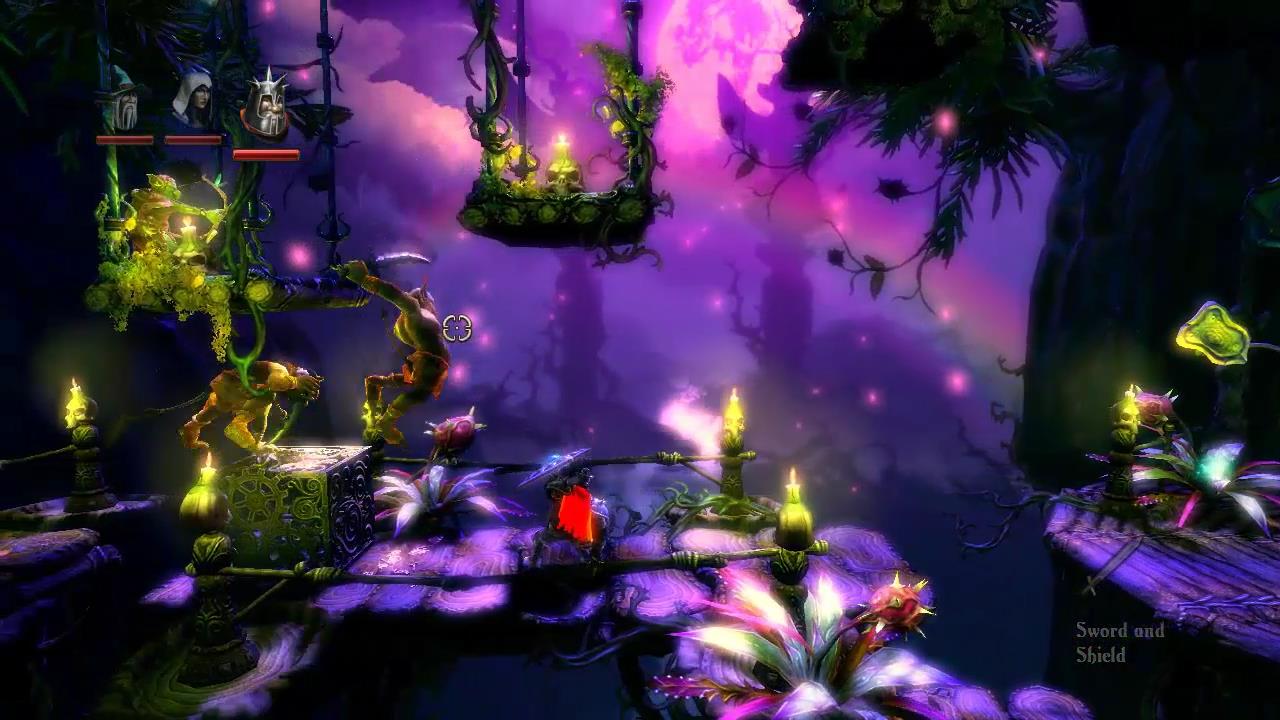 Once you’ve defeated the goblins you can climb up and to the right to enter into another library. Have Zoya grapple up to the platform in the middle and swing across to the second secret chest for the level.
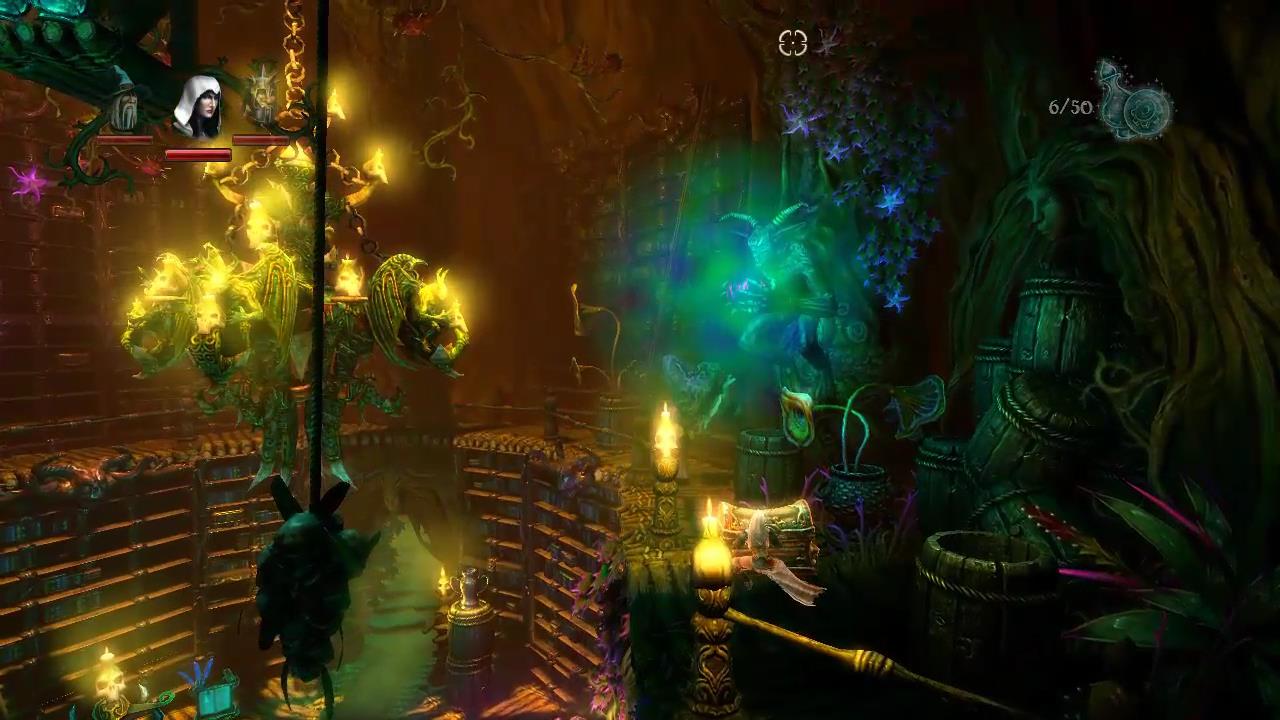 In this chest is a Collectible Poem which continues the story of the two sisters.
There’s more flappy platforms in the next couple of rooms. You’ll need to time your way across between fireballs while avoiding the spikes down below. Finally you’ll reach another room with two levers and two mirrors.
To the right of the spinning flame mechanism (jump up and to the right) is a secret room with experience orbs and a heart.
Move the left mirror down so that it protects the bubbles as in the pic below.
 Float up on the bubbles and then jump across the platforms to the top right where there’s a pressure plate and a lever. Put a box on the pressure plate to open up the platform and then pull the lever to open the gate down below. Run through the gate to end the level.
You’ve come so far but it’s not over yet. It’s time to face a monstrous dragon in level 6, Shadowed Halls.