Jungle
Jungle
Objective: Locate the Indra Key and reach the level exit.
Secrets: 6
Items: Indra Key
The Long Slope
From the level start turn 90 degrees to the right, step forwards and jump to the top of the sloped mud block. Turn left and slide down to land on the green grass block. Turn left, walk to the edge of the block and do a standing jump.

Crouch down if you want to see what’s under the leaves and pick up the Shotgun with 2 Shells plus some Uzi Clips. This is Secret #1. A chime will sound every time you find a new secret.
Turn right and slide down the slope and you’ll land on a flat block near to a row of spikes. Jump diagonally across to the left and continue sliding down. At the bottom you’ll find some Shotgun Shells and a Large Medipak. As you pick up the medipak a boulder will roll down but will stop before it reaches you.
Walk up to the big tree trunk and position yourself so that you can jump around it to the other side. Here’s where you need to stand to set up for this jump.

Take a standing jump and curve around to the left while you’re in the air to land a a flat block on the other side of the trunk. Climb onto the leaves, grab the Shotgun Shells and Power-Up Crystal for Secret #2.
From the crystal, turn right and walk to the end of the leaves. Turn around and do a safety drop down to a block underneath the leaves. From here you’ll be able to jump to the other side of the row of spikes and continue sliding down to the bottom of the slope.
The Swamp
At the base of the slope the courtyard lies ahead of you but turn to the left and enter into the swampy area for another secret.

Drop down and pick up the Power-Up Crystal. Climb up one of the blocks of the wall and drop down into the trench on the other side for Secret #3. Turn left and at the end of the trench you’ll find a Grenade.
Jump up and pull up into the first alcove on the left for some Flares. The third alcove from the left will have Shotgun Shells.
Climb back over the wall, turn right and go back to the base of the slope. This time turn left and head into the courtyard.
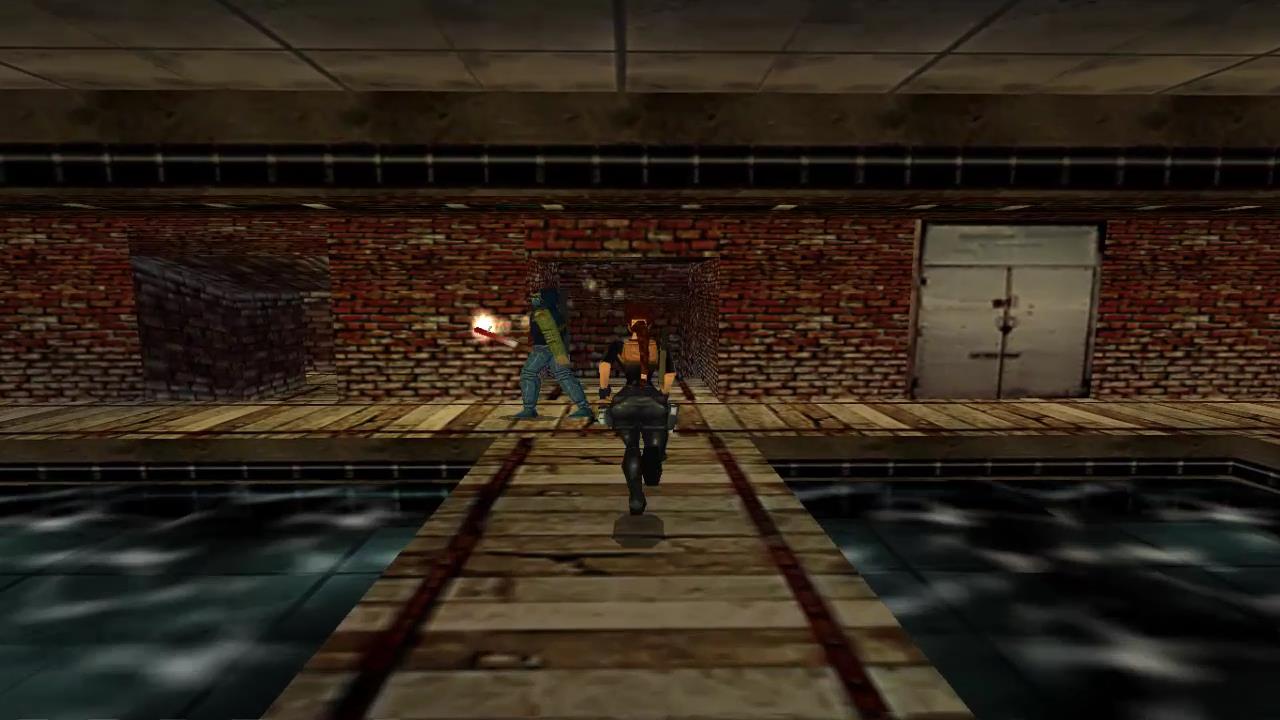
The Courtyard
In the middle of the courtyard is a Small Medipak but a monkey might pick it up before you can grab it. Follow him into the passageway ahead and he’ll drop it somewhere inside.

Follow the passageway as it curves around to the right and pull the Switch. This will open a gate back in the courtyard. Backtrack through the passageway and head across to the other side of the courtyard. Climb behind the tree and go through the gate you just opened.
As you drop down into the room the gate will close and a spiked wall will start moving forwards to crush you. pull the Switch on the wall opposite and slightly to the right. Roll and jump into the alcove to avoid being crushed by the spiked wall.
Once the wall has passed, drop down, turn left and climb up to the first zip line. Ride the zip line across the stream to a tree stump on the other side. Climb onto the stump. Walk to the edge, hop back and take a running jump to the hole in the tree.

Jungle Clearing
Drop down, ready your weapon and walk straight ahead through another hole in a tree. A Tiger will charge at you. Once you kill it turn around to the right. Jump up around to the back of the tree to find some Uzi Clips.

Drop back down into this large area and run to the other side for a Small Medipak on one of the mossy stone blocks.

If you’re still facing towards the block with the medipak turn left and run into another section. Turn left again and go through another hole in a tree. Run up the steps and grab the Flares on top of a block behind a tree.
In this section there’s a lookout over the river but there’s nothing you can do here. Instead head back down the steps into the hole in the tree. This time pull the Switch which opens a gate up ahead near to the boulder. When you pull the switch the boulder will roll down so hop left or right out of the hole and then forwards or backwards to get out of the way of the boulder.
Run into the room you just opened at the top of the slope with the boulder and pull the Switch to open the other gate.
Jungle Ruins
Ready your weapons as a Tiger will emerge from the undergrowth to the right. Run forwards and just before you get to the gap in the wall ahead another Tiger will run around the corner.
Turn right and walk through the undergrowth where the first Tiger emerged. On a block to the left you’ll find some Shotgun Shells.

Go back to the path and head around the corner where the second tiger came from. Follow the path, hop over a small block and find a clearing on the other side with a hole in the middle.
Head to the opposite end of the clearing and pick up the Uzi Clips and Shotgun Shells behind the far tree. Now head towards the wall and go through the passage with the tree log fallen across it.

Follow the Monkey under the fallen tree to the other side. Turn right, go to the end of the fallen log and climb on top of it. Pick up the Power-Up Crystal and walk forwards to be charged by a Tiger.
Walk half-way across the log and then turn left. Jump to the branch and then diagonally across slightly to the left to another branch with MP5 Clips.
Return back to the fallen tree and continue along it to the left through the hole in the leaves. On the other side slide down off the log on either side. Continue forwards through the passage with the gold lattice.

Follow the passage around, walk through the spikes and follow the path around to the end and then do a standing jump onto another block with a Small Medipak.
Turn left. Jump up to grab the crevice and shimmy across to the left. Pull up when you can. Ignore the Monkey unless you want all the kills. Turn right and climb up to the stone above the crevice. Drop down over the other side and turn left into the dark tunnel.
Light a flare so that you can see and stop just before the Switch. Turn left and climb up into a small space for Secret #4 where you’ll find a Rocket and Harpoons.

Drop back out of the secret alcove and pull the Switch to open a gate back in the area with the spikes.
Run back through the tunnel. Turn around and drop back off the edge and hang on. Shimmy to the right and drop down onto the block that had the small medipak. Jump to the other block and walk slowly back through the spikes.
At the end of the spiked ledge just before the golden lattice jump up and climb onto the ledge above.

Walk up to grab the Power-Up Crystal and then follow the ledge along to the left. Drop down onto the platform on this side of the wall. Then climb over the wall and slide down to the other side.
In the middle of the room is a fallen tree log. Stand on the ledge in front of it and then take a standing jump to grab onto the center of it. Crawl inside for Secret #5 to find some Flares and MP5 Clips.

Climb out backwards and drop down to the sloped blocks below. There are spikes in the center of the sloped blocks so keep jumping and turning until you jump out of the trap. A Tiger roams around on this floor so immediately open fire on it.
On a block in the back left corner of this room (Facing towards the back wall) you’ll find Desert Eagle Clips. Leave the ruins and go out into the jungle beyond.
Deeper Into the Jungle
Head forwards, veer between the two trees and head to the left. Stop before you get to the mud slope and wait for a boulder to roll down through the bushes.

Flip to the right and then back again to trigger a second boulder. Head towards the bushes where the first boulder came from to trigger a third boulder. Walk behind the bushes to a clear area with a pit in the left back corner. Pick up the Small Medipak just next to the pit, then turn around with your back to the pit and drop backwards while hanging onto the edge.
Let go and then grab the ledge below. Pull up into the small cave for Secret #6 where you’ll find Flares and a Power-Up Crystal.
Stand at the end of the cave, standing jump across to the green moss block. Turn around and do a standing jump to grab the ground above and pull up out of the pit.
Head back to where the three boulders landed and run to the left. On the right side you’ll find a shallow stream Turn around and follow it upstream to the right.

Run up the bank at the end to the right and pick up the Uzi Clips. Now go downstream until you start swimming. Swim down through a tunnel to the far right and follow it through into another room with a walkway between two Switches. Pull both the Switches. One of them opens an underwater gate and the other a gold lattice door.
Dive into the water and head through the underwater gate you just opened into another room. Climb onto the platform in the middle for some Flares.
Jump across to the golden door you opened with one of the switches and go through to find another Switch Pull this one to flood a courtyard.
Leave this passageway and jump across diagonally to the right to enter another door flanked by torches.

Follow the passage around and drop into the courtyard that you just flooded.
Climb up the steps to the left of the Power-Up Crystal. Turn around, make some standing jumps across to the crystal.

Dive back into the water, turn right and enter behind the waterfall into the passage beyond. At the end of the passage turn around and then climb up the ladder to the top.
Walk outside, turn right and go under the ledge to the other side. Turn around and climb up onto the ledge. Enter through another higher passage behind the waterfall.

Pull the Switch at the end of the passage to open an underwater gate along the back wall. Dive into the water and go through the gate. Follow through the winding tunnel until you can pull up into a room with a Tiger prowling around the pool.
In the dark corners of this room you’ll find Shotgun Shells and MP5 Clips. Climb up the ladder and pick up the Indra Key quickly before the Monkey gets it.
Follow the passage out of this room to some stairs leading to a swampy area.

Kill the Tiger down below then pick up the Shotgun Shells on the left side of the swamp trench near to the level exit. Use the Indra Key on the lock on the right side to open the gate and walk through to finish the level.
Next Level: Temple Ruins