Thames Wharf
Objective: Make your way across the London rooftops, then through a series of water tanks to the bell tower for the level exit.
Secrets: 5
Items: Flue Room Key and Cathedral Key
London Rooftops
From the starting position turn around and walk to the edge of the ledge. Turn left, take a few steps back and take a running jump over the low roof.

Turn left and run around to the right to pick up the Shotgun Shells and Power-Up Crystal. Turn around and climb up onto the block in the corner. Turn right and climb up onto the wall.

Walk to the other side of the wall and take a standing jump across to the yellow crane. Turn right and run along the crane to the gap in the fencing along the side. Hop down on either side. Turn around to face the crane.

Drop off the edge to the roof below. You’ll slide backwards. Grab onto the edge of the roof, pull yourself up and do a backflip. You’ll land just behind some barbediwire. Turn around and run through the tunnel for Secret #1. Kill the Rats and then pick up the Small Medipak and a Rocket. Run back through the tunnel to the barbed-wire

Walk through the barbed-wire and jump up to pull up onto the block. Turn left and jump up onto the ledge in the wall. Walk forwards and climb up the grating to the top. Get off to the right. Turn around to face the crane and take a standing jump to the gray ledge under the crane. Take a standing jump to climb back onto the yellow crane arm. Turn around and line yourself up so you can take a running jump to the ledge on the side of the building.

Turn right. Run to the edge and jump across to the one block ledge slightly higher up. Turn right and jump up the brown wall. Pull up and slide down the other side. Turn right and jump onto the small block in the corner as you did before. Turn right and climb up the wall.
This time instead of jumping across to the crane turn around to the left and jump diagonally across to grab onto the darker colored roof. Shimmy across to the left, pull up and slide down onto the dark ledge.

Turn to the left and hop backwards to land on the grated ledge below. Turn around 180 degrees and run off the edge. Grab onto the edge of the roof as you’re falling and pull up. Before you slide off backflip to the ledge behind you. Turn around and kill the Crow that attacks. Pull the lever which opens a flap on the building on the other side.
Jump up to grab the ceiling and monkey swing across to the zip line. Take the zip line across to the building on the other side and grab onto the edge of the roof as you slide down.

Let go and grab the next lowest ledge. Shimmy across to the right and pull up onto the green flap the you raised up by pulling the lever. Pull up and take out the Mercenary.
Run forwards and head to the left. Turn right and take a running jump across to the tile. The tile just in front is a breakaway tile so don’t stand on it. Take out the two rats on the other side if you can, otherwise run across the breakaway tile and take a running jump to the other side.
Head to the right and follow the corridor around. At the end of the corridor take out another Mercenary and then take the Flue Room Key that he drops. Run back through the corridor and drop down off the edge in the corner to land on the steel ledge below.

Duck down and pick up the Harpoons under the ledge. Crawl back out and jump up to the steel ledge above. Push the button to drop a green flap. Drop back down to the lower steel ledge and then safety drop down to the ground below.
Pick up the Small Medipak under where the breakaway tile fell and the Flares in the corner. Press the button next to the grating, which opens the trapdoor above, and then climb up. Get off to the right. This takes you back to where you killed the two rats.
Go to the corner spot where you dropped down but this time take a step back and take a standing jump to grab the horizontal crevice and shimmy across to the right. Drop down at the other side.
Turn around and jump up through the green trapdoor that you opened and pull up onto the wooden platform where you killed the mercenary. Head back and go into the small tunnel to pull the Switch to open one of the green trapdoors.
Head out the other exit, the one you originally came through and safety drop down to the l-shaped ledge below. A Crow will attack. Turn around to the ledge that you just dropped down from and jump up to grab the edge of it. Shimmy across to the right and pull up to grab the Shotgun Shells.
Hang onto the edge again and continue grappling across to the right. Pull up for another box of Shotgun Shells and Secret #2. Hang off the edge and make your way all the way back to the left. Drop down onto the l-shaped ledge once more.
Run to the left and pull up into the first tunnel. Crawl through and take a right, going uphill slightly as you crawl, until you come out the other side.

Jump diagonally across to the right and push the Button to open up a covering on another button somewhere else. Jump back across and crawl through the tunnel you came from. Drop down onto the l-shaped ledge and hang off the edge on the left (when facing the tunnel). Drop down onto the sloped ledge below to slide and land on a white block.
Walk forwards onto the ground and draw a weapon to take out the Gunman guarding this area. Climb over the white blocks in the far right corner to find some Flares.
Climb over the blocks again and go to the other side with the white blocks that are positioned like steps and pick up the Uzi Clips on the ground to the left.
Climb up the stack of white blocks. At the top turn left and take a standing jump to grab the brown ledge. Climb up the grating on the side of the wall and get off either side at the top. Climb up the next two sets of climbable walls to the very top. Instead of jumping across to the ledge with the walkway take a running jump diagonally down to the roof and ledge with the railing below.

Walk off the sloped roof to the right and pick up the Small Medipak. Jump up to grab onto the crevice and shimmy across to the right.
Pull up at the end, walk ahead to the small roof and run along the ledge to the left. Climb into the tunnel to the right and follow the wooden path along to the end. You’ll see a painter’s scaffold on the left. Leave it for now and jump across the gap straight ahead.
Follow it around to the left and climb up the block at the end. You’ll be attacked by another Crow. Drop down the other side, pick up the Large Medipak and push the Button which will raise the painter’s scaffold.
Return the way you came and take a standing jump back to the black block at the end of the wooden pathway. Turn towards the scaffold and take a standing jump onto it. Take a standing jump across the gap to the door with the Flares on the ground in front of it. Use the Flue Room Key on the lock to the left to open the door. Drop down into the room below.
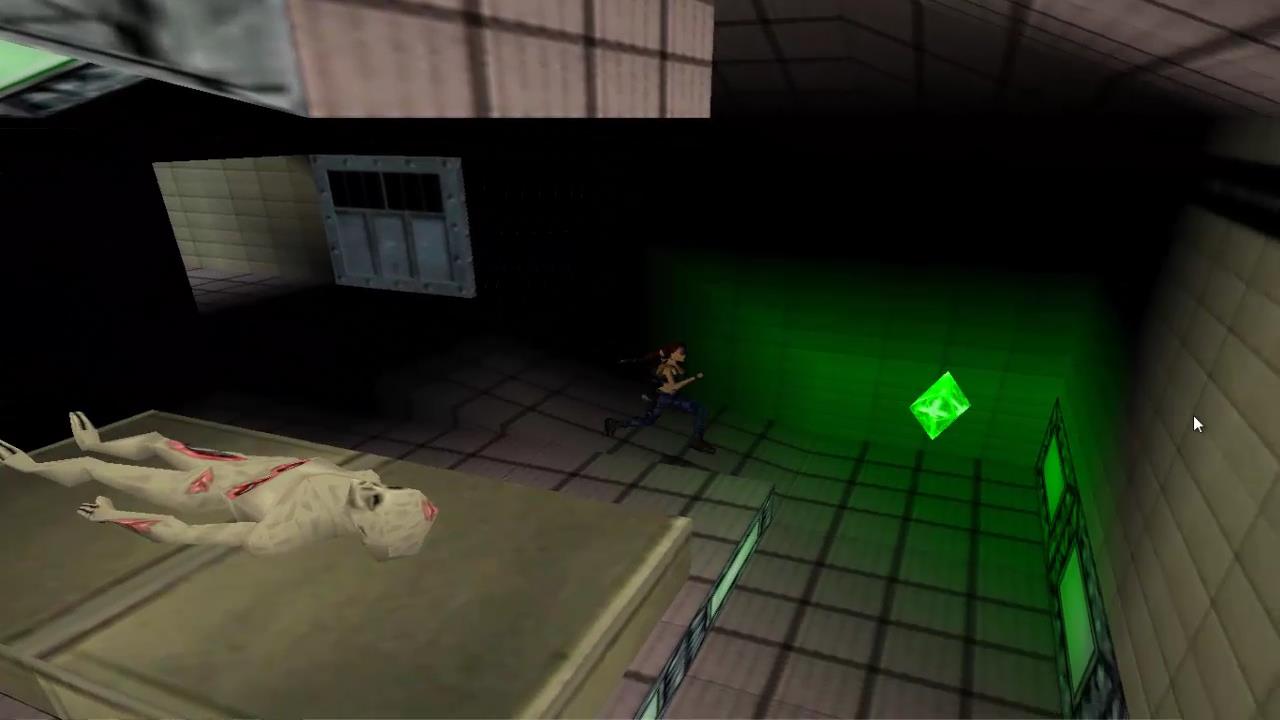
Run forward to the Power-Up Crystal and press the Button on the left which will turn on the flames in this area and turn off a burner somewhere else. Run back the way you came, this time avoiding the flames as you go and climb back up to the exit.
Take a standing jump across to the painter’s scaffold and safety drop off the left side. Jump diagonally across to the black ledge and drop off the right side to another ledge.
Crawl through the tunnel that you’ve been through before and drop down to the l-shaped ledge. Drop off the left side and slide down onto the white blocks. Climb up the stacked white blocks and the three climbable walls to the top as you did before.
Just like last time take a running jump to the lower roof and shimmy across the crevice to the right. Pull up and walk along the ledge to the left. As you pass the tunnel a Gunman will start shooting at you from the other side of the tunnel. Take him out but don’t go through the tunnel. Pull up onto the block on the left and run around to the right.
Jump across the gap, where you turned the burner off, and grab onto a sloped roof with Shotgun Shells. Turn to the right to face the yellow crane and hop backwards.

Grab onto the side of the wall as you slide backwards and drop down for Secret #3 and a Rocket. Climb back up the grating. Jump up to the roof the way you came and then over the burner to the other side. Hop backwards, grabbing onto the edge of the pathway and then drop down to the burner below.
Slide down the walkway with the fencing at the end and take a standing jump across the gap. Press the Action key so you’ll make it inside the corridor without bumping your head.
Slide down the corridor to a Power-Up Crystal and continue around for a Large Medipak. Slide down again, kill the two Rats and drop down into the area below.
Underground Industrial Area
In this room (the Control Room) there are two covered Buttons and a Switch. We’ll get to them later. For now take out the Armed Guard coming down the corridor.
The buttons and switch control the water levels in the 3 tanks. To begin with tank #1 is half full and tank #2 is empty. Tank #3 can only be reached by swimming across tank #2.
Pull the Switch which will fill up both tanks #1 and #2. Head down the corridor, go past the first exit (tank #1) and enter the room with tank #2.

Dive in, grab the Small Medipak and Uzi Clips from the bottom of the tank in the center square and then pull the Underwater Lever that’s mounted on the wall (straight ahead as you dive into the tank) just below the blue lights.
Run back to the Control Room and pull the Switch again to reset the water levels. Go to tank #1, drop into the water and dive through the trapdoor just to the right. Swim along the tunnel, through the spinning fans, and pull up at the other side.
You’ll be attacked by an Armed Guard. Walk forwards and take out the two Rats in a crawlspace to the right. Pick up the Shotgun Shells at the end of the corridor and then make your way through the crawlspace to the other side. Drop down. Turn around and walk forwards. You’ll be given a camera view of an Electric Panel.
The Cleaning Robot
Beware the yellow cleaning robot of doom with electric cables that will kill you if you get too close!

The robot has a set path that it will take unless its path is obstructed for some reason. The robot will always take the path to the left whenever it can. The goal here is to lead the robot towards the Electrical Panel so it will give the panel a shock.
To the left as you enter you’ll see a cage. Wait for the robot to leave the area, climb over the cage and push it out. Jump to the right side and push the cage to the left twice.
Get behind it once more and push it forwards four times. That’s all you need to do. Now the robot will hit the cage and enter the alcove with the Electric Panel. Make sure to pick up the Power-Up Crystal at the end of the room while you’re here and then leave by climbing up the grating all the way to the top. This takes you back to the Control Room.
Underground Industrial Area
The Button just ahead should be uncovered now. Go and push it to fill up tank #3. Pull the Switch once more to fill up tank #2 and take out another Armed Guard in the corridor. Run to tank #2, dive in and pull up at the exit to the left. Follow the passage around to tank #3.
Walk to the landing just before entering the water and turn left. You want to exit out the other side of the tank.

As you pull up you’ll be attacked by an Armed Guard. Run through the door the guard came from and take either the left or right path to a room with a Button. Press the button to uncover the other button in the Control Room. This will also drain all of the water from tank #3.
Go back to the tank #3 and walk up to the left. On the ceiling you’ll notice some grating. Jump up to it and follow the grating over the empty tank to the left. Drop down on the other side and kill the 2 Rats.
Pick up the Small Medipak in a crawlspace to the left and then head towards the Power-Up Crystal. Pick up a Large Medipak around the corner and then drop down into the water below. This is tank #2.
Run back to the Control Room. You’ll face another Armed Guard along the way. Press the second Button in the room (on the wall with the raised floor). This will fill up tank #3 and opens a hatch at the bottom of the tank.
Run back to tank #2, swim across and make your way to tank #3. Dive in and swim through the trapdoor that you just opened. Swim through the tunnel, picking up the Harpoons along the way and pull up into a large Cathedral.
The Cathedral
Dive down to find Shotgun Shells and a Small Medipak in the corners. Pull up in the exit where you see the climbable grating. Us you get out of the water a Mercenary will attack from around the corner to the left. Take the Small Medipak that he drops and grab the Power-Up Crystal in the alcove to the left. Climb up the grating to the top and watch out for the barbed-wire.
Walk out to the left slightly and position yourself in front of the yellow crane.
 Take a standing jump to grab onto the metal ledge. Turn right and take a running jump to grab onto the side of the roof. Pull up and walk through the barbed-wire to the sloped roof on the right. Jump up to the relatively flat roofed-area.
Walk to the left and jump over the steeper roof area to another flatter area higher up. Take one more standing jump to the top of the roof. Slide down the other side.
Walk to the right side. There’s a gap in the barbed-wire at the bottom here. Turn around and climb down backwards. Walk through the barbed-wire to the other side for the Desert Eagle Clips. Walk back to the clear spot and climb onto the roof again. Make your way to the top of the roof and turn right.
Climb up the ledge towards the building at the top. Before going inside run around the ledge to the left and take out a Mercenary. A second Mercenary will attack from inside the building.
Enter the building from the direction of the rooftop and pull out the center movable block twice. Climb onto the movable block, turn to the right and climb up onto the roofed-block. Drop behind the roof-block to the right for a Large Medipak.
Climb back onto the roofed-tile and take a running jump from the edge so that you land over the roofed-block on the other side. This is Secret #4 where you’ll find the Cathedral Key.
Backflip out and exit the building the way you came. Run around the left side as before. Just before the railing take a look over the edge. You’ll see a flat block down below. Hop backwards and climb down the grating. Hop backwards to a slightly lower block, turn right and drop down the hole. Duck down and go into the crawlspace for Secret #5 and a Large Medipak.
Climb back out and then climb up the grating to the top. Turn left and run through the opening in the grating for the level exit.

Next Level: Aldwych Station