Nevada Desert
Nevada Desert
Objectives: Find your way into the High Security Compound.
Secrets: 3
Items: Detonator Switch and Key Card
Through the Canyon
When you move forwards 2 Vultures will attack. Kill them and the Rattlesnake hiding behind the bushes ahead and to the right. Run around to the right side of the clear pool, avoiding the quicksand to the left. Turn right and face off against another Rattlesnake with a Rocket on the ground behind it.
Turn back to face the pool. Run along the edge of it on the right side and enter into the tunnel to the right. Climb the small step to the right at the end and continue through the tunnel until you come to a movable block on the left. Push it in once and pick up the Shotgun Shells that where hiding underneath the block.

Now climb up the block at the end of the tunnel and continue climbing up the steps. You’ll come to two gaps in the path. Take a running jump to leap over the first gap and grab the path on the other side. Pull up and walk to the edge of the second gap. Stand on the left side of the path, turn around and safety drop down to the room below.
This is Secret #1. Kill the 2 Rattlesnakes and grab the Power-Up Crystal, Flares and a Small Medipak. Head into the small room adjoining this one and kill the third Rattlesnake. Walk onto the slightly raised area of the floor in this room and push the movable block forwards once. This takes you back to where you picked up the Shotgun Shells earlier.
Once again climb up the steps to the two gaps. Make a running jump over the first gap as you did before, but this time take a running jump over the second gap as well to land on the path on the other side. Turn right and run out of the canyon to find a black structure poking out of the sand.

The Black Structure
Turn right and run along the edge beside the black structure. A jet will fly by overhead. Turn right and take a running jump to land on the ledge on the other side of the canyon. Follow the ledge and kill the Rattlesnake hiding in the bush.
Take a running jump to the next ledge and jump over to the final ledge. Walk to the end of it and take a standing jump to the sloped block just before the rock.

As you slide backwards grab onto the edge and traverse across to the left. Drop down onto the ledge below. Turn left and run up the ledge. Pick up the Large Medipak around the corner to the right.
To get back up to the black structure return to the part of the ledge facing out across the canyon and take a running jump to grab onto the left side of the large rock that juts out.

Climb up and run along the top of this rock back to the black structure. Watch out for the Rattlesnake along the way. Jump onto the black structure and drop down the hole in the middle to the water below.
Swim through the tunnel and pull up into a little pool when you can. Climb out of the pool on the front left. Run forwards through this cave until you come out to a waterfall.
The Waterfall
When you come to the outcropping overlooking the waterfall and lake turn to the left. Walk to the edge of the ledge and take a running jump to land on the small triangular ledge. Take a standing jump to grab the ledge higher up and then turn left to take a running jump to the lower ledge where you’ll be attacked by a Vulture.

Run to the edge of the ledge, climb up the smaller block and then the larger block. Turn around and take a running jump to grab onto the ledge with the Uzi Clips.
Once you have the clips take a running jump back to grab the block you came from. Don’t pull up. Instead drop down to the smaller block below you. Turn to the left and line up a running jump to land in the small cave on the other side of the canyon. You’ll need to press action while you’re in the air to avoid hitting your head on the roof.

Drop down into the cave for Secret #2 where you’ll find Desert Eagle Clips and MP5 Clips. Climb out of the cave and drop into the water below.
Swim along the bottom of the water to the right and pick up some Uzi Clips and Shotgun Shells along the way. Below the waterfall on the left side you’ll find some Flares and on the right side some more Shotgun Shells.
TNT Cave
If you face the waterfall and back up a little bit you’ll see on the left a red ledge that you can climb up onto. Pull up onto this ledge and then the taller block to the left. Turn to the right so you’re overlooking the pool and take a running jump to the tan block on the other side.
Turn right and take a running jump to another tan block. Drop down to the left and pick up the Shotgun Shells. Take a standing jump back to the ledge you came from and then a running jump back across the pool to grab the ledge. Pull up and make your way up the climbable rock wall.

Get off to the left which is actually the outcropping overlooking the waterfall and pool. Repeat the series of jumps along the canyon cliff face. First to the small triangular ledge, standing jump to the higher ledge, turn left and take a running jump to another ledge then run along the ledge. Climb up the first small block and then the taller block in the corner. Turn left and take a running jump to grab the top of the other side of the cliff near to the cave with the secret.
Pull up, turn left and run along the sloped ledge. Jump across to the other ledge with the bush but be careful of the Rattlesnake hiding behind it.
Walk to just beyond the snake and take a standing jump diagonally to the left. After the jets fly overhead take another standing jump over the sloped block. You’ll need to angle your jump so that you’re facing more to the right. This will allow you to slide backwards to the left when you’re on the other side.

When you slide down grab the edge of the cliff and traverse over to the left until you can pull up where there’s a Power-up Crystal. This is the TNT cave. To the left of the detonator hiding in the corner is a Small Medipak.
To the Waterwheel
Head back out towards the canyon and turn right to face the waterfalls. Take a standing jump to the sloped blocks and grab onto the edge when you slide backwards.

Traverse over to the left and pull up onto the flat block. Turn around and take a standing jump to grab the block in between the two waterfalls. Pull up to slide down the other side of the block and jump across to the tan ledge. Pull up into the alcove and pick up the Small Medipak.
Now you’ll need to make a series of jumps to get up river. Take a running jump to the spot behind the front of the waterfall. Take a standing jump to the next block upstream and a running jump to the block on the bend in the river.

Take one more jump across the river to the ledge and follow it around to the left. Crawl under the rock overhang to the corner where you can stand up. Climb up the wall and get off to the left. This is Secret #3 where you’ll find a Rattlesnake guarding the Uzis (Uzi Clips if you already have them).
Drop back down and crawl out. Head around the rock to the left where there’s another Rattlesnake. Head around the back of the waterwheel to the other side and shoot down the Bad Guy.
On the side where the bad guy came from is a ladder up the side of the waterwheel. Climb it to the top and follow the channel along to the right.

Jump across to the other side of the channel before you reach the end and take out the Rattlesnake hiding just behind a bush. You’ll also be attacked by 2 Vultures here.
Head across the wooden walkway to the other side of the reservoir and kill the Rattlesnake hiding inside a bush. Now you’ll be able to pick up the Grenades without being struck.
Dive into the water on the other side of the orange blocks, just before the waterfall. Stay out of the shallow area or you’ll be swept over the falls. In the deeper section you’ll find a Lever. Pull it to open a gate on the opposite side.

Roll and swim through the open gate to pick up the Desert Eagle Clips.
Swim through the orange pylons and around to the right. Underneath the water you’ll spot a second Lever in the corner behind a dirt block.

This lever will open up a trapdoor between the two slopped yellow footings. Dive down between the yellow footings and pull the Lever just above the tunnel entrance to open a door at the other end of the tunnel. Head up for air if you need to before diving back down.
Dive down and follow the tunnel around to the right. Just before the slope pull the Lever on the right to open a yellow door in the building above you. Swim up the slope and keep heading up until you can take a breath.
Climb out of the water and head down the hall. Pull the Switch at the end to divert the water into the channel towards the waterwheel.
Turn around and slide down the water slide to the right. Swim through the water and pull up at the wooden walkway across the reservoir. On the other side of the walkway you’ll notice that the water has now been drained.
Head down that tunnel and pick up the Small Medipak around the corner to the left. Now take a running jump to grab the ledge on the other side of the gap to find another Small Medipak. Jump back to where you came from.
Walk to the right side of the ledge with the waterfall and drop down to the lower block. Stand on the left side of the block, facing the waterfall and take a running jump into the alcove for a Rocket.

Turn around and take a standing jump onto the block on the side of the river shown below.

From here take a series of jump back down the river to the waterwheel. You’ll notice the waterwheel is turning now because you have redirected the water.
On the other side of the waterwheel you’ll notice some triangular shaped blocks. Behind them is a passage. Follow it into a room with a lift and another Bad Guy. Take him down, pick up the Power-Up Crystal and then grab the Detonator Switch inside the lift.
Return to the TNT Cave
Go back through the passage to the waterwheel and then make the jumps downstream the way you originally came to the waterfalls. When you reach the block on top of the waterfalls set up a jump diagonally to the left to make a running jump to a sloped block.

Turn to face the waterfalls and take a standing jump to grab onto the climbable wall. Climb down until you are about in line with the lower ledge behind you and jump backwards. Walk to the other side of the ledge and turn to the left to see another climbable wall.

Jump diagonally from the ledge onto the wall and climb up back to the TNT Cave. Use the Detonator Switch on the Detonator and then flip out of the way to avoid the rolling boulder.
Follow the wire down into the cavern below. Climb up the red rock on the left side and then jump to grab the ledge to the left.

Turn around and take a running jump to the small triangular ledge. Turn to the left and take a standing jump to the next ledge. Walk to the end of this ledge and climb up the wall into a small gap.
The Compound
Crawl through the gap to a ledge overlooking the compound. Drop down and don’t worry about the guards on the other side of the fence. To the right corner, in between 3 bushes you’ll find some Grenades. Turn around and head for the small hole in the rock.

Climb up and then crawl through the small passage. Head up the slope and turn left. Take a standing jump to grab the block on the other side of the gap. Turn right and climb up the next block. Drop into the water and pull the Lever in the underwater tunnel to the left which opens a door in a water tank.
Take a breath and then dive back down to pull the second Lever on the other side of the central pylon which opens a yellow door outside. Swim out and head back through the tunnel out into the outer area of the compound.
This time enter the large gap in the rock that should be to your left. Slide down and kill the 2 Rattlesnakes that are in your way. Enter the door you opened with one of the underwater levers and pull the Switch to fill up the water tank.
Return to the area outside the compound and once more enter through the small hole in the end rock wall. Crawl through the tunnel and walk up the slope. This time instead of jumping over the gap drop down below.
Crawl through the tunnel and come out in the area with the large water tank. Kill the two Bad Guys milling about down here. Climb up the ladder into the water tank. Dive in and pull up on the exit just to the right of the one you came from. This exit overlooks the compound.

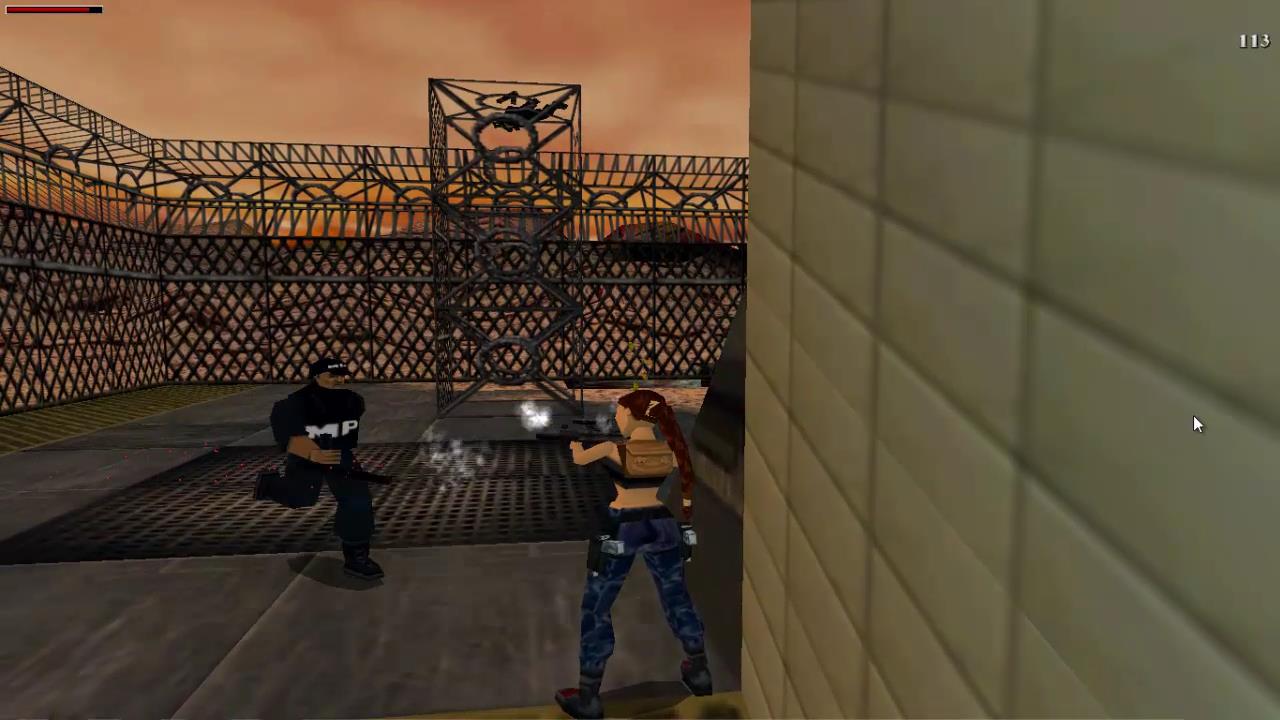
Take a running jump over the compound fence to land on a yellow container. Turn right and head around the corner. Another Bad Guy will attack. There’s another Bad Guy around the other side of the building. Enter this first building, with the pool table, and take down a Bad Guy here so he doesn’t sneak up behind you.
Leave the building and continue around to the left. Enter the warehouse with the Quad Bike to trigger the 2 Bad Guys and then jump backwards so you can shoot them. One of them will drop a Small Medipak.
Hop onto the Quad Bike and drive up the ramp on the side of the building. Go slowly and stop on the flat part of the roof. Get off the bike and pick up the Generator Access Card.
Get back on the Quad Bike and drive back to the pool room. Go to the back room and use the Generator Access Card on the slot next to the cell. The Bad Guy inside immediately attacks so get your Shotgun ready.
Go inside the cell and pull the Switch to turn off the electric fence. Ride up to the Gate, pull the Switch and drive outside.

Drive around to the left and down through the large gap in the rock to the right. The ending of this level is a little bit obscure. To end the level you need to drive up the rock ramp with speed and jump over the electric fence. The rock you can use as a ramp is shown below.

Once you’ve made the jump the level will end.
Next Level: Nevada Compound