Lud’s Gate
Objective: First you must break into the museum and steal the Embalming Fluid. You’ll then get access to the second part of the level where you’ll use a submersible to explore the underwater areas. At the end of the level you’ll reach Sophia Leigh’s office and confront her, paving the way for the boss fight on the next level.
Secrets: 6
Items: Key, Embalming Fluid
You’re now friends with the Damned gang members so don’t shoot them. Follow the gang member to the room with several small pools. For the first secret take the exit on the left. Slide down the ramp to the room below. Pull up into the passageway to the right before the spikes crush you.
Slide down the passageway. There’s a button to the right that opens a trapdoor above but don’t worry about that for now. Walk to the left onto the marble rock. Walk across it to the right and drop onto a block.

Drop backwards and grab onto the edge. Drop and grab the crevice and then drop to the floor. Turn right and walk through the barbed wire to the other end and climb into the crawlway to the left. Drop down into the little room to the left for Secret #1 where you’ll find a Large Medipak and Flares.
Stand on the edge of the block where you picked up the flares and jump to grab the ledge above. Turn right and climb up the brown block. Turn to the right and face diagonally towards another brown block. Take a standing jump to grab onto it and pull up.

Slide down back to the marble rock and go through the entrance to the right back to the small room with the button. Press the Button and climb up the brown block to the right. Pull up and climb up the grated blocks. When Lara’s hands reach the top metal bar do a backflip to the wood blocks behind you for a short detour. Pick up the Large Medipak around the corner and then go back and jump over to grab the grating once more.
Climb up and to the left until Lara is near to the reddish/purple light just above the vent. Her hands should be just at the level of the top of the vent. Hold Action to hang onto the grating while holding the Roll button. Press the Jump button and Lara will do a backflip and spin around in the air. Hold Action to grab onto the grating behind. Climb to the top and briefly let go of Action and press it again to grab onto the top of the ledge. Crawl inside for Secret #2 and a Rocket.
Crawl back out of the small alcove and perform the same backflip-spin to grab onto the original grating. Climb up until Lara’s hands are just below the metal bar and do another backflip. You’ll land in a small alcove with a Power-Up Crystal and Shotgun Shells. Slide down and jump back over to the grating. Climb all the way up to the top right and enter the passageway.
Crawl through the crawlspace and notice the area in the middle where you can stand up. For some Shotgun Shells keep going to the very end and you’ll spot them around the corner to the right. Go back through the crawlspace and stand up at the half-way point. Jump up to grab the ledge and pull up for a Small Medipak. Drop down the other side to enter the museum. A Museum Guard may spot you so have your guns ready.
The Museum
Push the Button to open the door and kill the second Museum Guard. Pull out the carved-grey block and then push it onto the grey tile. This moves a pillar in front of the door in the next room. Leave the room and take the first right into the Egyptian exhibit. Around the back you’ll find a Small Medipak. Climb up the blocks in the center and jump up to the entrance to the small building between the wooden slated blocks.
Enter the room on the left and push the carved-grey block onto the grey tile to move the pillar back to its original position. To get out of this room climb onto the carved-grey block and jump up to the crawlway to the right. Climb through and drop down the other side. Drop down to the block outside the front of this small building and turn diagonally to the left.

Jump up to grab the wooden slats and monkey swing around to the left to pick up a Power-Up Crystal. Drop back down to the ground and climb up the blocks again. This time monkey swing over to the left. Let go and grab onto the ledge to climb through. Pull the Switch to open a door high above in this room.
Go to the left side of the pillar in front of the entrance and jump up. Turn around and jump up to the ledge higher up. Climb into the crawlway to the right and follow the metal ducts around until you can drop back down to the main part of the museum. Run forwards to the room where you first entered the museum and pull the carved-grey block off the grey tile. This will bring the pillar away from the exhibit entrance.
Enter the exhibit once more and climb up the blocks in the center. This time you’ll be able to walk across to the pillar in the center. Walk to the right edge and jump up to grab the ledge and pull up. Jump across to the right and pull the Switch. You may need to use the Action key as you jump to avoid bumping your head. This switch closes the door to the small building allowing you to climb up the side of it.
Jump back across to the ledge and drop down to the blocks below. Go to the wooden slats and climb up to the top. Get off on the left side, turn around and take a running jump over the first gap and run or jump over the second gap.

Head to the left for some Shotgun Shells and Flares. Turn around, jump over the gap and follow the path around to a ramp. Slide down the ramp and take a jump to grab onto the ledge. Pull up, follow the path around to the right, slide down the next ramp. Briefly step onto the breakable tile and quickly jump forwards to grab onto the ledge between the sarcophagi. Pull up and grab the Embalming Fluid that you need to retrieve for Geordie Bob.

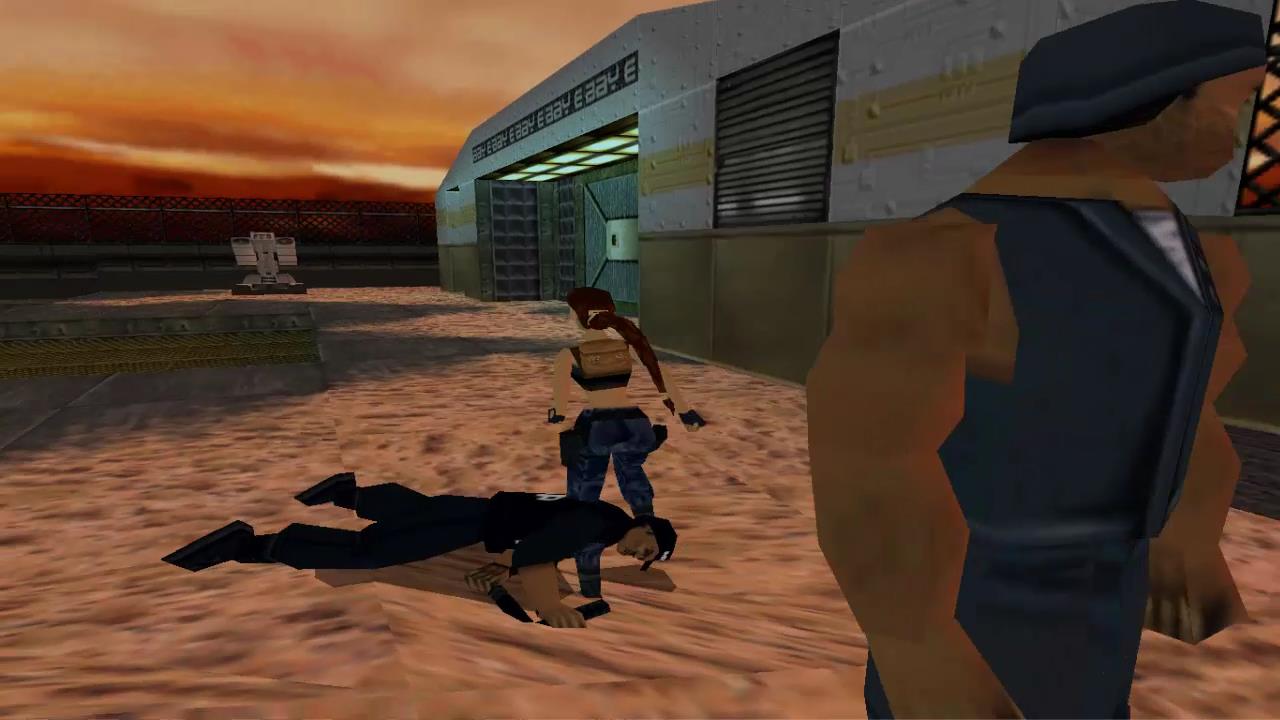
Make your way through the grey crawlway and drop down the other side. Take out the Museum Guard on the left and then crawl through another passageway just ahead on the left. As you come out the other side you’ll be attacked by another Museum Guard.
Push the Button to open the door and pick up a Rocket. Go back into the room and drop down the hole behind the two blocks. Walk carefully to the edge of the landing and jump forwards to grab the grating on the ceiling. Monkey swing across to the other side and grab the Power-Up Crystal. Turn around and take a standing jump onto the head of the sphinx. Turn diagonally to the right and walk to the corner. Position shown below.

Take a standing jump using the Action key to land on a flat block with a Small Medipak. From here take a standing jump to land on the pillar. Turn to the left and take a running jump to grab the side of the sloped block. Pull up and jump across to the walkway. Run all the way to the left for 2 Rockets and a Power-Up Crystal. This is Secret #3.
Run back halfway down the walkway and turn towards the sphinx. Take a standing jump to land on the sloped body of the sphinx and slide down to the ground. Run all the way around to the other side of the sphinx and turn right at the passageway to take out a Museum Guard. At the back of the sphinx room you’ll find some Shotgun Shells.
Head up the stairs to the end and stop just before the last tile. Jump up to grab the ledge above and pull up. Turn around, take a few steps to the right and do a standing jump to grab onto the passageway above. Crawl inside for Secret #4 and a Rocket and Large Medipak.

Drop back down to the floor, jump up to the first ledge and pull out the block with metal coils. Drop down to the side of the ledge and shimmy across to the left so that you can climb up the side of the metal coil block. Climb all the way up the grating and get off to the right.
Walk to the right, turn around and jump up to the passageway above. Run around and drop down twice to a passage with two metal coiled blocks on either side. Push the one under the blue lights and pull out the other one twice. Drop down to grab onto the ledge and shimmy across to the metal coiled block. Climb up and get off to the right as before. Jump up to the higher ledge, run around and drop down twice. This time the path will be clear to head back to the gang member’s hideout.
Drop down into the room with two pools and a gang member will point the way through a passage to the right. Run to the end of the passage and head into a room to the left. Place the Emblming Fluid on the grey-tiled block. A door to the left will open.

Take the exit that just opened and drop down the long shaft to the water below.
Flooded Caverns
Dive down and get on the Underwater Propulsion Vehicle (UPV). The controls are the same as other vehicles. There’s lots of goodies to pick up here but also a Crocodile. If you need a breath get off the UPV and enter the first room on the right where you can pull up to take a breather. In this area you’ll be able to find Harpoons, Uzi Clips a Small Medipak and a Power-Up Crystal. Just explore the rooms one-by-one.
When you’re ready to leave this area get back on the UPV and take it through the tunnel at far left side of the cavern. Climb up onto the ledge and pick up the 2 Sets of Harpoons.
Drop into the water on the other side and follow the tunnel around to the right. In an alcove to the right you’ll notice a Lever. Pull it to open a trapdoor that you just swam under. Turn around and go through the trapdoor.
Pull up onto the brown block and you’ll get a view of the room with the Guard and Frogman. If the guard notices he’ll raise the alarm, which will close a door, preventing you from getting access to secret #5. Push the Button to the right to open a small door in the underwater passage.
Drop back down into the water and swim through the door you just opened in the brick wall. Take the first left and pull up for a breath. The Guard won’t see you here.
Pull up onto the brown platform at the end. Turn around and jump across the water to the other side. Jump over the rocks to the block behind the Frogman.

Pull up just behind the Frogman in the very right corner. Crouch down and turn to the right. You should be able to see the Guard.

At exactly the right moment when the Guard has turned his head away use the Rocket Launcher to kill him in a single shot. He won’t have time to raise the alarm.
Drop off the crates to the right and turn right again to dive into the water. Turn around and follow the path around to Secret #5 with 4 Harpoons, a Large Medipak, a Power-Up Crystal and another UPV. Grab all of the loot and swim out.
Pull up to the side and run towards the crates. On one of the center crates where the Guard was standing you’ll find the Boiler Room Key. Behind the crates near to the white door you’ll find some Harpoons. You can scour the area for a Large Medipak and more Harpoons if you need them.
When you are done dive into the water facing the windows. Shown below.

Head forwards and then around to the right. You’ll need to enter through a small hole for Secret #6. Pick up the Desert Eagle Clips and the Small Medipak. The Lever opens up a trapdoor on the other side of the pool.
Dive into the pool on the left side when facing the Frogman, where you found secret #5. Dive down and swim to the far left where you’ll find a diamond-shaped tunnel. There’s a Diver and a Crocodile halfway through and towards the end of the tunnel. If you dive in, get close enough to get there attention and swim away they may follow you. You can then pull up out of the water and shoot them from dry land.
Once you’ve dealt with the enemies hop onto the SUV and drive it through the diamond-shaped tunnel to a new area.
In this square room there are 4 diamond-shaped tunnels on each side. If you missed the UPV you can find one in the right wall, top left hole. An air pocket is located in the right wall, top left hole. In the lower right hole of the right wall you’ll find a Large Medipak.
If you find it hard to manaeuvre the SUV you can leave it behind as you enter the tunnels. First head into the hole on the bottom left of the wall you came from. Get off your SUV and swim around to the right to pull an Underwater Level. This opens a door in the yellow tunnel.
Take a breath and swim through the yellow tunnel (top right hole in the wall you with the entrance). Follow the tunnel around to the left and then swim down and go through the door you just opened. Grab the Small Medipak and pull the second Underwater Lever to open a door in the red tunnel.
Once more go back and grab a breath. Swim into the red tunnel (top right hole on side directly opposite from the air pocket). Follow the tunnel and go through the door you just opened. Grab the Power-Up Crystal and pull the third Underwater Lever to open a trapdoor in the blue tunnel. As you do this 2 Divers will enter the area so head quickly back to the air pocket and then deal with them.
Make sure you have the UPV with you and drive into the blue tunnel (just to the right of the air pocket as you’re coming out, or far wall top right from the entrance). Follow the tunnel around to the right and go through the trapdoor that you just opened. Take the SUV up the shaft to the top and grab a breath. This is the boiler room. Pull up onto the block where you can see the burners.

First you’ll have to turn off the flames so dive into the water, pick up the Harpoons on the far side and pull the Underwater Lever on the wall just below the ledge. Climb out onto the ledge and up the metal block to the right.
Take a standing jump to the first platform and a running jump to the second. Turn left and jump up to grab the Large Medipak and Uzi Clips. Slide back down to the platform and take one last running jump to the last platform.
Continue forwards through the grey passage and follow it around. Make your way past the pistons, timing your run so as to not get squashed. Climb up the brick wall at the end and walk down the path towards the waterfall. Turn right and jump forwards to grab onto the grating on the roof. Monkey swing across to the right and drop down at the entrance to another tunnel. Hop backwards. Turn around and grab the Flares and Desert Eagle Clips.
Jump back up to the ledge and once again jump up to grab the grating on the roof. Monkey swing to the center of the waterfall where you’ll notice a tunnel behind it. Drop down and grab onto the edge of the tunnel. Crawl inside and drop down the other side. Use the Boiler Room Key on the lock to open the door next to you and grab the Power-Up Crystal and push a Button here to open a door in the purple tunnel.
Climb back out and take the SUV down the shaft and go to the room with the diamond-shaped holes. The air pocket will no longer be here so proceed straight forwards to the purple tunnel (top left hole above the entrance).
Pull up on the side opposite the swinging metal beams for a Large Medipak. Swim across to the other side and carefully make your way across the platforms to the exit on the other side. You can make it across by using standing jumps and grabbing onto the next platform. Lastly jump into the passageway.
There’s a Guard around the corner but you don’t want to go that far. Instead pull up into a passageway just to the left. Climb up the blocks and follow the path along until you come to a gap. Take a running jump to grab onto a small hole. Let go and grab the lower edge. Crawl inside and follow it along to another gap.
Take another running jump to grab onto the edge of the tunnel and crawl inside. Follow it along until you come to the office of Sophia Leigh.
Next Level: City (Boss Fight)
Back: Tomb Raider 3 Walkthrough