Crash Site
Back to the Tomb Raider 3 Walkthrough
Objectives: Use the map you received in the last level to make it across the swamp. Find a way to activate the planes weaponry and then make your escape.
Secrets: 3
Items: 2 Keys
Drop down from the hut and take a look at the Map in your inventory. This will roughly show you which blocks are safe to stand on. All the rest are quicksand. You’ll only be jumping to the grass blocks although not all grass blocks are safe.

Make your way across the swamp and jump to the green block in the far corner. Pull up into the small cave for Secret #1 and 2 MP5 Clips.
Drop back down to the green block in the corner and take a jump to complete your journey across the swamp. Run between the large trees and before you get to the slide turn diagonally left to spot a grenade on a flat block. Take a running jump over to it and pick up the Grenade. Now you can drop back slide down to the bottom.
Pull out a decent weapon and follow the valley around to the left. A Raptor will run towards you but you have plenty of time to kill it before it gets close. Run forwards, through the small pool and climb up the blocks on the other side.
Climb up the small rock block in the right corner. Take a standing jump to grab the higher block on the left. Turn right and climb up the last block into the short passage.

Drop down at the end of the passage and you’ll spot the crashed craft. Take note of the triangular green block just ahead and to the right in the corner. You can run back here when the Raptor attacks.
As you enter run around to the left and a Raptor will run out from behind the first tree. Run back to the triangular green block where it’s safe to stand and shoot it.
There’s nothing to explore down the left side of the plane so run around the right side. There are 2 tunnels that you want to explore before you get to the end of the plane. Run along the side of the rock wall until you get to the first tunnel, entrance shown below.

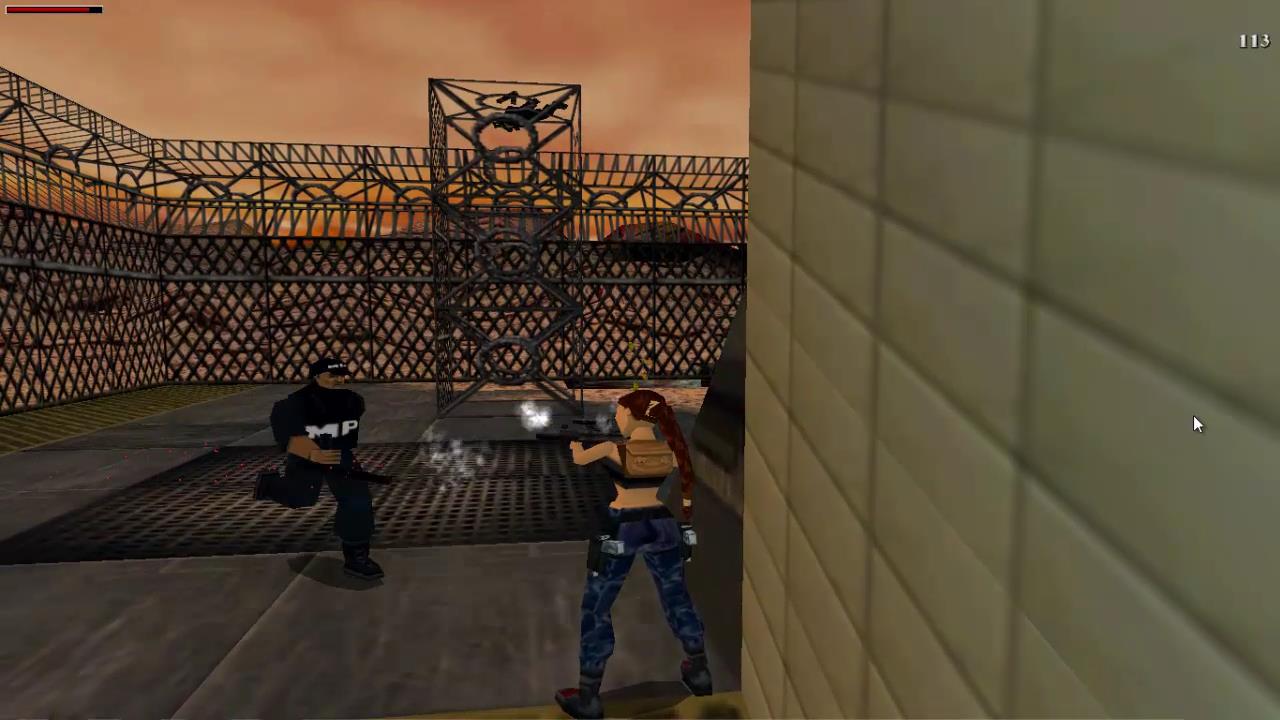
Drop down and climb up the block on the other side. You’ll come to an enclosed area with grass, trees and a friendly soldier in the middle. First pick up the MP5 Clip as you enter. As you drop down to the lower area 2 Raptors will attack. Sprint for the other side of the clearing and climb up onto the ledge or turn around and jump back to where you came from. You can now shoot the Raptors in peace. Make sure you don’t hit the Soldier or he will fire back. If you do happen to kill the soldier he’ll drop an MP5 Clip.
Run around to the other side of the tree and look across the clearing. You should be able to see a branch in front of you. Take a standing jump to land on top of the branch and pick up the Large Medipak. Turn right, jump across to the other branch and pick up the Flares for Secret #2.
Drop down and slide down the mud to a lower area. You’ll spot 4 little dinosaurs called Compsognathus. Don’t be fooled by their cuteness. After eating the Raptor carcass they’ll come for Lara so kill them all.
Just ahead you’ll spot the first gate with Flares in front of it. Run to the other end of the cave and in the far right corner you’ll spot gate number 2 with more Flares in front of it. If you look to the right you’ll see a mound. Climb up the mound and grab the Commander Bishop’s Key from the center. When you grab it a T.Rex will be released!
Run into the water about waist deep. The T.Rex will find it difficult to get to you. Keep wading to the other side of the water from the T.Rex and keep shooting until she finally goes down.
Run back to the first gate, which is now open, and pull the Lever which opens the second gate. Run back to the second gate and pull the Lever which releases a Raptor and opens up the third gate, just beyond the first gate.
Turn around, take out the Raptor and run through the first and third gates. Pick up the Flares and Small Medipak on the stairs and run up them to the upper area. Run back to the corner and drop down into the tunnel the way you came. Climb back out the other end to the crash site. Keep running around to the right and go into the second tunnel, just to the right of the last tree.

Use a Flare if you need to and drop down into the brick passage. Pick up the MP5 Clip and head out the other end of the passage. The gate will open and then close behind you. Inside this small room is a dead soldier and when you approach 5 Compsognathus will emerge. Kill them all and then pick up the MP5 Clip and Large Medipak. Pull the 2 Levers in two of the alcoves to open the exit gate. Head back out the tunnel and return to the crash site.
Look out over the ridge to the right to see 2 soldiers fighting with a Raptor. Help them out if you want and then go through the tunnel on the right just next to the waterfall. At the end of the tunnel turn right and go through the dark passage. You’ll emerge into another area with a soldier fighting a Raptor. Jump onto the square flat block on the right to stay safe. The soldier will drop MP5 Clips if he gets killed.
Climb onto the small rock block and then up the block behind it. Turn left and climb up the vines. Before you get to the top flip backwards to land on a slanted block. Jump forwards before you slide off the edge to land on a branch. Unfortunately a Raptor shares the same branch with you! Stay in the center and use a powerful gun to kill it quickly.
Turn around and take a running jump to the stone block in the corner (the area that’s glowing blue). Take a standing jump up to the triangular rock block and then jump up to grab the branch on the right. You should be able to shoot a Raptor in the distance ahead and to the right. Jump across to pick up the Power-Up Crystal.
Turn right and jump onto the branch. Shoot the rope that the Raptor is dangling from and it will drop into the water below. The Piranhas in the water will feed off of the Raptor instead of you when you go swimming next time. Turn to the left and jump diagonally up to the left to grab onto the branch.

Be careful when you pull up or you may drop over the other side and fall into the water. This is Secret #3. Grab the MP5 Clips and then drop into the water below.
Swim under the bridge and pull the Underwater Lever to open a gate. Swim back under the bridge and climb up on the right side onto the block that’s slightly lower than the rest. Kill the Raptor that emerges from the passage to the right. Drop back into the water if you need to.
Run into the dark room that the Raptor came from and jump onto the low block. Take out another Raptor and then pull the first Switch on the wall on the left. Another Raptor emerges so jump back onto the same low block as before and take it out. Throw a flare into the dark corner and pull the second Switch. Run back and take out the Raptor as before. Pull the third Switch on the right. Hop backwards and then backflip to land back on the low block. Take out the final Raptor and then jump up to climb up through the trapdoor.
You may want to leave the Power-Up Crystal until you’ve killed the Raptor. Grab the Lt. Tuckerman’s Key from the body in the corner and spin around to take out the Raptor.
Drop down into the dark room and run out the passage. Swim to the other side of the stream and pull up on the low block on the other side. Run behind the tree on the right and go through the tunnel back to the crash site. Jump up to a flat spot be the side of the plane and then climb on top of it.
 Drop down the hatch in the middle of the plane, take out the Raptor and pick up the MP5 Clip. Walk up the ramp into the cockpit and use the 2 Keys on the panel on the left and right side. Run to the other side of the plane and drop down another hatch to the lower level. Run to the other end of the passage and pull the Switch to extend the mounted gun.
Run out to the mounted gun and press the Action key to hop onto the platform. You’ll be attacked by 30 Raptors. Yes 30! But they’ll come out of the caverns 3 at a time. Blow them up before they get close. Once all 30 have been killed shoot at the walls in the corner to clear a path to the exit.

Climb up to grab the Power-Up Crystal and Large MediPak. Then jump across to the other side for the level exit.
Next Level: Madubu Gorge
Back: Tomb Raider 3 Walkthrough