Coastal Village
Back to the Tomb Raider 3 Walkthrough
Objectives: Follow one of the routes into the village and then make your way to the captured soldier who will give you a map with the way to cross the swamp.
Secrets: 4
Items: Smuggler’s Key and 3 Serpent Stones
Swim to the right, between a rock and the cliff and pick up the Smuggler’s Key from the bottom of the lagoon.

Now pull up and continue around to the right, towards the waterfall. Swim between the cliff face on the left and a sand bar on the right towards a rock outcropping. Stand on the rock ledge and pull up onto the sloped block with a Small Medipak on top. Turn towards the cliff face. You’ll notice some low-lying blocks that you can jump across.

Take a running jump to grab onto the sloped block and shimmy across to the right. Pull up onto the flat block and turn to the right. Take a standing jump from the corner to the next flat block. You’ll get the notification for Secret #1 here but the goodies are on the next block. Take a running jump to grab onto the last block and pull up for MP5 Clips.
Hop into the water and make your way to the beach. Climb up to the Hut and use the Smuggler’s Key on the lock on the far wall. Safety drop down the trapdoor that it opens and pick up the Power-Up Crystal.
Drop down to the passage and crawl forwards to avoid the spike trap. Once your past the trap your free to stand up and run around the corner to a water-filled cavern.
Kill the 2 Crocodiles in the water before continuing. If you can’t reach you can jump over to the block in front of you. Watch out for the Warrior with Blowgun on the ledges up above. You should be able to get a bead on him and take him down from the cavern entrance.
When the Crocodiles are dead dive into the water and search the bottom for 3 sets of Harpoons and a Harpoon Gun if you haven’t found one already. When you are done climb back up onto the ledge at the entrance.
Take a running jump to the first ledge and another running jump to the second. Climb up the block, turn right and jump up to monkey swing across the vine-covered rock to the other side. Drop down, turn right and take a standing jump across to the next block. Run up the vine-covered ledge, turn around at the end and climb up the two blocks.
Walk across the uneven ledge and take a standing jump to grab the edge of the Crawlspace. Pull up and you’ll find some MP5 Clips inside.

Climb out, and climb down one step before backflipping onto the ledge behind you. Walk back to the edge you came from and take a standing jump over to the grab onto the green ledge. Walk forwards, turn right and jump up to monkey swing across to the bridge.
Drop down onto the bridge and walk across to the other side. Turn left and take a standing jump to land on the ramp. Before you fall into the water jump forwards to land on the rock ledge just above the water.
Run to the end of the rock ledge and take a running jump over the spikes to grab onto the ladder. Climb up to the top, turn around and shoot the Warrior with Blowgun. Don’t worry if he poisons you as you’ll find a Power-Up Crystal in a few seconds.
Grab the Large Medipak, drop backwards to grab the edge of the ledge and shimmy across to the left. Pull up on the other side of the rock, grab the Power-Up Crystal and pick up the Small Medipak that the Warrior dropped.
It’s not immediately obvious that you can take a jump from here but at the end of this ledge take a standing jump forwards and press the Action key to avoid hitting your head. Lara will land on a ledge below. Hop backwards to grab onto the side of the ledge and grapple across to the left. Pull up on the other side, take a standing jump to land on the ledge to the left and run around the passage to the bridge.
We’ll take two brief detours here to pick up Secret #2 and to explore the Temple. If you don’t mind skipping these then you can go straight to the ‘Serpent Stone Gates’ below.
Step out onto the bridge and turn right. Take a running jump to grab onto the block and pull up. Turn diagonally to the left and take a standing jump around the corner to the next block. Once again the chime will sound for Secret #2 but the loot is on the next block. Jump across to the next block diagonally to the right and grab the Grenades. Take a standing jump back across the blocks and a standing jump back to the bridge.
Walk across the bridge and into the temple. Equip a gun and turn right. Hop backwards and shoot the Warrior as he runs around the corner. Turn around, crouch and crawl under the blade into the temple room with the skylights.
Don’t walk under the light. Instead run around to the right and press the Button to shut the skylight and disable the spiked trap. Take a running jump across to the Power-Up Crystal but duck down as you approach it as poison darts will be activated once you get close. Take a running jump back across the water and leave the temple the way you entered.
Serpent Stone Gates
To get down to the valley below stand at the beginning of the bridge where you first entered and take a running jump across to the block that led to Secret #2. This time drop down and hop backwards from the block you land on to slide down to the swamp below.
Climb up out of the swamp on the near side and take a running jump to the central block. A poison dart will whizz by near the center of the block so stick to the edge. Take a running jump to the sloped block on the left for the Small Medipak.

Jump back to the central block and then take a running jump across to the other side. Run along the forest path until a Warrior runs out from behind a tree. If you continue straight forwards you’ll come to a cliff face with the Serpent Temple to your right. Before going to the temple we’ll take a small detour to find Secret #3.
Turn around to face the way you came and run through the forest. Take a running jump to land on the low block just ahead.

Walk forwards and climb up the tree trunk on the left. Turn right and climb up the rock. Turn around and jump diagonally to the left towards the tree branch and triangular section of grass. Take a standing jump to the next triangular section and then look to the left. You’ll notice some Shotgun Shells on a rock block around the corner. Take a standing jump to grab onto the edge of the rock and then pull up for the shells.
Turn around, jump back the way you came all the way to the grass ledge. When you reach the ledge you should see the bridge in front of you. Turn left and take a standing jump onto the branch on the right side of the large tree. Run forwards until you spot a large tree branch with the temple behind it.

Take a running jump to grab onto the branch. Pull up and turn left. Climb into the small alcove in the rock for Secret #3 and some Desert Eagle Clips. Drop back down and pick up the First Serpent Stone. Turn to the right to look out over the temple.
Take a standing jump onto the flat block next to the torch. Hop backwards and slide down the mud to the grass. If you look over the edge to the left you’ll see a Power-Up Crystal. Climb or jump down to it.
Climb back up to the ledge above and run along the side of the cliff until you come to a waterfall. Take a standing jump from the corner of the block into the waterfall. Pick up the Second Serpent Stone and stand at the other exit. Take a jump diagonally to the left to land on the block in the middle of the waterfall. Turn around and take a running jump to grab onto the ladder.

Climb up and get off into the rock tunnel to the right. Follow the tunnel around to another ladder and climb up to the front of the temple. Climb the block to your right for a Small Medipak. Turn around and look at the temple. From here you should be able to see the third serpent stone.
Climb up the blocks on the left. When you stand on the first stone block a Warrior will attack from inside the passage. Kill him and continue jumping from block to block towards the Third Serpent Stone.

Slide back down to the ground and jump up to the passage where the Warrior appeared. Use the 3 Serpent Stones on the 3 snake-head receptacles to open the gates and slide down to the next area.
Coastal Village
As you emerge from the ramp you’ll see a couple of huts in front of you. Turn to the left and run by the trees. A Warrior will jump out from behind a tree and attack. In the far left corner you’ll find a Small Medipak.
Head towards the huts and drop down the slope. Another Warrior will attack from the hut on the left. Turn around and enter the hut behind you for a Rocket.
Run around to the front of the large hut in the center and take out another Warrior. Inside the large hut behind the fire is a Small Medipak. Leave the hut and pick up the Power-Up Crystal in the corner by the hut ahead of you.
Head back out and run towards the waterfall. Follow the side of the cliff to the left and go through the passage between the cliff wall and one of the huts. Run around the large tree to the left and take out a Warrior by the brick wall. Climb over the small rock block next to the swamp and take out the Warrior guarding the wheel.

Turn the Wheel to close a trapdoor over some spikes elsewhere in the village. Return to the village the way you came. You’ll be attacked by 2 Warriors along the way.
Run to the opposite corner of the village, behind the large hut in the corner, to find another passage to another part of the village. Here you’ll find the trapdoor that you just closed. Before going over it jump up to grab the Shotgun Shells on the ledge above the pit. Drop back down and go forwards towards the new area.
Turn to the right and follow the outskirts of the village around to the left. There’s a small cave in the corner. Enter it and roll to face the way you came to take out another Warrior who attacks from behind. This is Secret #4 with Shotgun Shells and an MP5 Clip.
In a hut just to the right of the cave you’ll find some Flares. Exit the hut and climb up to the huts on the raised area of the village. Go between the huts and enter the one on the left. Turn the Wheel to open a trapdoor above the ladder leading into a treehouse. As you turn around a Warrior will attack.
Drop back down to the lower area and climb up the ladder into the treehouse. Backflip to get off the ladder and go through the window on the right which will open as you approach it. Take a standing jump diagonally to the left to the ledge with the wall with skulls carved in it.
Enter the tunnel and follow it around to the right, killing a Warrior along the way. Turn right to the other exit and take a running jump onto the roof of one of the huts. Jump across to the next hut and pick up the Harpoons in a dark corner to the left.
Take a running jump onto the flat area of the nearby hut and jump up to grab the railing on a branch. Monkey swing forwards, right and then left.

Drop down at the end, jump across to the next hut and take a running jump to the small hut in the corner with the fencing. Push the Button in the corner to raise a platform over the burners. Turn around and take out the Warrior who spawns behind you.
Drop down to the lower area of the village and climb up the ladder once more. Go out the windowsill to the right and jump across to the ledge. This time enter the passage and turn to the left. Take two hops backwards and then a running jump to land on top of the platform that you just raised.
Jump across to the other side and push the Button at the end of the passage. This opens the gates either side of you and also releases another Warrior so turn around and take him down quickly. The Button in the alcove to the right is a trap. Instead follow the path to the left and sprint just as the blades pass in front of you to make it down the passage safely.
Turn the Wheel at the end of the passage which opens the gate to your left and also opens a trapdoor in the pool at the bottom of the waterfall. Hop backwards down the ramp. Grab onto the edge and drop down to the ground below.
Head towards the waterfall and dive down through the trapdoor. A Crocodile will attack as you swim through the passage but it’s best to just ignore it. Pull up at the other end of the underwater passage and climb up the ladder.
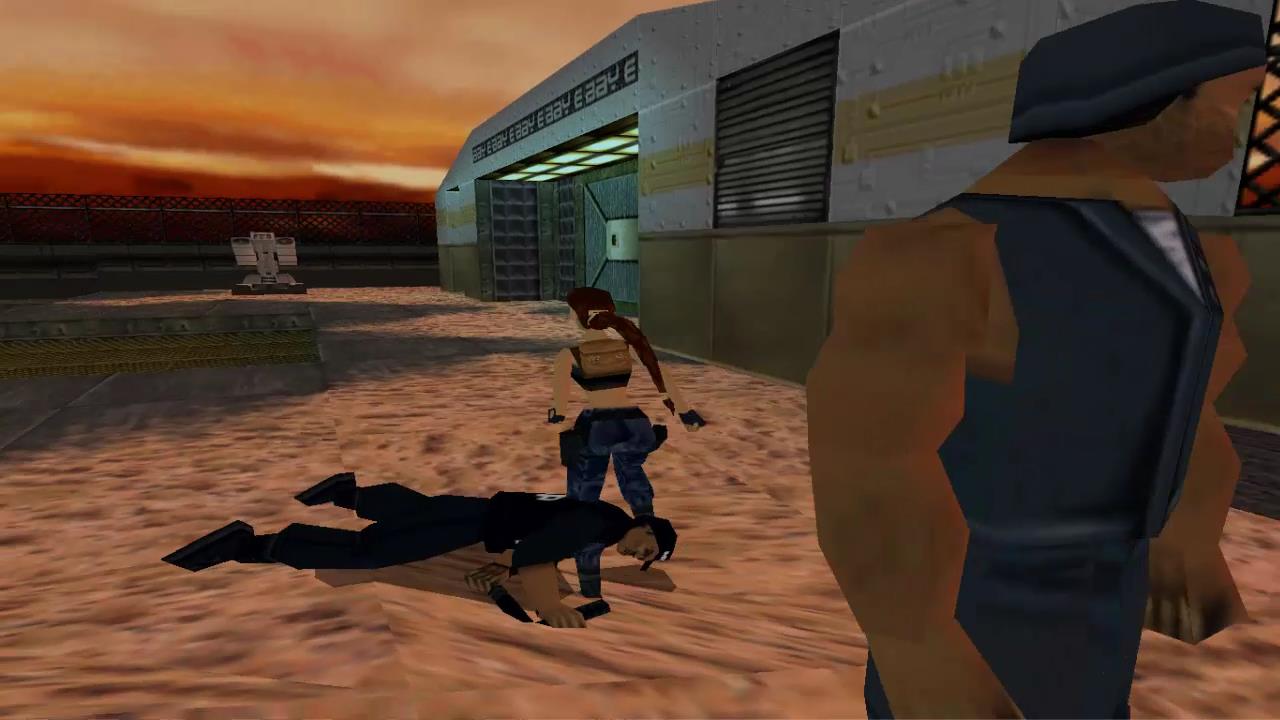
Follow the passage over a bridge and around to the right. Take a standing jump to grab onto the balcony of a little hut. Pull up to find one of the captured men and end the mission.
Next: Crash Site
Back: Tomb Raider 3 Walkthrough