Nevada Compound
Objective: Lara was captured after escaping the compound in the last level. You have lost all of your weapons. You must escape your cell and find the 7 Keycards.
Secrets: 2
Items: 7 Keycards
Bay C – Cell Block
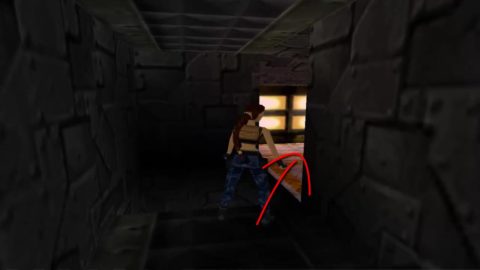
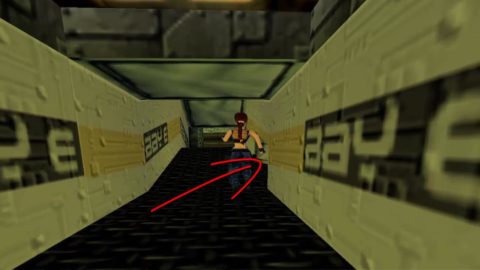
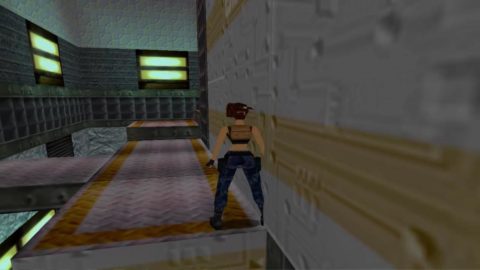
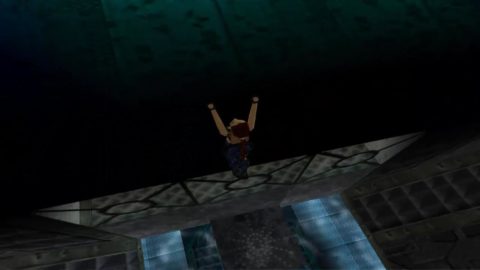
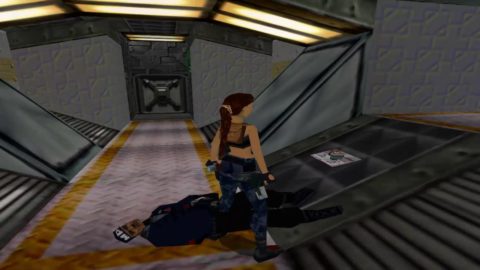
Backflip onto the windowsill behind you to sound the alarm. When the guard is close enough do a standing jump over him and run out of the cell. When you are near the edge of the walkway do a roll and grab the platform to hang down from it. The Guard will think you’ve dropped down and run to the lower floor.
Once the guard has starting to walk downstairs pull up and push the button on the cell next to yours to release a prisoner. The prisoner will fight with the guard. The next button along, on the same side as the cell block between the door doors will set free another prisoner. The two of them will make short work of the guard and will be available to help you all throughout this level.
Head across the walkway and press the buttons to open the other cells, releasing two more prisoners.
Enter the cell in the far left corner, diagonally opposite your cell, and jump into the tunnel above the basin. Push the first movable block once and then crawl through the passage to the left. You’ll come to the second movable block.
Push this one forwards once to reveal the third movable block to the right. Push the third movable block on the right forwards twice. Go back to the second movable block and pull it backwards twice.
Moving these blocks in this way is necessary to uncover the first secret. Go back through the crawl-way and crawl to the left. Stand up, run around the corner to the right and pick up the Small Medipak for Secret #1. Climb up through the hole in the roof to the area above.
Bay D – Lavatory & Kitchen
Run forwards and take a running jump over the first pit with barbed wire. Walk through the barbed wire at the end of the corridor and pull the Switch to open the trapdoor behind you.
To get down the pit turn left and climb up onto the ledge. Walk to the left and then climb down the ladder. Get off at the first passage on the left. Take a standing jump over the trapdoor in the floor which will open as you jump over it.
Continue through the passage and stand on the trapdoor in the far corner. It will open, dropping you down to the corridor below. There is a Guard here but unfortunately you still have no weapons to fight him. Instead run to the Switch in the office with the glass walls to open up access to Bay C. The four prisoners you released earlier will run out and take down the guard.
Once the guard’s been killed he’ll drop a Keycard Type A, a Small Medipak and Shotgun Shells. Turn right down the corridor and use the keycard on the card reader to open the barred doors to Bay D.
Head through the barred doors and take a left at the end. Push the Button to open the door to the lavatory. Push the Button on the opposite corner of the lavatory to open the door to the storage room.
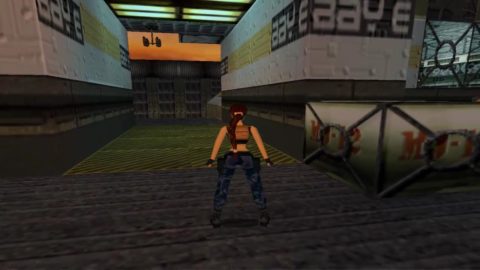
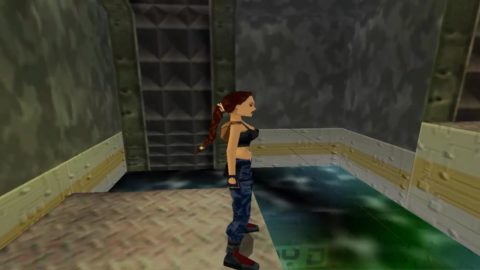
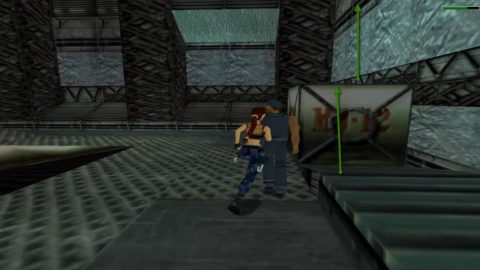
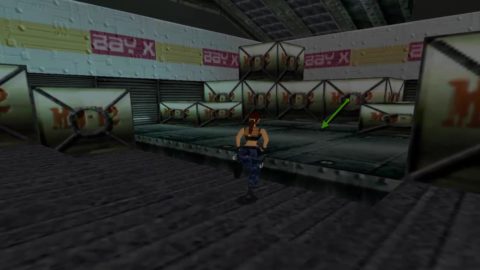
In this room you’ll need to move the movable MJ-12 Box on the right from the lowered area all the way to the left under the hole in the roof. This will involve a little bit of running back and forth but the final position is shown below.
Climb onto the MJ-12 Box and up into the room above. Jump over the pink pipe and pull the Switch in the corner. This floods the lavatory and storage room.
Drop back through the hole into the storage room which is now filled with water. Pull up through a hole in the opposite corner of the storage room. Pull up and walk down the corridor. Take a standing jump over the gap in the corner.
Follow the corridor around and drop down to the compound roof. Run forwards, jumping over the two pits with barbed wire and at the end drop down to the right.
There’s a button here that open a door to another area but it’s not necessary to press it. Instead run down the short ramp and pull the Switch to the right which to turn off the stove tops in the kitchen.
Run back up the ramp and climb back up to the rooftop. Head back the way you came, jumping over the two pits along the way. Follow the path back and this time drop through the hole in the corner of the corridor which takes you down to the kitchen.
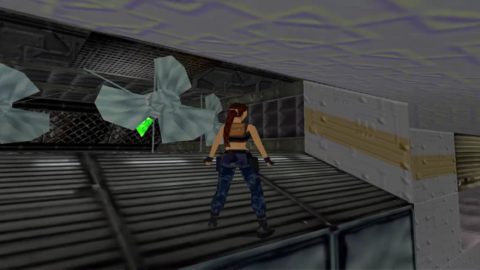
First climb or jump onto the counter for a Small Medipak. You’ll notice a Power-Up Crystal behind a spinning fan but you can’t reach it just yet. Instead push the Button on the other side of the kitchen to open the door.
There are another two doors and two buttons here. Push the Button opening the door around the corner to the right first. This leads to the mess mall. When you open the other door a Guard will chase you. To escape you’ll need to run to the opposite corner of the mess hall, take a right and a left to lead the guard back to Bay C where you’re prisoner friends will deal with him. You may want to test the route first before opening the door to the room with the guard in it.
When the guards been killed he’ll drop a Small Medipak. Now head back through the mess hall to the room the guard came from. Press the Button straight ahead to open the grates near to the fans in the kitchen. The other button near the door just opens and closes the door.
Go back to the kitchen and climb up to the fans. Carefully make your way behind the first one to grab the Power-Up Crystal.
Behind the fans you’ll notice a ramp. With your back to the ramp hop backwards and slide down. Grab onto the edge to avoid falling on the barbed wire and traverse across to the left. Drop down and crawl through the passage to the left.
At the end of the crawlspace climb up the ladder and get off to the left. Walk into the passage until you’re shown a shot of a prisoner walking in the room above. He will open the trapdoor for you. Turn around and take a standing jump to grab the floor above.
Continue forwards through the passage and climb up the steps to the right. On the left you’ll notice a grating. You can climb it like a ladder to the top. Pick up the Small Medipak in the corner and then wait at the base of the ramp for the Guard to walk past heading to the left. As soon as he does run up the ramp and at the top turn to the right into an outdoor area.
Bay E – Hangar
Keep running forwards past the MJ-12 Box and turn left. Drop down the steps to the right into a passage where you’ll find two doors and a button. Press the Button to open the door next to it and release a prisoner.
Follow the prisoner up the steps as he makes his way back to the outdoor area. Head past the MJ-12 Box and by the time you arrive back at the ramp the prisoner should have already made short work of the Guard. Pick up the Keycard Type B that he dropped.
Go back to the outdoor area and use the Keycard Type B on the card slot next to the door on the right. Run up the steps into another room and press the Button to deactivate the motion sensors and Gun Turret. Pick up the Large Medipak and Uzi Clips before heading back down the steps.
Go past the MJ-12 Box again and then turn right to face the Gun Turret. You can now pass through without being shot.
Head around to the left and climb down the ladder in the hole in the corner. This leads to another outdoor area.
Take an immediate left outside the room with the ladder to drop down into a white passage marked with Bay E on the walls. At the end of the passage you’ll come to 2 doors. Press the first Button on the left to release 2 prisoners. They’ll run out and deal with the Guards in the sandy open area. Follow the prisoners and pick up the Yellow Security Pass and Flares from the guard.
On the other side of the yard is a SAM site. To the right of it is a security door. Use the Yellow Security Pass on the lock to open the door and go inside the hangar.
Follow the passage and take a left. Climb up the step and then start walking down the ramp until you’re shown a picture of the Guard down below. Instead of continuing down the ramp crawl through the passage to the right.
Stand up when you can, continue forwards and drop down to the area below where the guard is walking around. Crouch down and crawl forwards towards the Switch on the center pylon.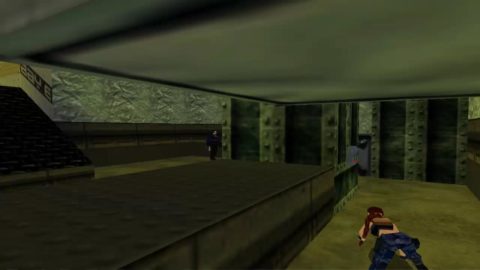
Pulling the switch to open the door and turn on a laser beam. If you time pulling the switch when the guard is in the corner he’ll get stuck there and won’t be able to shoot at you. Take a standing jump over the laser and go through the door. Run down the ramp which leads back to Bay C.
Bay C – Satellite Dish Tower
Run down the passage, up the ramp and follow the passage around to the right. Drop down to the walkway below. Stand at the far right corner of the walkway with your back facing the edge. This is a shortcut down to the floor below. You’ll lose about half your half but will save you a lot of hassle trying to get down.
Hop back and press action to grab the edge but just before you actually grab onto the edge release the action button. Lara will drop and move forwards slightly to land on the sloped block below. If you miss the sloped block you will still survive but lose about 2/3 of your health.
Run around to the other side of the central pylon and climb up the ladder into a passageway. Continue forwards up the ramp and just before you enter the the T-Junction start walking as you don’t want the Guard to the right to hear you.
Walk slowly to the left and climb into the green passage just before the closed door. Inside this little crawlspace you’ll find the second Yellow Security Pass. Walk slowly back towards the guard and crawl into the passage with the ramp or the guard will hear you.
Climb down the ladder at the end of the passage and head through the passage on the other side of this room. Continue to the end and climb down a second ladder. The little alcove to the left, when facing the ladder, has a Button. Press it to open the door to Bay D which you will need to open now so you can go through it later.
Head around to the other side of the ladder into a room with glass panels overlooking a pool. Use the second Yellow Security Pass to close a door in front of a fan in the pool, stopping the current from pulling you in.
Climb up the ladder in this room to a blue glowing room above. Go to the edge and hop backwards in the center, grabbing onto the edge so you don’t fall down.
Drop onto the unlit fire block and then into the pool. Swim through the central passage in the ground, picking up a Power-Up Crystal as you go. Follow the passage all the way around to a closed door. Pull the Lever to open the door and continue through to pull up into Bay D.
Bay D – Conveyor Belt
Once you’ve taken a breath you can swim back down to pick up the Small Medipak and Flares that you missed along the way.
Go back to the pool and pull up onto the low block. Beware the three laser beams crossing the room just above the water.
Take a standing jump over the beams to the block on the other side of the pool and drop into the water beyond. Swim through the tunnel and pull up into a passage with green circuit board walls.
Crawl through into the large room beyond and run towards the prisoner. When you get close he’ll start running. Follow him as he climbs over the MJ-12 Boxes. Press the Button on the other side to open the door to the armoury. Inside you’ll find a Large Medipak, a Desert Eagle Pistol, Pistols and Desert Eagle Clips.
Head out of the armoury but be very careful of the laser beam just in front of the door. Turn right and climb back over the MJ-12 Boxes the way you came. Turn right and crawl through the green tunnel again, hoping back into the water.
Swim through the underwater passage back to the room with 3 lasers. Jump over them to the block on the other side and swim back through the long tunnel. Pull up into the large pool and take a breath.
Dive back down and this time swim through the grey tunnel in the far left corner. Pick up the Small Medipak and then walk out of the water.
Light a flare and crawl into the dark tunnel to the left. Exit out the other side when the Guard on patrol walks past. Now that you have a few guns you won’t need to rely on your prisoner friends.
Head around to the right, through the door that you opened earlier from the other side and climb up the ladder. Run to the other side of the central pylon and climb up the second ladder. Run up the ramp with guns drawn and this time you’ll be able to take out the Guard who has standing to the left.
The guard drops a Keycard Type B and 2 pairs of Grenades. Use the keycard to open the door at the end of the passage on the left. Enter through for Secret #2. Inside to the left you’ll find a Grenade Launcher.
Head back the way you came down the ramp and ladder. Drop through the hole in the floor to the water below and swim through the long tunnel in the bottom of the floor back to the laser room. Progress as you did before back to the large open room where you met the prisoner.
To the right is a stopped conveyor belt. Run up the ramp alongside it. Continue up to the top. There are 2 MPs, one will attack and the other will run back to call for help, another 2 MPs and a German Shepherd.
When you reach the top another German Shepherd will attack from behind you. One of the MPs drops a Blue Security Pass. Run into the room they came from for a Large Medipak.
Run back to the top of the ramp and climb up the ladder on the left. Turn around and use the Blue Securtiy Pass on the blue lock at the end of a short corridor. Continue around the corner and take out the MP guarding this area.
There are 2 Buttons on the walls. The one on the right starts the conveyor belt and the other one opens a gate, releasing a MP and German Shepherd. Press the one to start the conveyor and the other one if you want more shooting practice.
Climb back down the ladder and run all the way back down the ramp. One of the boxes has fallen off the conveyor at the end. Climb on top of it and the jump up to the ladder.
Turn to the right and jump up to grab the grating on the roof. Traverse all the way across to the other side and drop down to the ledge to pick up a Small Medipak.
Jump back up to the grate and traverse half way across, turn left and make your way past the hook. Drop down, walk up the steps and jump up to the ledge above just before the last step.
Take out the MP that immediately attacks and pick up the Yellow Security Pass that he drops. You may tempted to run across the room to the Power-Up Crystal but watch out for the laser beam running across the room in the center, just where the floor is raised a little.
Take a standing jump over the laser and grab the crystal. Go back and drop through the hole you came from. Drop all the way to the floor below and use the Yellow Security Pass on the yellow lock to the right. This opens the gates below to Bay X.
Bay X – Loading Dock
Run through to the corridor out into the open and take out the MP to the left. Enter the loading dock just behind the truck and take out a second MP. Before ending the level by entering the truck you may want to pick up a few extra items.
There is a movable MJ-12 Box in the right corner, shown in the picture below. Move it out once and pick up the Uzi Clips and Grenades in the alcove behind it.
Now climb up the stack of crates on the left side. At the top in the center is a missing box. Drop down the hole to find some Desert Eagle Clips and a Small Medipak.
Now that you’ve looted everything here enter the back of the truck to finish the level and be rewarded with a cutscene.
Next Level: Area 51


