RX-Tech Mines
Back to the Tomb Raider 3 Walkthrough
Objectives: Make your way through the mines using a series of minecarts to find some items that will help you get to the Lost City of Tinnos excavation site.
Secrets: 3
Items: Crowbar, Battery and a Winch Starter
Turn to the right, climb up into the crawlway and stand up on the other side. There’s a closed door to the right and an open passage to the left. The passage actually loops around in a square with invisible pressure pads on the floor. As you trigger the pressure plates you’ll open and close the doors. There’s a secret passage behind one of the doors.
To escape perform one complete loop. Listen for when each pressure plate is triggered. You’ll trigger 5 of them on the way around. Step back onto the first pressure plate once more then turn around and run back the other way. A passage will now be open to the left of a closed door. Crawl through and drop down carefully to the room below.
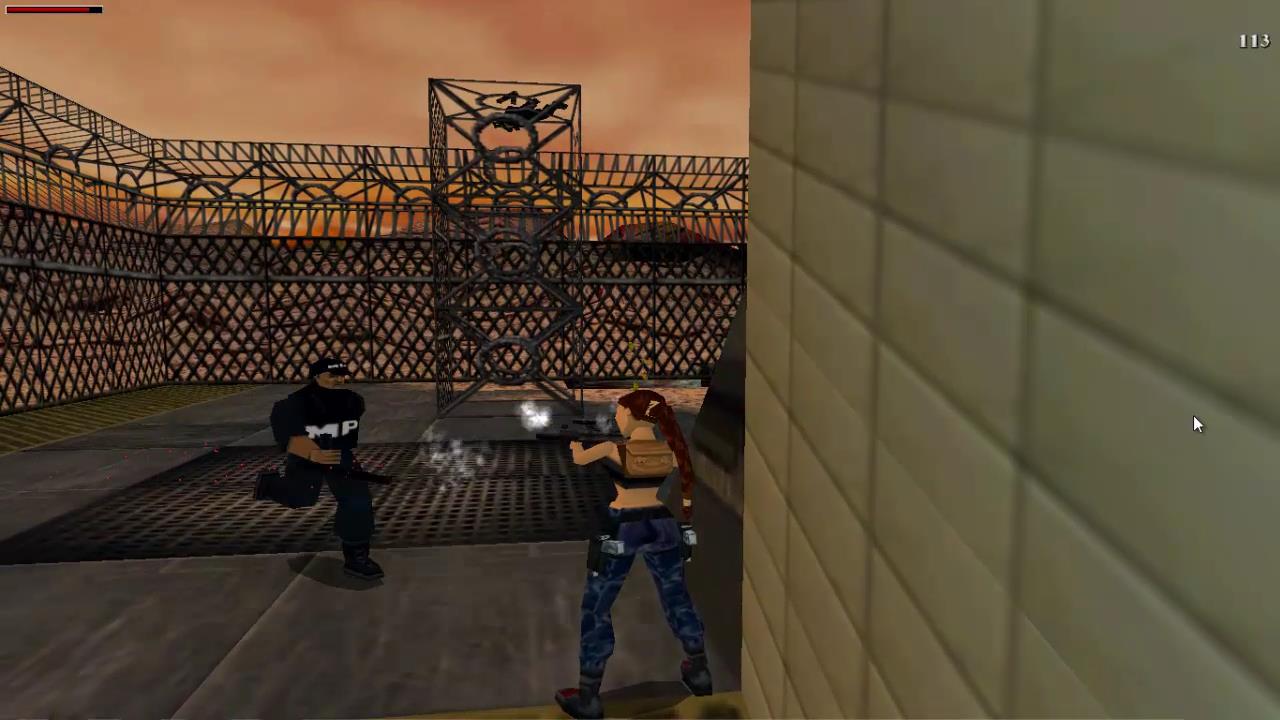
Pick up the MP5 Clips and press the Button to open the exit from this room. If you look through the fencing you may see 2 Mutants being killed by a Flamethrower. The Flamethrowers are friendly unless you attack them.
Leave this room through the twisty tunnel, turn left and enter another tunnel to the main rail system. There are 3 rail tracks, an upper, middle and lower track. We’ll explore the middle track first but you can explore the lower track first if you want. The upper track requires some items from the first two tracks so you should do that one last.
Mid Level Mine Cart
Jump into the mine cart and get ready with the controls. Jump is brake and the action key swings the wrench to hit a lever which changes tracks. Go full speed down the hill to make it over the gap. When the cart speeds up around the corner use the brake to slow it down so it doesn’t topple over around the next corner. The cart will go down a small hill and then up and down over another small hill before a corner. Hit the brakes once to slow down but not too much or you’ll miss the landing over the next gap. The cart will come to a stop automatically at the next platform.
Hop out of the cart and watch the flamethrower kill the Mutant. Grab the Power-Up Crystal and head through the passage. Run through the drills and then run around to the left. Go into the passage and hop backwards down the slope. Grab onto the edge, shimmy across to the left and drop down to the ice below. You’re near a large crevice with a snow landing below.
Walk off the block you landed on and hang off the edge of the crevice. Drop down and run to the left. Drop down onto the ice slope, making sure your facing backwards as you slide down, and grab on at the bottom.

Drop down to the block below. Turn left and jump up to grab the crevice in the wall. Traverse all the way across to the left. Let go and crab the lower crevice. Traverse back to the right and drop down onto the block below. There is a Mutant on the ground level. You can shoot him from here but you don’t need to drop down.
Jump up to grab the crevice on the right side and shimmy across to the left. Pull into a crawlway and quickly crawl through to the other side. A Mutant will attack but it’s very difficult to avoid being hit at least once. Stand up and take out the mutant. Continue around the passage to a large open area with a flamethrower.
Run around this area to reveal the 3 Mutants as you don’t want them sneaking up on you when you’re not looking. Jump up to the walkway in the center and grab the Crowbar at the end. There’s also a Rocket in the pool below if you’re brave enough to dive into the icy water.
In one of the walls you’ll notice a crawlway fairly high up. Stand on the small snowbank to the right of it and jump up to grab the crevice. Traverse across to the left and crawl inside.

Push the Button at the other side to open a door back at the mine cart junction. This enables you to get to secret #2 later on. Next you’ll need to make a series of jumps across the mounds of snow. You can get onto the first mound by running up the ramp next to the dark blue glow.

You should be able to take running jumps across to all of the snow mounds until you reach the passage in the distance. Go through, climb up the ladder and get off to the left.
Crawl under the drills and run around the spiked crusher to the ladder in the opposite corner. Climb up, get off to the left and dodge your way under 2 more spiked crushers. Climb up around 6 ice blocks and kill the Mutant at the top of one of the blocks. As long as you stand as far back as you can on the block below him you should be safe from his poison breath.
Climb up to where the mutant was and drop down onto the rail tracks on the other side. After sliding down follow the rail tracks back to the cart.
To get back to the mine cart junction just relax up the hill and let the cart jump over the next gap. Quickly brake as soon as you have made the jump and then swing the wrench to change the tracks. The mine cart should veer off to the right and jump over another gap. Duck under 3 metal girders and brake before the next corner. The cart will stop at it’s original position back at the mine cart junction.
Detour for Secrets
Get out of the cart and go to the barred door on the same level. Use the Crowbar to open the door and pick up the Lead Acid Battery.
Make your way to the top level of the tracks and enter the small building. Jump backwards to avoid being hit by a Mutant and then take him out. The Button at the entrance just turns the lights on. Stand at the entrance to the building and jump up to grab onto the roof. Stand up and go to the far right corner. Turn around and crouch. Crawl backwards and grab onto the back of the building.
Traverse across to the right until you reach the ladder and climb down until Lara’s feet are at the bottom of the ladder. Backflip and roll in midair to grab onto the passageway behind you. Crawl inside for Secret #1. There’s a Small Medipak and Grenades in an alcove to the right. The door should be open here if you pressed the button earlier. This is Secret #2.
Drop down and take out a Mutant who emerges from behind a mound of snow. Climb up to the tracks and run around to the left for a Power-Up Crystal, MP5 Clips and Desert Eagle Clips. Leave the way you came and drop down to the ground level of the mine cart junction. There is a Mutant here if you haven’t already killed it from above.
Lower Level Mine cart
Hop into the minecart on the ground level and continue on your journey. Duck down under 2 metal girders and then quickly stand up to use the wrench on a lever to change the direction of the mine cart. You should head off to the left. Duck down under another girder and use the brakes once you’ve jumped the gap. Duck down under 2 more girders and the cart will come to a stop.
Exit the cart and grab the Power-Up Crystal if you want it. Walk down the corridor and press the Button to open the door next to it. Follow the corridor around until you drop down into a dark room with vents. As you approach the exit from this room you’ll be attacked by a Super Mutant. If you light a flare you might be able to spot some Shotgun Shells and a Rocket underneath the grating that you can pick up in a moment.
Take the only exit out of this room and run around the winding corridor. To the right you may notice a dark crawlspace. You can crawl through here to enter underneath the room you were just in to pick up the goodies. Otherwise continue forwards to another room on the other side of the fence from the first room. Use a flare to locate the ladder and climb up. Get off to the right.
You’ll notice two doors and two buttons. The first Button opens a passage back to the rail tracks and the second Button opens a door to a new area. Push both buttons and head through the second door. Make your way along the passage and drop down the other side.
As you walk into the room you’ll notice a Super Mutant running past the window outside. Pull out your guns and shoot him when he opens the door. He drops a Small Medipak. Go through the door to the outside and to the left you’ll notice a pool with a winch. Dive or slide into the pool and pick up the Winch Starter in the corner at the bottom. Pull up towards the left and climb out of the pool.
Warm up and turn around. You’ll notice a small alcove at the bottom of the pool. If you want more Desert Eagle Clips and Flares dive in and pick them up and then pull back up out of the pool.
Run back into the building and press the Button to the left of the crawlspace. A Super Mutant will run out of the door. Kill him and then head through the passage. Press the Button at the end to open the other door, go through and take a standing jump over the gap. Exit through the door on the left back to the mine cart.
Hop into the mine cart, duck under the girder and then brake before the corner. Duck under the girder at the top of the hill and quickly stand up to use your wrench on the lever. The cart should continue straight ahead and you’ll pick up a Power-Up Crystal along the way. That’s all you need to do. The cart will stop automatically back at the junction.
Get off and climb to the top level of the tracks and hop into the top mine cart.
Top Level Mine Cart
After clearing the gap duck down under the girders and drills. The cart will arrive safely at its next location. Hop off the cart and jump up the snow bank ahead on the left to pick up the Flares in the left corner. Now head back to the tracks and take a running jump across to the winch.
Use the Lead Acid Battery in the slot at the base of the winch and climb up behind the winch. Use the Winch Starter behind the winch to lower the submersible. Lara will need to perform a series of dives through the freezing water.

Turn diagonally to the left and take a swan dive into the freezing water. It’s difficult to see but just to the right of the light on the wall is a small passage. Go through and pull out of the water to warm up.
When you’re ready dive back into the water. Your next location is to swim under the yellow submersible and climb up through the open hatch underneath. Warm up and pick up the Large Medipak while you’re here.
Take another dive and enter through the tunnel in the black wall. Swim around to the right and pull up out of the water until you’ve warmed up. Grab the Large Medipak and hop back into the water. This time you want to swim up the shaft to the top. You’ll pick up a Power-Up Crystal along the way. Pull out of the water and follow the path to the bridge across the chasm.
Run across the bridge to the other side and take out the Mutant to the right and the Mutant that appears from behind the building to the left. Run all the way to the right and slide down the chasm backwards at the far end. If you can’t get onto the slide, stand just to the left of the last block and do a side flip to the right. Land on the slide and grab onto the edge.
Drop down to the entrance to a secret tunnel for Secret #3. Inside you’ll find a Large Medipak, Grenades and Desert Eagle Clips. Walk back to the cave entrance and turn left.
Take a running jump to the flat block on the other side of the chasm. Turn around to the right and take a running jump to the triangular-shaped ledge on the other side. Turn around and carefully take a running jump to the sloped block on the other side. Once again turn around and take a running jump to the next block. This time you’ll be able to pull up into a small ledge for some Grenades.
Stand at the edge and look towards the bridge. Take a running jump to the ledge closer to the bridge on the same side. Climb up the block and then onto the bridge.

Run across the bridge and press the Button at the front of the building. Go inside to complete the level.
Next Level: Lost City of Tinnos
Back: Tomb Raider 3 Walkthrough