Antarctica
Back to the Tomb Raider 3 Walkthrough
Objectives: Find a way into the large ship and then use the inflatable raft to make your way into the RX-Tech compound.
Secrets: 3
Items: Crowbar, Gate Control Key and the Hut Key
In Antarctica the water is so cold that you will quickly freeze to death. Instead of a breath meter you have a cold meter that runs out even faster. If you drop into the water you have only about 10 seconds to make it out again.
From the start take a running jump onto the iceberg in the water between you and the ship. Turn to the right and jump to the right side of the ice outcropping and run past the hut on the left side. Take a running jump across the river and get ready for some jumping.
Jump to the ledge on the left. Turn around and jump up to the higher ledge. Stand in the corner facing towards the arch and take a running jump to the flat block just before the arch. From there take a standing jump over to the arch. Turn right and jump into the tunnel where you’ll find a Large Medipak, Flares, Rocket and a Power-Up Crystal. See below for the path across the arch.

Make your way back to the ground level and turn right to make your way to towards the front of the ship. Dive in and pull up on the further ledge. Dive in again to make it to the ledge slightly to the left.

Climb up the blocks on the right and then jump up to grab the ice holds in the ceiling. Monkey swing across, drop down and then take a standing jump to the front of the ship.
Onboard the Ship
Drop down the hatch with your guns ready. Run around to the right and take out the Crewman. Press the Button on the wall if you want but don’t go through as there’s another locked door down the hall. Instead run around to the right and take out the Crewman with the red jacket. Follow the hall to the Engine Room and pull the Switch in the corner behind the engine.
As you climb up behind the engine another Crewman will attack. Drop down to the right into the trapdoor that you just opened and take out another Crewman.
Run up the ramp, kill the Crewman who emerges from the left and push the Button on the right to open the door behind you. Go through the door, run around to the right and kill another Crewman in a room with a yellow pipe. He drops Desert Eagle Clips when he dies.
On the floor of this room there’s another hatch. Drop down and follow the path around the corner. Quickly roll and take out a Crewman who appears behind you. Climb up the block and push the Button to lower the Inflatable Raft.

Drop down, run around and climb back up the hatch. Run up the steps into the room you came from and you can ignore the Button on the wall. Instead jump up to the higher level. Follow the corridor around and push the Button at the end to open the door to the outside area.
Before heading for the lifeboat there’s a secret that we can grab first. Run around to the right and follow the railing all the way to the end. There’s a gap at the end where you can take a standing jump with action to land inside an opening in the ice wall. Drop down for Secret #1 with MP5 Clips and a Power-Up Crystal. Climb up and jump back to the boat. Make your way to the stern (back) of the ship where the lifeboat dropped down.
Stand in front of the davit, or small crane that lowered the lifeboat, and take a standing jump to the other side of it. As you slide down jump again to land on an ice ledge.
It’s hard to see the path in the ice but take another standing jump to a triangular block on the left and then a standing jump around the corner of the ice wall to another flat block. From here you can walk forwards and pull up into a hole. Drop down the other side and pick up the Rocket.

Climb out of the hole and slide down to the ground level. Jump over to the Inflatable Raft and drive it around to the right. Continue around the ship and take a left into the river just before the wooden hut. Stop at a passageway just beyond the first arch.

Roll and press left to exit the raft and enter the passage. Climb up the climbable wall, slide down the ramp and jump before you reach the end to grab onto the passageway opposite. Pull up and crawl through to Secret #2 with a Large Medipak, Small Medipak and Grenades.
Crawl back through the small passage and this time turn right. Drop down at the end into the icy water and immediately turn left. Swim back to the raft as quickly as possible.
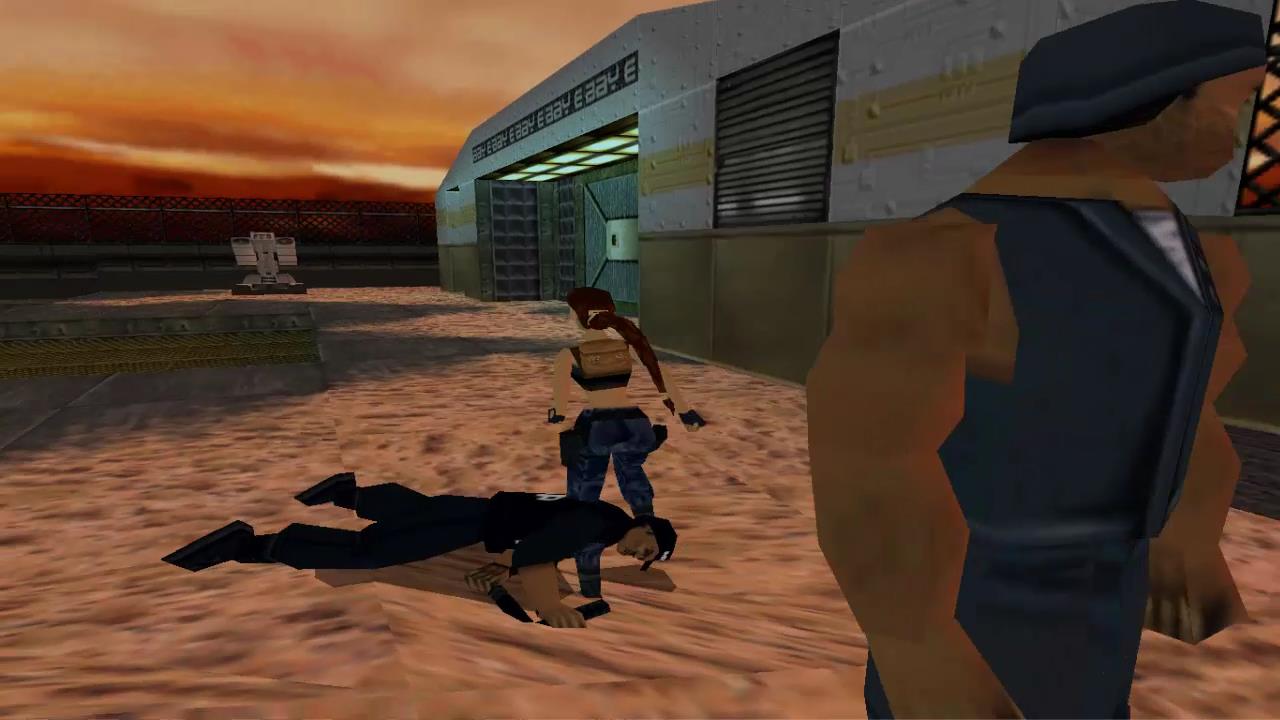
Drive through the tunnel and get off at the first RX-Tech building on the right. Take out the Guard and run around to the back. Climb up the block and then jump up to grab onto the grating above. Monkey swing all the way to the end of the structure and then drop down onto the soft snow.
Slide down the back of the snow bank and take out the Guard to the left. Run through the tunnel to another small compound with a green-walled building. Kill the Dog and then grab the Shotgun Shells in the far left corner behind the green building.
Head through the front of the green building and watch out for the Dog and Guard that attack from around the left corner. The Guard will drop Desert Eagle Clips.
Continue through the passage to a water tank. Under the fuel tank you’ll find some more Shotgun Shells. Run through the cave just past the green building to another RX-Tech building. A Dog will attack as you approach. You’ll see a man standing by a window in a raised room to the right but he won’t attack unless you shoot at him.
Enter through the sliding doors that have gone haywire and run up the steps to the top. Take out the Guard in the first room and a second Guard will run towards you when he hears the gunfire. He’ll drop a Small Medipak.
Push the Button in the next room to open a closet with another Small Medipak. Head to the end room where you’ll find a Crowbar on a raised platform. When you pick it up another Guard will attack from the direction you came from. He’ll drop some Shotgun Shells.
Leave the building the way you came and go back through the crazy doors. A Guard is waiting outside for you. Go back through the cave and follow the fuel pipe down into the hole.

Either take standing jumps across the water to the icy block and then to the other side or swim under the ice block and pull up on the other side. Climb up the block on the right and then up the step on the left to the four valves.
The valves need to be turned to the right setting. From the first to the last they need to be set to Red, Green, Red, Green. The first valve is already at red so jump across to the second. Turn the wheel to change the second valve to green. The third is red so leave it. Jump across to the ice for a Power-up Crystal and then over to the last valve. Turn the wheel to change it to green.
Climb up the ladder and run around to the right to the generator. Pull the Switch in the middle to turn it on and then pick up the Large Medipak to the right side of the shed. Leave the generator shed and head outside into the snow.
For a fright run straight ahead into the cafeteria. If you run to the left side you’ll come across a mutant who spews acid everywhere. Jump back when you see him to avoid being poisoned. Leave the cafeteria and run through the small cave to the right. You’ll come to a kennel with 3 Dogs.
Push the Button to go inside the first cage. Take out the Dog and then open the second cage for another 2 Dogs. Press the Button on the wall to open the door to the building and go inside. Take out another Dog and then grab the Gate Control Key from the platform in the far right corner. When you do another Guard will attack from behind. Grab the Uzi Clips before leaving the building.
Leave the kennels and run around to the left, past the red flag. Go through the tunnel to the right, taking out a Guard on the other side. There’s a small hole in the middle but it’s not very deep so just jump or climb across it.
On the other side there’s a wooden bridge. You can drop down and kill a Dog for a Grenade or just continue across the bridge. Follow the path along which will bring you back to the fuel tank area.
Run through the dark tunnel to the left and continue through the icy passage back to the metal structure over the water. Jump up from the snowy bank and monkey swing back to the original RX-Tech building.
Run around to the front and use the Crowbar to open the door. Lara will drop the Crowbar but don’t worry about picking it up. You won’t need it again in this level. Enter, roll and kill the Guard that attacks from behind. Use the Gate Control Key on the lock and then push the Button to raise the gate.
Hop back through the Inflatable Raft and drive through the gate you just opened ahead and to the left. Hop off at the first red flag, kill the Guard and pick up the Uzi Clips.
Get back on the raft and position it in the middle of the water facing the way you came. Just under the ice shelf to the left you’ll be able to dive down and find the Hut Key.

Quickly get back on the raft and drive it all the way back to the wood hut by the large ship. Use the Hut Key on the lock at the front and quickly jump up to grab onto the roof and pull up before the Dog runs out. Kill the dog from the on top of the building and then go inside for Secret #3 with a Power-Up Crystal, Flares and Uzi Clips.
Jump back onto the raft and head back to the gate. Stop off at the ledge after the red flag. You can get off here and pick up some Shotgun Shells.
Get back on the raft and continue to the end. Hop off the raft and onto the low ledge. Climb up the blocks to the compound. Kill the Guard to the left and climb up the low hill. Watch out for the hole up the top and slide down to the right. Kill another Guard and run around to the back of the wooden building to complete the level.
Next Level: RX-Tech Mines
Back: Tomb Raider 3 Walkthrough