Level 2: Temple Grounds
Back to Lara Croft and the Guardian of Light
Temple Grounds (Level 2)

Temple of Light Exit
As you walk down the stairs of the temple exit you’ll be shown a map of the area. You can view this map at anytime.

Run up to the northwest corner of this island for Red Skull #1. Kill the Lizards and run down to the southeast corner. On a platform you’ll find Red Skull #2.
As you head towards the bridge on the western side a cutscene will begin. After the Undead Warriors kill the mercenaries take them out while avoiding their homing fireballs. Destroy Truck #1 if it hasn’t been destroyed in the battle. Then follow the stone path to the southeast and destroy Truck #2.

Head northwest and cross the bridge. Kill the 2 enemies and cross the gap with your Spear. Use another arrow to climb up the statue head and grab Red Skull #3. Continue across the bridge until you can see the entrance to the Spider Tomb.
Area Around Spider Tomb
To get into the tomb you’ll need to find the 3 Gold Discs. You can find them in any order. Start by doing a lap around the Spider Tomb to pick up all the gems. To the southeast of the Tomb is a wall that can be destroyed. Break through and then pick up the Bolt Action Rifle on the platform.

Kill all the Undead Warriors and continue making your way around the Tomb. To the south of this area but still south of the Spider Tomb you’ll find a Health Shrine. Jump on the tops of the five pillars for an Ammo Upgrade.
To the west of the Spider Tomb you’ll see a river. Don’t cross over it just yet. Instead pick up Red Skull #4 by the broken bridge and the Health Upgrade hidden under the bridge.

Follow the river to the north and pick up Red Skull #5 just under the waterfall. Just to the east of this is another 3 standing pillars and one leaning over. Run up the leaning pillar and jump across the pillars for an Ammo Upgrade.
Head back to the southern side of the Spider Tomb and go down the stairs under the stone arch.
South of Spider Tomb
Destroy Truck #3 at the base of the stairs and then take out all the enemies. Go through the next arch to the southwest and then down the stairs. Jump across the gap in the walkway and continue to the southeast.
Walk further to the southeast and you’ll get the challenge to defeat the Giant Demon Lizard. First the smaller Lizards will spawn and then the Giant Lizard. If you’re having trouble run back across the bridge to safety.
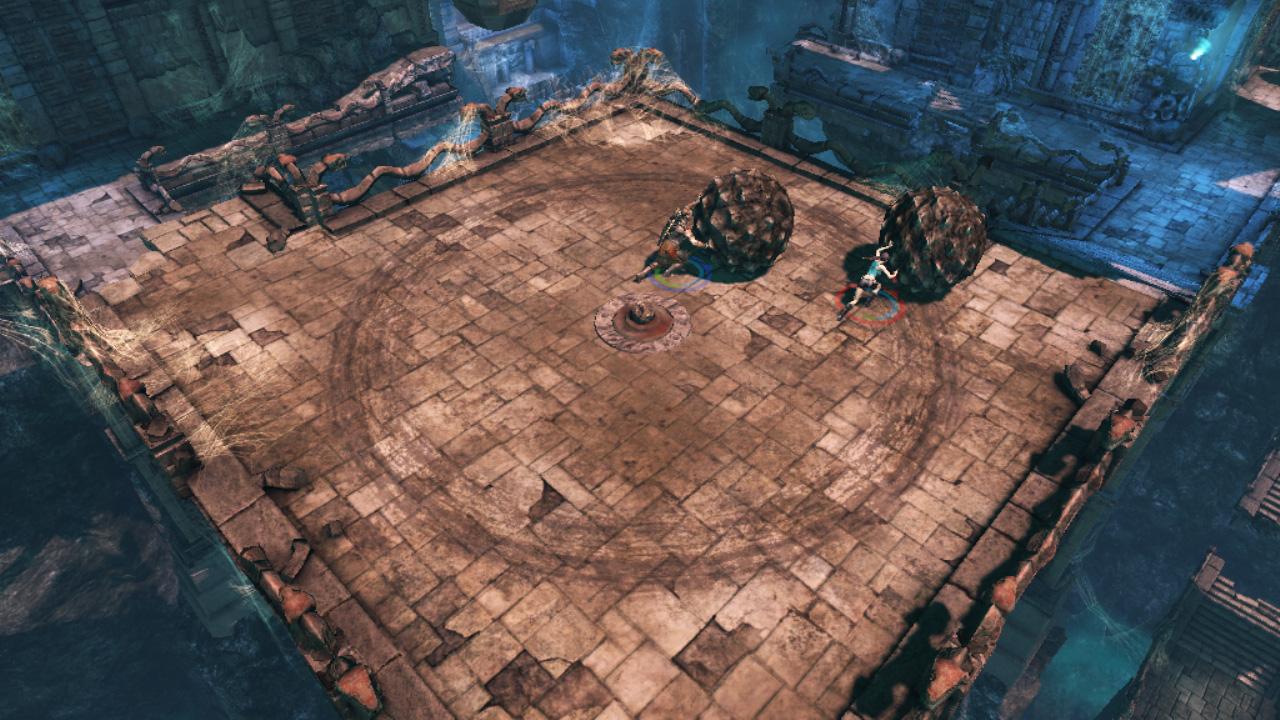
Get close to the cliff on the north side of this area and ball will drop down. Roll the ball close to the pillars. Climb on top of it and Spear the pillar. Jump across to it and up to the Health Upgrade.

Drop down and run back to the bridge. Just to the north is a platform where you can grapple across. Place a Spear in the wall and jump up to Sun Disc #1.

Jump down to the ground on the left side and run under the bridge. Head to the southwest and kill the enemies coming out of the tomb. Climb up the pillar on the right side of the tomb and jump across to the roof for Red Skull #6.

Drop down and enter the tomb.
Challenge Tomb #1
To get to the Artifact throw a spear at the pillar from halfway down the stairs. Throw another spear from the base of the stairs. Climb up to the Artifact (Clay Owl) above. Drop down and leave the tomb.
Climb back onto the bridge and make your way to the Spider Tomb in the center. You’ll be attacked by an Ogre and a few other enemies along the way.
West of Spider Tomb
Run west to the river and north to the slabs crossing the river just before the waterfall. Jump across the stone slabs to the other side without touching the water for a Health Powerup reward.
Head to the south, past the Health Shrine and stand on the small pillar. Throw a spear towards the taller spear. Jump across and climb up to Red Skull #7.

Go back north to the double set of stairs at the beginning of the bridge. Quickly run across the northern section, jump across to the southern section as the bridge falls away and continue across to the other side.
Destroy Truck #4 and Truck #5, the go to the north and destroy Truck #6 and Truck #7. Enter the tomb to the north.
Challenge Tomb #2
Place the first ball on Pressure Plate #1, the second ball on Pressure Plate #2. Then move the first ball to Pressure Plate #3. The alcove at the end will open so you can pick up the Relic (Arrow of Tezcatlipoca).

Leave the tomb and head back to the south. Run up the stairs and you’ll see the doors close on the Sun Disc.
Place a bomb by the lowered hand and then step on the pressure plate to open the gate. Blow up the bomb to lift up the hand. When the gate passes under the hand step off the pressure plate and the gates will remain open.

Pick up Sun Disc #2 and the wooden gate to the south will open. Go down the stairs through the gates and take out the enemies.
Destroy Truck #8 and continue across the bridge to the southwest. Drop down to the wooden walkway and use a spear on the wall to get up to the Ammo Upgrade on the ledge.
Drop back down and continue down the wooden ramp. Use a Spear to get across the spike pit.

Use a spear to climb up to the platform to the north and grab the Artifact (Stone Feather) on the stone table.
Drop back down and head down the stairs to the southeast. Blow up Truck #9 and run across the stone bridge. On the other side you’ll find a Health Shrine.
Continue across the broken stone bridge and at the end you’ll find Red Skull #9 on a stone table. Take out the enemies and throw spears at the side of the tomb entrance. You’ll need to stand on the rocks to get the higher spear. Climb up and grab Red Skull #10 from the roof.

Drop down and go through the entrance to the tomb. This tomb takes you underground and has an exit on the northern side of the map.
Shoot the target and place a bomb next to it. Go past the first row of spears and detonate the bomb. Run past the second set of spears and then head up the stairs.
Stand on the pressure plate to open the gate. Climb up the pillar and jump to the next pillar. Push off the ball and place it in front of the arrow traps. You can now safely pull the handle. This lifts up the cage so you can grab Sun Disc #3. Head up the stairs to the east to leave the tomb.
North of Spider Tomb
When you exit the tomb you’ll be attacked by quite a few enemies. Take them out and blow up Truck #10 nearby. To the east is a broken bridge. You can dangle off it for the Health Upgrade if you want.
Make your way back to the center of the map. You should now have all 3 Sun Discs. The Spider Tomb entrance will open. As you approach it a horde of Spiders will pour out. Use a bomb to blow them up and then enter the tomb to complete the level.
Back: Level 1: Temple of Light Next: Level 3: Spider Tomb