Level 9: Twisting Bridge
Back to Lara Croft and the Guardian of Light
Twisting Bridge (Level 9)

This is a smaller level where you’ll need to straighten out the central bridge leading to the ramp up to the Fiery Depths.

First head to the southeast for Red Skull #1. Run back to the start and take the stairs down to the east. Kill the enemies and drop over the edge to the southeast using the grapple ring for Red Skull #2.

Shoot the target on the revolving platform to the northeast twice. Jump across to it and then over to the walkway to the northwest. Enter the tomb.
Challenge Tomb #1
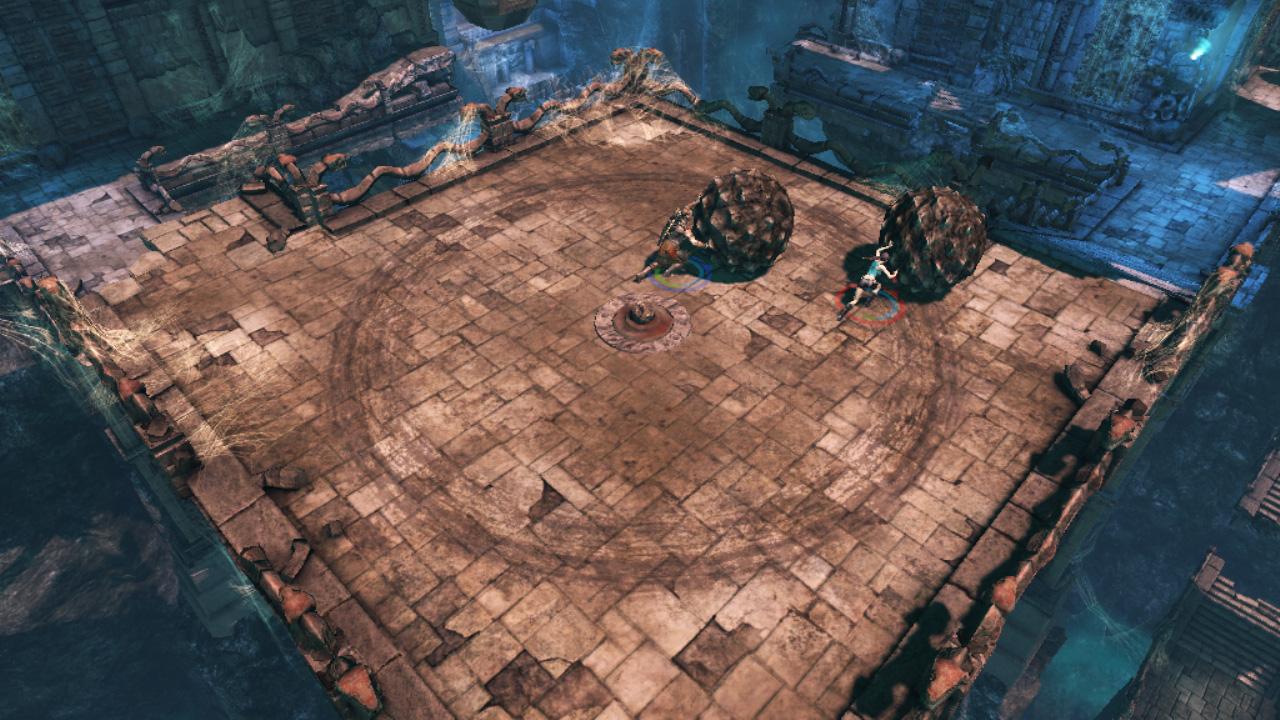
Grapple across to the other side while grabbing Red Skull #3 along the way. Move the rolling ball onto the pressure plate to lift up the central wooden platform. Jump across to the central target and place a bomb next to it.
Jump back and roll the ball through the open gate to the west. Explode the bomb and roll the ball through the next gate. Place it on the southern pressure plate. This opens the alcove with the Relic (Golden Knife of Itzli).
Head back out of the tomb. Jump across to the revolving platform, hit the target twice and jump across to the walkway to the southeast.
Run down the stairs and take out the enemies. Blow up the rock pillar on the western side to reveal Red Skull #4. There’s a Health Shrine just to the south.
Run up the stairs to the east, stand on the pressure plate to open the tomb and enter.
Shield Demon Tomb
Walk forwards and use the grenade launcher to knock the shield off the demon. You can then finish him off with whatever weapon you want.

Kill the remaining enemies and then pull out the handle to the north. This lifts up the wooden platforms for a few seconds. Jump up to the area above.
Roll along the top of the wall to the southwest of the gate for an Ammo Upgrade. Come back and hit the target next to the gate to lift up the wooden platforms. Jump up them and pull the handle. Quickly jump back and run through the gate.
First Bridge Section
Head up the stairs to the outside and continue up the sets of stairs. Jump across the gap to the revolving platform and across to the other side. Stand on the pressure plate to lift up and spin the revolving platform. This is the first part of the central bridge.
Continue to the northwest and kill the Ogre and other enemies. Head up the steps, pull out the handle and enter the next tomb.
Misty Platforms Tomb
Jump to the large square platform. Shoot the target to the right and jump across to the platform with Red Skull #5.

Jump back to the southwest, shoot the target to the north and jump the platforms to the north. When you get to the next large square platform place a spear in the wall and jump up for Red Skull #6.

Make your way across the platforms to the north west and run up the broken staircase. Continue up the next staircase to leave the tomb.
Challenge Tomb #2
Run along the path and jump to the small square platform. Throw a spear at the tomb entrance and climb up to grab Red Skull #7 above the entrance. Drop down and go inside.
Run down the hall and watch out for the spiked crushers. At the end you’ll find the Artifact (Gold Lizard). Head out of the tomb and jump back to the walkway.
Second Bridge Section
Head along to the east, jump across the rotating bridge section and step on the pressure plate. The second bridge section will lift up and rotate.
Continue to the east and make your way around to the next tomb. Jump across the platforms and hit the target so you can grab Red Skull #8.

Continue along the platforms to the west and you’ll find Red Skull #9. When you reach the large square platform jump down to the north. Kill the 2 Ogres and other smaller enemies and then run up the stairs to the west.
Bridge and Long Ramp
You’ll come out to the south of the central bridge section. Head to the north and make your way along the central bridge.
About half-way along you’ll notice a broken walkway with the final red skull. Throw a spear to the edge of it and jump across to the spear. Grab Red Skull #10 and then drop back down.

Make your way up the long ramp while avoiding the rolling boulders. Bomb three of the flaming boulders for a Health Powerup. Enter the tomb up the top to end the level.
Back: Level 8: Jaws of Death Next: Level 10: Fiery Depths