Pridemoor Keep
Back to Shovel Knight
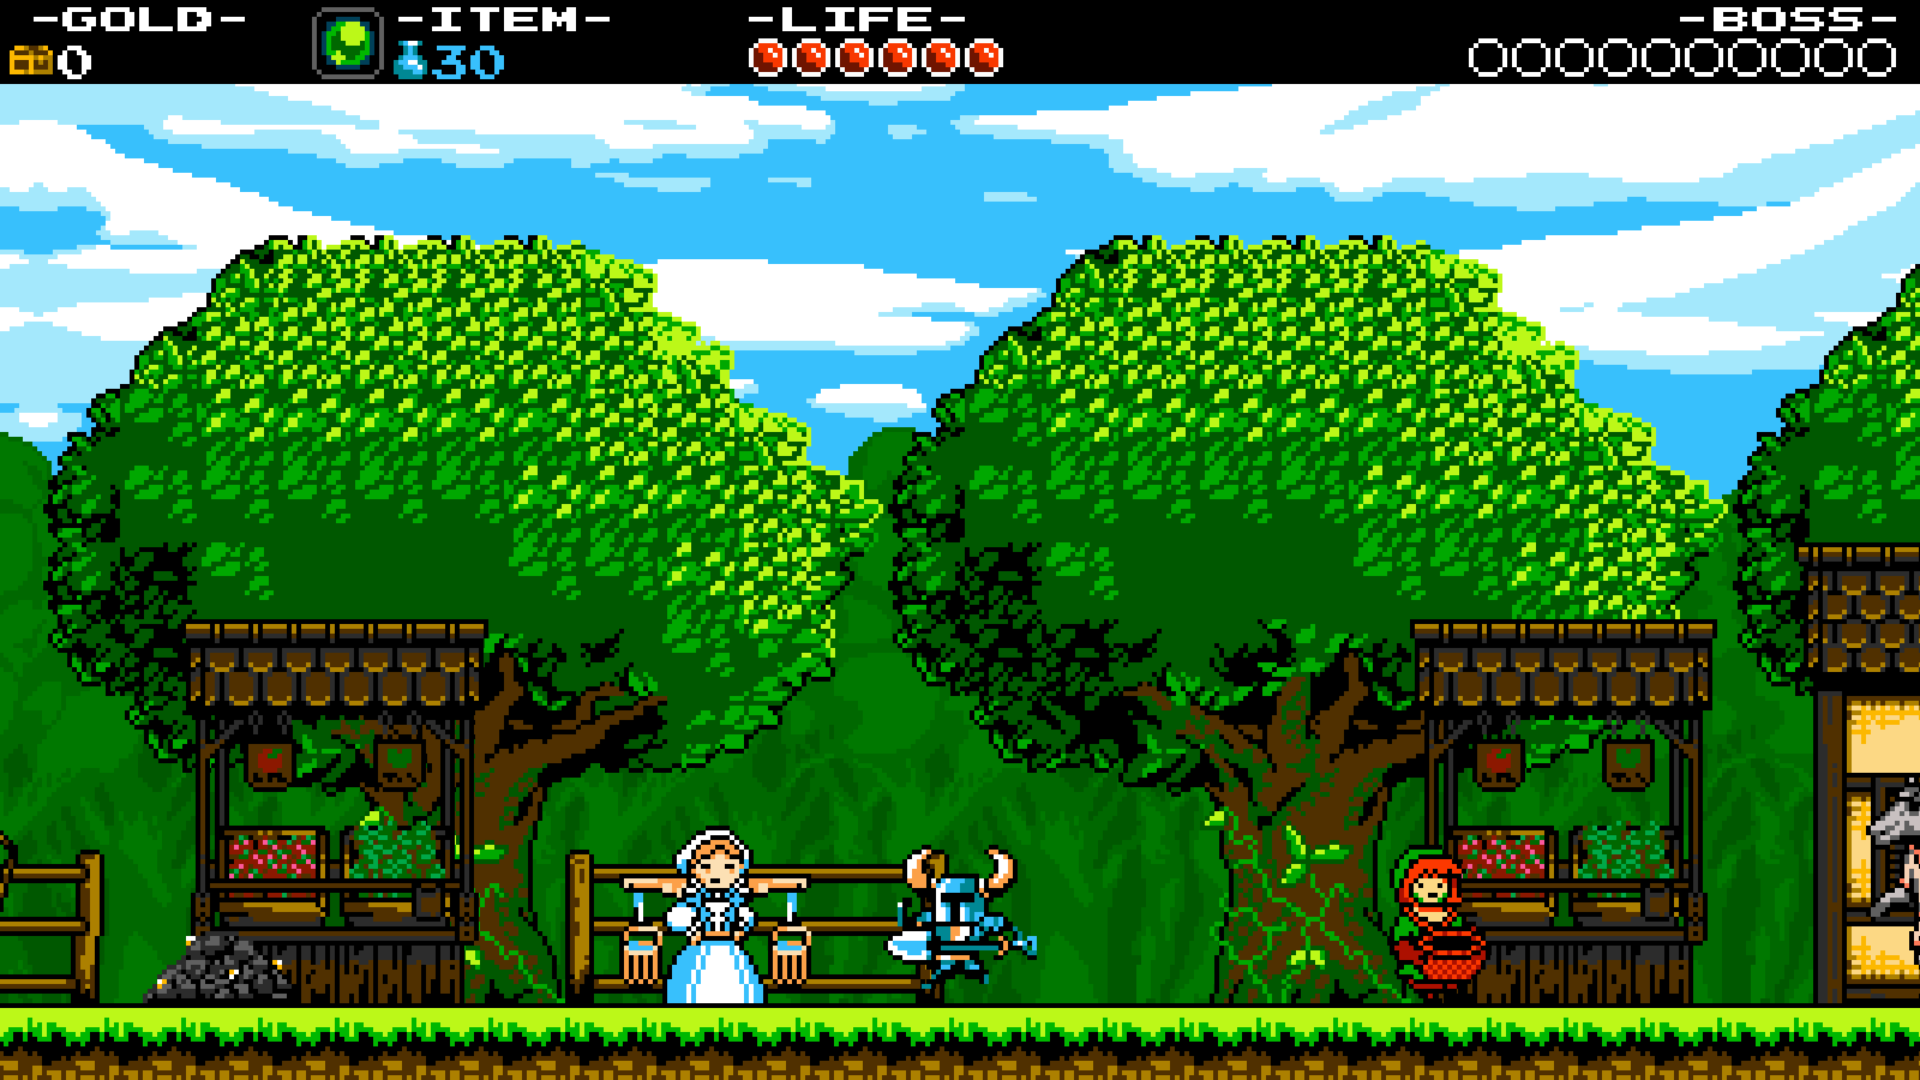
Pridemoor Keep is another fairly easy area to navigate. There’s no difficult jumps and the enemies are slow and easy to predict. There’s two Music Sheets to find on this level, as well as Chester who’ll sell you the Flare Wand relic.
From the beginning of the level go left. Jump over the platforms and bash the upper wall as you jump down to the knight statues to release a few gems. There’s a fishing spot down below and the first Music Sheet to the left.

Head back to the right and continue past the cauldrons dropping fire to a ladder going up. Before climbing up fish the sparkly hole for another gem trout.
Make your way up the tower. The Wizard’s flame balls can be deflected with the shovel. Just behind him is a secret. Bash the wall for a red gem. Head up the ladder to the first checkpoint.
Head to the right for the second checkpoint. Avoid the chandeliers and climb down the ladder. Jump across the moving platforms to the stone with a carved out portion in the shape of the shovel knight. Stand in front of the block and press down. You’ll be taken to another room. Jump across the chandeliers to a chest. Chester will jump out and offer to sell you the Flare Wand.

Go back to the right and climb up the long ladder to the room with the Wizards. Continue to the left and leave the blocks so you can climb up the ladder in the left corner. Take out the Wizard and break the wall above him twice to reveal a secret chest.

Make your way to the right and drop down to the third checkpoint. When you walk to the right you’ll face your first Gryphon. Stand back to avoid the flaming attack, they usually do it twice, and then run forwards for a couple of swipes with your shovel. Continue to the right for the fourth checkpoint.
On the next screen you can use a downward dive to bounce off the hovering rats to make it to the roof of the castle.

This takes you to an area with Wizards, gems and a chest. Collect it all and then head back the way you came and break the blocks to drop down. There’s a secret in the wall to the left and a ledge that you can only jump over to if you jump from the chandelier while it’s falling. Otherwise continue to make your way down to the fifth checkpoint.
Break the wall just underneath the checkpoint and head to the left. Jump on the platforms while avoiding the hovering rats for the second Music Sheet.

Head back and bounce off the books to reveal magic book platforms that only last for a few seconds. Use them to make your way across to the right. Along the way you can stop for a fishing spot to fill up a chalice if you have an empty one. Climb up the ladder and then go to the right for the final checkpoint and the boss fight.
King Knight Boss Fight

The King Knight likes to jump around a lot but you can beat him at his own game by timing your jumps for a downward strike on his head. He also has a swing attack with his scepter, a dash and a downward strike. All of his attacks are melee attacks so use the Flare Wand to strike from a distance.
Occasionally the King Knight will blow trumpets and call little bits of confetti to fall down from the sky. They cause damage so try to avoid them. While he’s blowing the trumpet you can strike down on his head for a few extra points of damage. When he’s been defeated you’ll be rewarded with 1500 Gold and end up back at your campfire.
Back: Troupple Pond Next: The Lich Yard