5: Escape the Mines
Back to LEGO Indiana Jones
Escape the Mines Walkthrough
True Adventurer: 120,000 studs
Characters: Indiana Jones, Willie, Short Round
Artifact: Pankot Diamond
Parcel: Treasure x6
Fixing the Rail Cart
Begin by clearing out the cavern of Thuggees. You’ll need to repair the rail and cart before heading through to the next section but we’ll start by picking up some collectibles.
Drop over the edge in the foreground for Artifact #1.
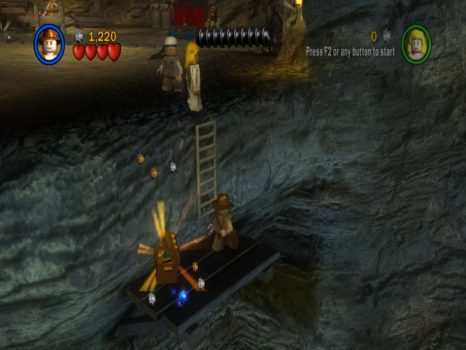
Jump back up and have Willie jump into the alcove on the back wall. Inside you’ll find Artifact #2.
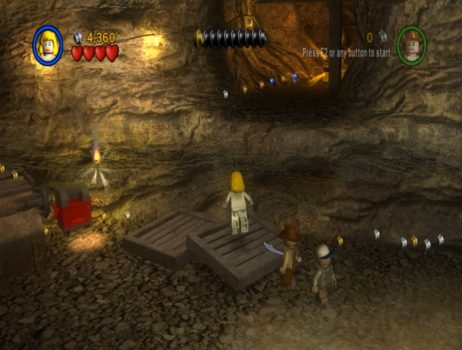
Drop down and jump onto the red and grey dynamite dispenser. From here jump over to the ledge on the right and then up the hand rails to Artifact #3.
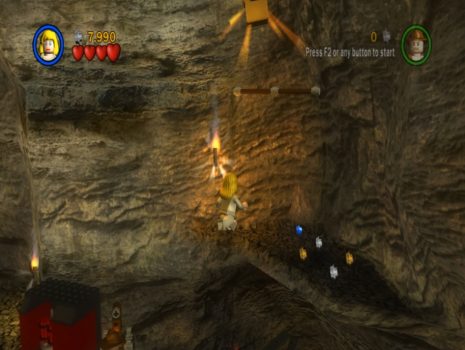
Pull the lever on the dynamite dispenser and blow up the planks to the right. Use the pieces to finish off the minecart. The tracks still need to be repaired. Walk to the left and grab the piece of rail. Place it on the track.
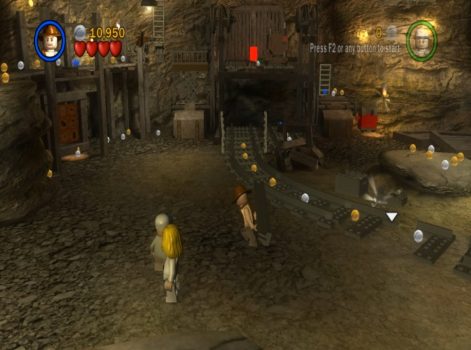
Break the crates on the other side and assemble the pieces to complete the track. There’s a wrench here as well. Use the wrench to repair the cart and push it all the way to the end of the track.
To bring Indy up to the platform have him stand on the plate on the very left. Another character can turn to the key to lift him up.
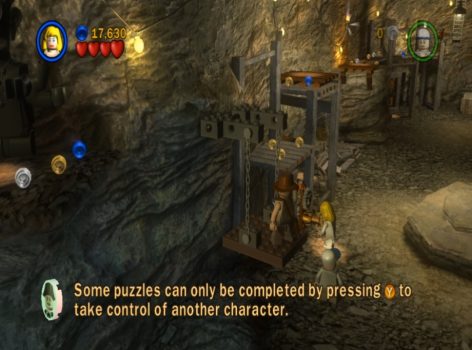
Swing across the gap and pull the lever on the far wall to lower the ladder. Once the other characters climb up to the pressure plate the cart will be lifted up.
If you’re in story mode climb up on the other side and push the cart forwards to enter the next area.
Free Play:
Before pushing the car forwards climb through the small hatch on the left side and switch to a character that can activate the Kali statue on the ledge above. Artifact #4 will appear above.
Also on the left side is a glyph puzzle. Solve the puzzle to open a cave nearby. Dig up the sparkly patch to find the Parcel. Grab the parcel and carry it over to the mailbox to the right. This unlocks the Treasure x6 extra.
Small Minecart Loop
For this section you’ll be going around a minecart loop. It’s a short track and you can proceed to the next section by hitting the 3 switches which light up when you hit them. You might want to grab all the Artifacts and studs before heading to the next area.
Artifact #5 is off to the left side of the track before it loops back around to the entrance. Lean over to the left to grab it.
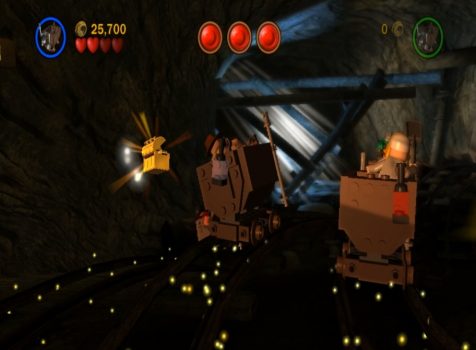
Artifact #6 can be found by hitting the 3 brown and gold hoppers above you. They are spaced fairly evenly around the circular track.
Artifact #7 can be found by derailing the 3 enemy carts. Hit them with your shovel a few times when they appear and they should fall off. Once you derail the last enemy cart you’ll be rewarded with this artifact.
If you’re going for True Adventurer you’ll also want to hit the hanging lanterns for studs and lean out to the left or right to pick up all of the Purple studs lying by the sides of the track.
When you’re done hit the three switches and the lights will turn green at the top of your screen. The next time you ride past the exit you’ll be diverted into the next area.
Large Minecart Loop
For this larger track you’ll need to hit 5 switches to be diverted towards the exit. Once again you may want to pick up all the artifacts and loot before leaving.
There is also a track switch towards the final 1/3 of the track. This diverts you either to the left or right. There is a switch on either side so you’ll need to take both paths to reach the exit.
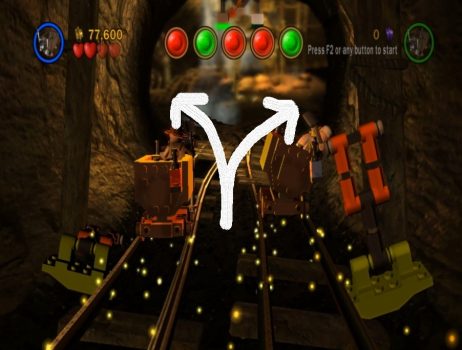
Artifact #8 can be found just past where the exit tunnel veers off just off to the left side.
Artifact #9 can be found by hitting the 3 brown and gold hoppers above. There’s two just after entering the track and a third just before completing an entire loop.
Artifact #10 can be found by whacking the 3 enemy carts off the tracks. You’ll need to be quick to hit them a couple of times before they veer off again.
Once you’re done grab all of the purple studs that you need for True Adventurer, hit the 5 switches and you’ll veer off to the exit to complete the chapter.
Next: Chapter 6: Battle on the Bridge
Back: Chapter 4: Free the Slaves


