2: Castle Rescue
Back to LEGO Indiana Jones
Castle Rescue Walkthrough
True Adventurer: 35,000 studs
Characters: Indiana Jones, Elsa Schneider, Henry Jones Sr.
Artifact: Suit of Armor
Parcel: Disarm Enemies
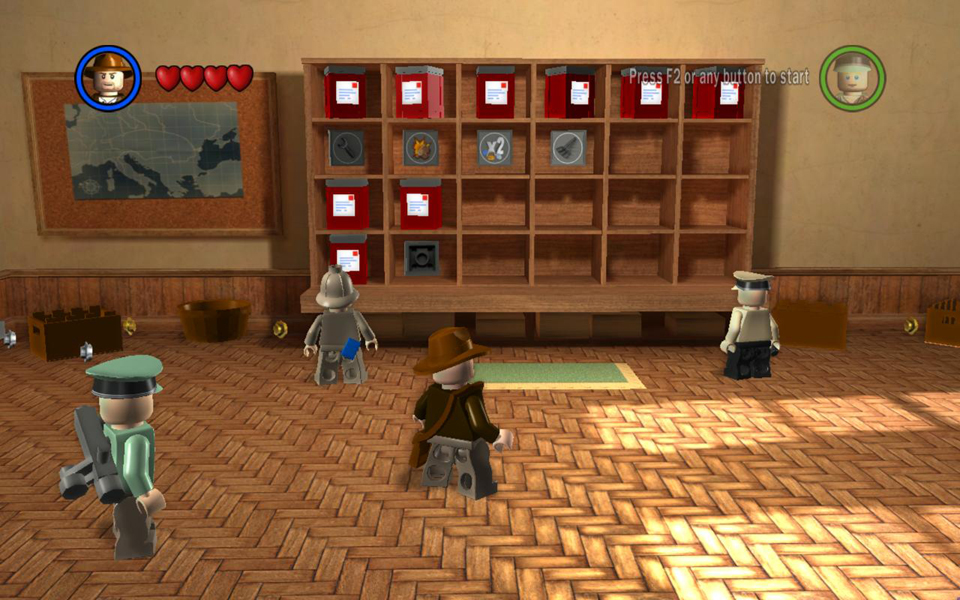
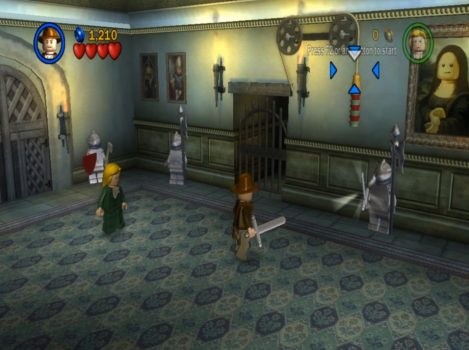
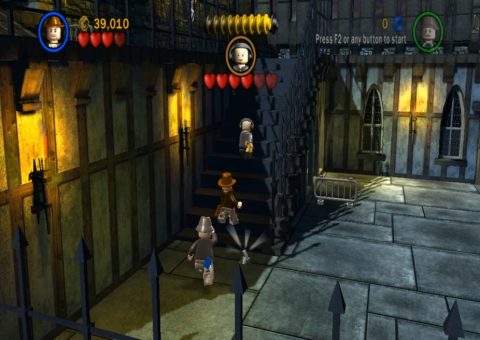
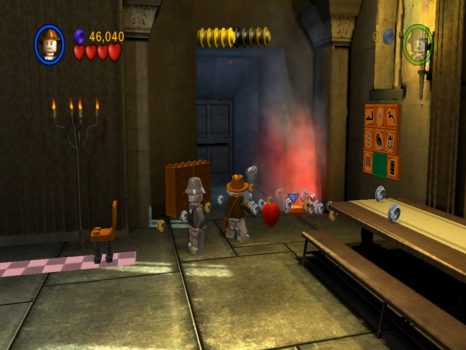
Castle Entrance
Grab a sword from one of the statues and throw it at the cable above the gate.
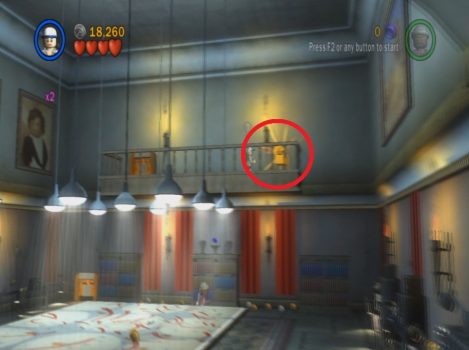
Go through to the hallway and take out the soldiers. One of them has a bazooka so try to take him out quickly. In the back corner of the room use Elsa to jump up to the cabinet and then up to Artifact #1.
Free Play:
Look for the suits of armor with the red shields and blow them up. There’s one in the starting room, one in the hallway and one on the left side of the room with the movable table. For the fourth you’ll need to activate the Kali statue on the right side.
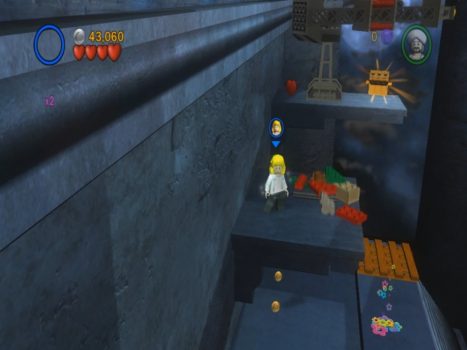
The bookshelf to the right will open up. Go through to a secret area. Blow up the last suit of armor with the red shield in the corner and Artifact #2 will appear.

Blow up the white chest of drawers in the corner and assemble the pieces into a crawlspace. Send a small character through to the ledge above and pick up Artifact #3.
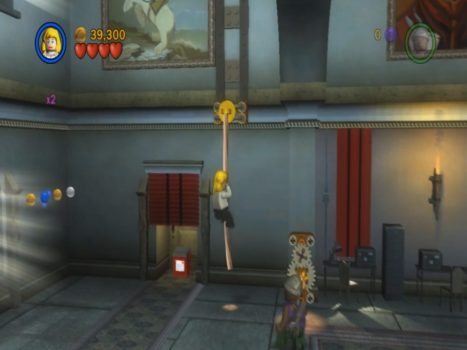
Blow up the other suit of armor and assemble the bits into a key mechanism. Turn the key to lower the rope and jump up to grab the rope to open the door nearby.
Grab the Parcel and mail it in the mailbox to the left. This unlocks the Disarm Enemies extra.
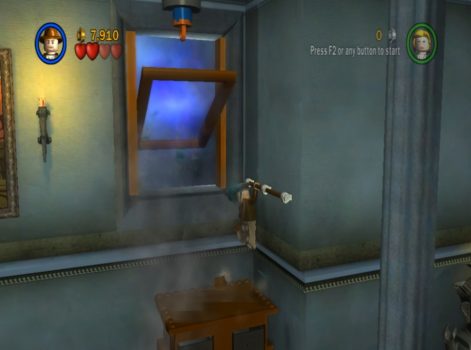
Push the table across to the right and have Indian Jones climb up. Whip the hook above the window to open it and jump up to the rail and outside.
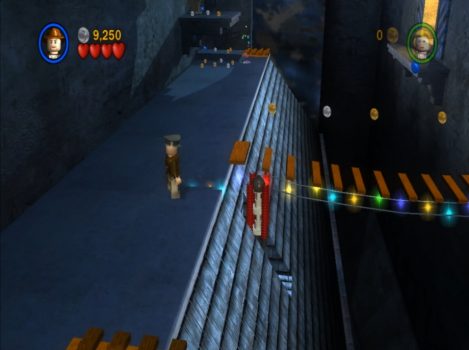
Rooftops
Swing across the gap, take out the 2 soldiers and then assemble the wooden planks into a bridge so the other character can get across.
Free Play:
Jump to the ledge with the gargoyle statue and use a bazooka to blow up the silver box on the next ledge. Jump across to Artifact #4.
Switch to Elsa and jump onto the ledge. Break the gargoyle statue and build a spinner. Push it around to move the crane around and then have Indy whip to it from the Indy pad.
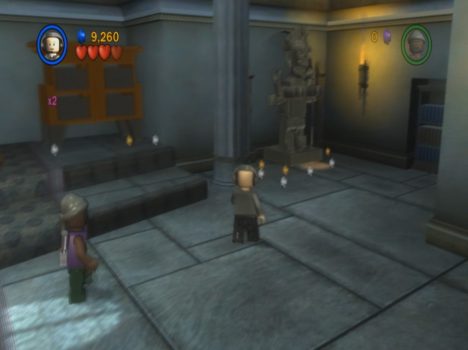
Library
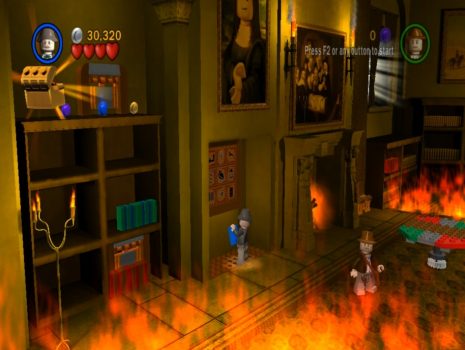
Use Henry Jones to solve the glyph puzzle on the wall. This opens the panel with weapons behind it and also Artifact #5.

Break the chairs and drawer to the left of the panel and put the pieces together to make a ladder. Climb up to the ledge by the windows and drop down on the other side of the fire.
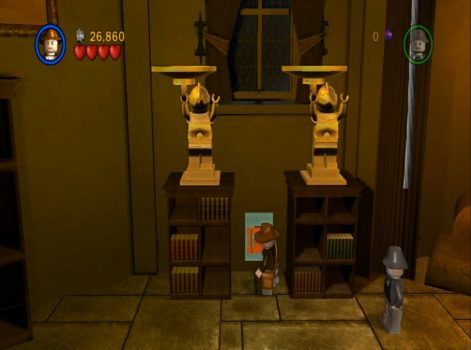
Jump up to grab the rope and open the curtain. Smash the statue behind it and grab the golden shield. Pick it up and give it to the gold statue on the left.
Break the lamp and assemble the pieces to give the second gold shield to the other statue. Pull out the handle with until the left statue is lifted up and holds the shield in place. Climb up the rope and jump across the gold shields.
Walk over the tops of the bookshelves and drop down on the other side of the fire by the fireplace.
Push in the empty bookshelf on the left of the fireplace to reveal another glyph puzzle. Use Henry to solve it.
This turns the table into a spinner. Spin it around to reveal a secret exit behind the fireplace.
Free Play:
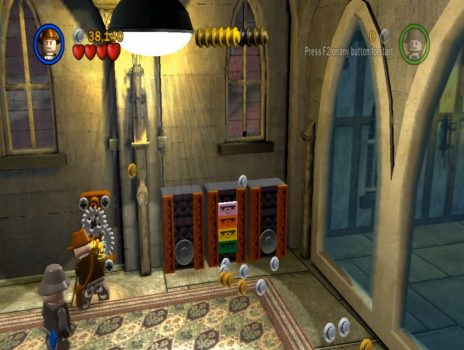
Break the books on the left bookshelf to reveal a crawlspace. Go through with a small character to come out up the top for Artifact #6 and a purple stud.
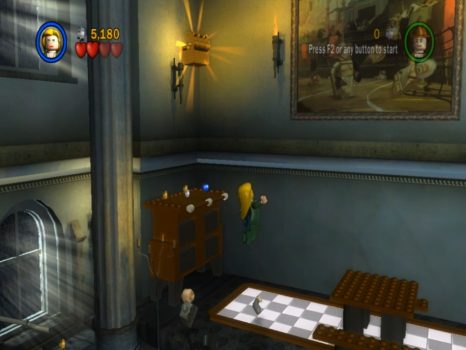
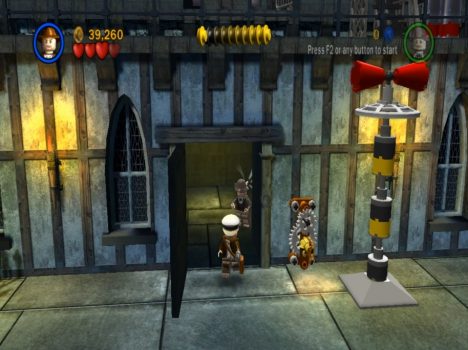
Communications Room
Take out the enemy soldiers and smash all the furniture to find 2 small disks. Attach them to the green plates on the stereo system. Assemble the white pieces to complete the stereo and then turn the key to activate it and shatter the glass window.
Go through to the outside area.
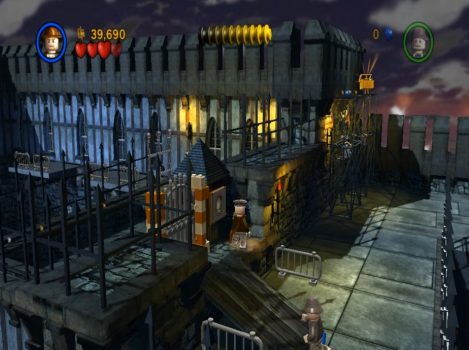
Rooftop Boss Fight
Fight off the enemy soldiers, including the radio operator. Once you hit him enough times he’ll run upstairs with the key in his hand.
Follow him up to the landing and fight him again. This time he’ll run off to the right and into an alcove. Follow him once more and fight him until he drops the key.
Grab the key and take it down to the ground floor. Place it in the mechanism and turn it to sound the alarm. The officer will come out of room behind it. Take him out and grab the Officer’s Hat.
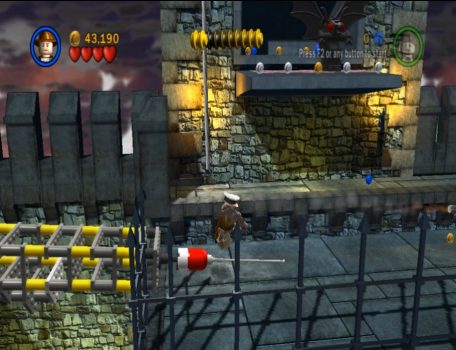
Head up the stairs and knock on the guard post to the left. From here you can also see an artifact on the scaffolding in the back corner. We’ll get to that later.
Once past the gate pull the lever to reveal the bazookas. Grab them and shoot the silver gate to the left. Jump across the ledge for Artifact #7.
Now head back to the scaffolding and shoot the lock on the silver ladder so you can climb up for Artifact #8.
Grab another bazooka if you need it and then head to the right. Shoot the silver cannisters to knock over the antenna and walk over it to the other side.
Climb up the rope, push over the gargoyle statue and grab Artifact #9 from the wreckage.
Knock on the next guard post and go through the door to the final area. Make sure you have a bazooka before going through.
Escape
Blow up the silver filing cabinet to find a glyph tile. Place it on the glyph puzzle and solve it for Artifact #10.
Push the chair across to the left to open up the secret exit and walk towards it to end the chapter.
Next Chapter 3: Motorcycle Escape
Back: Chapter 1: The Hunt for Sir Richard