3: City of Danger
Back to LEGO Indiana Jones
City of Danger Walkthrough
True Adventurer: 50,000 studs
Characters: Indiana Jones, Marion
Artifact: Monkey Statue
Parcel: Treasure x 2
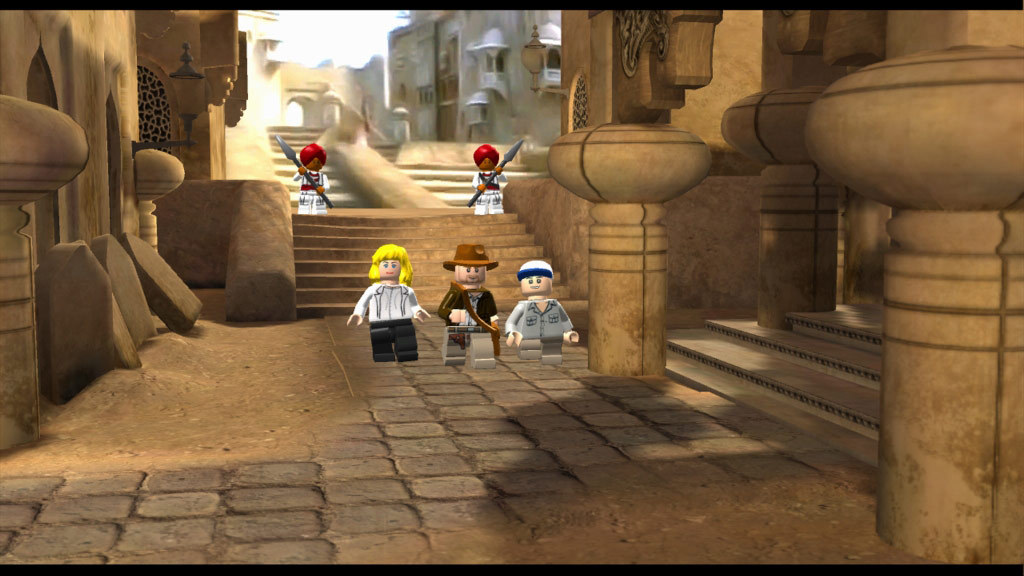
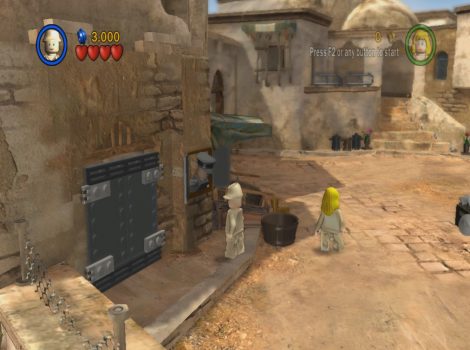
Streets of Cairo
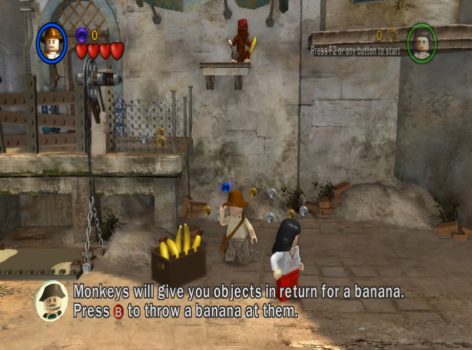
When you begin grab a Banana from the crate and throw it up to the monkey. The monkey will catch it and throw down the Wrench.
Use the Wrench to repair the blue machine to the left to get the machine working. Ride the lift up and go through the door to the next area.
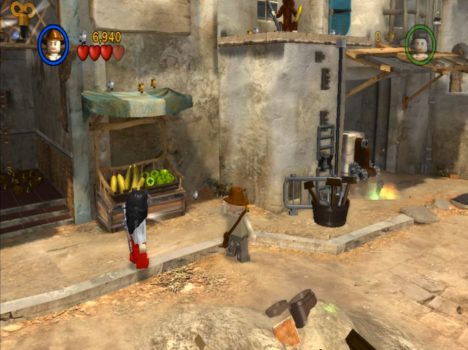
To the left of the stairs is another crate with Bananas. Take out the Masked Bandits first and then throw a Banana up to the monkey. This one will drop down a Shovel.
Use the Shovel to dig up the sparkly patch on the ground under the monkey and you’ll find a lever. Break the items under the monkey to find the pieces to make a ladder.
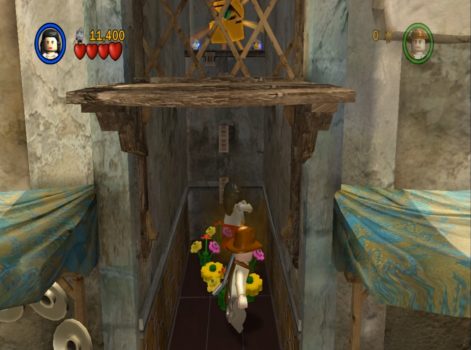
Pull the lever to lift up the ladder and climb up. Jump across to the left to find a Key. Drop down and enter the alley underneath. Break the pieces to make the flowers grow. Then destroy the flowers and use the pieces to make a ladder. Climb the ladder to reach Artifact #1.
Head out and follow the street around to the right to the large gate with 2 locks. Use the first Key on one of the locks and turn it to remove the bar. You’ll need to find one more key.
Run up the stairs to the right and fight the Masked Bandits. Push the carriage along to the right and then have Marion jump up onto the stall. She can then jump across the top of the carriage to the rope to lift up a ledge. Jump to the ledge and then across to the second Key.
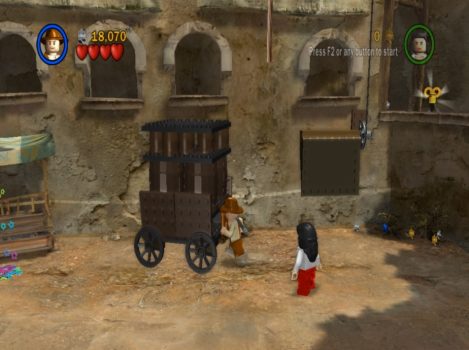
Use the Key to open the gate and go through to the next area.
Free Play:
Climb up to the area with the monkey and use a character who can break glass to shatter the window. Go through for Artifact #2.
To the right of the steps up to the yard with the carriage there’s a small crawlspace. You can climb in for more studs.
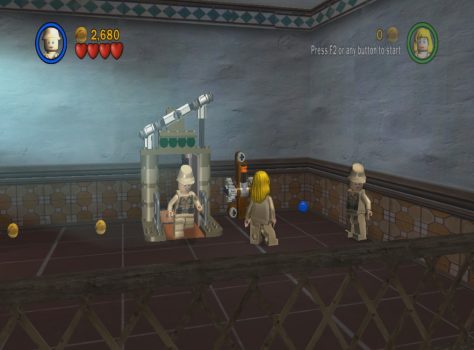
To the left of the steps is a Guard Post. Use a character with a guard uniform to be let in. Inside the room is a lift and a lever. Pull the lever and take out the guards that emerge. Do this four times and Artifact #3 will appear.
Bazaar
When you enter you’ll be attacked by 2 Soldiers riding camels. More Soldiers will pour out of a truck to the right. Take them out and then break the crate by the cart at the back of the bazaar.
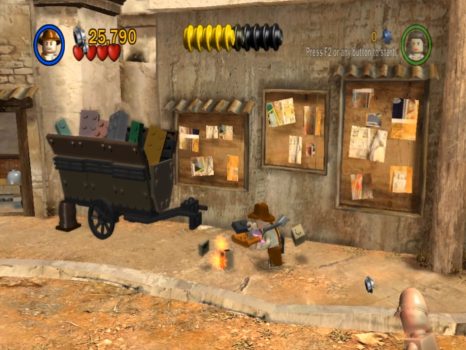
Assemble the pieces into a handle and pull the cart across to the right to reveal the exit.
Free Play:
There’s a few things to do here in Free Play mode. First blow up the silver bars on the right side and go through to the rooftop. Pick up the box of metal bars and place them on the green plate. Assemble the steel chest and push it off the edge. When it breaks down on the street it will reveal Artifact #4.
On the left side of the bazaar you’ll see a small hatch. Send a small character through to appear on another rooftop. Switch to Indy and use the whip on the tank. it will open and Artifact #5 will fall out.
Also on the left side is a guard post. Knock on it with a Soldier character to be let inside. You’ll come out to an area with lots of dish antennas. Build the pieces to make an antenna array. Once you’re done Artifact #6 will appear.
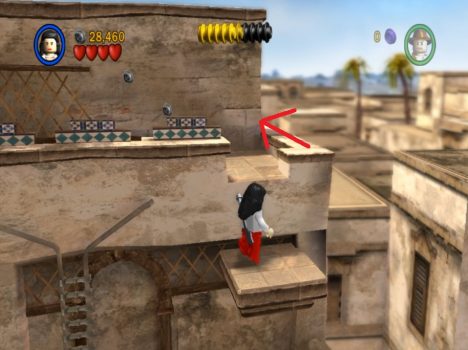
Rooftops
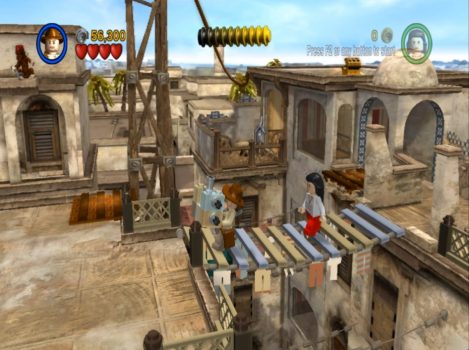
Head up the stairs as you fight off the Bandit Swordsmen. Up the top break the box of green pieces to the left of the bananas and assemble the pieces into a ladder. Climb up and carefully walk around the back of the wall to find Artifact #7.
Drop down and use Indy to whip the railing above. Then throw the monkey a banana and he’ll drop down the Dynamite.
Use the Dynamite to blow up the silver barrel. Climb up the ladder behind it to the rooftop. Drop over the edge in the foreground to find Artifact #8.

Climb back up the hand rails and head towards the domed roof. Push the lever forwards to open up one side of the dome. Then push the green ball over the edge to the right and it will knock over a plank so you can walk across the gap.
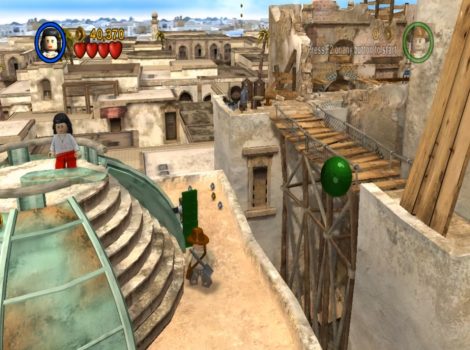
Walk across the bridge and then carefully make your way across the brown plates. Grab a banana and give it to the next monkey. It will drop down the key. Use the key to extend the next bridge.
Before going across you might want to jump across to the pillar for the Purple Stud.
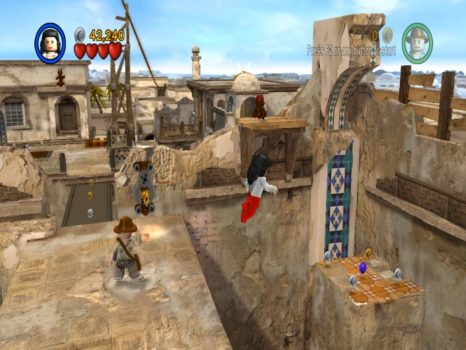
Head across the bridge to the rooftop with the 2 green plates and the blue machine. Grab a banana from the box and give it to the monkey. It will throw down a Wrench. Use it to repair the blue machine. This retracts the awning so you can grab the box of bits. Place it on one of the green plates.
Have Indy whip across the gap to the right and break the items. Assemble them into a bridge and then walk across with the motor part.
Place it on the green plate, then assemble the pieces into a lever to open the trapdoor. Jump down to the next area.
Free Play:
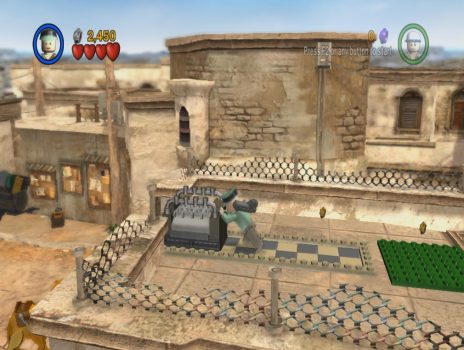
After swinging across the gap to get the second machine part use someone with explosives to blow up the silver metal fan. Assemble the pieces into a fan that blows upwards. Use the updraft to get up to the roof for Artifact #9.
Military Base Entrance
When you enter follow the street around to the right. Take out the Soldiers and Officers and pick up the Officer Hat. You can now knock on the guard post and be let through the gate.

Watch out for the Bazooka Troopers on the other side. Assemble the pieces to the front of the truck and then grab the nearby Wrench to fix it. Hop inside and drive it through the gate and then next gate down the street to the right. Get out and go through the smaller pedestrian gate to end the chapter.
Free Play:
Use someone with explosives to blow up the silver bars in front of the crawlspace to the left of the gate. Crawl through to come out on a ledge with Artifact #10.
Once you get through the guard post you’ll spot a glyph puzzle behind the truck. Use someone who can solve it to open the door.
Go through to find yourself in the Mos Eisley Cantina! Send a small character through the crawlspace to find a hidden Star Wars character, Chewbacca!
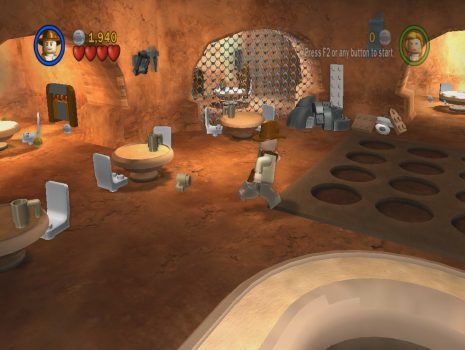
Next assemble the Lego near the broken speakers to activate the sound system. Then jump on the lights on the dance floor. Once the whole floor is lit up a Parcel will appear. Take it to the mailbox to the right for the Treasure x 2 extra.

Next: Chapter 4: Well of Souls
Back: Chapter 2: Into the Mountains