4: The Well of Souls
Back to LEGO Indiana Jones
The Well of Souls Walkthrough
True Adventurer: 57,000 studs
Characters: Indiana Jones, Sallah, Marion
Artifact: Anubis Statue
Parcel: Fast Dig
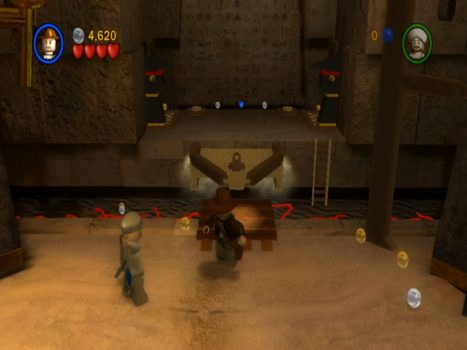
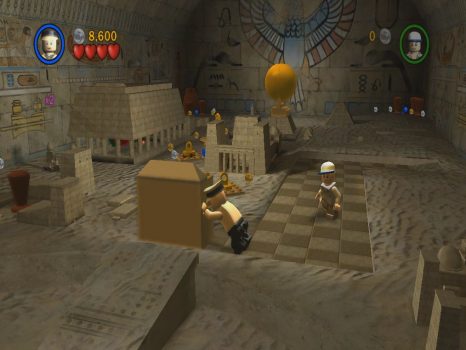
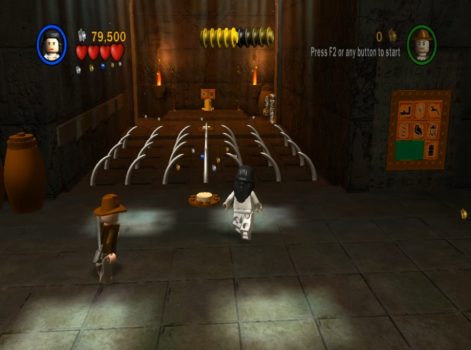
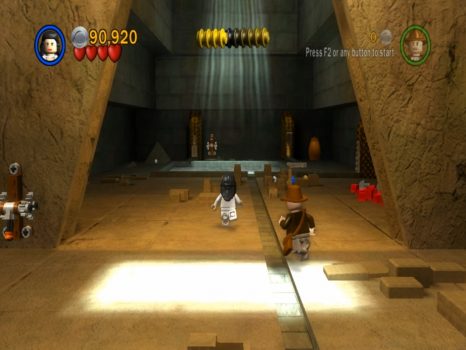
Snake Pit
After the cutscene you’ll be in the entrance to this underground tomb. This room is filled with snakes and Indy is scared of them. Use Indy to whip the bridge closer so Sallah can jump across.
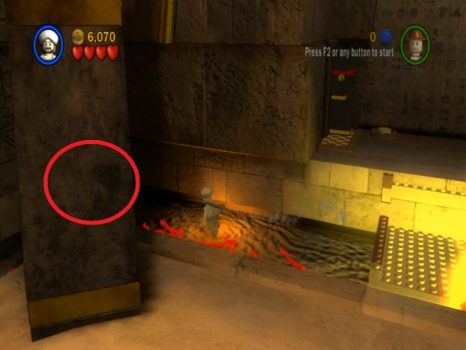
Push both statues back towards the gate. One of them has the pieces for a fireplace the other has a torch. Assemble the fireplace and light it with the torch. Make sure Sallah is holding the torch and walk across to the left to find Artifact #1 hidden from view behind the pillar.
Grab the Blue Book from the central platform and then stand on the two buttons by the large gate. Go through to the next area.
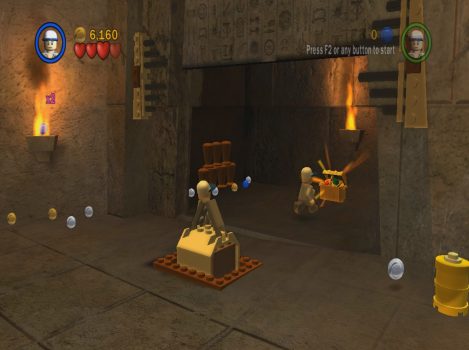
Trapped Corridor
If you stand on the buttons releasing the spear traps you can just whack them to break them. The alcove to the left is only for free play mode.
Free Play:
Use a small character to squeeze through the hatch and emerge on the other side of the pit. Switch to someone with explosives and blow up the silver dinosaur statues.

Grab the Sword on the left and return through the crawlspace. Use it to break the rope holding the bridge up. Run over the bridge, grab the tan block and carry it over to the orange button. This opens a large door with Artifact #2.
Inside this room smash the jars on the left wall to reveal a secret passage behind them. Go through to a hidden chamber.
Push the tan block along the tiles on the floor to the left, then turn the spinner to open the golden globe at the back of the room and reveal Artifact #3.
Head to the back of the room and use the blue book to solve the glyph puzzle. When the gate opens go through to the next area.
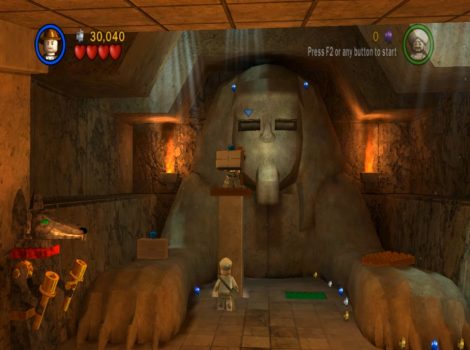
Sphinx Room
In the first section of this room there are 4 pillars with handles on the. You’ll need to turn them around so Indy can make his way across the top of them.
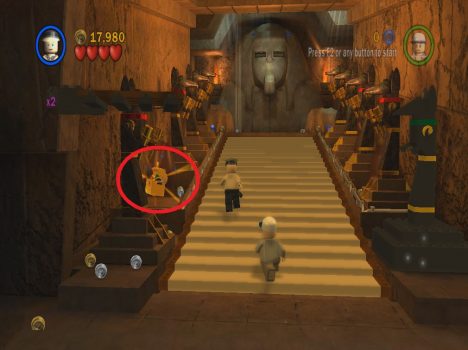
On the left side is a key mechanism that opens a door. smash the sandy blocks behind it, then smash the through the smaller wall to reveal Artifact #4.
Try to grab the key on the steps and it will turn into a ramp. When the key slides down pick it up and use it on the key mechanism to the right. Turn to the key to open the door and then smash through the sandy blocks.
Assemble the pieces together to make a statue head. Pick it up and place it on the first statue on the right. This turns the ramp back into a staircase.
Now have Indy jump across the pillars. Sallah will need to turn the pillars around so Indy can make his way across.
Once Indy gets to the final pillar he can stand on the pressure plate to drop the pillar down, then pick up the box with the diamond and take it upstairs to the sphinx.
Ride the lift up to the eye of the sphinx to place the diamond in the eye.
Grab the brown plate on the paw and place it on the green plate to activate the second lift. Pick up the diamond on the other paw and take it up to the other eye.
Once both diamonds have been place the door between the sphinx’s paws will open.
Free Play:
Blow up the silver statue on the left side to reveal Artifact #5.
Ark Room
Finally, you’ve found the room with the Ark! To get to it you’ll need to place the three golden orbs in the receptacles in the back wall. The first can easily be found on the floor in front of you.
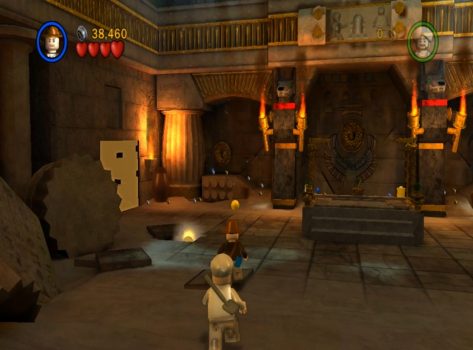
Pick it up and place it in the receptacle on the left side of the back wall.
Break the sandy wall on the left side to reveal a Lego platform. Take it over to the green plate to make a lift. Then dig up the sparkly patch on the left to find the second golden orb. Ride the lift up and place this in the center receptacle.
For the third golden orb head to the right side. Dig up the Blue Book if you need it. Then use it to solve the glyph puzzle in the alcove.
This extends the hand rails. Jump up and whip the golden ball. Place it in the third receptacle to reveal the Ark of the Covenant. Approach it for a cutscene.
Back at the Snake Pit
After Marion is dropped down from the roof you’ll be back in the snake pit. Have her jump up to grab the rope while Indy is on the Indy pad.
He can then swing across to the next pillar which break and smashes through the wall. Run over the pillar and through the hole in the wall to the next area.
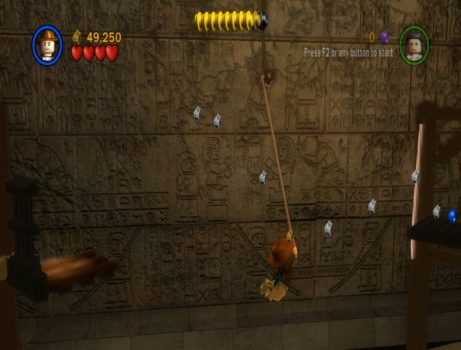
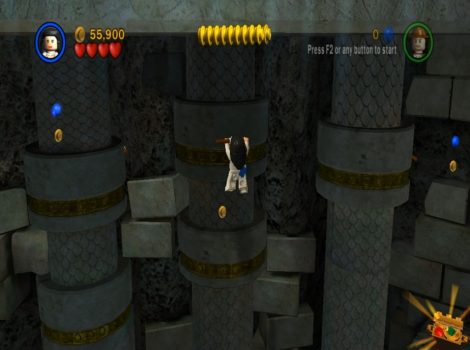
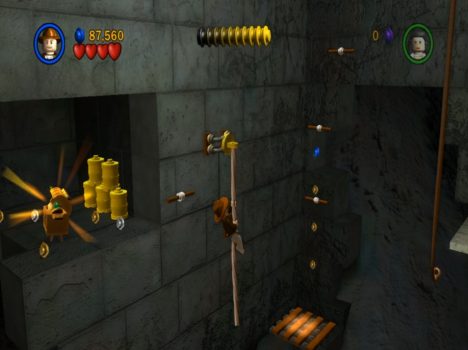
Collapsed Passage
Use the hand rails to jump across the collapsed floor, then swing across the rope to the other side. Drop immediately off the edge to find Artifact #6 down below.

You can climb the rope back up and jump over to the right. Break the 2 jars on the back wall to reveal a secret passage. Go through to an area with large rotating pillars.
Use Marion as she has a bigger jump. Grab onto the hand rail of the first pillar and jump up and over to the next pillar. Make your way across the 3 pillars and then down to Artifact #7.
Once you grab it a bridge extends so you can easily make your way back to the entrance.
Use Indy to whip across the gap. Break the webs in the corner and grab the Shovel. Use it to dig up the sparkly patch and lift up the lever. Pull the lever to extend the ledge so Marion can get across. Pull on the ropes to open the next door.

Puzzle Room
Put the pieces together to fix the small sandy pillar in the center of the room. Break the jars on the right and grab the key. Place it in the key mechanism to the left. Grab the first large gear and place it on the mechanism.
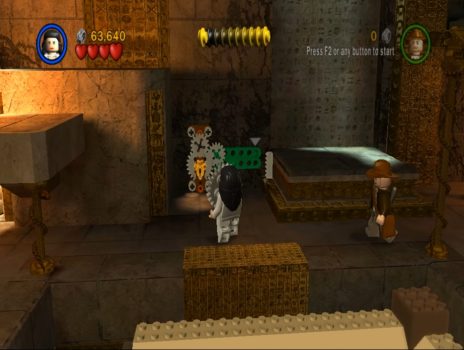
Jones can dig up the second gear and also place it on the key mechanism. Turn the key to lift up a pillar.
Now Marion can jump up onto the ledge to the left of the mechanism. Have her jump up and close Snake Hatch 1/3.
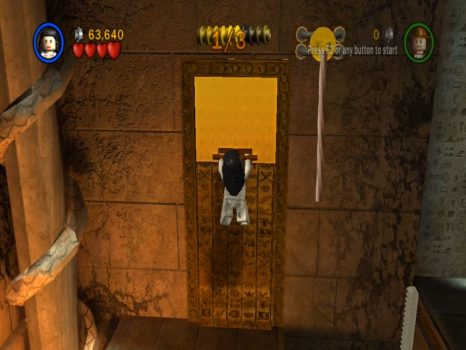
Jump all the way across to the right, jump up to the handrail in the corner and pull down Snake Hatch 2/3. Continue around the ledge and assemble the pieces at the end to make rope. Climb up and close Snake Hatch 3/3.

Artifact #8 will appear above the sandy block in the center. Use Marion to jump onto the block and then up to grab the artifact.
Now push the sandy block all the way across and forwards in the the back left corner. You can use this block to let Indy jump up to the ledges. Make your way around and stand on the two buttons to open the exit door.
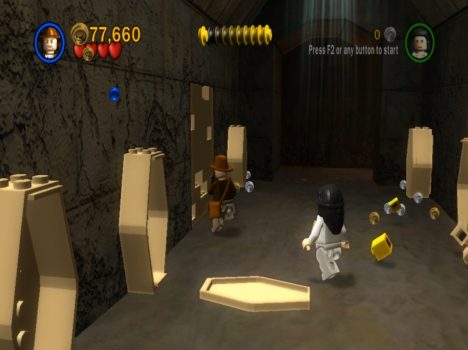
Hall of Coffins
Make your way down the hall avoiding the spears coming out of the coffins. Take the exit at the end.
Free Play
Break the sandy wall on the left side towards the end of the hallway and go through.
You’ll enter a secret room with a few puzzles to solve.
Stand on the white button to retract the spikes and then quickly jump across to the other side. Break the brown urn for a Key and use it on the mechanism to extend a ledge on the left side.
Pick up the glyph tile and carry it over the ledge. Place it on the glyph puzzle and solve the puzzle for Artifact #9.
Sand Room
Have Indy swing across the gap and pick up the Shovel. Dig the sparkly patch and assemble the pieces into hand rails. Jump up to the next Indy pad and whip down the bridge. Head across the bridge, grab the Key and drop down.
Marion will find her own way across. Have her jump back to the previous ledge and break the items to reach the second Key.
Use both keys on the mechanisms to lift up the bridge and trigger the boss fight.
The Giant Serpent
Dodge the venom attacks from the serpent and grab a torch from the sconce. Throw they torch at the serpent to do a hit point of damage.
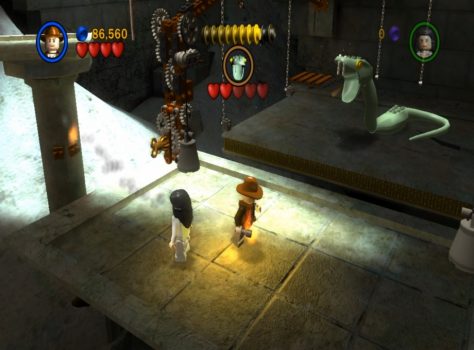
Repeat this 5 times until the Giant Serpent has been defeated. After the boss fight jump over to the serpent and put the pieces together to make a lift.
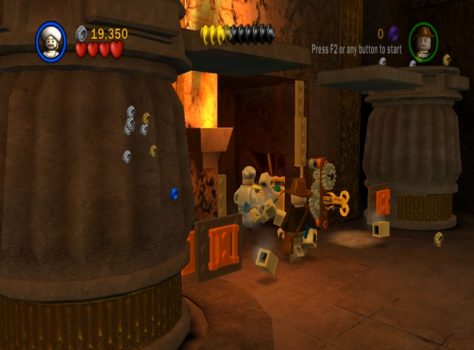
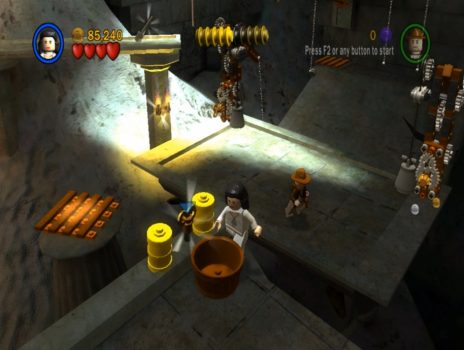
Detour for the Parcel
Use the whip pad to swing across to the left. Jump over to the rope, climb up and then jump into the alcove with Artifact #10.
Break the yellow barrels and go through the passageway behind them to the map room.
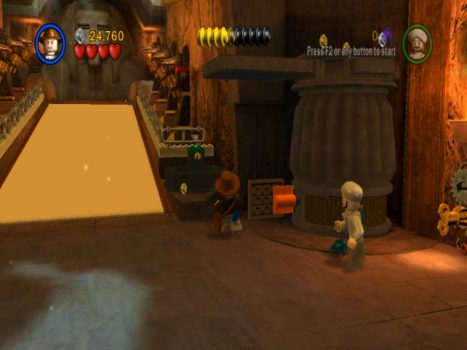
Inside the map room you’ll see a model of the city on the ground. Pull the lever on the back wall to open the door to the inner chamber.
Assemble the red bricks on the right to make the mailbox. Assemble the pieces on the back right side of the pool to complete the water chute. Then break the brown jar at the back to find the Key.
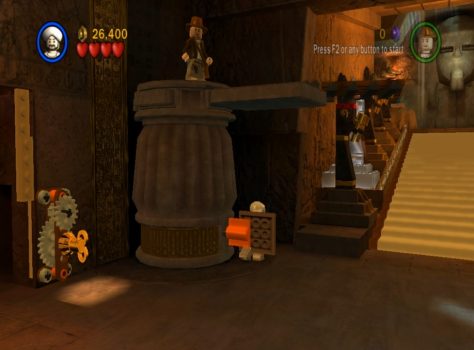
Use the key on the mechanism on the front right side of the pool to activate the second water chute. Pull the lever at the back left to activate the third water chute.
Water will flow into the front chamber and make the flowers grow. Break all the flowers to reveal the Parcel. Mail the Parcel for the Fast Dig extra.
Leave this room and climb back to the lift. Ride the lift up and push the block forwards to reveal the exit.
Next: Chapter 5: Pursuing the Ark
Back: Chapter 3: City of Danger