4: Trouble in the Sky
Back to LEGO Indiana Jones
Trouble in the Sky Walkthrough
True Adventurer: 80,000 studs
Characters: Indiana Jones, Henry Jones Sr.
Artifact: Eagle Statue
Parcel: Treasure Magnet
Zeppelin Cabin Boss Fight
Pull the lever on the wall to the right to open the curtain and reveal Colonel Vogel. Enemy officers and soldiers will spawn and attack.
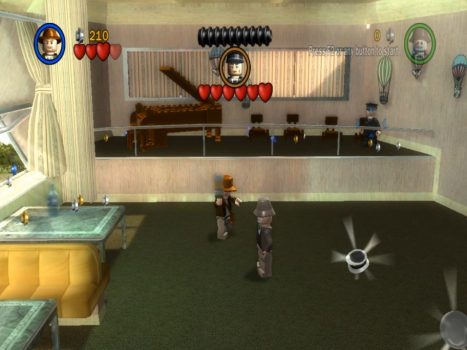
Focus on hitting Colonel Vogel with bottles that you can pick up from the tables. Once he’s reduced to 2 hearts he’ll jump down so you can fight him normally.
Free Play:
Use a female character to jump over the railing on the right side of the room. Break the glass for Artifact #1.
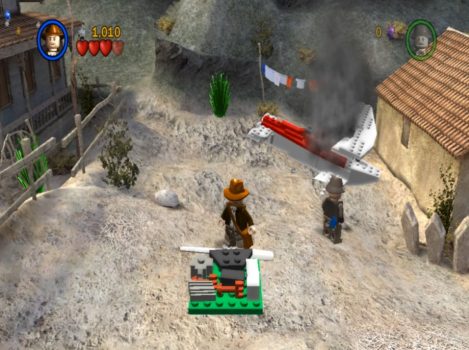
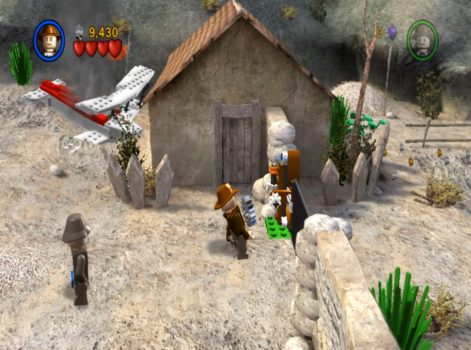
Small Country Farm #1
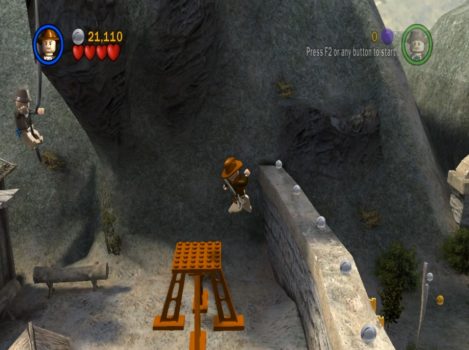
Smash the front of the little plane to get the motor and bring it over to the green plate.
Put the pieces together to make a fan and use it to jump over the fence to the other side. From this side stand on the Indy pad and whip open the gate.
Head to the left and whip the hook to lower the ladder and climb up. Make your way around the hand rails to the clock.
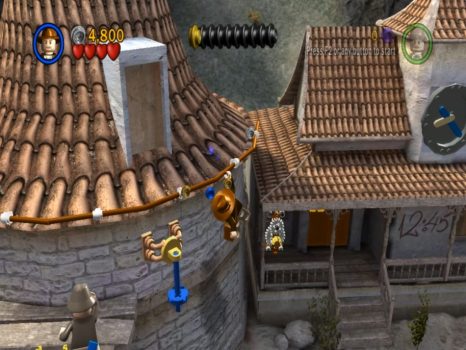
Break the clock and grab the cog. Carry it through the gate all the way to the right and use it to fix the mechanism on the next gate.
Free Play:
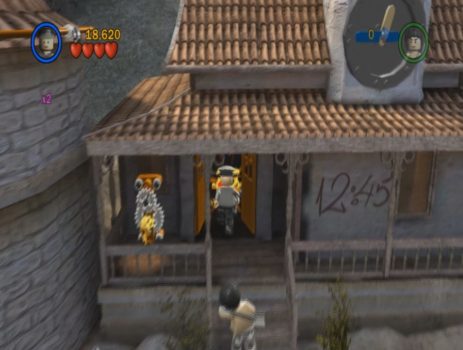
Blow up the silver cart in the yard out the front of the house with the clock to find a key. Use it in the mechanism by the door to change the time. Change the clock time to 12:45 and the doors will open. Inside you’ll find Artifact #2.
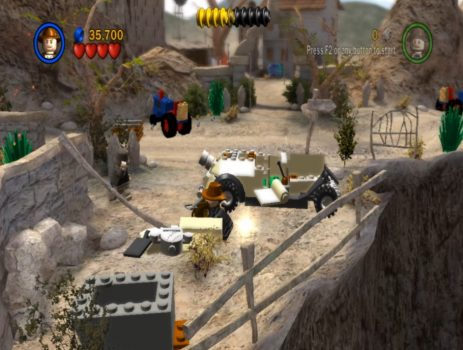
Once you reach the area beyond the gate planes will drop bombs and paratroopers. First there’ll be a few bombs, then a squad of paratroopers shortly after.
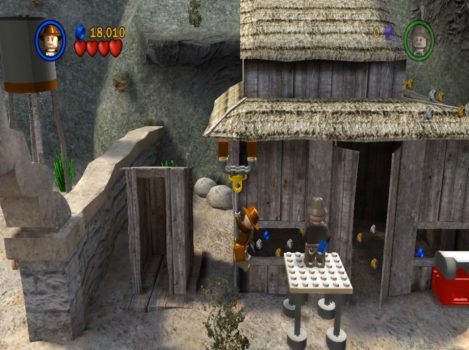
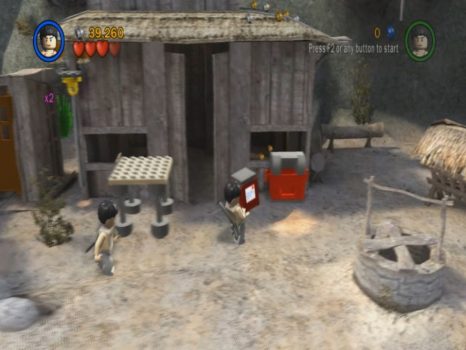
Make your way to the right and whip the hook under the water tower. Grab the handle and use it to open the shed on the left for Artifact #3.
Continue to the right, under the arch, and open the door to the small shed. Grab the shovel inside and dig up the sparkly patch in front of the larger shed. This reveals a lift. Pull on the rope so the other character can ride the lift up.
Run along the roof to the right, swing across the rope to the platform and then quickly over the brick fence before the platform collapses.
Free Play:
Go back to the barn and the well and hop on the tractor. Drive over the 3 sections of plants and then destroy the mushroom that grows afterwards. The first area is through the arch to the left.
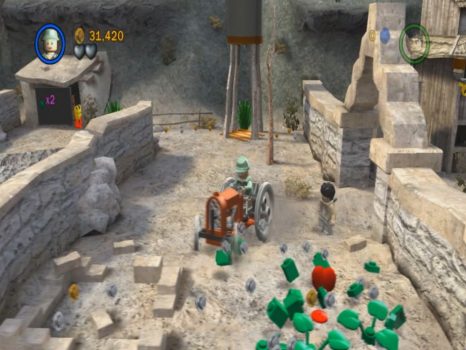
The second is next to the farmland to the left and the third is by the back of the next building to the left.

This makes the Parcel appear near to where you destroyed the last mushroom. Pick it up and take it back to the mailbox to unlock the Treasure Magnet extra.
Take the exit at the top of the screen.
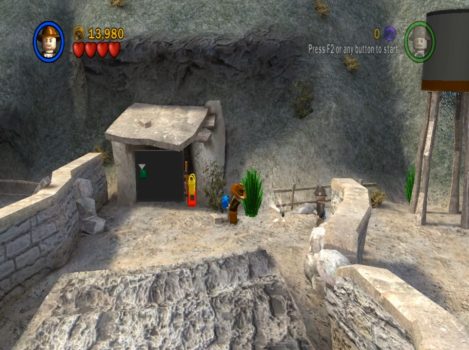
Small Country Farm #2
Free Play:
Break the sand blocks near the entrance to reveal a crawlspace. Go through to come out o the ledge above where you’ll find Artifact #4.
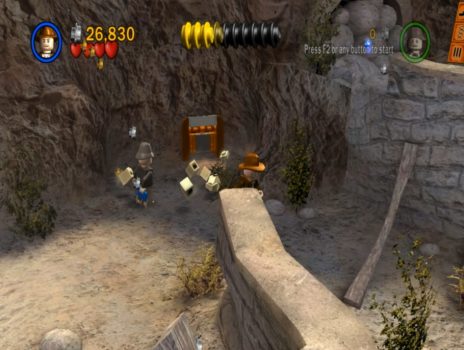
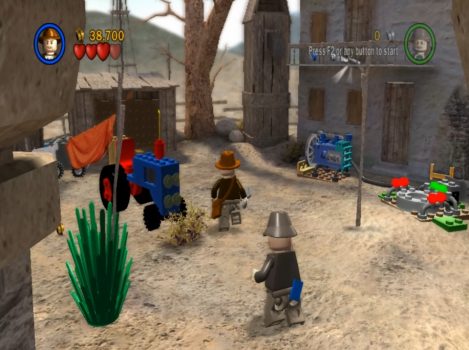
Head to the right until you find the car. It needs to be repaired before you can drive it. Put the loose pieces together fix the door of the car.
Break the box in the foreground to reveal a wheel. Pick it up and take it to the car.
Destroy the blue tractor behind the car to reveal a button piece. Take it through the arch and place it on the green plate by the button. There’s another blue tractor right by the button. Destroy it and place the second piece on the button.
Run back out through the arch and walk a little to the right to find the third tractor. Break it, grab the part and bring it back to the button.
Jump on the button to start the generator. After a few seconds a ladder will rise up. Climb up and grab the wrench.
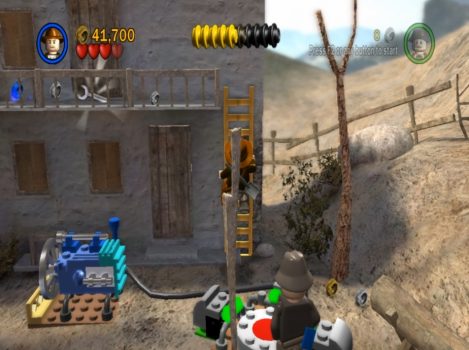
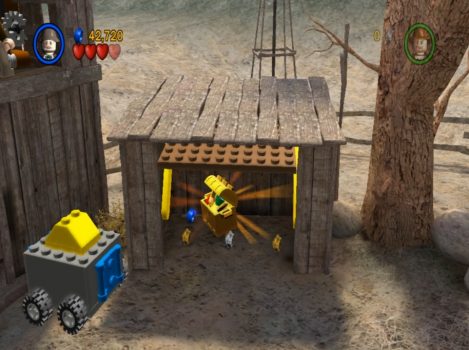
Before you take it back to the car grab the little cart to the left and drag it all the way to the right. It will fill with wheat. Push it back to the left, jump onto it then into the room above. Pull the lever to open the shed below. Drop down and pick up Artifact #5.
Head back to the car and use the wrench to repair it. Take it back to the car and repair the car. Before driving away run up the path to the left. At the end you’ll find a glyph puzzle.
Solve the puzzle to reveal a set of handrails. Jump across them to Artifact #6.
Get in the car and drive it along the road to the right. The bridge is broken so you won’t get far.
Swing Indy across and break the planks. Use the pieces to repair the bridge. Get back in the car and continue on your way.
The Beach
Run along the road, taking out the soldiers along the way. Follow the path down towards the beach. At the end of the path you’ll scare away the seagulls. They’ll fly up and destroy one of the planes. There’s two more to aircraft to take down.
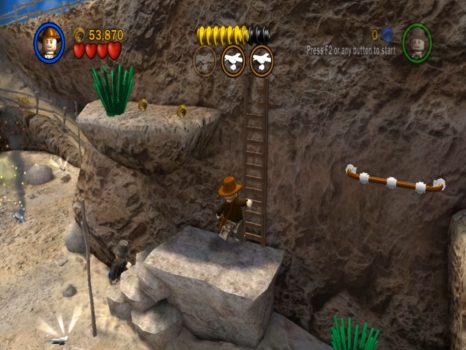
Climb up the rock just around the corner to the right and then up the ladder.
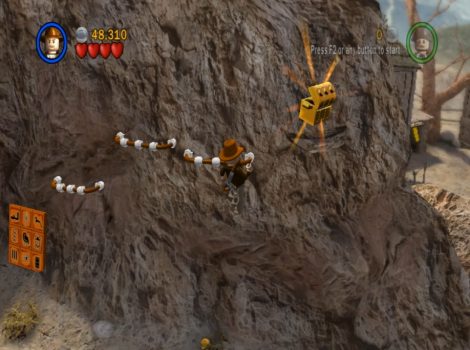
Jump up to the handrails above and continue jumping up and to the right to find Artifact #7.
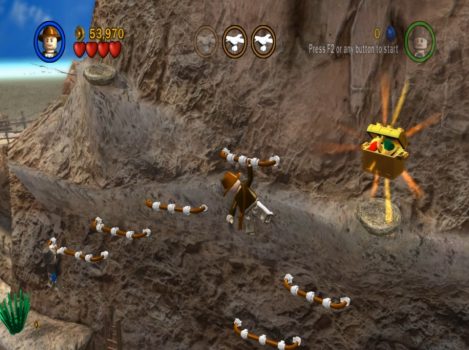
You should land on another ledge below. Swing across the rope to another handrail and then over to another ledge. Continue to the right to another handrail and then one final rock ledge. You’ll scare away a second group of seagull and destroy the second enemy plane. Drop off the edge on the right side to land on Artifact #8.
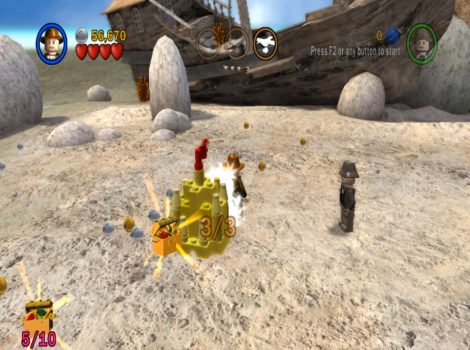
Make your way back to the left and you’ll see a shovel sitting out the front of a small cubby house. You’ll need to dig up the three sandcastles for the next artifact.
Sandcastle 1/3 is next to the cubby house. Sandcastle 2/3 can be found back to the right near to where you dropped down.
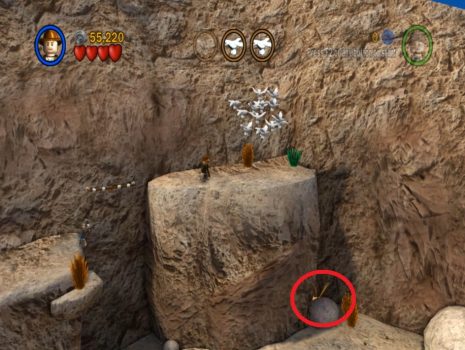
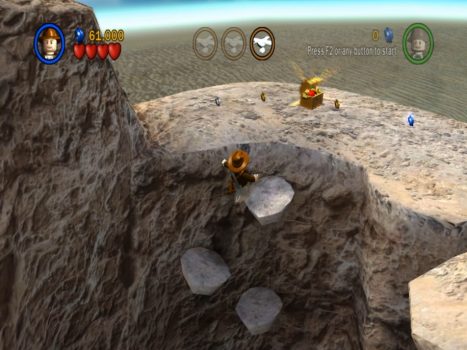
Head all the way back to the left and dig up the chest. Smash it to find a key inside, then use the key on the mechanism to turn the ramp into steps.
Climb up the steps and jump over the rocks to the other side. Make sure you still have the shovel. Dig up the final Sandcastle 3/3 on the other side to be rewarded with Artifact #9.
Walk to the left and jump over the stepping stones in the water. Climb up the stones in the rock face and you’ll find Artifact #10 up the top.
Head towards the boat and climb up the rope to the purple studs. Jump across to the final group of birds to destroy the final plane and end the chapter.
Next: Chapter 5: Desert Ambush
Back: Chapter 3: Motorcycle Escape