6: Temple of the Grail
Back to LEGO Indiana Jones
Temple of the Grail Walkthrough
True Adventurer: 80,000 studs
Characters: Indiana Jones, Henry Jones Sr., Sallah, Brody
Artifact: Fake Holy Grail
Parcel: Invincibility
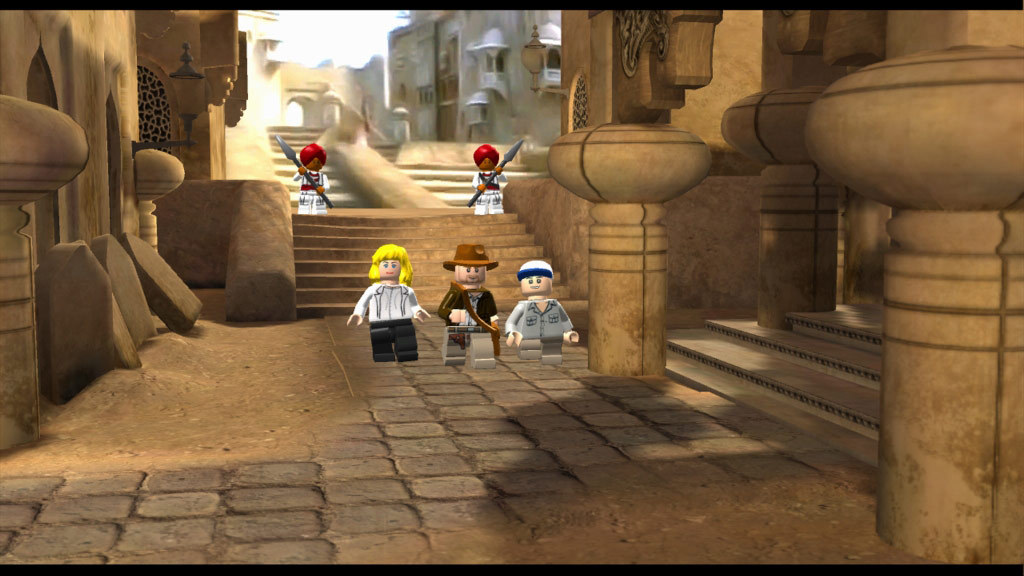
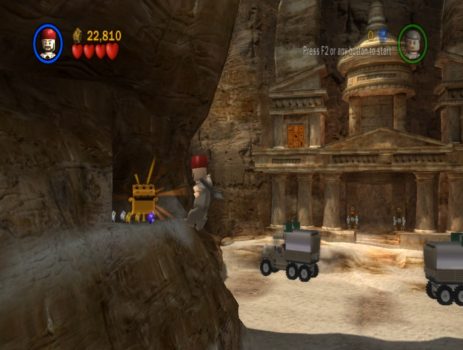
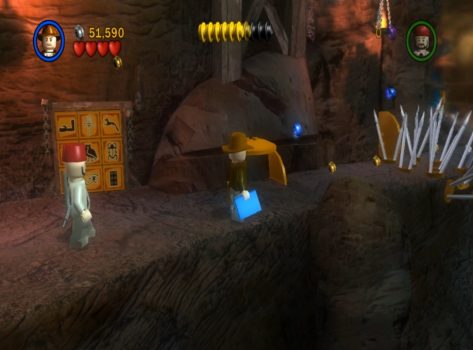
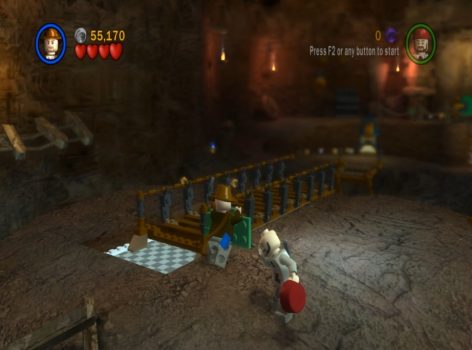
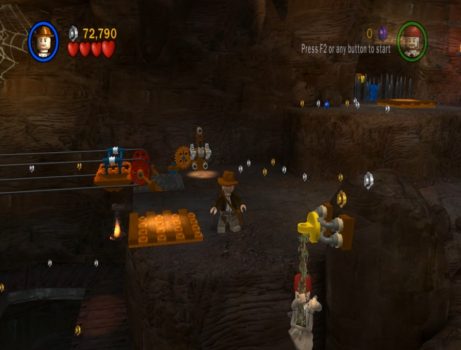
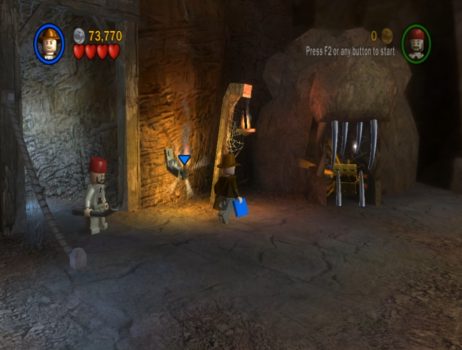
Temple Entrance
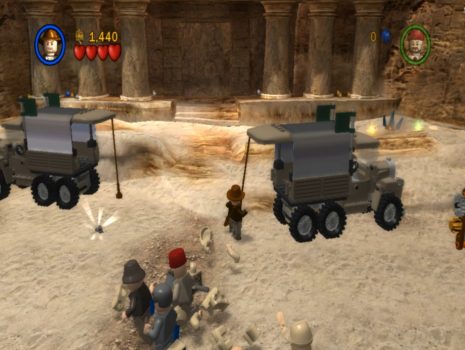
Head towards the temple entrance and take out the enemy soldiers. Knock down the poles holding the back of the trucks open to stop more enemies from spawning.
Switch to Sallah and dig up the statue in the back right. Smash it and assemble the pieces into a ladder. Climb up and solve the two glyph puzzles on the rooftop above.
Drop down and pull the 2 levers simultaneously to open the temple door. Before going through pick up a few collectibles.
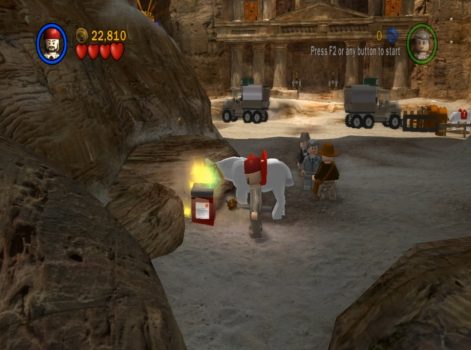
Head over to the horses on the right. Ride one of them and then jump up to grab the handrail above. Climb into the alcove for the key.
Drop down and use the key to open the gate. Ride one of the horses out and to the left near where you entered. Jump up from the back of the horse to reach the high ledge above with Artifact #1 and a purple stud.
Free Play:
At the entrance to the canyon dig up the sparkly patch to reveal the mailbox.
Use someone with explosives to destroy the military truck on the right. The Parcel will fall out of the back. Grab the parcel and deliver it to unlock the Invincibility extra.
Temple Anteroom
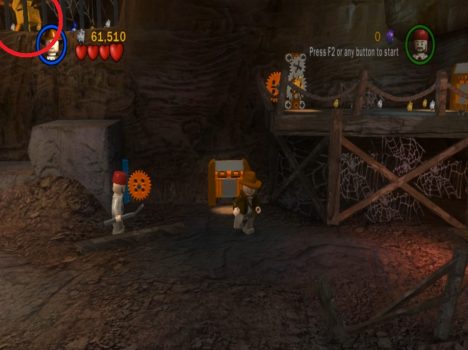
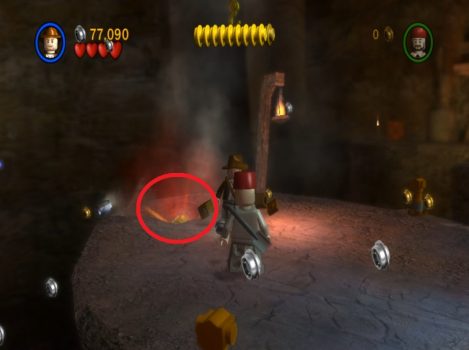
To make it into the next area you’ll need to replace the missing red block by the door. Destroy the statue on the right side of the room and use Sallah to dig it up. Place it on the left side of the door.
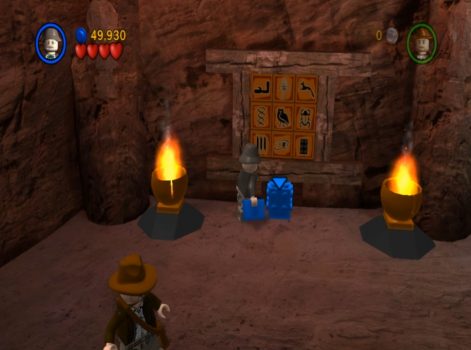
Head into the room on the right and light the brazier on the left side using the torch near the entrance. This activates the glyph puzzle. Solve the puzzle to reveal the blue block.
Free Play:
Before placing the blue block by the door activate the Kali statue to the right with a Thuggee character. This opens up a secret panel. Assemble the tiles inside to build a mural, then smash it for Artifact #2.
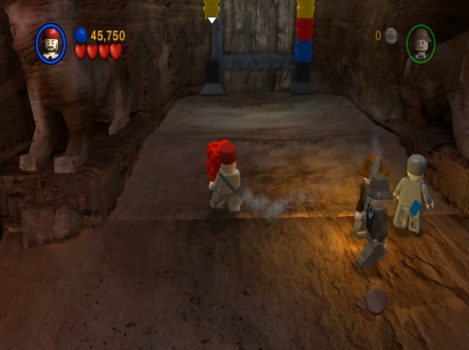
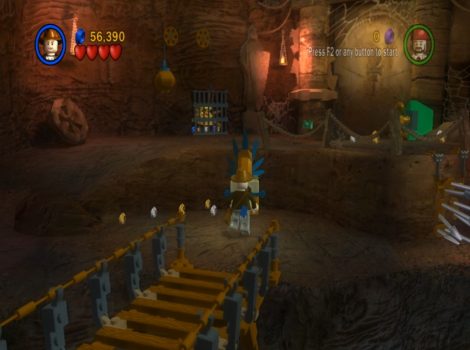
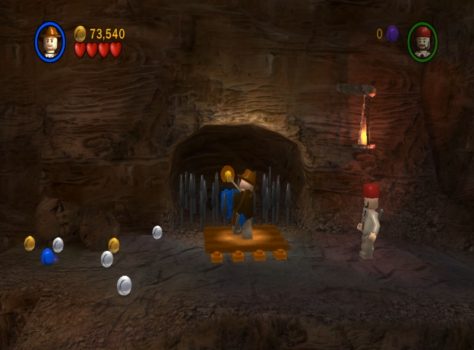
Trapped Cavern
Solve the glyph puzzle to activate the spinning blades and then jump through them to the other side.
Free Play:
Use a small character to go through the hatch and pull the lever on the ledge above.
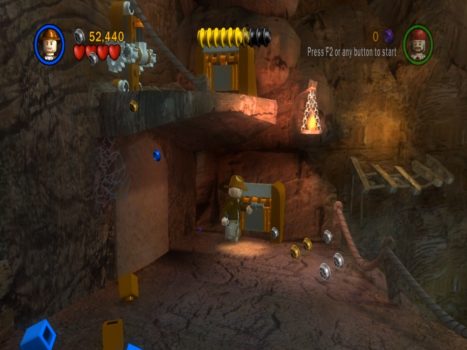
This opens a hidden doorway below the ledge. Go through to a secret room. Have one character stand on the platform to lift up the cage. You can then walk under it to pick up Artifact #3.
Cross over the wooden bridge and time your movement to grab Artifact #4 when the blades retract. If you die after grabbing it the artifact will still be considered as collected.
Dig up the sparkly patch to the left of it to find a bowl. Break it and assemble the pieces into a handrail. Use it to jump past the spinning blades and spikes on the wall. You might need a few practice jumps to figure out the timing.
On the other side use Indy to whip down the bridge and run across.
On the other side dig up another statue. Break it and use the pieces to make a lever on the next bridge. Push the bridge across the gap so you can get across.
Free Play:
Use a character with a sword to break the rope above the bars with Artifact #5 inside. There’s also a purple stud next to it.
Turn the spinner on the ledge above the spikes to retract them. Then walk along the lower path to grab the green handle. Take it back up to attach to the pillar to the right of the bars with the artifact. Push the pillar around to the left to open the door to the next area.
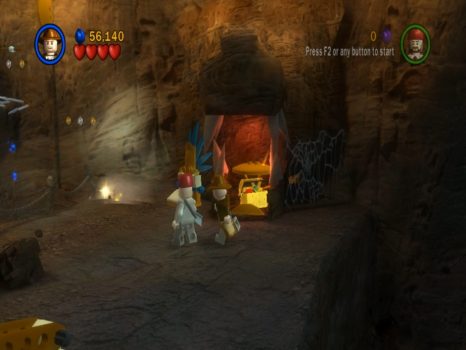
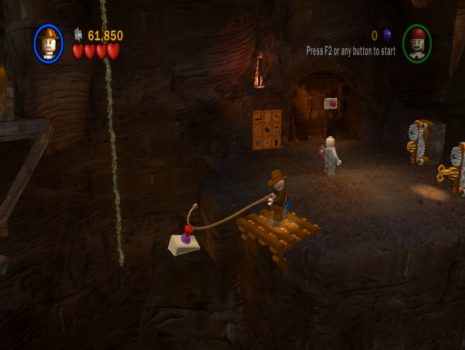
Another Trapped Cavern
Free Play:
Just beyond the entrance is a hatch. Go through and turn the key in the mechanism above. This lifts up the steps and bars so you can reach Artifact #6.
Swing across the rope and solve the glyph puzzle. This lowers the wall to reveal a face carved in the stone. One ruby is used as it’s eye. Walk to the Indy pad and whip to grab the second ruby. Place this in the empty eye socket.
This opens the carving to reveal a key in the area behind it. Grab it and use the key mechanisms to lift up the bridge.
Walk across it and then use the handrails to jump across the rest of the gap.
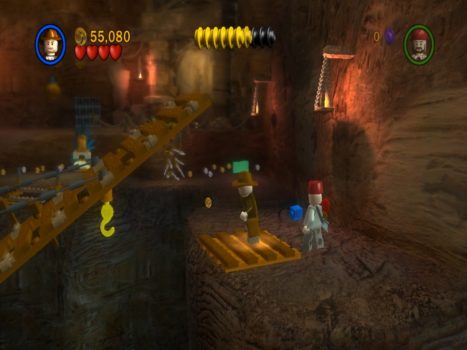
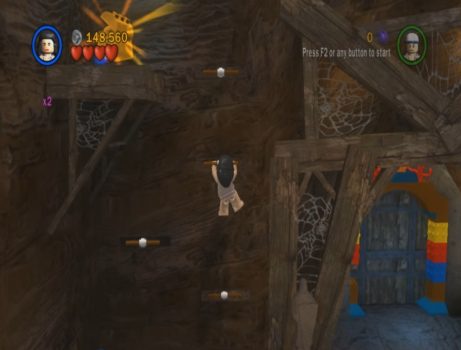
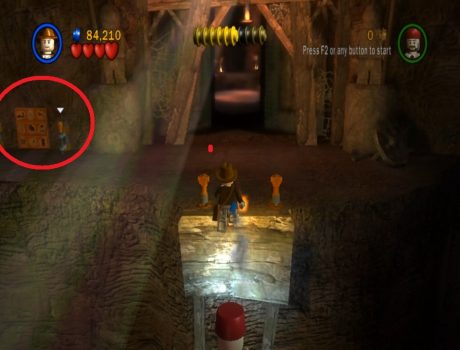
The next door is missing a blue block. Whip across the gap to the right and assemble the pieces to make a rope so the second character can climb up.
Head around to the right and use Sallah to jump across because Indy is scared of snaked. Grab a torch and light a fire in the snake pit to scare away the snakes.
Switch to Indy and head up the ramp. Use the whip on the Indy pad to retract the spikes.
Grab the blue block and place it on the platform. Pull the lever to send it across the gap. Whip across to the other side and place the blue block by the door.
Free Play:
Use someone with the repair ability to fix the blue machine to the left of the door. This activates the retracting handrails. Switch to a female character and jump up the handrails as they come out of the wall. Up the top you’ll find Artifact #7.
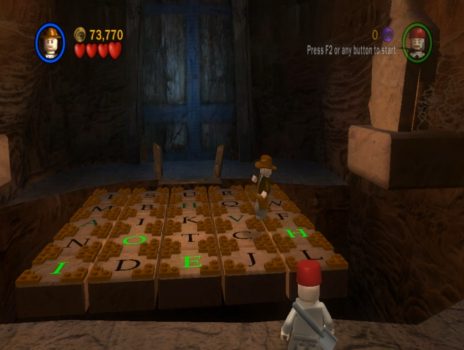
In the next room you’ll see a tiled floor across a large gap. Jump onto the letters as the light up and go through the door on the other side.
Path to the Grail
Free Play:
Just as you enter this area you’ll spot Artifact #8 behind silver teeth. Use a character with explosives to blow them up and grab the artifact.
Run across the invisible bridge to the right. Just follow the path of studs. On the other side have Indy stand on the pad and whip the hook above. This breaks the boards next to him so you can reach Artifact #9 down in the hole.
Head across the next invisible bridge and have Indy whip down the next bridge. Head across and grab the box of bits.
Bring the box across the bridge and place it on the green plate. Assemble the pieces to a spinner and turn it around. This opens the exit on the back wall.
Before leaving this area run back across the invisible bridges to the entrance and grab the torch. Take it all the way back to light up the glyph puzzle just to the left of the exit door you just opened. Solve the glyph puzzle for Artifact #10.
Head through the door to the final area.
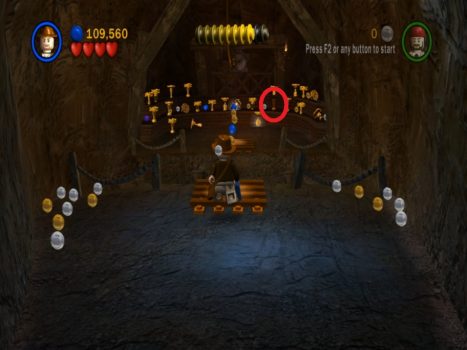
The Grail Chamber
After the cutscene you’ll be in the grail chamber with the Grail Knight. You can’t defeat the knight, you can only stun him for a few seconds. This gives you time to have a look around.
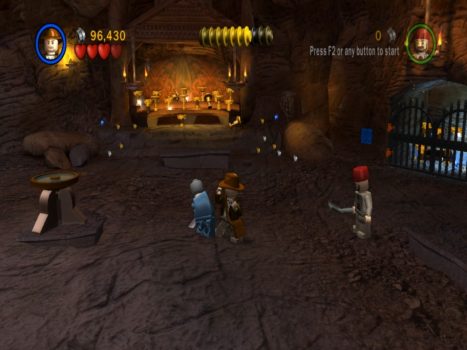
There are so many grails in this chamber but they are all fake but one. To find the real grail walk over to the left and solve the glyph puzzle. This opens the door to more grails.
Whip across the gap, grab the purple stud and look for the real grail. It’s the most plain looking cup with a brown tinge to it. All the fakes are shiny and golden.
Grab the Grail and bring it back to the holy water in the center of the chamber to complete the game.
Congratulations on completing Lego Indiana Jones! Enjoy the final cutscene and credits.
Back: Lego Indiana Jones Walkthrough