
Deepnest
Back to Hollow Knight
Deepnest
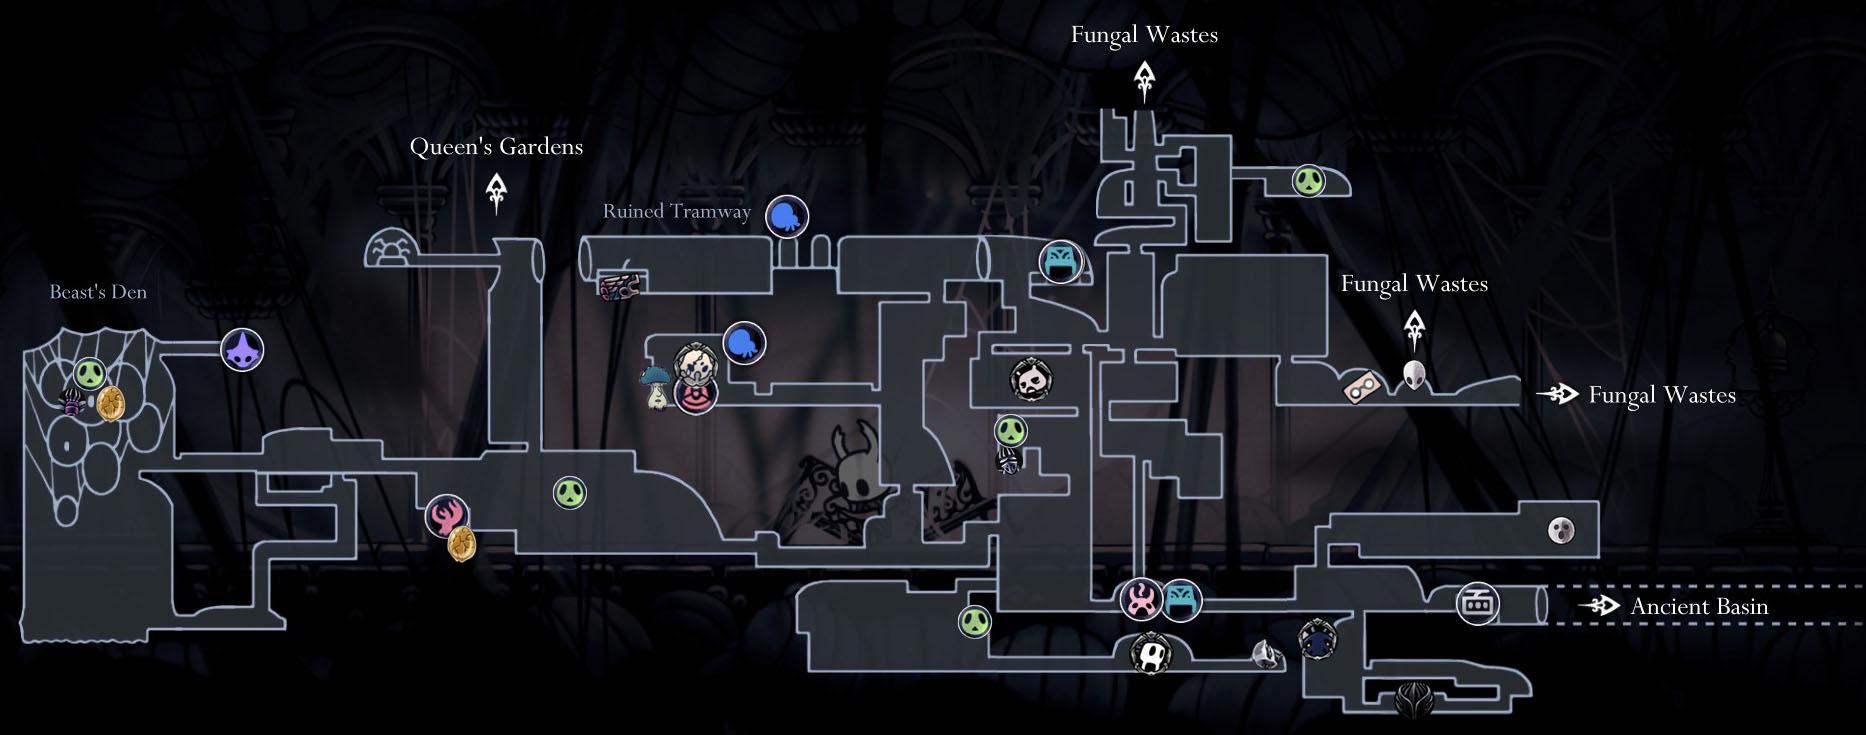
Deepnest is a large area with intricate passageways. It includes a few sub areas like the Weaver’s Den and Beast’s Den. This is where you’ll finally find the Tram Pass, another Pale Ore, after an optional boss fight, and one of the three Dreamers.
The best place to enter Deepnest is from the Fungal Wastes, just to the west of the Mantis Village. When you drop down into Deepnest you’ll immediately find a Mask Shard. Cornifer is just to the left and will sell you a map for a few Geo.
Make your way left, around the narrow caverns, and then down all the way to the Hot Springs and Bench. To the right is the Tram Station , under the Tram Station is the Sharp Shadow charm but you’ll need the Shade Cloak to reach it and above the Tram Station is a tricky platforming section for a Vessel Fragment.
To reach the fragment you’ll need to make your way past the millipede creatures, Garpedes, to the exit above and then across to the right by parrying off the Garpedes.
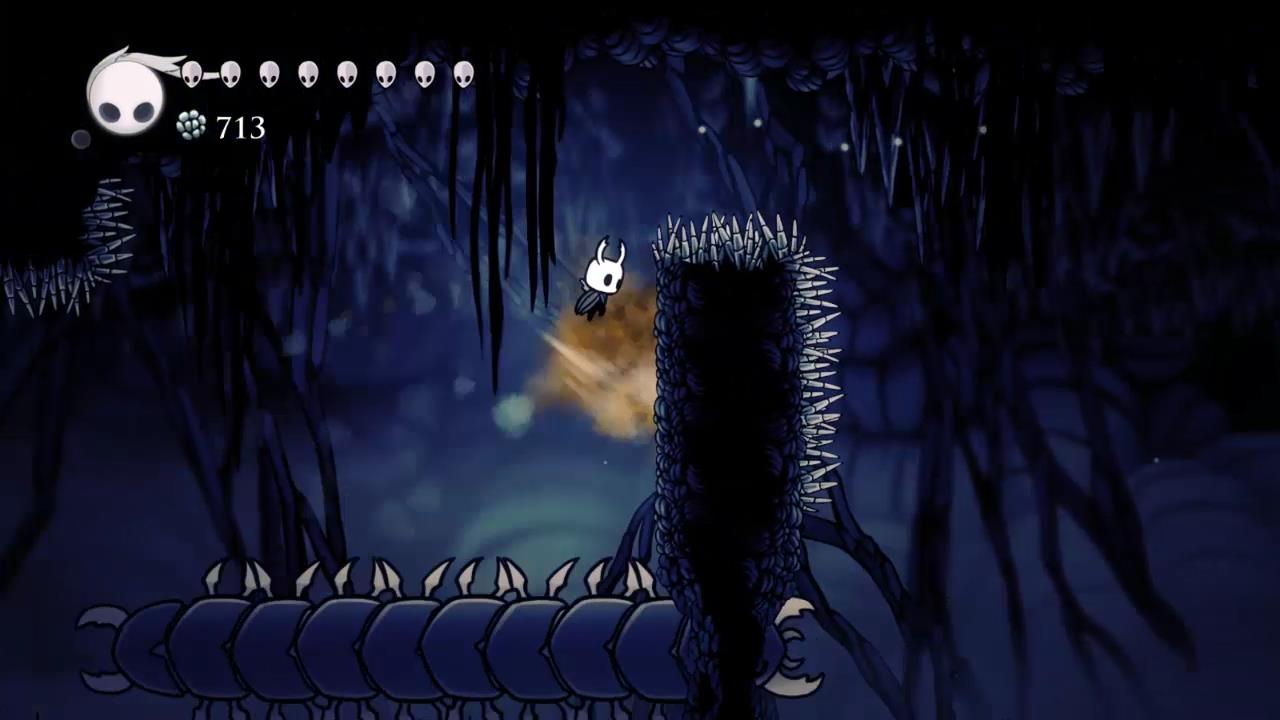
When you reach the end to the right there’s a breakable wall to the right with a Soul Totem behind it. You’ll need to parry off the top of the Garpedes to the passageway above. Head to the left to pick up the Vessel Fragment. Continue to the left for a shortcut back to the Bench.
Go to the left and then double-jump onto the ledge above. Do a super dash to the left to land on a ledge by a breakable wall.
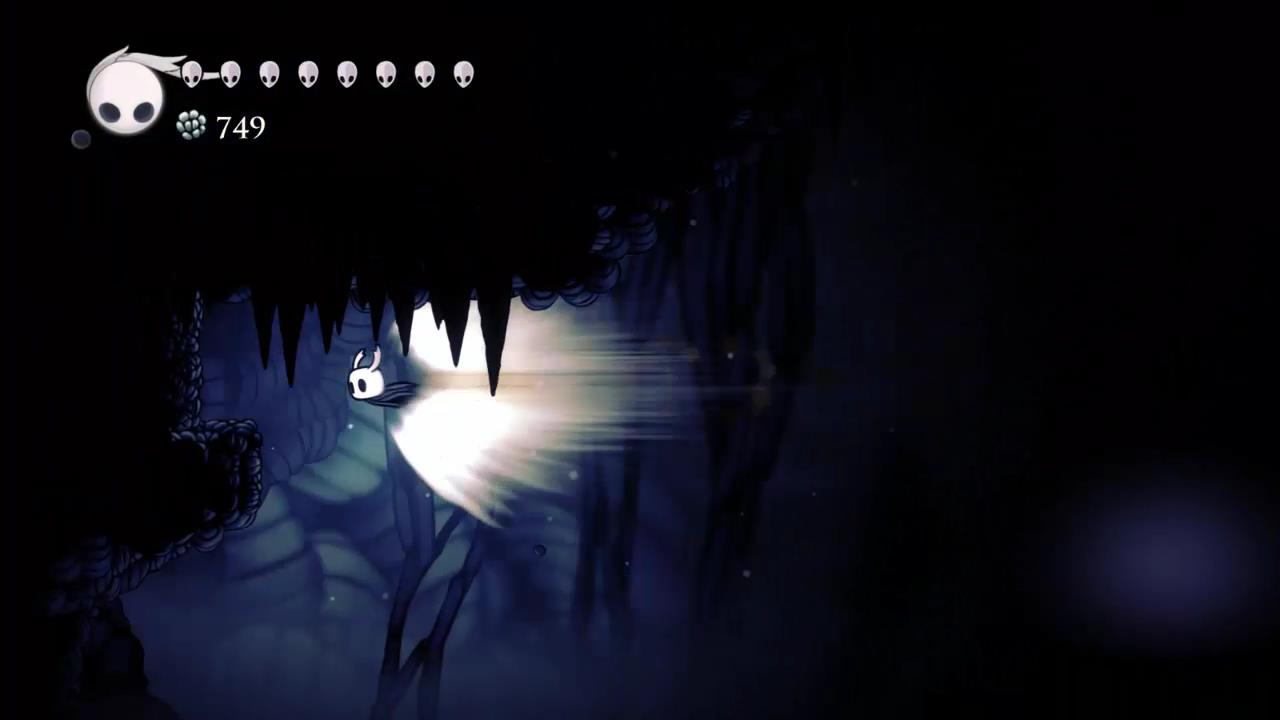
Break the wall and drop down to pick up a Grub. Break another wall to the left and follow the passage around to the next boss fight.
Nosk
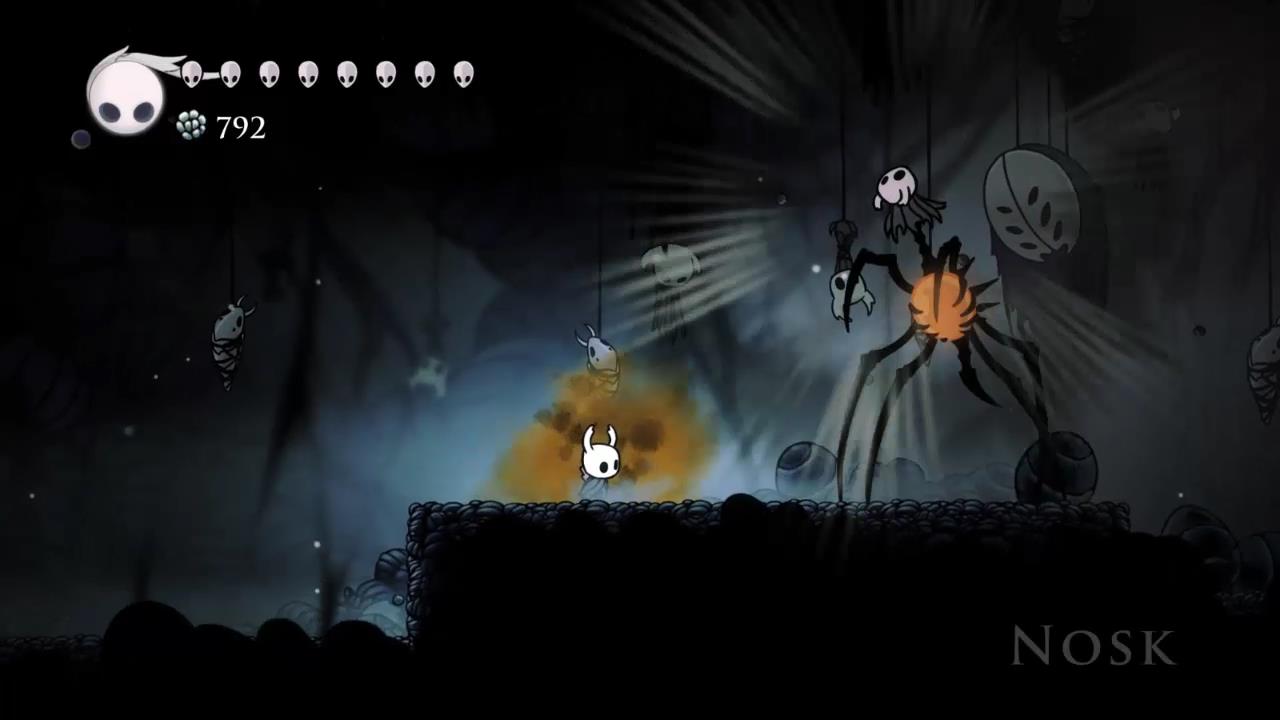
Nosk has 680 health and four different attacks to try to give you a headache but the battle isn’t that difficult if you use the arena to your advantage. If you stand just beside the central platform most of Nosk’s attacks will miss you. You can stand there and heal up or attack when Nosk gets close.
The four attacks are a charge, a leap into the air, spewing blobs of infection and jumping onto the roof and raining down blobs of infection. When you’ve defeated the boss head to the right for the Pale Ore.
Ruined Tramway
Head back to the cavern to the left of the Hot Springs and make your way up the passages. When you get to the point shown below kill the creature and super-dash to the wall to the left. Jump up to free the Grub.
Continue up, to the left a little and then drop down into a small arena with dead bugs. The bugs will come to life and attack. When all the bugs have been killed drop down and rescue Zote the Mighty once more. Then head to the right and for the King’s Idol.
Make your way up to the Bench in the tramway if you want to heal or save your game. Go down, to the left and up the central column. This leads eventually to the Fungal Wastes but there’s a secret wall on the right side. See the map above to find out exactly where it is.
When you go through you’ll be faced with four Grubs. Only the third one along is a real grub, the rest are mimics.
Make your way back to the previous Bench and continue to the left through the tramway doors.
Fight or dodge your way past the flying creatures that spit out caterpillars and drop down into a passageway to hit a lever that opens a gate. Continue through to the left and drop down into the broken down tram to find the Tram Pass. On the way back you can hit another lever to open the top gate. If you jump up through the roof just past it you’ll find a Lifeblood Cocoon.
Head back towards the Bench and drop down just before the tramway doors. Take the next passage to the left towards the dream boss.
Galien
Before fighting Galien head to the left and then up and around to a Lifeblood Cocoon. You might need it for this fight.

Galien has two main attacks. The first is the Spinning Scythe. It’s quite large and will track you around the arena. Having the Shade Cloak before you face Galien will make it easier to dodge through the spinning scythe. Having the Dashmaster or Sprintmaster charms equipped is recommended.
Galien moves slowly around the arena and only sometimes teleports making him easy to hit. After he’s taken enough damage he’ll spawn first one and then two smaller spinning scythes. Galien gives you 200 Essence when defeated.
Weaver’s Den
Head back to the right and then drop down. Make your way to the left towards the Beast’s Den. Along the way you’ll have your first run in with a Stalking Devout. The have armour plating and can only be hit when they open up to attack. Strike as they open and dash away. Having the Defender’s Crest charm equipped will still damage them through their armour when you’re standing close to them.
The entrance to the Weaver’s Den is just to the right of where the Grub is located on the map but you’ll need to get through another Stalking Devout and break through a wall to find it. Make your way to the right, up and then dash across the spikes to find the Weaversong charm.
Leave the Weaver’s Den and continue to the left. Pick up the Grub if you haven’t already. You may need to hunt around to find it. The video above will show you the exact location.
Beast’s Den
To the top right of the Beast’s Den you’ll find a Stag Station. Enter the Beast’s Den and sit at the Bench. The little creatures will trap you and leave you somewhere deep inside the den. The Beast’s Den is a bit of a maze so you’ll need to explore around a little to figure out where to go. You should find a Hallownest Seal and a Grub before you leave.
At the top of the Beast’s Den on a plinth you’ll find a Dreamer, Herrah the Beast. Use the Dream Nail on him and then go and meet him in the dream. Attack him until you explodes essence and use the B button to focus his power.
To leave the Beast’s Den from the plinth head left and down. At the bottom you’ll find a Bench. Part of the floor will break so you can drop down to the entrance below.
Back: Ancient Basin Next: Howling Cliffs
