
Greenpath
Back to Hollow Knight
Greenpath
You’ll face a few new creatures in Greenpath, including some that will explode once you’ve killed them. The Map Maker is on the level below where you enter from the Forgotten Crossroads on the eastern side. There’s also the boss, Hornet, who you’ll see numerous times throughout the game from now on.
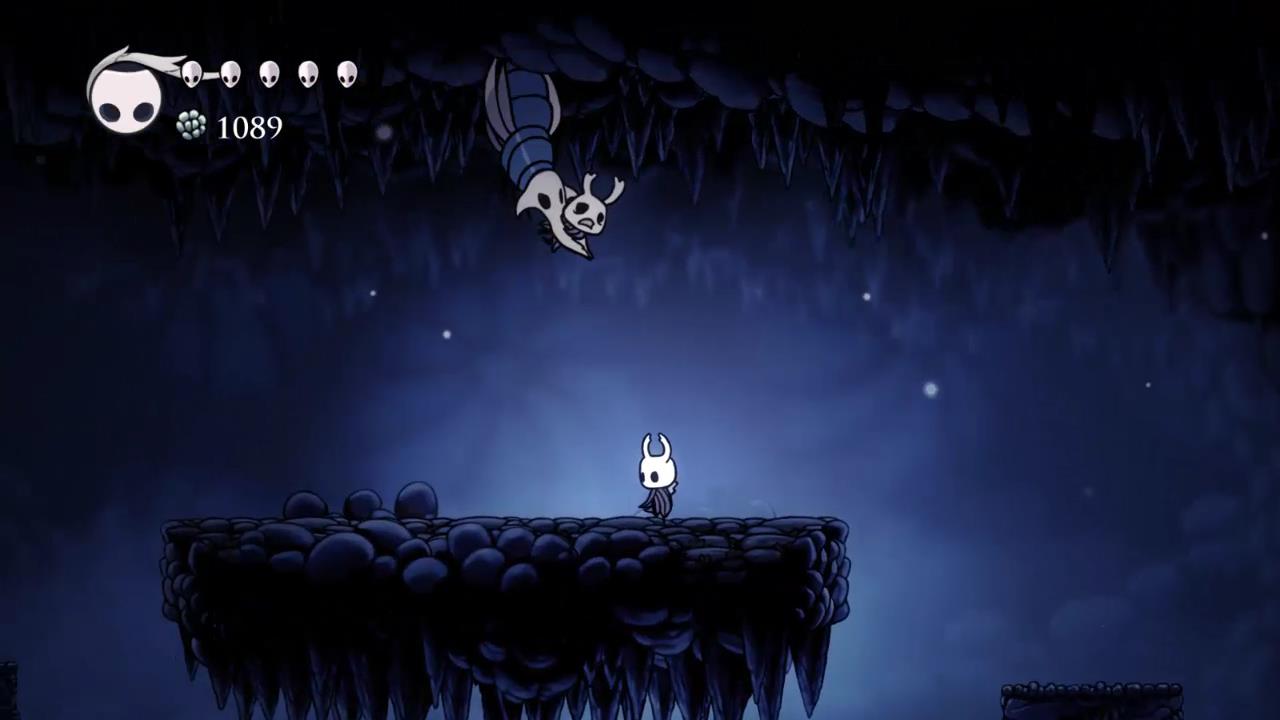
From the Forgotten Crossroads head to the left, making your way across the rock ledges, until you can jump up to the first Bench and take a rest. Drop down, walk to the left and you’ll briefly see Hornet for the first time.
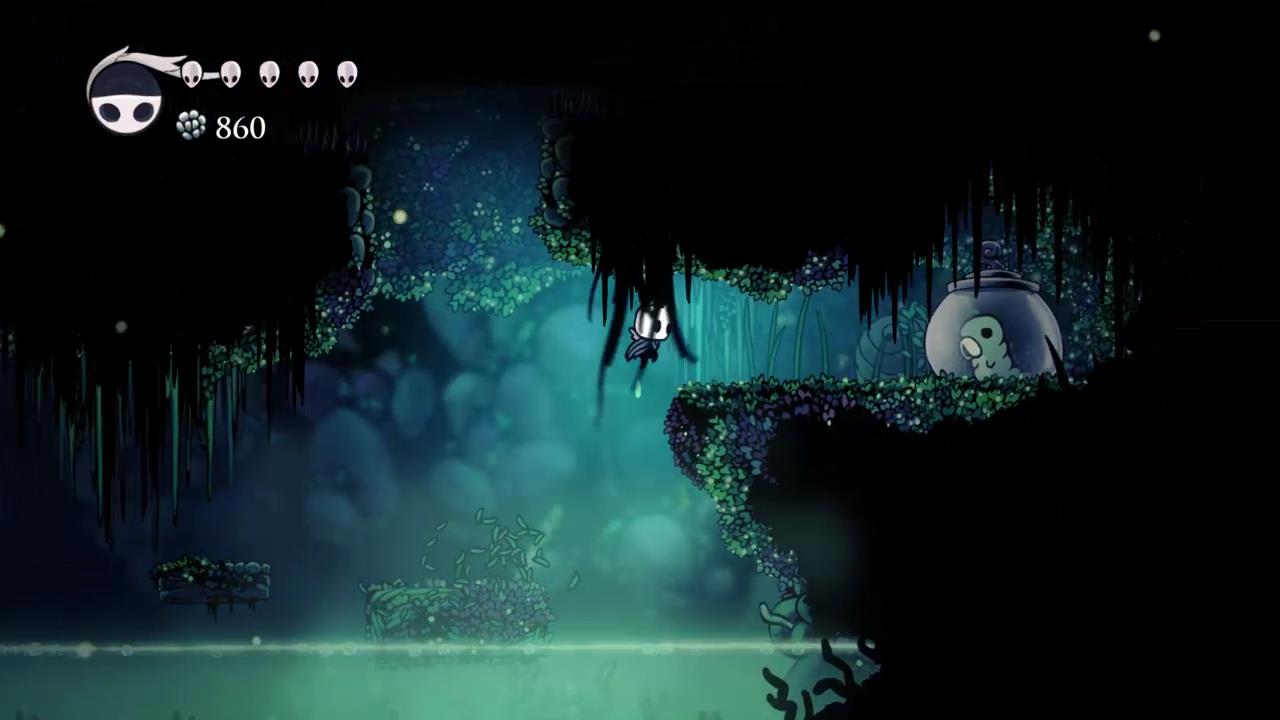
Drop to the bottom of the cavern, being careful to avoid the poisonous water and then make your way to the right. After killing or avoiding the annoying mosquito-like creatures you’ll come across Cornifer who will sell you the map to this area.

Walk to the left and then drop down into the next cavern. Take the exit to the right just below where you entered and follow the path lined with jaws to The Hunter. Don’t be afraid. Listen to him and he’ll give you the Hunter’s Journal which details all of the creatures you’ve met along the way.

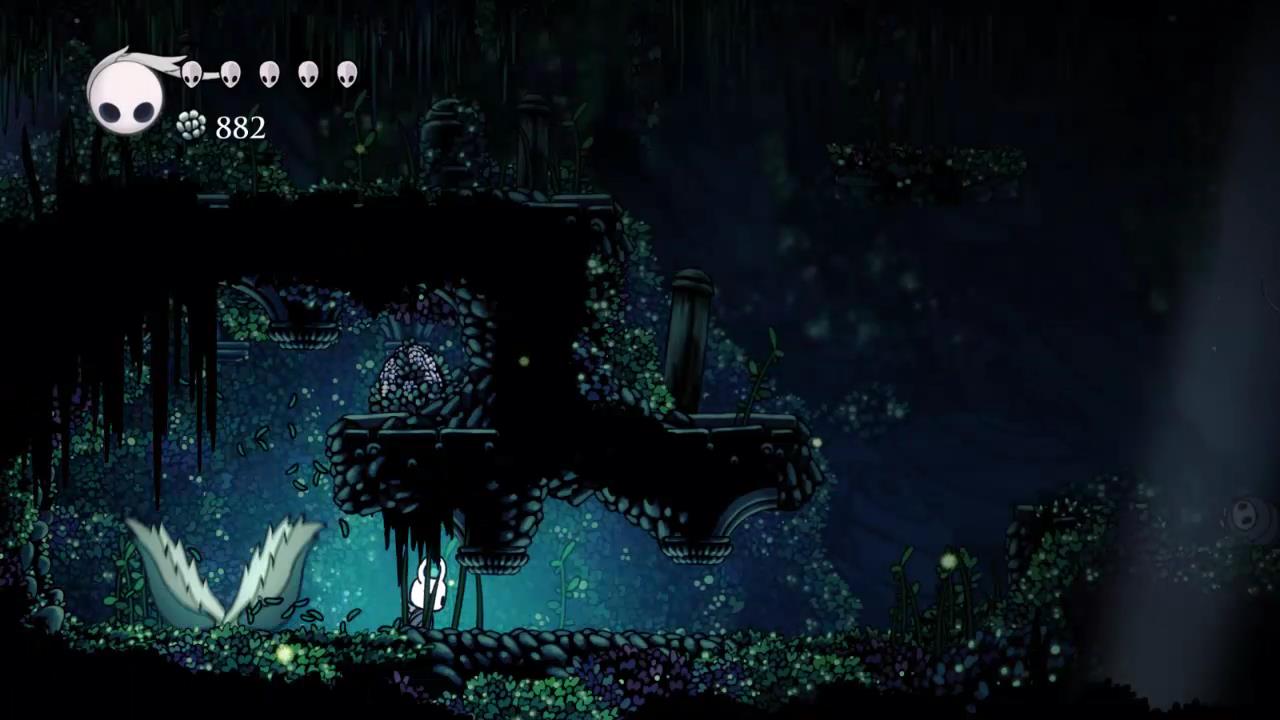
Head back to the right and then make your way down to the bottom of this cavern. You’ll need to break the vines holding the stones to get down. On the right side you’ll find the first Grub of this area.
Make your way to the left jumping across the stones and watching out for the Squits (mosquito creatures) along the way.
From here, after seeing Hornet again, you can drop down and head to the right to find the next Bench. You can’t explore this cavern yet without the Lamp for the Stone Sanctuary or the Dash ability, so head back up to where you saw Hornet and follow her to the left.
Be careful of the Carnivorous Plants that will snap shut when you walk over them.
Continue to the left, killing or avoiding the Giant Moss Creatures. Eventually you’ll spot Hornet taking the a path upwards. Follow her into a tall cavern. About half way up you can pay a toll to reach another Bench.
Continue up to the top of this cavern. The path at the top to the right eventually leads back to where you began this area. You can explore it if you want or just leave it for now. Jump upwards into the next cavern.
The boss is just to the left but you may want to head to the right and do a loop around this area first before taking on Hornet.
The new enemy to the right is a swordsman. He has a nail and shield and attacks with either single or double strikes. he will also throw balls of leaves at you if you stay too far away.

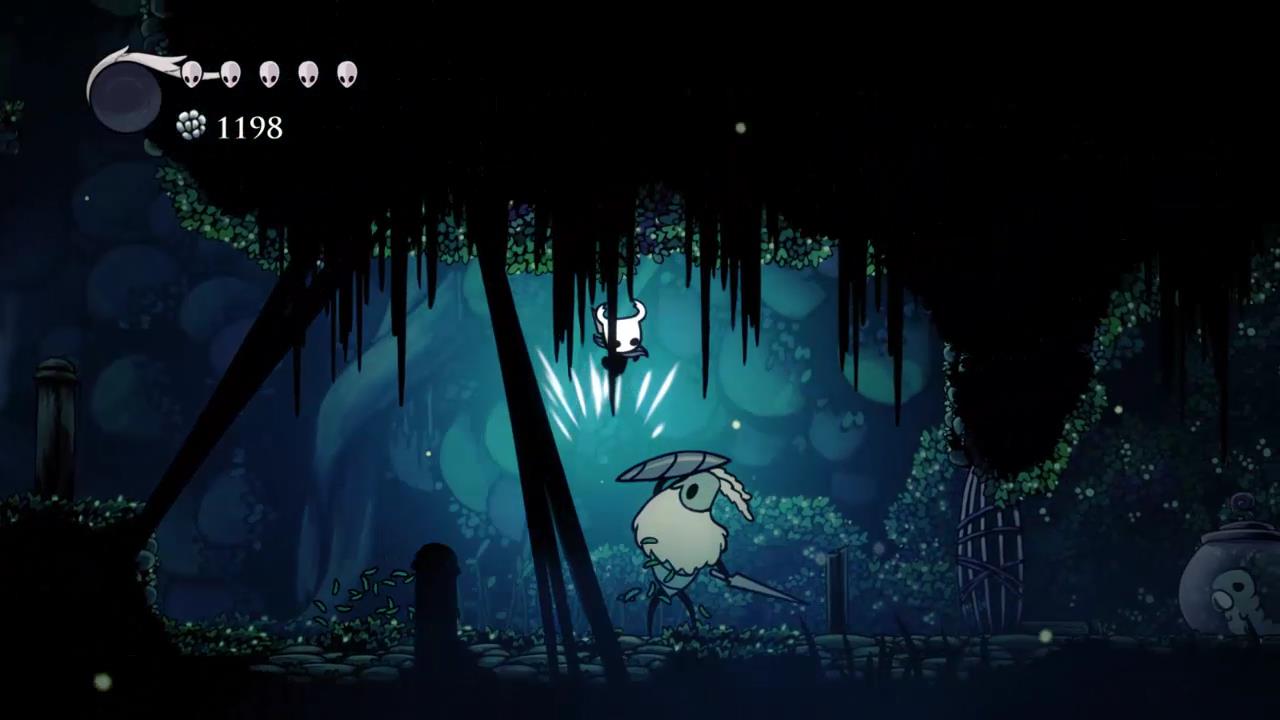
When you defeat him continue to the right and then head up to the next cavern. Head to the left and jump up to strike the large creature that’s captured the Knight.
It will attack you with swooping attacks. You need to jump over it and swipe downwards. Occasionally it will spawn one or two Squits. Try to kill them quickly so you can focus on the large creature. When it’s been defeated the Knight, Zote the Mighty, will stand up but he won’t be too thankful about being rescued. You can now speak to him back in Dirtmouth.
Walk to the left and drop down. From here walk across to the right, drop down and go right again. You’ll need to defeat another swordsman before rescuing the second Grub for Greenpath.
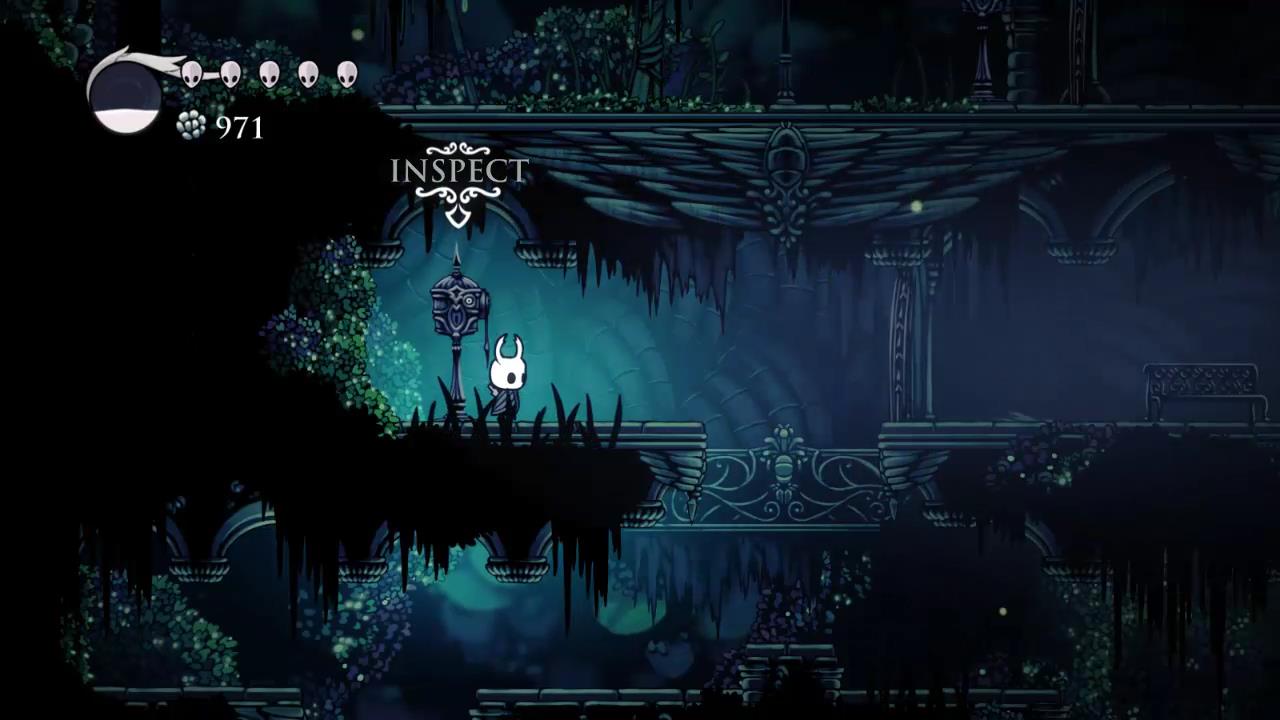
Once you’ve rescued him drop down and follow the signs to the Stag Station where you can unlock fast travel to and from this area. Up the top of this cavern you can break the rock wall to the left, just before heading up to the exit.
Inside you’ll find the Wanderer’s Journal. Be careful because it’s guarded by a Carnivorous Plant.
Now it’s time to find Hornet. Head up and make your way to the left. Hornet is faster than some of the other bosses and has a few attacks.
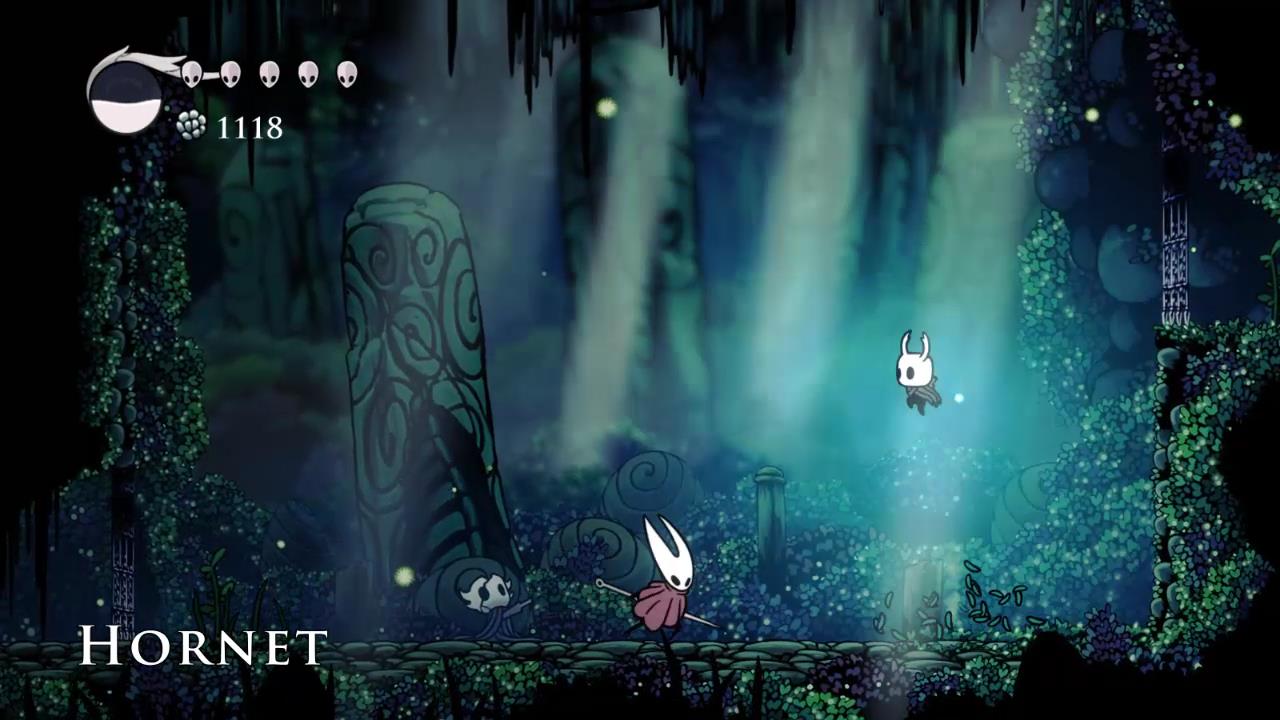
Her first attack is that she charges at you with her nail. The second attack is a jumping dive from above. The third attack is a nail throw where she throws her nail and draws it back on a string. For the last attack she’ll jump into the air and make a cloud of thread around her. Most of these attacks are fairly easy to avoid. When she makes the cloud of thread you have the opportunity to heal up once.
Once she’s been defeated she will retreat. Pick up the Mothwing Cloak which gives you the Dash ability. Follow the path to the left, down and to the left until you come to the Lake of Unn. There’s a house with a Bench inside and a little creature called Quirrel.
There’s a little more to explore but now that you have the Dash ability we’ll be going back through Greenpath and the Forgotten Crossroads to pick up some items that you couldn’t reach previously.
Back: Forgotten Crossroads Next: Return to Dirtmouth
