Forgotten Crossroads
Forgotten Crossroads
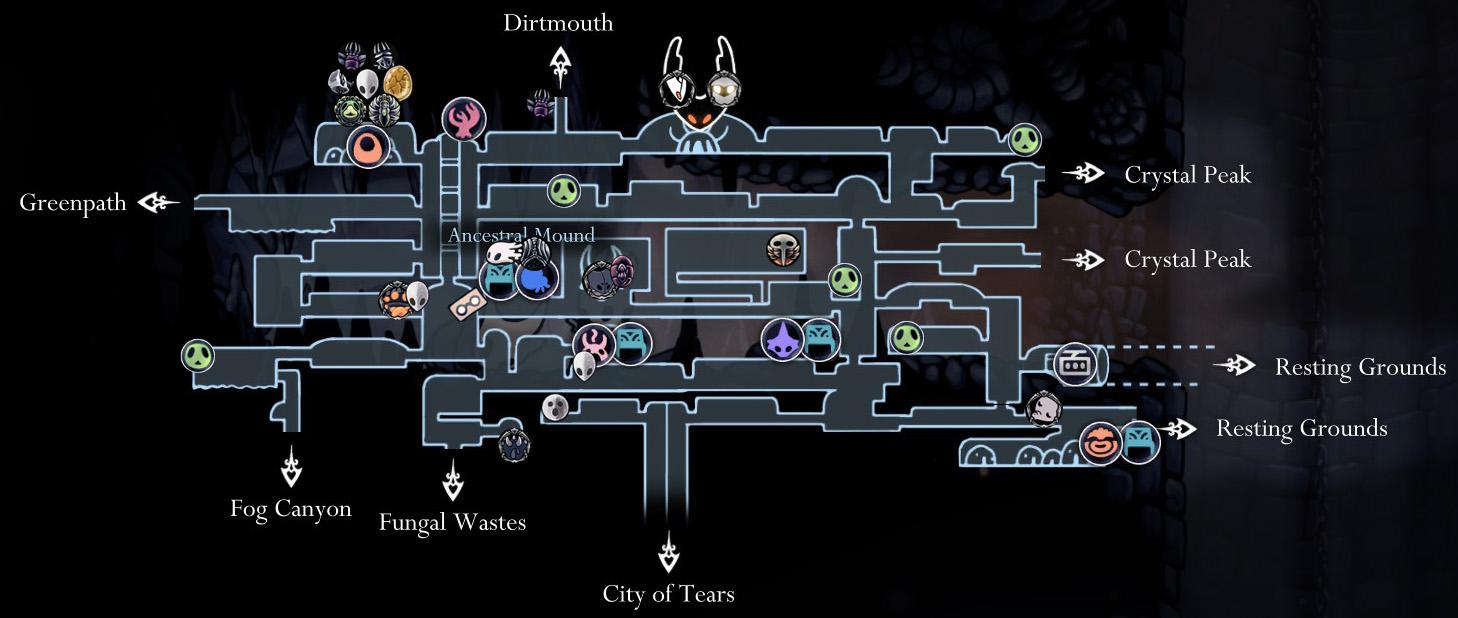
When you first drop down the well head across to the right. There’s a Temple of the Black Egg here and you can meet Quirrel inside but there’s nothing else to do for the moment. Leave the temple and continue to the right.
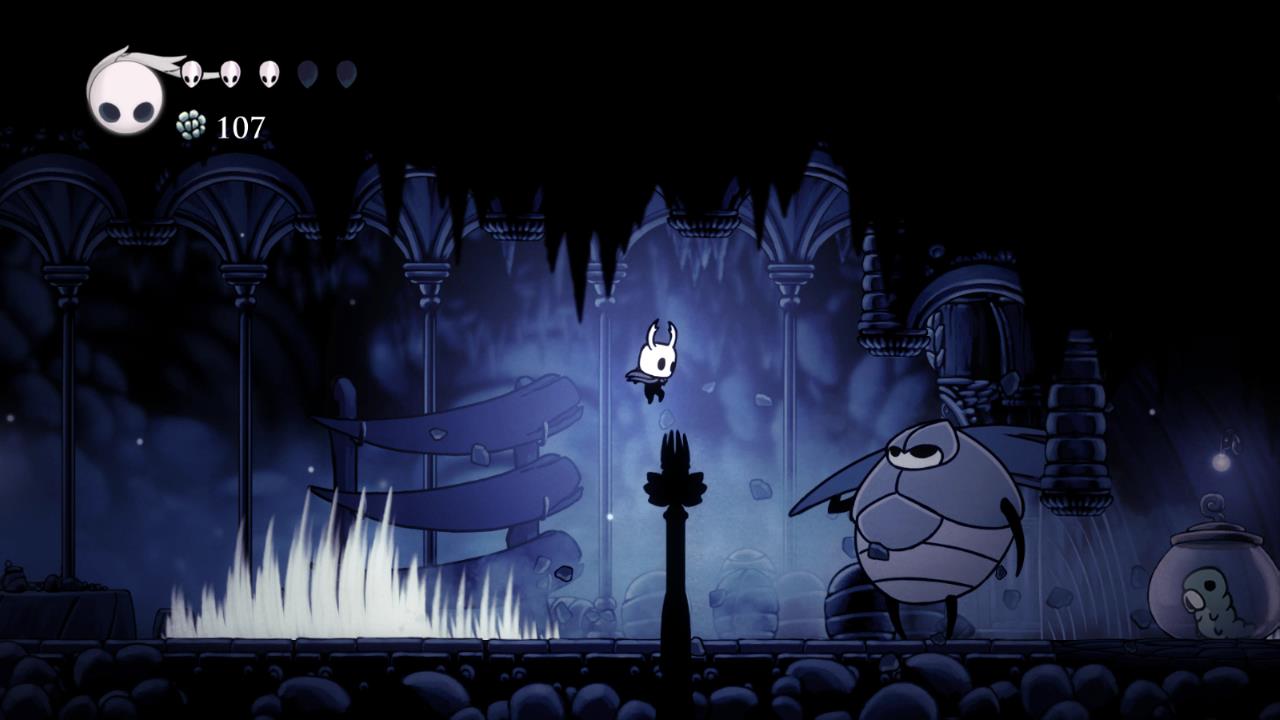
Keep following the path to the right until you come to a large bug with a bat. He has two strikes. A smash and a shockwave. Retreat backwards when he smashes and run in for a single strike before running back again. Jump over any shockwaves. He’ll take about a dozen hits before dying.
When he’s been killed hit the glass jar with the Grub in it to rescue him. Return to the left, take the first drop down and continue to the left. As you continue to the left you’ll see another Grub in a jar. You can’t rescue this one yet because he’s too high up. You’ll have to come back for him later.
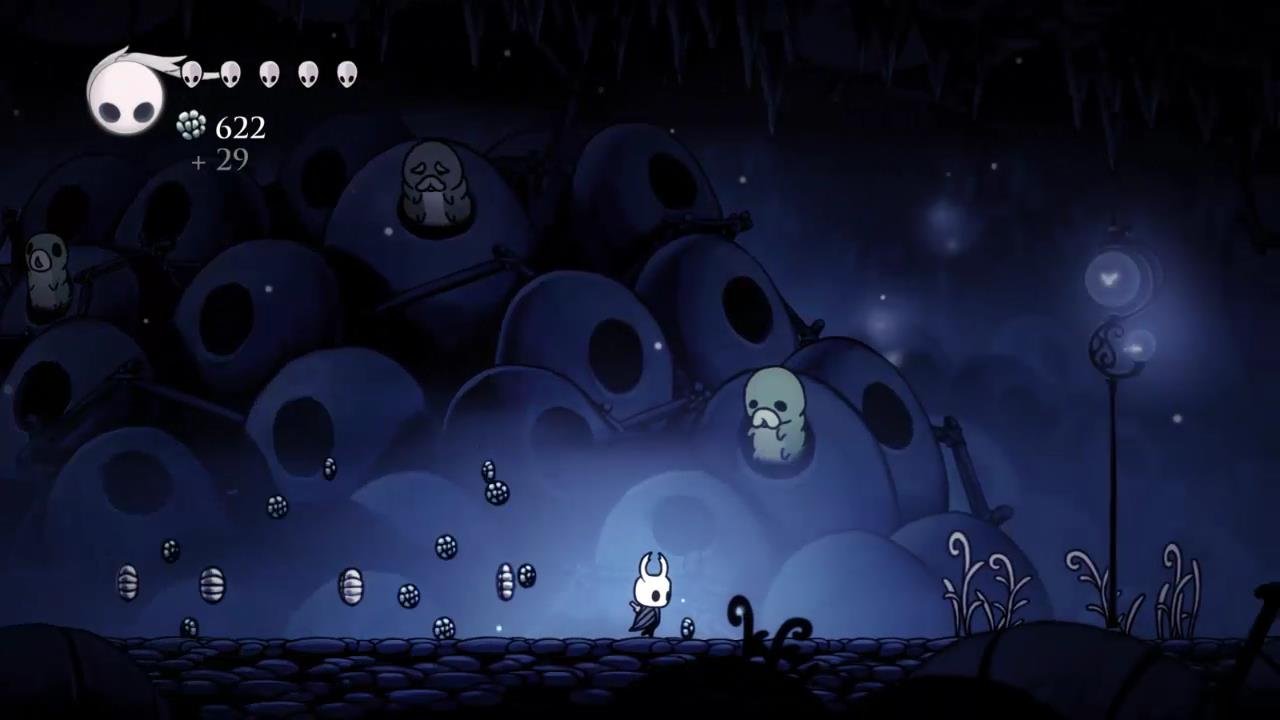
When you get to the hub drop all the way to the bottom. Drop down again and follow the humming to the left to meet the Map Maker, Cornifer.
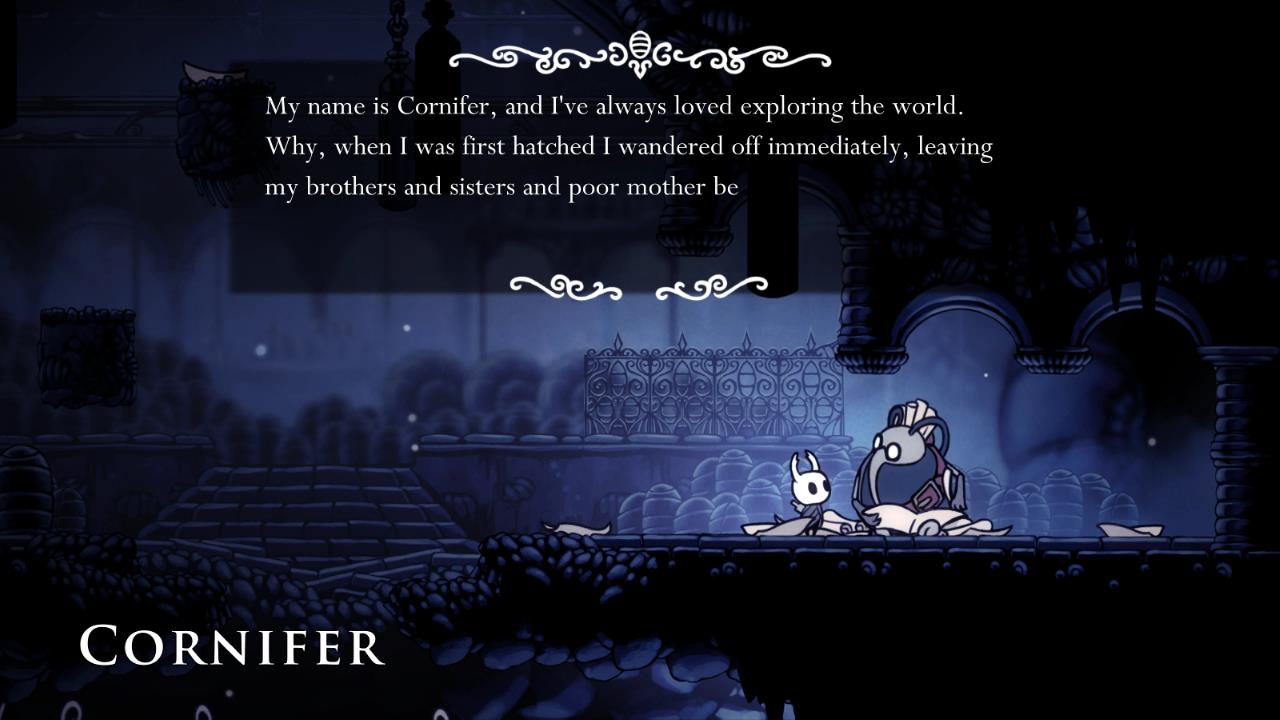
You’ll meet the map maker in each new area and will have to meet him before the map of that area will become available. Drop down and continue to the left, dodging the large spiked creatures and hopping over the dangerous water. Eventually you’ll come to the second Grub. Break the jar to rescue him as well.

Head back to the right and continue going right, past the spiked creatures and the spike pits. Head under the map maker to the right and then jump up the rock ledges to the 3 Geo Clusters. Behind the Geo Cluster to the right is a secret wall that you can bash open.

Drop down to the right and continue to the right to find the hot springs and a bench. When you’ve taken a rest walk back to the left and drop down to a room where the gates will close shut when you enter. You’ll be attacked by a little bee and then two more bees before the gates will open again. Take the bottom path to the left first for 3 Geo Clusters, then head back and go through the bottom right path.
Continue to the right past the spiked creatures. There’s a path going up on the next screen but continue to the right.
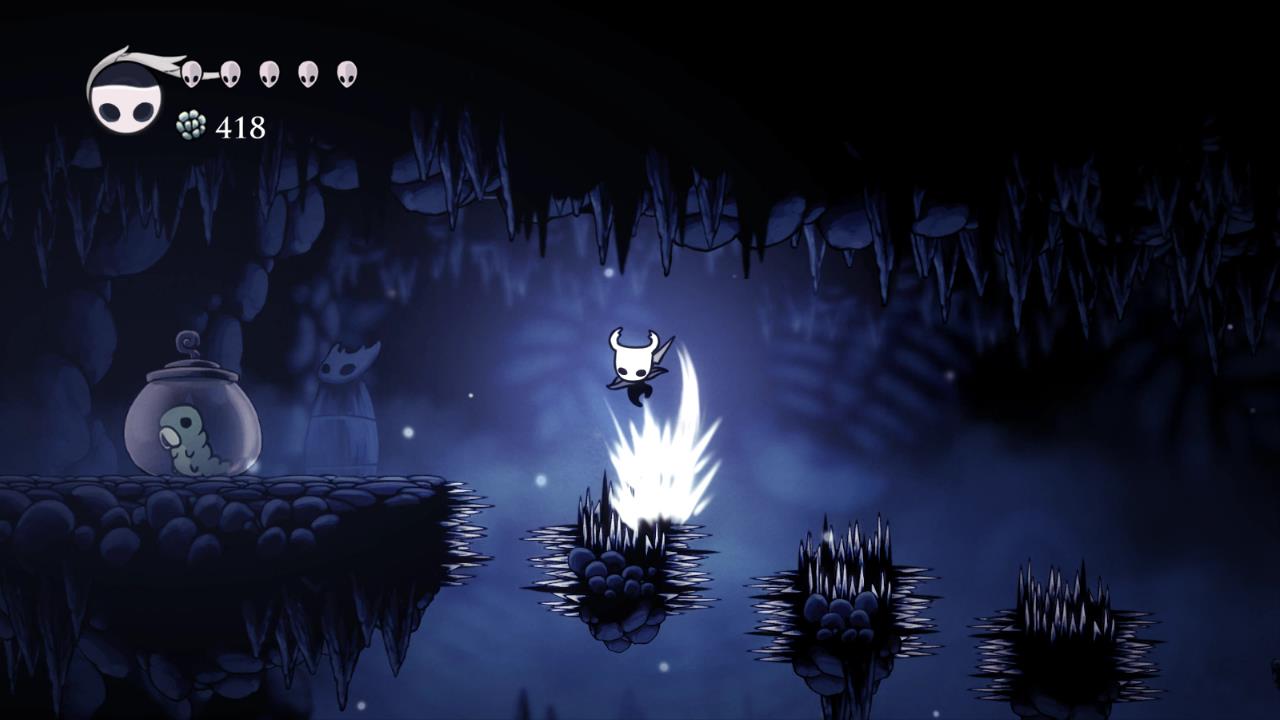
You’ll see a Stag sign pointing up to the right. You’ll get to that later. For now drop all the way down and continue to the right. Along the way you’ll see a Soul Totem that you can hit to replenish your souls. Continue to the right until you come to the mini-boss, the Gruz Mother.

She has two attacks, a darting attack where she flies straight at you and a fast bouncing attack. She’s pretty slow so you should be able to defeat her without too much trouble. Once she’s dead lots of small Gruz will break out of her. Kill them all and the gates will open.
Drop down to the right. There’s a little shopkeeper on a ledge to the right and a bench. The Shopkeeper is called Salubra and sells a number of charms and charm nothces. You can’t reach her yet so walk to the left to find a little house. Enter and speak with the little creature called Sly. After you meet him he’ll open a little shop back at Dartmouth.
Climb up the rock platforms to the left and head back to the right to the area before the Gruz Mother. Jump up through the exit to the top.

Jump up the rock platforms, taking out the large bees along the way. Ignore the station sign to the right for now. About half way up drop down the passage to the left. Practice your downward parry strikes because you’ll need them to rescue the next Grub. Jump across the spikes and break the jar containing to rescue it.
Go back to the tall room with the rock ledges and continue to the top. There’s a Geo Cluster to the right if you want to risk the spikes, otherwise continue to the left.
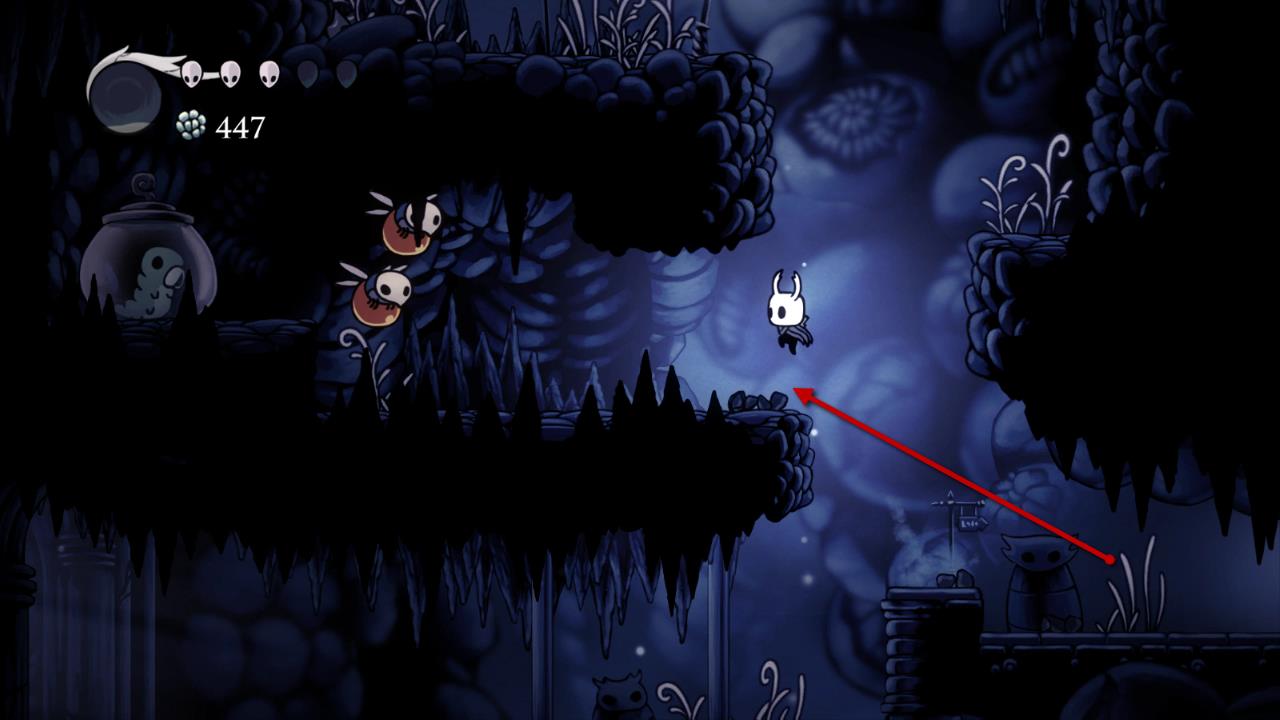
The next two bugs have nails and shields. They’re most vulnerable from strikes from above. Walk to the left, jump up to the ledge to the left and break through the wall to find 2 bees and the next Grub.
Climb up to the top of the room and hit the switch to open the two gates above. Don’t go through, this just open a shortcut that you can use later.
Drop down once more. The passage to the left just under where you found the grub. Drop down to the next passage down to the left which leads to the fast travel system. Rest at the bench and pay the fee to activate the Stag Station. You can hit the bell to call the Stag and then travel between locations that have already been opened up. Now might be a good time to head back to Dirtmouth and purchase the Compass and Quill.
From the Stag head back to the right and then up through the passage above to the left which leads to the boss. Kill the large bug with the club and continue to the left.
Head up and then continue to the left to the boss arena. Kill the little bugs and once you reach the left side of the arena the boss will appear.
False Knight
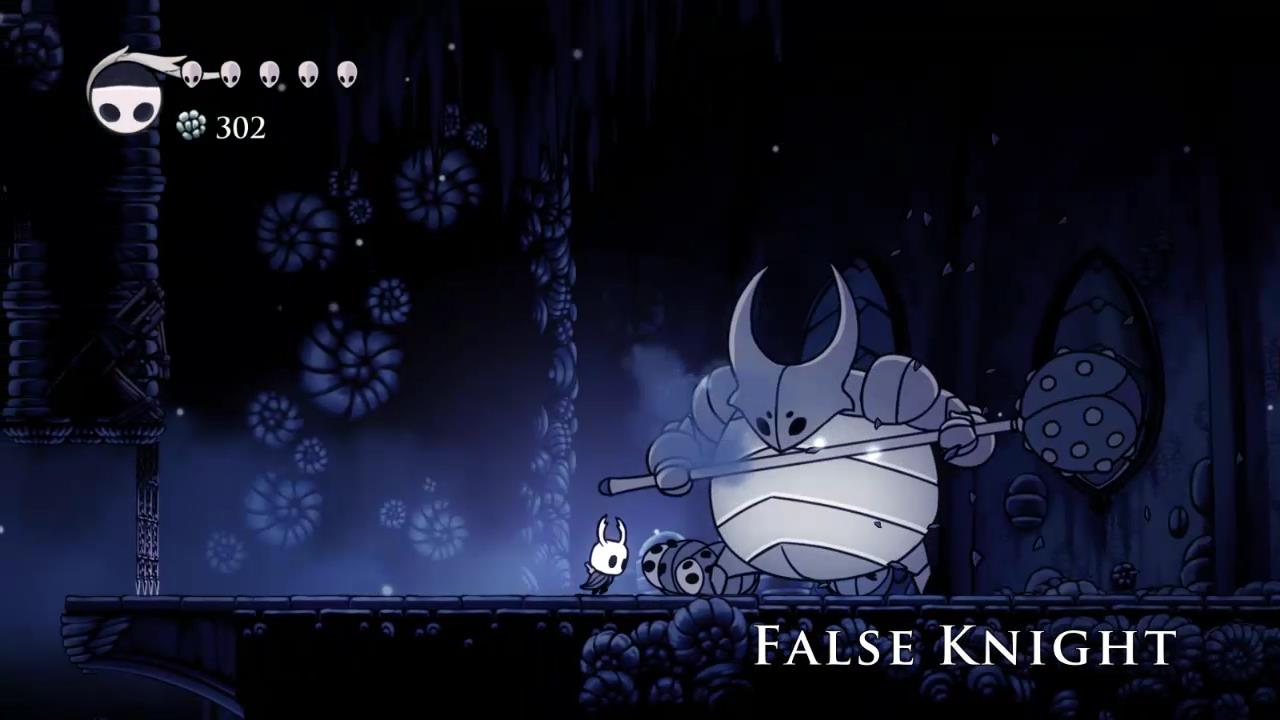
The False Knight is quite slow but he does have a few different attacks. He smashes his mace down towards the ground, smashes the mace and creates a shockwave and jumps towards you smashing his mace down to the ground. When you jumps you can run under him to the other side. After about 10 hits he’ll fall down, giving you a chance to hit his head and replenish your souls.
After a few seconds he’ll stand back up again. This time he’ll add a new attack, a rapid strike from left to right that also brings part of the ceiling down. Dodge the rocks and wait for him to finish.
Once the False Knight has fallen three times hit him a few more times and he’ll smash the central area of the floor and fall down dead. Drop down after him, hit his head one last time and pick up the City Crest.
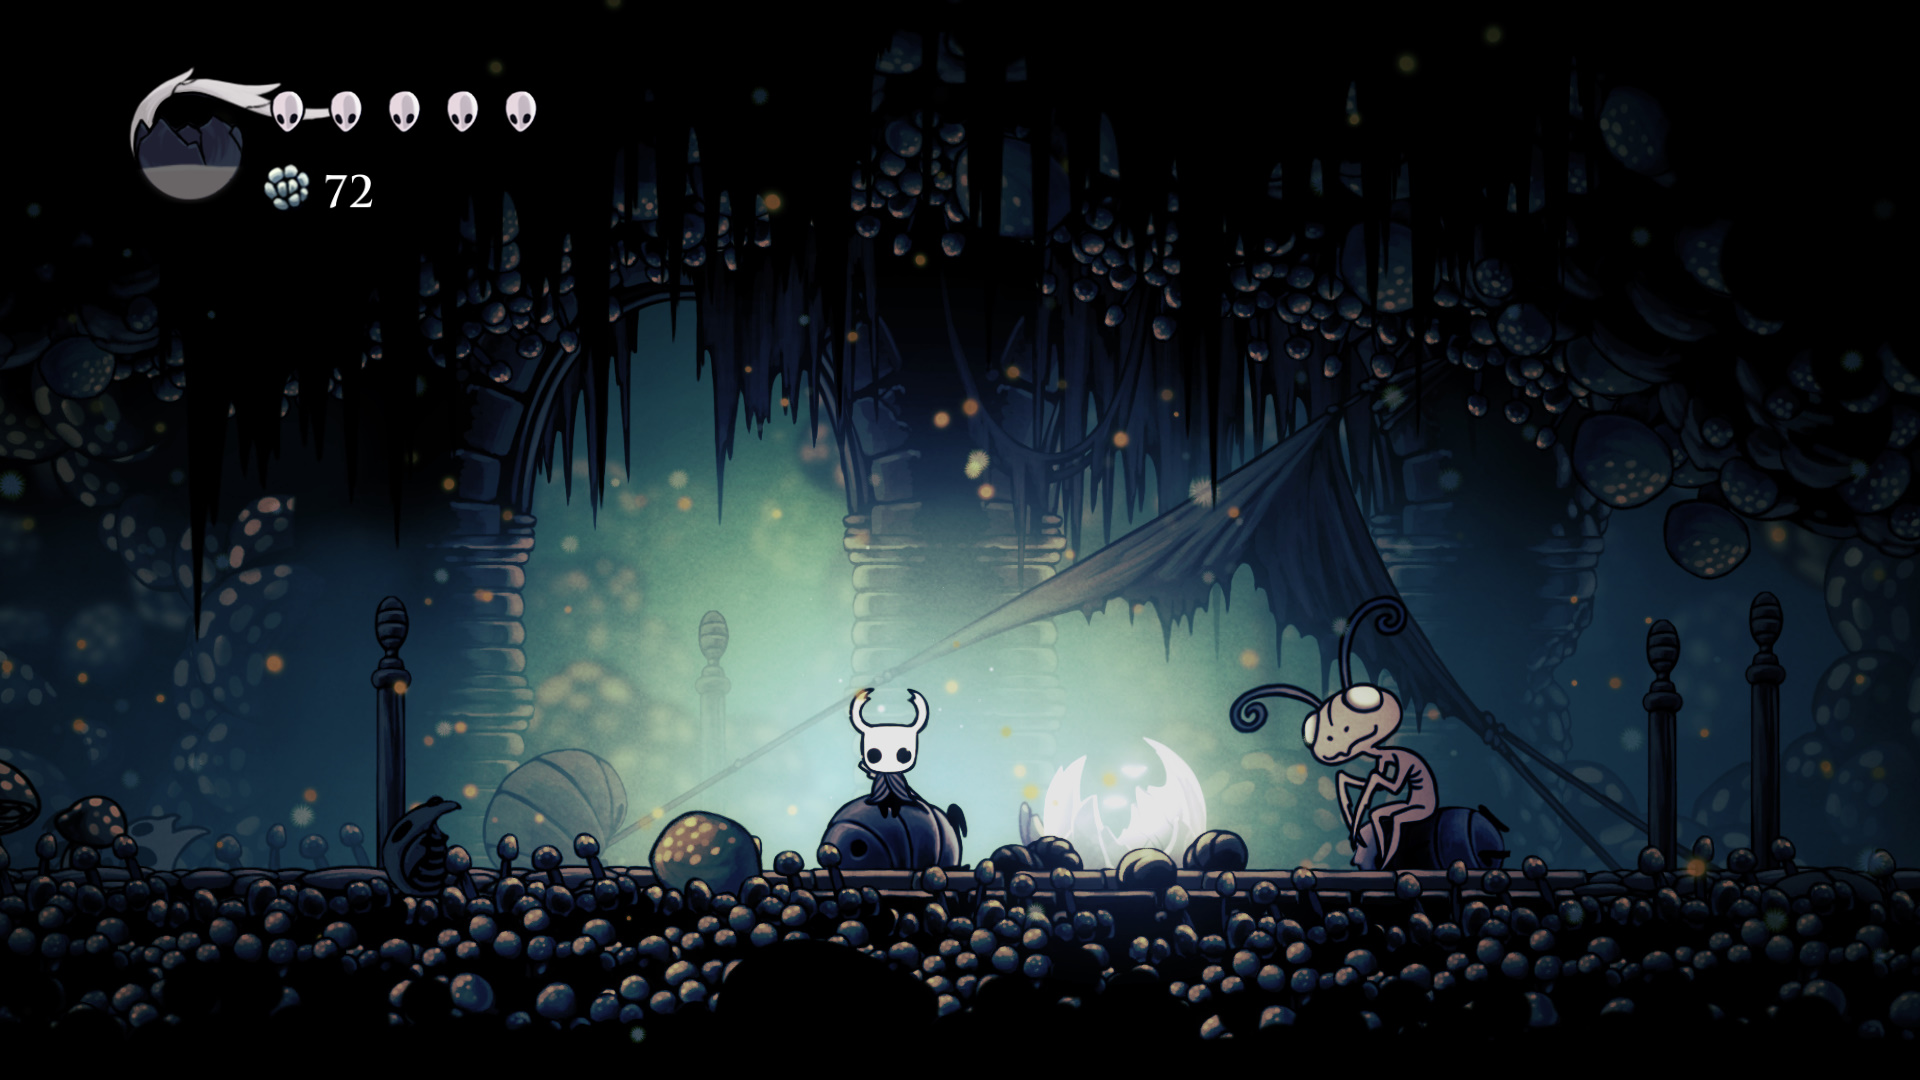
The gate to the left will open, allowing you to get the shell filled with Geos. Walk to the left and take the path leading up. The switch to the left will open the gate back to where you first found the map maker. Climb up and enter the building to speak with the Snail Shaman. He’ll give you a new ability, the Vengeful Spirit, but also lock you in a new area until you defeat the beast.
Ancestral Mound
The Ancestral Mound is a small area and there’s only one path to take until you get to the place shown in the image below. You’ll find Baldur’s here that curl up into a ball and quickly roll towards you.

Break the barrier to the left to find a Soul Totem. Head clockwise around this area, killing the little rolling bugs along the way. Up the top you’ll find a Lifeblood Cocoon to temporarily increase your health. Drop down and then break the barrier to the far right to confront the Elder Baldur.
If you get close the creature will curl up making itself invulnerable. The only way to hit it is to use the Vengeful Spirit at a distance. The creature will shoot fireballs and little Baldur. It takes four hits with the Vengeful Spirit to kill so you’ll need to kill a Baldur or two to replenish your souls.
When it’s been defeated run across to the left for the Soul Catcher charm. Break the barrier, drop down and speak with the Snail Shaman once more.
Leave the Ancestral Mound and head back to the hub area above where the map maker was first found. Jump to the very top and go through the passage to the left to see the Grubfather. He will give you rewards for every Grub(Caterpillar) that you rescue. For the four that you’ve rescued so far you should receive 100 Geo.
The next area we’ll be heading to is Greenpath. You get there by taking the next left path to the left underneath the Grubfather.
Back: King’s Pass Next: Greenpath