Under Attack (Jurassic World)
Back to Jurassic World Main Page
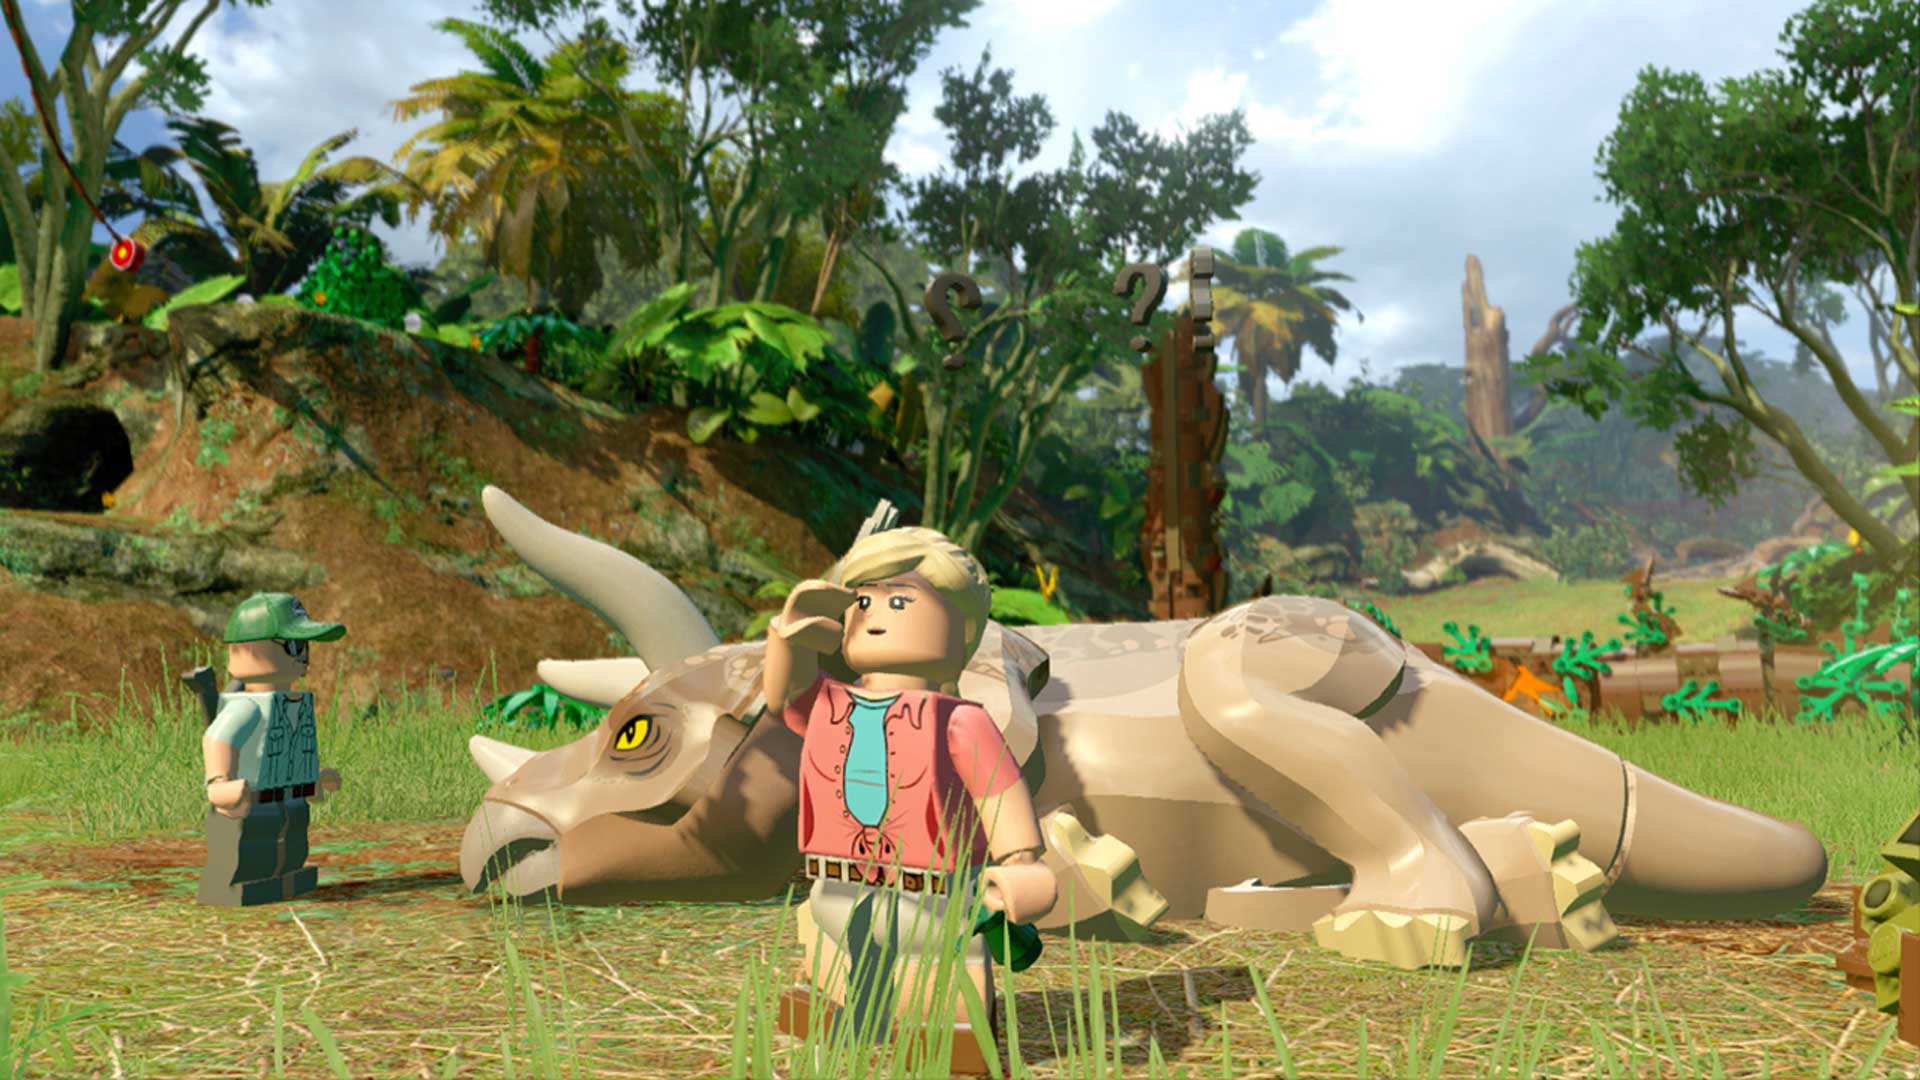
Under Attack
You’ll start with Gray and Zach by a jeep. Get in the jeep but you won’t get far because the gate is locked. Send Gray through the hatch in the wall on the right. Break the rocks on the upper ledge to reveal a key. Grab the key and open the gate. Get back in the vehicle and continue along the path.
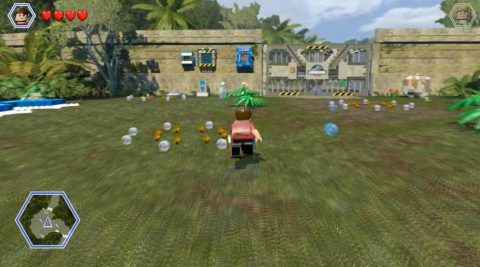
You’ll come out to an open area with a race track and someone having a picnic. Once again follow the blue translucent studs and they’ll show you the way.
Approach the gate and the handymen will ask for help. Boost Gray up to the thin ledge, break the object and assemble them into a ladder. Send Zach up and repair the gate mechanism. The gates will open and you can go through to the next area.
Main Street
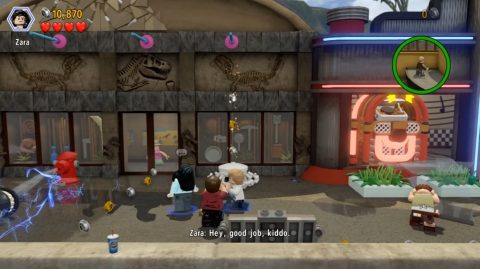
Walk Zara to the left and scream to break the glass on the music store door. Go inside and start breaking things until you reveal the generator at the back of the room. Have Zach repair it to power the music box and scare away the Pteranodon.
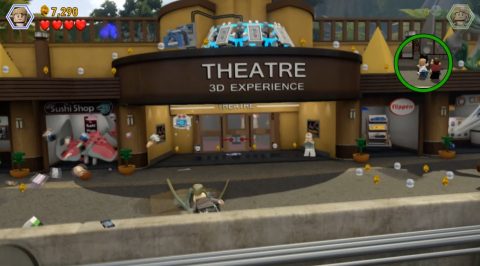
The water on the path will get electrified and you’ll switch over to the other group with Claire and Owen. Walk to the right to the theater and use Clair to activate the monitor.
The door on the Sushi Shop will close shot. Put the pieces together to make some handholds so you can climb Owen up to the rooftop. Walk to the left and kick over the sign. A rope will dangle down so Claire can climb up. Walk to the right and use the control panel to activate the hologram and scare away the Pteranodon.
Back with the other group put the pieces together that just fell off the shop and have Zara bounce up to the bars above.
Swing to the left and break the blue barriers. Assemble them into a little bridge so Zach and Gray can get over the electrified water. Have Gray take a photo of the Pteranodon to scare it away and continue to the left.
Walk to the left to the large fountain and then switch to the other group with Owen and Claire. Pick up the gold key that you saw drop when the Pteranodon fly over. Then use it to open the arcade.
Go inside, climb over the fenced area to the left and power the generator. The toy car in the front will get powered and shoot off to the right to scare away the Pteranodon.
Switch back to the group to the left and turn the wheel on the fountain. Put the pieces together and turn the spinner so the water from the fountain puts out the fire.
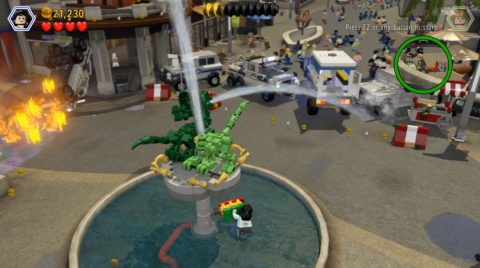
Once the fire is put out the two groups will get back together.
Amber – Dimorphodon
After building the bridge over the electrified water look for the clothing shop at the back. Slide under the front door and you’ll find the Amber Fossil inside.
Minikits
1 (Free Play): Shoot the 3 black rocks with a Dilophosaurus. Once is in front of the ice cream shop, the other in the coffee shop and the last to the right of the arcade.
2 (Free Play): Use a crowbar to open the theater. Destroy the popcorn machine to find it.
3 (Free Play): Use a small character to crawl through the hatch at the back of a bar. Switch to a character that can dive into piles of dung to find it.
4 (Free Play): Hack the console to the right of the arcade.
5 (Free Play): When you get to the fountain walk to the back and water the plant behind an upturned vehicle. Climb the plant to the roof for the minikit.
The Alpha
The Raptors have a new Alpha. You’ll need to rescue the 4 soldiers. Walk to the right and have Barry track the vest. He’ll find some pieces that can be put together into a pole.
Boost Owen up to the car and jump across the poles to the ledge. Swing across the vines and kick over the ladder. Cut the vines to release the soldier trapped in the car and rescue the Soldier #1.
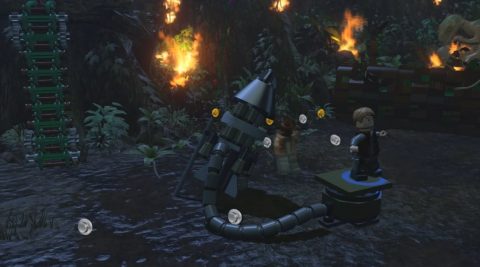
Put the pieces together that fall down from the car to make a rocket. Bounce on the pad to fire the rocket and it will smash into the fallen tree, rescuing Soldier #2.
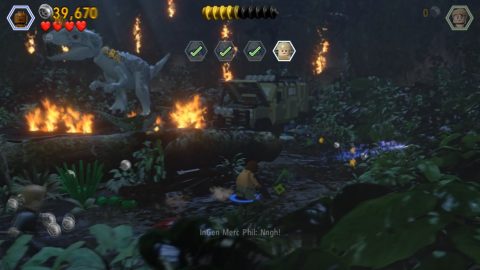
Continue to the right and fight off the little dinosaurs. When you reach the third soldier you’ll be attacked by a Raptor. Fight it off and then pull out Soldier #3.
Put the Lego together to make a ramp so you can get up to the higher ledge, then jump into the pile of droppings to find more pieces. Put these together to make a ladder up to the higher ledge.
Climb up and have Barry grapple the hook on the fallen tree to the right. Switch to Owen, use the camouflage and sneak through the hole in the tree.
Break all the wood piles on the other side and assemble the pieces into a spring. Turn the crank and then kick the spring to knock off the Raptor from the fallen tree.
Send Barry through and grapple down the crates from the highest ledge. Put the pieces together to make a trampoline and bounce up. From here you’ll need to sneak Owen around to the right and put the pieces near the truck together.
This makes a blue target that Barry can shoot. The car will power up and ram into the Raptor. Use the pieces that fall out to make a catapult. Jump onto it to hit the Indominus. It will spit out Soldier #4.
Minikits
6 (Free Play): After firing the rocket at the Raptor water the plant to the right and grab the minikit.
7 (Free Play): Before going to the higher level break the crack in the wall for the minikit.
8: Search through the pile of droppings after sneaking past the Raptor.
9 (Free Play): After powering the car and ramming into the Raptor, switch to your own Raptor and follow the scent trail to the left of the fallen tree.
Raptor Pursuit
During the chase scene you’ll need to shoot at the Raptors before they reach the car. You’ll then have a timed event before needing to shoot at more Raptors.
Next you’ll need to use Barry to shoot the Raptor off the roof of the other truck. Continue shooting the Raptors following the truck to complete the level.
Minikits
10: During the second part of the chase sequence you can switch to the driver. Stay towards the top of the screen to grab the minikit.
Next: Main Street Showdown
Back: Out of Bounds