Croft Manor
Back to Tomb Raider: Anniversary
Croft Manor
Artifacts: 8
Relics: 0
Lara’s home can be accessed from the main menu and can be played at any time. When you enter the Croft Manor you’ll read a letter and get a few clues about what needs to be done and where to find your journal. You can interact with any of the open books around the manor for more clues or lore.
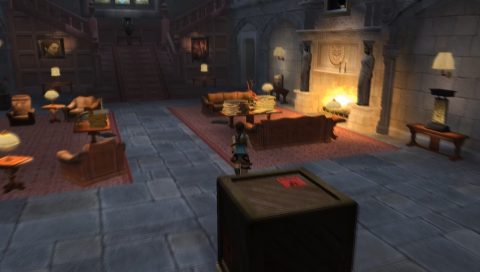
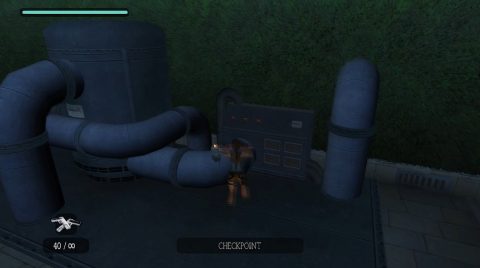
Main Hall
You begin in the main hall so turn to face the stack of wooden crates. Pull the one out that has the fragile sticker on it and place it on the pressure plate. This reveals a Golden Arrow behind the fire. You’ll need to put out the fire before you can pick it up.
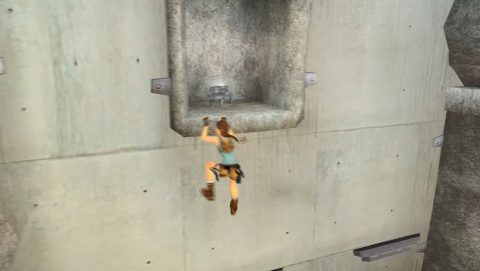
Turn to face the crates again and climb up on the right side. Jump to grab the top of the painting and shimmy over to the left. Jump to the left side and pick up the Sculpture Gear.
Drop down and head up the stairs. The stairs to the left lead to the Library and Lara’s Bedroom. The stairs to the right lead to the Gallery and Music Room. We’ll be going to the bedroom first so head up the stairs to the left and take the second door. Follow the corridor along and enter through the door to Lara’s bedroom.
Lara’s Bedroom
Pull the 2 Dagger Switches to open the Medusa plaque where you’ll find Lara’s Journal. To the right of the entrance you’ll find Lara’s closet. You can change into any of the outfits that you’ve unlocked along the way.
The other room has Lara’s bed and a few books you can read. When you’re done leave Lara’s Bedroom and head down the hall to the first door which leads to the library.
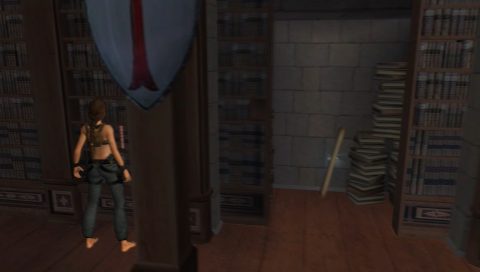
Library
When you enter the door will lock behind you so you ‘ll need to find another way out. On a bookshelf to the right is a very obvious book protruding out a bit. Interact with it to open the bookcase to the right for the Maze Map.
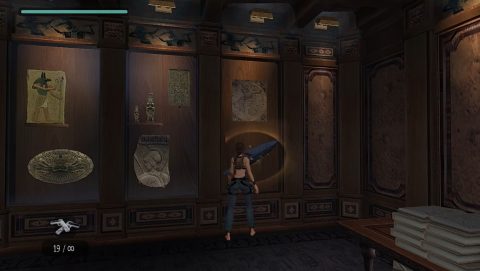
Head up the stairs and you’ll pass an artifact (silver elephant) behind a glass panel. You can’t get to it without your guns so continue into the next room.
Once again there are 2 very obvious books that you can interact with so press them in to open the bookcase in between for Lara’s Pistols. Grab them and then shoot the glass panel in the hallway outside for Artifact #1.
Go to the end of the walkway and jump to grab the painting. When it lowers down jump back to the walkway. Quickly turn around and shoot the Button behind it to open up a secret exit.
Drop down to the floor and go through the hidden passage. When you get to the wooden crates pick up the Empty Bucket on the shelf on the left side. Shoot the crates or climb over them and continue along the passage to the end. Press the Button to open the door to the Gallery.
Gallery
Inside you’ll find all of the Relics that you’ve collected along the way. You can interact with each of them for more information.
Head up the stairs and enter the room above. Break the glass panel with the glowing object and pick up the Sundial Gnomon.
Read the three books in this room. One of them has a clue to the sundial puzzle. The numbers on the inside cover are “11 2 7”. Remember them for later.
Head down the stairs and interact with the alarm by the door to turn it off. Head out through the door and go back to the main hall.
When you head down the stairs turn around to the right and go up the stone steps. Go through the door and follow the passage all the way out to the garden.
Garden
The sundial is located just in front of the hedge maze. read the plaque by the gate for another clue “Garden Hours: 11:00 AM to 7:00 PM”. Again the numbers 11, 2 and 7.
Interact with the Sundial and place the Sundial Gnomon on the front of it. Turn the sundial around to face 11, then 2 and finally 7. The gates to the hedge maze will open.
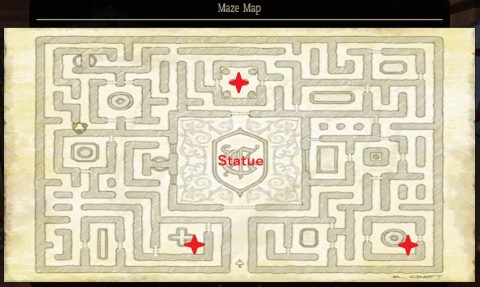
Use the map above to make your way to Artifact #2, Artifact #3 and Artifact #4 and then to the center statue. You can’t get to the statue from the front as the gate is locked. You’ll need to make your way around to the far side.
Once you find the statue you’ll notice two symbols next to it, a bow and an arrow. You’ll find them later.
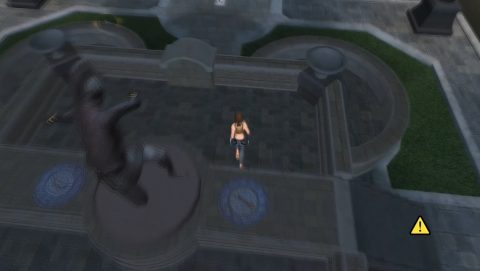
For now grab the Grapple and use it to pull open the front gate. You can now just walk through the front entrance to get to the statue. Make your way back to the main hall and enter the library.
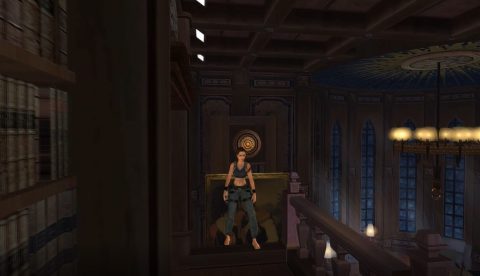
Library
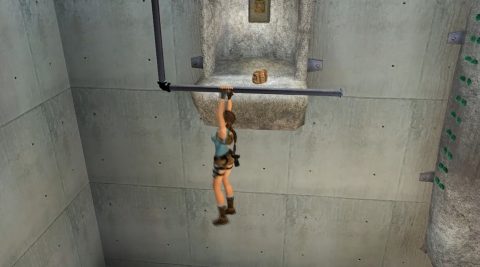
Use the Grapple to lower the chandelier in the center. This opens a hidden closet to the right of the door. Inside you’ll find Artifact #5. Go back to the main hall and look at the fireplace. Go through the door on the left and follow the path to the gymnasium.
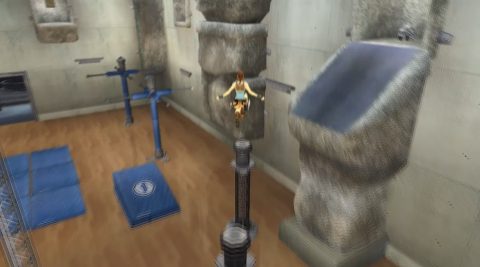
Gymnasium
There are three numbered mats on the ground and three buttons you need to press. You’ll also find 2 Artifacts in this room.
Start with Mat 1 and jump to the horizontal bars. When it swings around jump to the wall. Jump left and back to the second set of bars. Jump to the wall and across to the green handholds. Climb up and back to the ledge. Pull up for a Small Medipak and Button #1 which lifts up the pillars.
Drop down and move on to Mat 2. Jump to the pillar, up and traverse to the left. Jump back to the pole and across to the next pole and then over to the handhold on the wall.
Shimmy across to the rock on the left, jump up and continue left as far as you can. Jump back to the small alcove for Artifact #6.
Drop down to the ground and go to Mat 3. Jump to the pillar, up and around to the left. Jump Up and back to grapple to the handhold in the corner. Traverse to the left, drop down and then jump into the alcove to press Button #2. Slide down to the floor.
Go back to Mat 3 and take the same path to grapple on the hook. This time shorten the rope a little and swing out into the room to the left so you land on the ramp.
Jump to the next ramp and then to the horizontal bar. It will swing around. Swing into the alcove for Artifact #7.
Slide back down to the floor and go to Mat 3. Climb up the pillar but this time go around to the right. Jump up and back to the pillar in the corner. Traverse to the right, jump to the right, drop down down and continue climbing to the right. Jump back to grapple across to the next pillar. Climb around to the right and jump back to the bar. It will swing around.
Swing into the alcove for a Large Medipak and Button #3. Jump back to the wall and climb around to the left. Drop down on the ramp to slide down to the floor.
Use Mat 3 and take the same path as before but this time instead of dropping down jump back to the horizontal bar, swing to the next bar and then across to the pole, the next pole and across the tops of the pylons to the center platform.
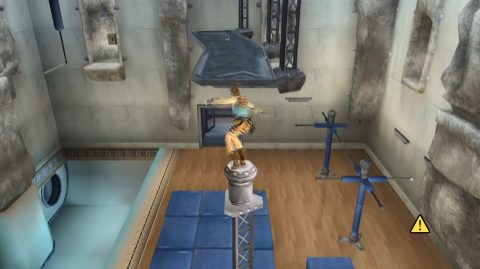
Grab the Wrench and then jump across to the green handholds on the wall. Climb down and make your way back to the main hall. Take the stone steps back to the garden.
Garden
Run all the way to the other side and enter the fenced pump area. Use the Wrench on the lever on the right side to get the water flowing again.
Go to the fountain and use the Empty Bucket to fill it up with water. Run back to the main hall.
Main Hall
Use the Bucket of Water on the fire to extinguish the fire and then grab the Golden Arrow. Go through the door to the right of the fireplace to find the Pool Room.
Pool Room
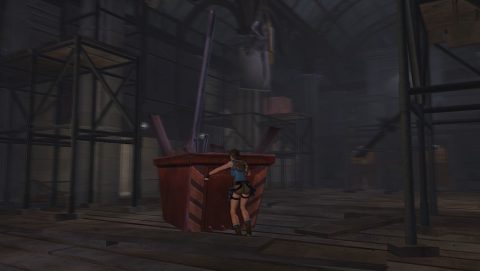
As soon as you enter turn to the right and use the grapple to pull down the spear. Grab the red bin and pull it in between the two scaffolding platforms.
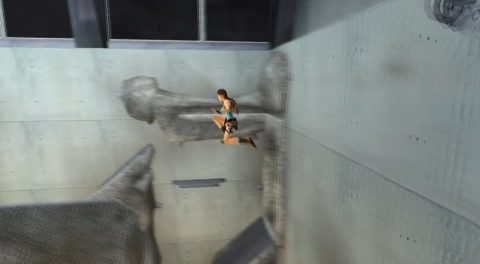
Then move forwards into the room and shoot the rope holding the plank in place. Climb up the crates in the far right corner, turn around and swing off the horizontal bar to the balcony.
Traverse around to the right and jump back to the wooden boards on the wall. Climb around to the right, jump back to the spear and over to the upper area.
Pull the Lug Bin over to the statue and place it opposite the real statue. Turn it around so the bar points diagonally out to the center. Turn the real statue around to face the same way and the plaque on the wall will spin around.
Shoot the Button to open one of the gates in the pool below. Climb over the blocks to the left and shoot the rope. This is one of three that you need to break to lower the statue holding the Golden Bow.
Grab the Large Medipak and swing back across the spear to the wooden board on the wall. Traverse to the left and jump back towards the center of the room. Grab the scaffolding and pull up.
Jump to the center of the pole that you moved earlier and across to the other side. Use the grapple to swing across and push the wooden crate off the edge of the scaffolding. You can use it to easily get back up here later if you fall down.
Continue across to the other side and shoot the second rope. Use the grapple to pull off the world that Atlas is holding. When it rolls onto the pressure plate the second gate will open.
Go back to the scaffolding and jump across the plank that acts like a seesaw. You’ll need to time it so that you jump across to the boards on the other side while the seesaw is up.
Climb to the right and around the corner. Jump back to more boards, climb to the left and then back to the balcony. Shoot the third rope and the statue will crash down through the scaffolding into the water below.
Dive into the pool to find the Decorative Bow. Swim through the tunnel and halfway through you’ll find Artifact #8. Pull the underwater Lever to open the hatch to the gymnasium and fill up the gymnasium pool. Swim through and pull up. Make your way back out to the garden.
Garden
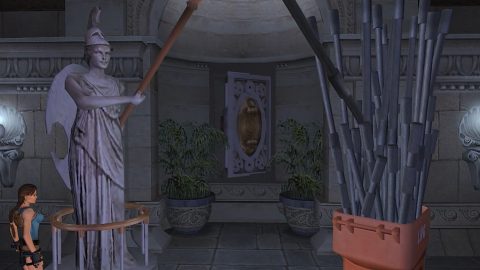
Walk up to the statue in the hedge maze and place the Decorative Bow and Arrow in their proper places. Stand on the symbols to interact with the statue.
Use the grapple to open the front panel and place the Sculpture Gear inside. Pull the Lever and the Statue will shoot the statue with the shield. The second statue lowers its arm and the Music Box Cylinder falls down. Pick it up and head back to the main hall.
Head up the stairs to the right and go through the second door on the left. Follow the corridor around to the music room door.
Music Room
The door is locked but you have what it needs. Place the Music Box Cylinder in the locking mechanism to open the door and complete the level.
You can continue looking around if you want. You can interact with the Harp, Piano and Shield. You can also use the music box to play any of the tracks that you’ve unlocked along the way.
Back: Tomb Raider: Anniversary Next: Level 1: Mountain Caves