Level 9: Temple of Khamoon
Back to Tomb Raider: Anniversary
Temple of Khamoon
Artifacts: 3
Relics: 1
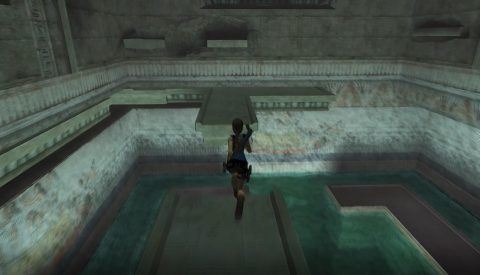
Run forwards, drop down and pull the block out to the left. Behind it you’ll find a Small Medipak. Use the grapple hook to pull over the pillars in both corners and then climb up the broken block to the alcove with another Small Medipak.
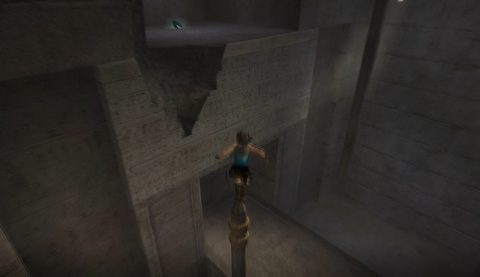
Grab the handhold on the left and climb around to the left. Jump up a few times, swing across to the horizontal bar, slide down the pillar and jump across to the grab the edge of the pillar in the corner.
Swing across the 2 horizontal bars over to the pillar then up the wall on the right. Climb into the hole in the wall and continue on your way.
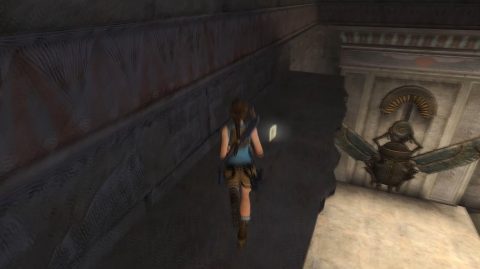
Slide down on the right side of the pit, jump across to the bar then over to the scarab. Before it lowers all the way jump up to grab the edge of the pit and climb out.
Head down the corridor and into the next room but watch out for the Black Panther. Once you’ve killed it climb up on the ledge and make your way around the wall on the left side. On the ledge at the back of the room you’ll find a Large Medipak. Drop down and climb up out of the room to the open area with the sphinx.
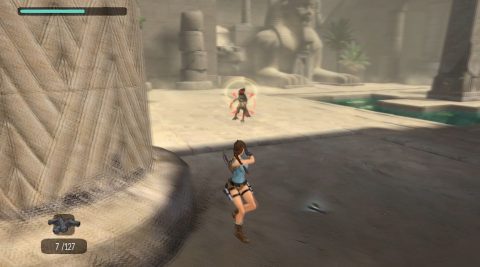
Open Area with Spinx
When Lara drops down she’ll be attacked by 2 Mummies. Try to use headshots to get rid of them quickly.
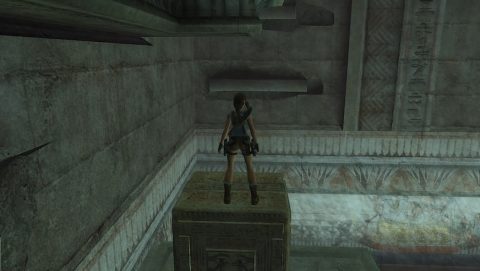
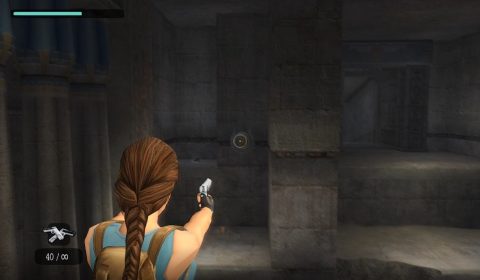
Dive into the pool for a Small Medipak and then climb out again. Facing the sphinx, climb up the round pillar piece on the left side and then jump across to the pillar. Make your way up to the top and then around to the left. Shoot the button to reveal a horizontal bar, swing across and continue making your way around.
Climb up the ladder on the right side of the sphinx, jump into the little alcove at the top of the sphinx and then climb up through the hole. This is a secret with Artifact #1.
Drop back down to the top of the sphinx and grapple over to the ledge in the corner. Do a couple of wall runs to the next ledge.
Head around to the left and jump to the sloped rock behind the sphinx. Crouch under the sloped rock for a Large Medipack. Crawl back out and pull the Switch. This opens the door in the front of the sphinx. Drop down and head through the door.
At the end of the corridor you’ll come out to a room with 6 seated statues. Kill the 2 Black Panthers and then pull the Switch at the other end of the hallway. The statues will move closer together but you’ll get attacked by another 2 Panthers. Once the panthers are out of the way pull the Switch again, run to the other side of the hallway and jump on the small rock.
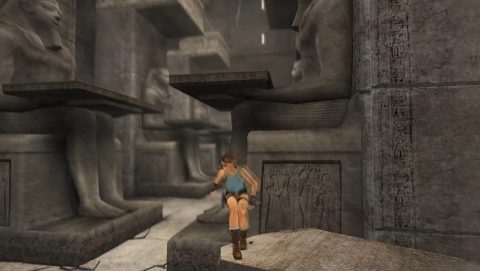
From here you can jump onto one the tray of the first statue. Make your way across the statues to the other side. From the last statue on the left grapple across to the handhold on the wall. Traverse to the right, to the gate, up and continue to the right until you can pull up into a passage.
Slide down to the gap and pull out the block. You’ll find 2 Small Medipaks down here. One behind the block and the other at the other side of the gap. Push the block all the way to the other side of the gap so you can climb out.
Continue around the passage and swing across the 2 horizontal bars to the scarab. Ride it down and let go. As it’s going back up jump up to grab it and then up again so you can climb up. Just around the corner you’ll come to another courtyard and pool.
Courtyard Area
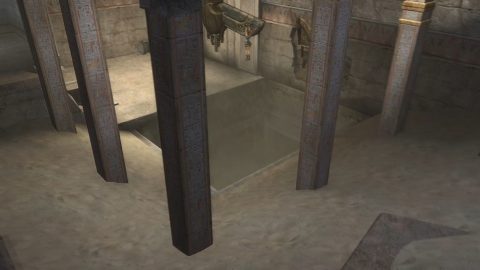
Drop down to the courtyard and kill the 2 Crocodiles. In one of the side passages you’ll find a Small Medipak. Dive into the poll and swim down. Pull the underwater lever and and quickly swim out through the gate to the left before it closes.
Puzzle Room
Swim up and climb out into the puzzle room with retractable ledges. Jump to the scarab and then up to the handhold. Jump across to the first ledge. When you climb onto one of these ledges it will begin to retract. As soon as you stop touching the ledge it will return to its original position. Quickly turn to the left and jump across the gap in the center of the room to the next ledge.
Grab onto the handhold and then jump to the one to the left. Jump backwards to the ledge on the side and quickly jump to grab the scarab. Jump up and then jump to grab the ledge to the right. Pull up and run through to the small room beyond.
Jump onto the wooden pole to the left and then across to the scarab. Jump up twice and then back to the top of the pole.
Jump to the alcove opposite and pull the Switch. You’ll see a block fall down in the previous room. Grab the ammo and jump to the pipe. Jump across to the small ledge on the opposite side for a Small Medipak and more ammo.
Drop down to the floor and enter the previous room. The ledge with the block on it no longer retracts. Push the block along the central strip to the other side. Position is so you can jump to the handholds on the wall to the right.
Jump to the handhold, then up to the next and back onto the higher ledge. Jump across the ledge and over to the scarab. Jump up to the handhold and then right to the scarab. Up to the handhold and then left to the next one. Jump backwards to the horizontal bar. Swing across to the ledge and pull up.
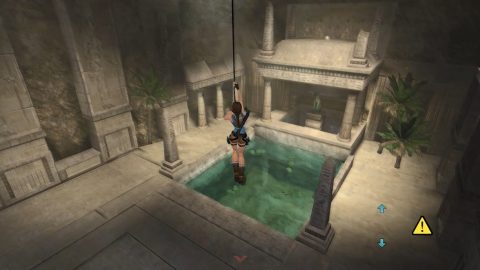
Look out across the room and use the grapple to pull down the bridge on the other side. Use the grapple on the hook to swing across and into the room beyond the bridge before it closes. Pull the Switch inside to lower the drawbridge and the hatch in the roof.
Climb up through the hatch and pull the Switch in the room above. The floor around the cat statue will fall away. Look out into the room with the cat statue and turn to the left.
Use the hook to run along the wall and grab the next handhold. Jump back out into the room and use the grapple to grab the hook in the roof.
You may want to climb up a little so you’re not too low for the next hook. Swing over to the next hook and then the third. By now you should be able to land on top of the temple roof for Artifact #2.
Drop down into the water and climb out. You’ll be attacked by 2 Crocodiles but if you stand on the temple steps you’ll be safe.
Drop down by the cat statue to the area below and slide down. Make your way through the passage to the room with the Panther. You should be able to kill it before dropping down.
Once you drop down to the floor you will be attacked by another 3 Panthers. Go into the room where they came from for a Small Medipak. Pull the Switch on the gate on the opposite wall to release another 2 Panthers.
Once they’ve been killed climb up the handholds to the left of the gate, then over to the gate and quickly jump back to the central pillar before the gate lowers too far.
Jump up and then across to the bar which will swing around. Wait for it to stop and then jump back to the wall. Jump up and then back to the higher ledge where you can climb up.
Use manual aim to shoot the Button in one of the alcoves. This lowers a hook so you can grapple across and grab the Large Medipak and ammo.
Swing back to the central ledge and go out the passage on the other side. Head along the corridor and you’ll be attacked by a Panther as you come to the next room.
Climb out the exit straight ahead and then up the ladder to the room with the large scarab beetle. Kill the Mummy and then climb onto the blocks in the corner with the ammo and Large Medipak.
Use the hook to swing across to the handhold on the far side of the room. Jump back to the top of the first pillar and then the second. Jump to grab the handhold on the third pillar, drop down once and then jump across to the fourth and then the fifth pillar.
Traverse across to the right and then up. Jump back to the wall and grapple onto the hook. From here swing to the right and swing up to the ledge with Artifact #3.
Jump and grapple on the hook so you can let yourself down to the ground. The scarab mechanism isn’t working yet so head out through the exit and climb the ladder.
Pull the Switch and all the statues will move together. Quickly make your way across the tops of the statues to the other side. Grab the Large Medipak and head around to the right to pull another Switch. This will unlock the scarab mechanism and permanently move the statues together.
Head back across the tops of the statues and back down the ladder to the previous room.
Once again climb up the blocks in the corner and use the grapple to swing across to the left. grab the handholds and jump towards the horizontal bar on the scarab. As you swing around a pit will open below you.
Let go of the scarab and then drop down the pit. This is a room you where in previously but now there is sand in one corner so you can take another exit. Climb through the passage just by the sand pile to a room with 5 obelisks.
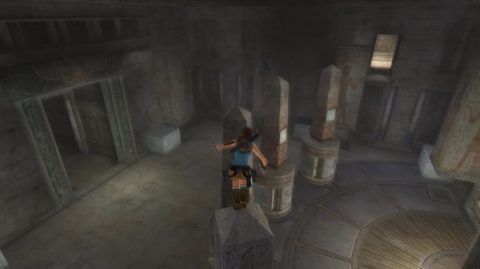
Room with 4 Obelisks
Pull out each of the blocks under the pillars on the walls. Some of them have ammo, some have Panthers and clues to the 4 pillars puzzle.
You need to match up the symbol on the pillars with the painting around each base. Once the paintings are positioned correctly the exit door will open. Before going through take a detour for the relic.
Use the white block to the right of the exit door to climb up the pillar on the wall.
Climb up and then traverse around to the right. Jump right to the handhold and then right to the next pillar. Climb right and then jump up to the next crevice. From here jump back to the first obelisk. Jump along the tops of the obelisks to the pillar on the other side.
traverse around to the right and drop down and then climb into the small room for Relic #1 (Mummified Cat) and a Large Medipak.
Drop down to the floor and head out through the exit to complete the level.
Back: Level 8: Tomb of Tihocan Next: Level 10: Obelisk of Khamoon