Level 11: Sanctuary of the Scion
Back to Tomb Raider: Anniversary
Sanctuary of the Scion
Artifacts: 2
Relics: 1
Head up the stairs and kill the 2 Mummies that attack from the room at the top.
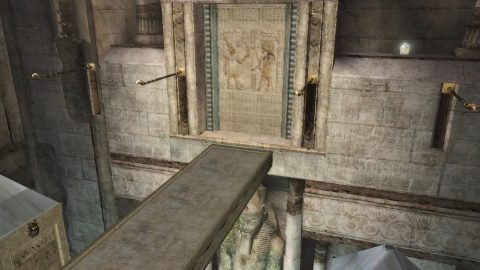
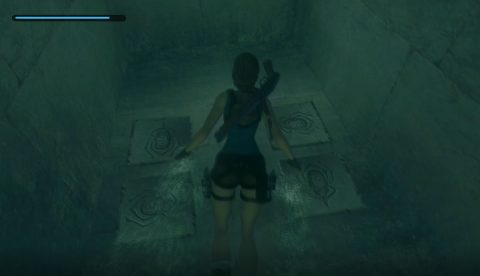
Puzzle Room
There are 4 pillars in this small puzzle room. You need to make the paintings on the pillars match the paintings on the walls. The easiest way to do this is to turn one of the first two pillars around 180 degrees. Turning one pillar turns the other in the same row. Turn one of the pillars in the back row around 180 degrees to complete the puzzle.
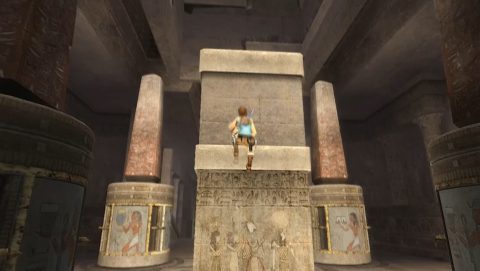
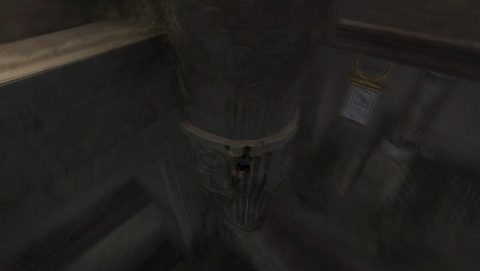
A square column will rise up from the center of the room. Climb up to the passage above. Make your way through the trapped corridor to the other side. You’ll come out to a large room behind an enormous sphinx statue.
Sphinx Room
Climb down the ladder on the left side or just slide down. Grab the ammo at the bottom and run towards the front of the sphinx. After the cutscene enter the small cave on the left for a Large Medipak.
Run to the front of the sphinx and climb up the ladder. at the top of the ladder you can jump to the left or right. You’ll need to take both paths and it doesn’t matter what order you do them in. The path to the right leads to the SMGs so I’ll take that path first.
Right Path
Jump to the right and swing off the horizontal bars to the stairway. Climb up the ladder then up the rocks on the left for a Large Medipak. Drop back down and jump across to the handholds. Jump up to the ledge above and the drop down to the base of the two pillars.
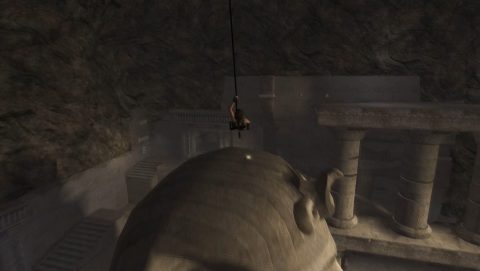
Climb up the pillar on the right all the way to the top. When you get up at the top you’ll be attacked by 2 Flying Mutants. Kill them and then grapple over to the top of the sphinx head for the SMGs.
Swing back to the ledge you just came from and use the horizontal bar to swing across to the next ledge. Run to the corner and jump to the handholds. Drop down and pull the Switch to complete the broken staircase.
Go up through the passageway and along the trapped corridor. You’ll come out at the top of the first puzzle room.
Right Puzzle Room
Dive into the water below and pull up onto the platform. The goal is to pull down the four side panels. Each side panel lifts up the obelisk in front of it.
From the gate, if you’re looking out towards the center of the room turn to the right and jump to the handhold. Jump up, left to the panel and jump up to the top of the panel. Jump right to the handholds, up and the left back to the panel. You should have time to jump left to the second panel. Jump up to the top and ride it down. The panel will lock into place once it’s all the way down.
Drop into the water, climb out and pull down the first panel. Jump backwards and climb up the obelisk. Shimmy around to the side and jump to the bridge. Swing across the horizontal bar to the handhold. Jump right and then up the panel. Pull it all the way down.
Climb up the obelisk and jump over to the bridge. Run across the bridge and jump over to the small rock ledge. Swing over to the left and pull down the final panel.
The bridge should now extend all the way across the room. Climb up an obelisk and then onto the bridge. You’ll notice the artifact on the right side.
Swing on the horizontal bars to the left of the closed door and then climb up the handholds. Jump back to the ladder and then right to the top of the gate. Traverse to the right and drop down for Artifact #1.
Jump back to the bridge or dive in and make your way back around. Swing on the bars and then climb up to the ladder as before. This time climb up the ladder, left to another ladder, up and then across the handholds to the right. You’ll be at the entrance to this room. Head down the stairs and pull the Switch. This will activate the obelisks and open the gate.
Dive into the water, climb up to the bridge and go through the open gate. Kill the Mummy that attacks and then grab the first Ankh Key. That’s it for this puzzle room. The other puzzle room is very similar.
Dive into the water and head through the lower gate. This takes you back out to the sphinx room.
Sphinx Room
Kill the Centaur that attacks once you get around to the front of the sphinx. Climb up the ladder and this time jump to the handhold on the left side.
Left Path
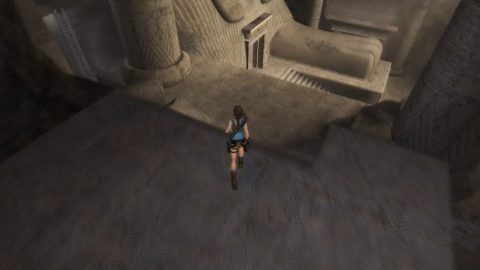
Jump down to the broken stairs and take a long jump across to the other stair section. Climb up the block on the right side. Slide down on the left and jump across to the handholds. Make your way up the ramp and then climb up the end pillar. Jump back to the middle pillar, around and then back to the first pillar. Traverse to the left and then up. Make sure you have your back to the wall and jump backwards. Lara will grab a handhold on the wall.
Jump up the handholds and pull up to the top ledge. You’ll be attacked by another 2 Flying Mutants. Kill them and then swing across the 2 horizontal bars to another handhold. Shimmy around to the other side, jump backwards and jump down the handholds in the corner. Pull the Switch to finish the staircase and then go up the stairs through the trapped passage to the second puzzle room.
Left Puzzle Room
This is much the same as the first puzzle room but the order of panels is different. Dive into the water below and pull up onto the dry ground in the corner. Stand on the small rock and then jump across to grab the panel.
Jump up the panel but don’t lock it into place. Instead jump across to the ladder and climb up. Swing across the horizontal bars to the other side, drop down one handhold and then jump left to the panel. Jump up to the top and pull it all the way down.
Drop into the water and climb out again. Pull down the first panel. Now you can jump over to the obelisk. Jump up to the top and then backwards to the small ledge.
Grab the handhold to the right and the jump to the panel to the right. Ride it down and lock it into place.
Jump back to the obelisk, climb around to the bridge and use the grapple to swing over to the other side. Jump right to the final panel and ride it down. With all four obelisks raised you need to make your way to the switch in the room above.
Climb onto the bridge and then swing across the horizontal bars on the left side. Jump across to the ladders and climb up to the top. Jump left to the handhold and make your way over to the entrance. Head down the stairs and pull the Switch.
Dive into the water, climb up to the bridge and enter through the door you just opened. Kill the Mummy and grab the second Ankh Key.
Dive down to the water and head out through the open gate. Follow the tunnel back to the sphinx room.
Sphinx Room
This time there’s 2 Centaurs protecting the sphinx so kill them both and then walk up to the entrance. Place the 2 Ankh Keys on either side of the entrance and go through.
Beneath the Sphinx
Make your way down the ramp. You can push the boulder down with you if you want although there’s no real reason except that it might squash a few rats on the way down.
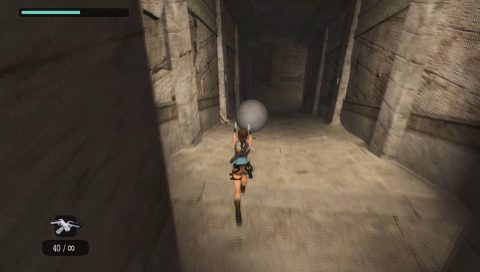
At the bottom you’ll come out to a pool room with giant statues.
Giant Statues and Pool Room
Grab the Small Medipak on the left and then dive into the water below. There’s a fair bit of repetition in this section so I’ll outline the basic steps for opening the exit and getting the Relic and Artifact along the way.
Dive into the water and pull the underwater Lever between the two statues. Next we’ll be climbing up on the left statue. Jump up from the feet, climb up and traverse around to the right. Climb up the ladder and back to the left until you’re standing on the scarab puzzle.
To complete the puzzle move the scarab buttons to face the right way as shown on the tiles on the floor. Use manual aim to shoot the scarabs and they’ll move around in an anti-clockwise direction.
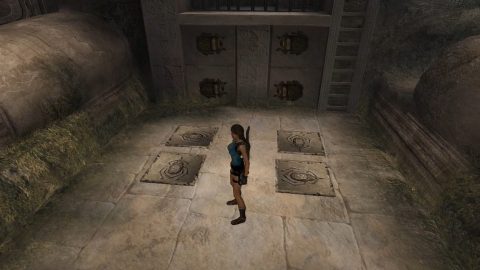
When they scarabs are facing the right way the gate above will open. Climb up and pull the Switch. The water level will rise.
Drop down to the puzzle and climb up the ladder. Jump around to the right and make your way all the way around until you can jump onto the Weight Switch. Pull it down and an underwater gate will open.

Drop down into the water and quickly swim around to the right statue. Dive down and swim through the gate you just opened. Take a look at the puzzle solution on the tiles underwater. From top left going clockwise the scarabs are facing Up, Left, Down, Right.
Swim up, jump up to the ledge and shoot the scarabs but DON’T pull the switch yet. Instead drop down and push the block off the edge into the water.
Dive into the water and pull the central underwater Lever again. This lowers the water so you can climb up on the left statue.
Climb up the left statue back to the first puzzle. There’s no need to pull the Switch this time so climb up the ladder, and make your way around to the right. Pull on the Weight Switch again.
Drop into the water and climb up onto the block that you dropped of previously. Climb up through the gate you just lowered to the second puzzle. You still don’t need the switch yet so drop off the side and make your way around to the second Weight Switch.
Pull it down to open a gate by the shoulder of the right statue. This opens the path to the relic.
Jump across to the feet of the left statue and climb up to the puzzle. Pull the Switch to raise the water level.
Climb the ladder and make your way around to the Weight Switch. Pull on it to open the gate in the right statue. Drop down and swim through the gate. Pull up and climb up to pull the second Switch. This raises the water level even further.
Swim across to the left statue and swim up past the Switch. Climb onto the scarab and up to the handhold. Swing across the bars to the handhold on the other side and then climb out on the left.
Turn immediately to your right and climb up the handholds. Traverse to the right and pull up onto the tops of the statues.
Jump across the gap to the right statue and drop down on the far side. Remember the gate you opened up earlier. Drop through to find Relic #1 (Horus Idol).
Climb out and use the handholds to climb back up to the top of the statues. Jump to grab the Weight Switch between the two statues and the water will raise one final time. Swim to the ledge above and exit this room.
Run through the corridor and you’ll come out at the room with many columns.
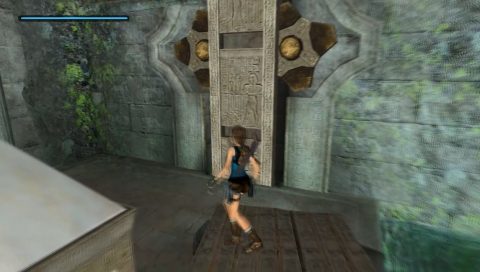
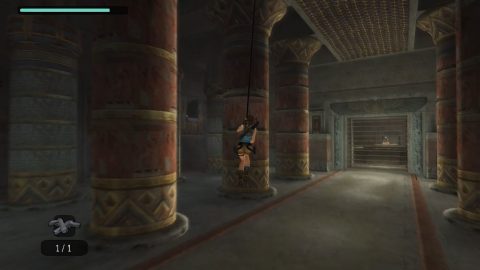
Room with Painted Columns
When you enter you’ll be attacked by 2 Centaurs and 2 Mummies. Deal with them as best as you can.
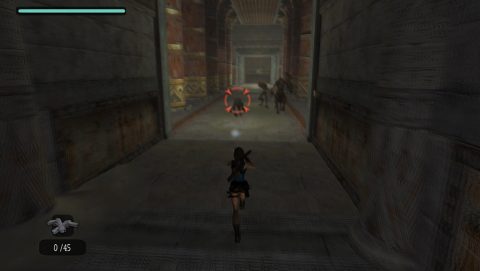
There are 3 things you need to do here, get to the locks on either side of the level exit and pick up the final artifact along the way.
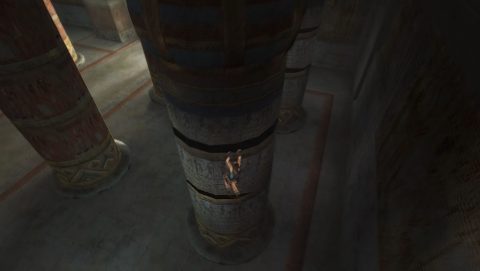
As you enter this room climb up the first column on the right. Climb up as high as you can, around to the left and the drop down once. Jump backwards to the second column and then jump up once. Climb around to the right and jump back to the blue column.
From here climb around to the right as far as you can go. Jump out alongside the wall and use the grapple to swing past one column and grab onto a handhold on the column further along.
Traverse around to the right and jump up. Jump backwards to grab the final blue column. Climb up and then jump to the red column next to the exit. Climb up and around to the left, drop down and continue left until you can jump over to the lock on the right side of the door. Use the Scion of Tihocan to unlock the lock.
Drop down and climb up the first pillar again. Jump across to the second pillar and this time instead of continuing to the next pillar jump out towards the center of the room and swing on the hook above.
Jump to grab the second red column from the end and then jump to the last red column. Climb around and jump over to the last blue column. Climb around and up and jump backwards into the small alcove for Artifact #2.
From here jump back to the blue column and then climb around and up to the highest point. Jump back to the last red column and then jump across to the ledge with the lock. Use the Scion of Qualopec to open the lock. Drop down and go through the door for a cutscene.
Back: Level 10: Obelisk of Khamoon Next: Level 12: Natla’s Mines