Level 10: Obelisk of Khamoon
Back to Tomb Raider: Anniversary
Obelisk of Khamoon
Artifacts: 4
Relics: 0
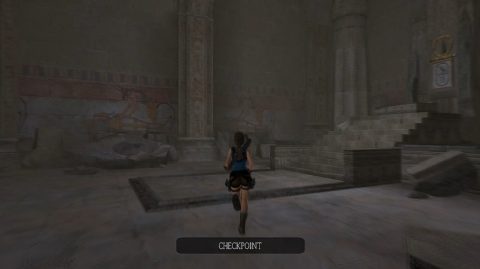
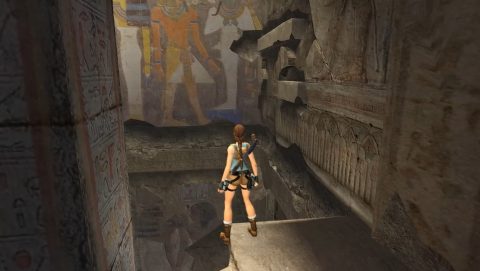
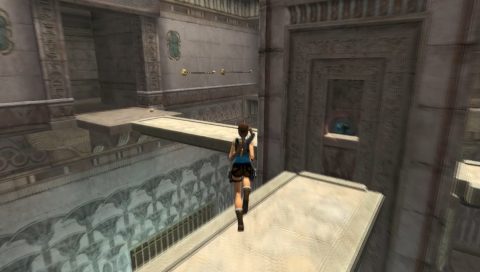
Walk forwards to the main chamber with the four bridges, turn to the right and pull the Switch. This lowers the first bridge. You can walk across the bridge and pick up the Eye of Horus now if you want or leave it until you’ve lowered all four bridges.
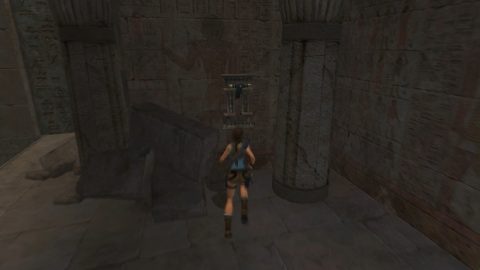
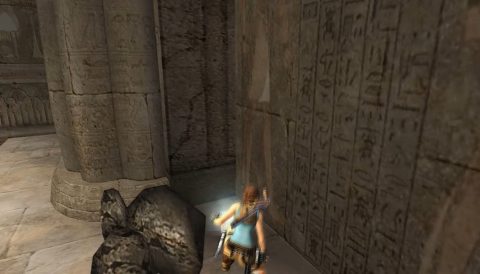
Dive into the water below and climb out into the passage. Run through while avoiding the crushing walls. There are three sets of them. You’ll come out into a room with ruined stairs in the center. Run up and jump across to grab the Switch.
As the Switch lowers the square column behind you will also lower. Jump back to the ruined stairs and quickly jump onto the column before it rises back up.
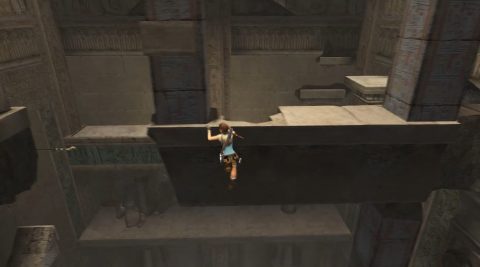
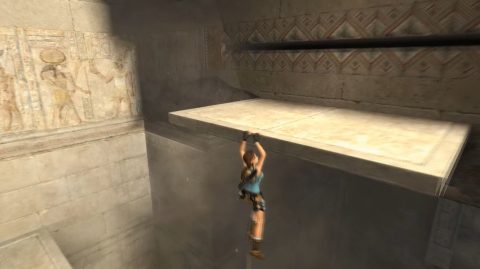
Jump across to the horizontal bar and then to the handholds. Jump up to the ledge above and make your way across to the next ledge in the corner before the middle ledge recedes.
Timed Run for Artifact #1
From her jump to the central platform and then take a long jump to the far platform. Pull the Switch to extend a horizontal pole high above. From the time the cutscene ends you’ll have about 90 seconds to make it up to the artifact.
Jump back to the central platform on the left side. Climb up the two handholds and then jump back to the central pillar. Climb around to the other side and jump back to the third pillar. Climb around to the right, jump up to the top handhold and then jump right to grab onto the wall.
Swing off the horizontal bar to the right to the side ledge. There’s a checkpoint here so if you fail to make the run in time you can just drop down from this ledge and you’ll be back at the Switch.
Run along the ledge and climb up the handholds. Jump back to the ledge which recedes when you grab it and then across to the center. Pull up and drop off the other side. Shimmy across to the left.
Jump up to the handhold on the pillar, traverse left and jump backwards to the pillar across the gap. Drop down once and traverse to the right. Pull up onto the broken ledge and jump across to the handholds on the wall.
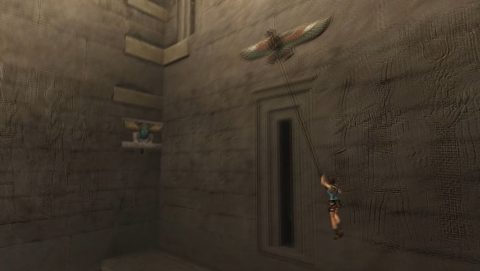
Jump up and make your way to the left. Jump back and use the grapple to swing across to the other side. Traverse across the handholds to the left and jump back to grab the pillar. Climb around the other side, jump backwards to the central pillar. Jump up, climb around to the left and jump up to the top of the pillar.
Jump across to the next ledge and quickly climb up. Jump to the horizontal bar to the right and swing across to the ledge with Artifact #1.
Swing back across the horizontal bar and then across to the other side. Head up the ramp to the room with the Mummy. Kill it and then drop down the gap for a Small Medipak and Shotgun Shells if you need them.
Use the ladder to climb back out and swing across the bars to the scarab weight and then up to the handhold. Traverse to the left and then jump to the stairs.
Jump through the two crushing traps and you’ll arrive a room with an obelisk.
The Obelisk
Climb on the handholds to your right as you enter. Jump back to the horizontal bar and swing to the next ledge. Pull the Switch here to lower the second bridge to the Ankh and to also open a gate on the other side of the room.
Climb back to the passage where you entered and grab the handholds on the other side of the entrance. Make your way around to the gate that you just opened and go through.
Watch out for the spinning blades as you run and swing across the corridor. You’ll come out to a large room that looks more like a deep pit.
Room with the Slide
Slide down the rock ramp all the way to the bottom of the room and take out the Mummy below. Around the back of one pillar you’ll find a Small Medipak. There’s another Small Medipak in one of the small raised alcoves. Pull the Switch in the closest alcove to turn the slide into a staircase and to open 2 gates.
Pull the block out from one of the gates that just opened and use it to grab the handhold above. Jump up again and then grapple across to the scarab. Quickly jump up and then jump across to the ledge.
Jump up twice on the right side and grapple across to the left. Watch out for the spinning blade in the center. Wait for it to retract before attempting to swing across.
Grab the scarab and jump up. Wait for the blade to retract and as soon as you can swing across to the left and then back to the right to grab the higher handhold.
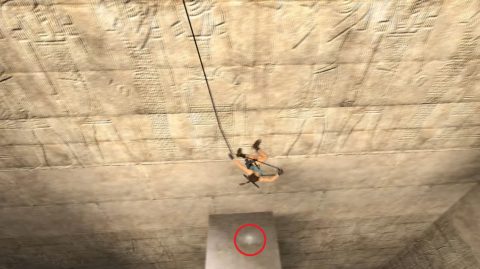
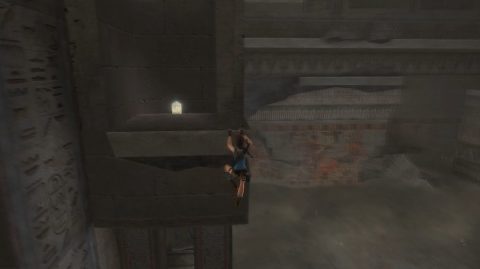
Jump up and then grapple to the right past the two spinning blades to land on the staircase. From here swing out to the right with the grapple, let go and grab the next grapple to the right. Let Lara slow down and drop to the ledge below for Artifact #2.
If you want you can drop down the steps for a Small Medipak and then SMG Clips. If you do you’ll need to make the climb back up to the staircase again. Otherwise take a long jump back to the staircase. Climb up to the second step from the top and swing across using the grapple. Swing on the next hook and this time swing all the way to the right and grab the ledge.
Jump up the handholds and then across to the exit on the left. Climb up and run through the corridor to the next switch. Pull the Switch to lower the third bridge leading to the Seal of Anubis.
Main Chamber (Bridge Room)
Dive into the water below and get out on the side with the ladder. Climb up the ladder to the top and jump over to the left. This is where you first enter the chamber. run along the bridge and jump over to the bridge to the left.
Grab the Small Medipak from the entrance and head along the trapped corridor.
Room with Sarcophagus
You’ll come out to another room that looks more like a deep pit but this one has no slide. Don’t pull the Switch to the left as this will activate a number of traps.
Instead drop down the block to the left and then drop down to the sloped rock facing towards the center of the room. When you get down to the bottom you’ll be attacked by 3 Mummies. Kill them and then climb up the handholds to the passage above.
Go through the trapped passage. This one is more difficult. The first trap consists of 4 spinning blades, 2 high and 2 low. The second trap is a series of crushers and poles. You’ll need to time your jumps across the tops of the poles while avoiding being crushed.
Once you’ve made it through all the traps you’ll find the Switch to lower the fourth bridge leading to the Scarab of Osiris.
Head back through the trapped corridor and jump to the platform in the corner to your right. Grab the handholds and traverse across to the left. Continue to the left as far as you can go and take a jump to the left. Lara will grab the lower handhold. Traverse around to the left until you can pull up for Artifact #3.
Drop back down to the floor and make your way around again but this time jump up to the alcove above rather than traversing all the way to the left.
Grab the handhold on the wall, shimmy to the left, jump to the left and climb up. Jump up the handhold to the passage above and run up the passage to come out at a higher point.
Jump up the two handholds and back to the platform. Use the grapple to swing across to the ledge with the Large Medipak and Shotgun Shells. Swing on the hook again. This time swing left and right as high as you can. While you’re as high to the right as you can be jump backwards to grab the ledge behind you.
Jump to the handhold on the wall, to the bar and then swing to the ledge with Artifact #4 and some ammo.
Drop down to the ledge below and then jump to the lower handholds. Make your way back down the passage. You’ll be attacked by a Mummy along the way. Carefully make your way back down to the ground below.
Climb up the square ledge in the corner using the handholds. Grapple across to the left and climb up the blocks and handholds to the entrance of this room. Make your way back through the trapped corridor to the main chamber.
All of the bridges should be lowered so run around and grab the Ankh of Isis, Scarab of Osiris, Seal of Anubis and Eye of Horus. Once you have them all a gate will open in the pool below.
Dive into the water and go through the passage in the center. Swim along the underwater tunnel and pull up at the other side. Grab the Small Medipak and pull the Switch to open the statue above. Climb up the ladder and climb out.
Head out through the entrance to this statue room and along the corridor to the courtyard with the obelisk. You’ll be attacked by a Centaur when you get here. Place the four items in the slots around the obelisk to complete the level.
Back: Level 9: Temple of Khamoon Next: Level 11: Sanctuary of the Scion