Level 14: The Final Conflict
Back to Tomb Raider: Anniversary
The Final Conflict
Artifacts: 4
Relics: 0
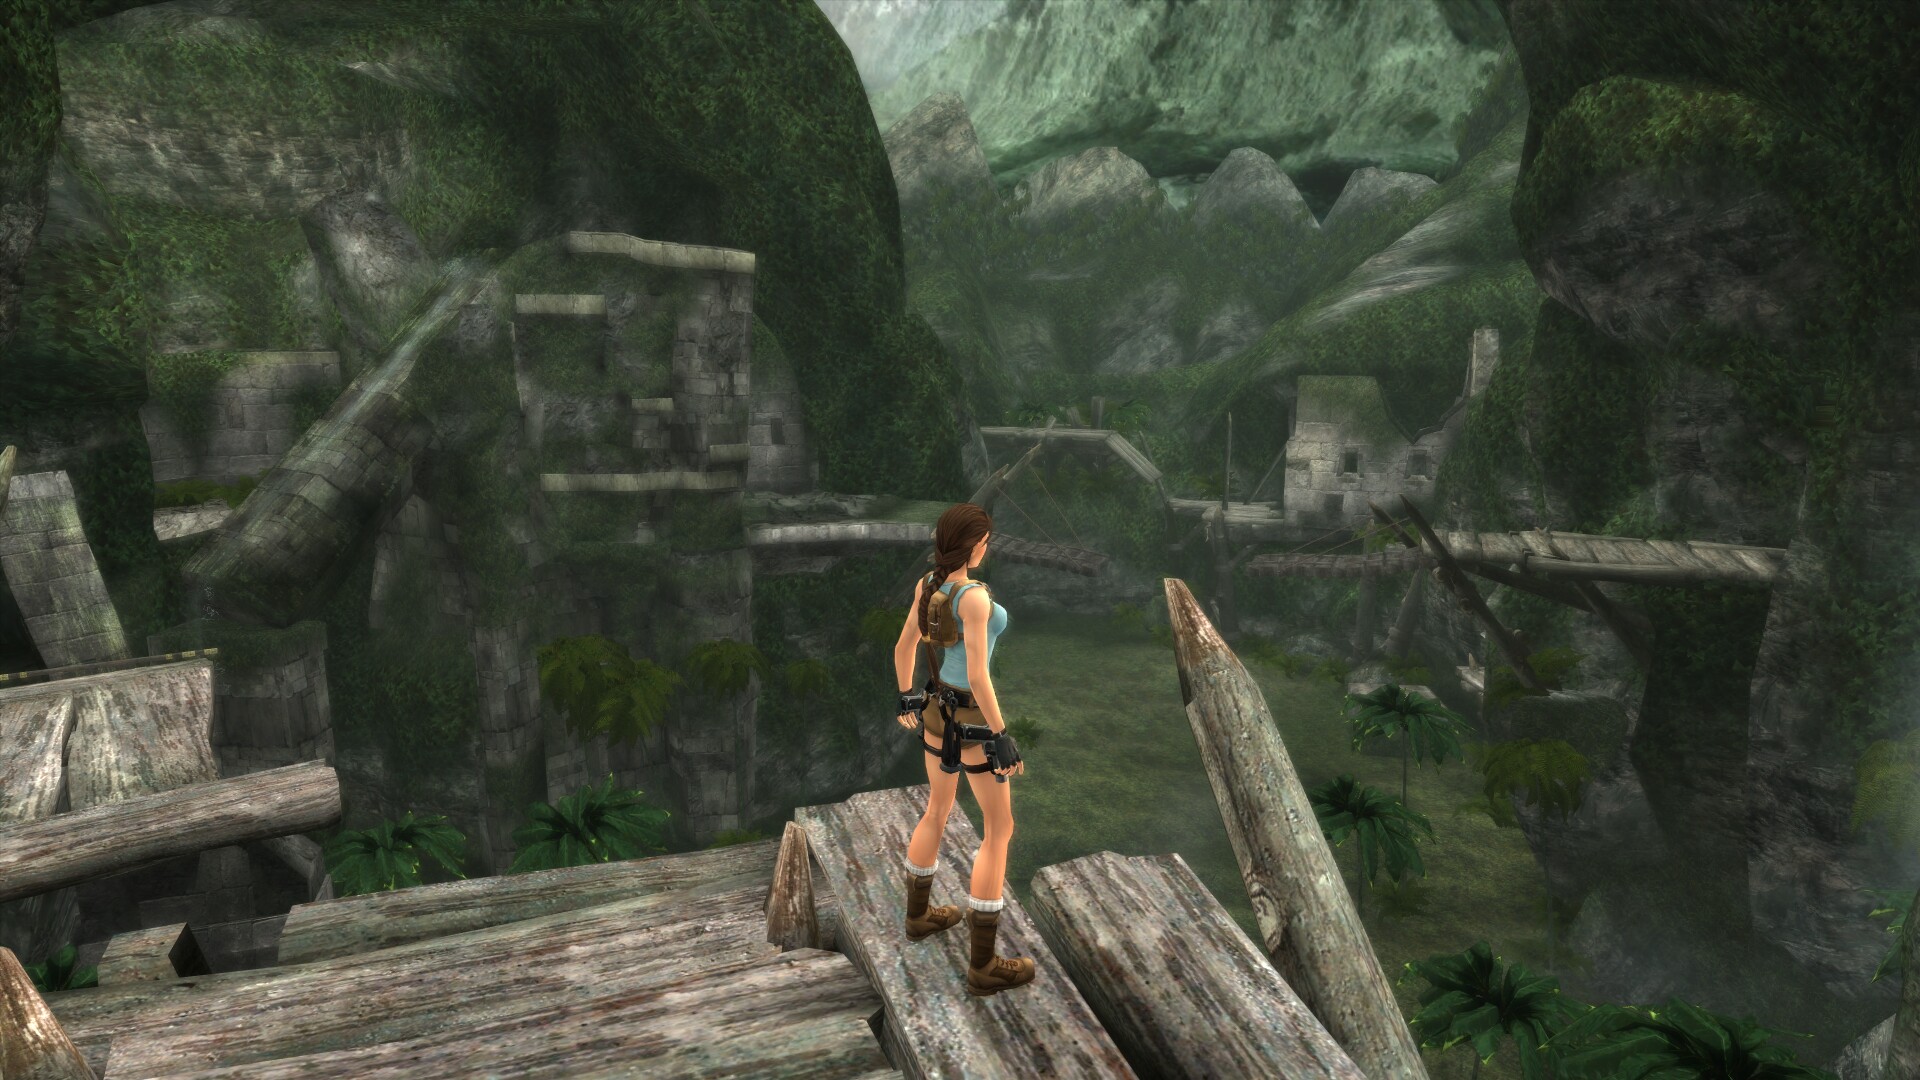
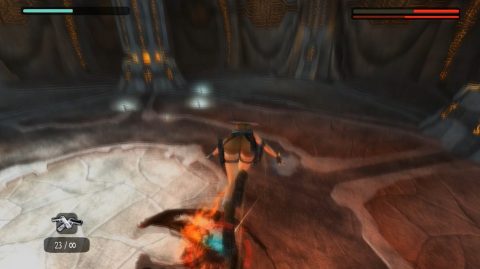
The Abomination
When the cutscene ends you’ll be faced with a battling a giant mutant. There are 3 phases to this fight, the first is to get it to slide off the edge, the second is to shoot off its arm and then third is to shoot its fingers when it’s hanging off the edge.
Phase 1: As soon as the abomination drops down step back close to the edge and shoot it enough times to enrage it. When it charges towards you use a headshot and it will slide off the edge. The abomination grabs onto the edge and pulls itself up.
Phase 2: Once again enrage the abomination but this time make sure it stays on the platform. It will strike down with its left arm and it will get stuck in the platform. Quickly shoot the arm and eventually it will fall off.
Phase 3: Once again enrage the beast and lure it to the edge of the platform. Dodge out of the way with a headshot and it will slide off the edge. This time it only has one arm so aim at the fingers and shoot at them until the beast fall in the lava.
If you’re too slow with the second or third phases you may need to repeat them. Once you’re done grab up all the ammo you want and head through the open passage.
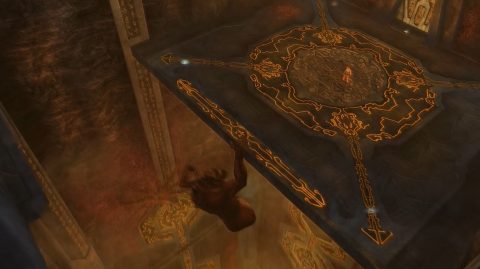
Lava Stream
Jump onto the platforms in the lava and then across to the top of the poles. Jump to the small platform and pull up but watch out for the Flying Mutant.
Pull the Switch to start the two platforms moving. Wait for the larger one to move close and jump across to grab it.
Make your way along the passage and kill the Centaur that charges at you from the next room.
Switch Room
Pull the Switch on the other side of the room to close the door behind you and open the one to the left. When you pull the Switch you’ll be attacked by a Flying Mutant. You’ll be back here later but for now go through the open door.
Pool Room
Kill the Mutant and Flying Mutant and then look around. The pool has three gates that can be opened by pulling down the three panels and shooting the Buttons behind them.
Pull down the first panel to the far left of this room, turn around and shoot the Button. The first gate will roll out of the way and a Flying Mutant will spawn.
Jump across to the panel in the other corner, jump back over the pit and shoot the Button. The second gate will roll away and another Flying Mutant will spawn.
You can’t reach the third panel yet so dive into the water and pull the underwater Lever. This extends a ledge above. Climb out and climb up to the ledge. A Mutant will drop down behind you. Kill it and climb through the hole.
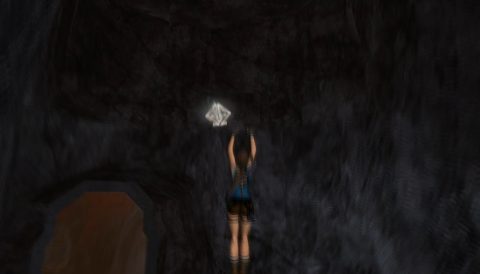
Grab the Large Medipak and turn around. Artifact #1 will be on a small ledge above.
Jump across to the hole with the crate and push it off. Drop down with it and you’ll be back in the earlier room.
Switch Room
Push the crate close to the rock by the closed door and climb up. Once you climb onto the rock you’ll be attacked by a Flying Mutant. Grab the Small Medipak and climb up to the ledge with the Switch above the door. Pull the Switch to open the door below.
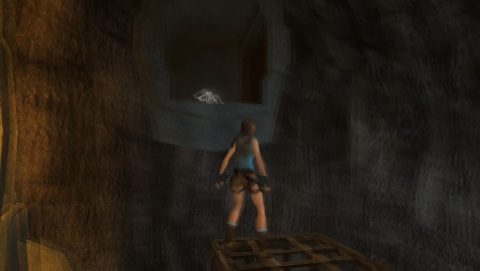
Drop down and push the crate through the door. Climb onto the crate so you can jump up to the alcove with Artifact #2.
Drop back down and push the crate back through the doorway. Climb up to the rock ledge and this time jump to the handholds on the wall. Quickly traverse to the left before the steam vents out of the gaps.
Jump to the corner and then back so you can to use the grapple to wall run. Jump as far as you can to the left and Lara will grab the crevice in the wall. Traverse to the left and climb up through the hole. Drop down the other side and you’ll be back in the pool room.
Pool Room
Jump to grab onto the panel and pull it down. Jump back and shoot the Button behind it to open the final underwater gate.
Climb the rocks and dive into the pool. Swim through the open gates and pick up the Small Medipak halfway through. Pull up on the other side.
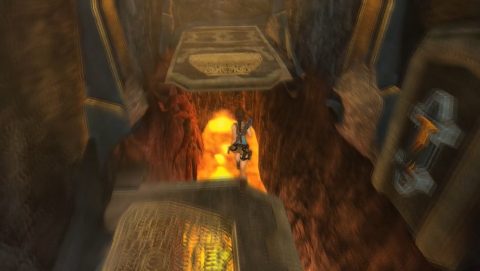
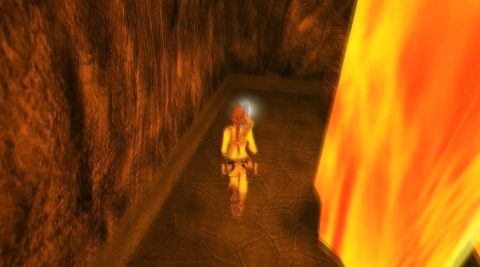
Lava Falls
Run along the passage and avoid the lava stream. At the end jump to the ladder to the right. Climb up and jump to the left. Jump up twice and then to the stone structure on the left. Jump left across the gap and drop down so you can pick up the Large Medipak.
Hang off the edge and drop down once more. Jump backwards to grab a corner pillar. Drop down twice to the ground.
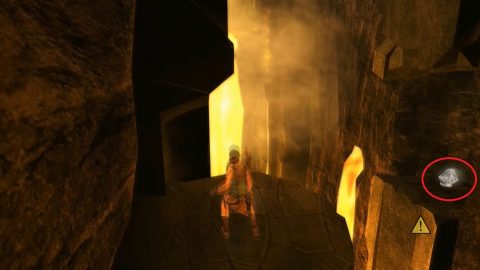
Jump across the platforms in the lava around to the right and behind the lava falls you’ll find Artifact #3.
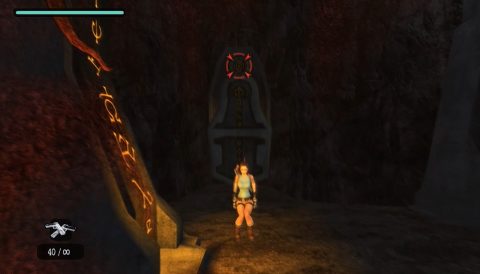
Jump back across the two platforms and then grab the handhold in the rock. Traverse around to the left and jump back to the top of a pole. Jump to the next pole, then swing from the bar to the final platform.
Jump across the lava and head around to the left so you can climb up a ladder. Once you get up the ladder turn around and use the grapple to swing across the gap.
Watch the flamer on the other side. Head around to the right and jump to the ledge on the left side. Jump across the gap to the ledge with Artifact #4.
Head back the way you came and use the grapple to swing across the gap. Head out to the next room to face Natla once and for all.
Natla Boss Fight
Phase 1: For the first phase you’ll need to target her wings. Shooting her body will have no effect. The targeting reticule has a habit of moving back to her body so try to shift it back to the wings if you can. Natla will also zip about and shoot fireballs at you. Once both wings have been destroyed she’ll be around half health and another cutscene will begin.
Phase 2: For the second phase Natla will shoot fireballs and charge towards you once she’s enraged. As she charges dodge with a headshot but dodge towards her so Lara will flip over her and end up behind her. You’ll need to be quite close to Natla or Lara will roll rather than jump.
Shoot her in the glowing orb in her back as many times as possible before she recovers. Repeat this process until the final Quick Time Event begins.
Once you’ve defeated Natla enjoy the final cutscene. Congratulations on completing Tomb Raider: Anniversary!
Back: Level 13: The Great Pyramid Next: Croft Manor