Level 2: City of Vilcabamba
Back to Tomb Raider: Anniversary
City of Vilcabamba
Artifacts: 1
Relics: 0
Run forwards and watch out for the Bear around the corner. The game will give you a tutorial in making headshots. It’s quite difficult and involves pressing 4 keys at the same time. With a bit of practice you should be able to get pretty good at it.
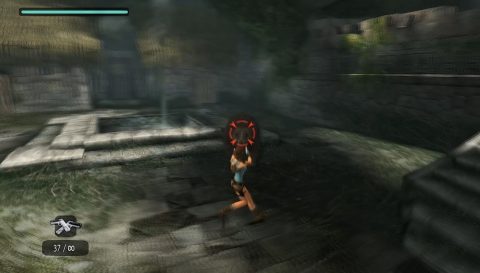
Drop down into the pit and pick up the Small Medipak behind the rocks. Climb up the wall on the right and then jump to the second pole so you can jump out of the pit. Make your way down the stairs to the City of Vilcabamba. When you reach the village square you’ll be attacked by a Bear.
Take it out with a headshot or just regular fire and then drop into the pool in the middle of the yard. Dive down, grab the Small Medipak at the bottom and then swim through the tunnel. Pull the Lever at the end of the tunnel to open the gate above and then swim up to grab a breath. Pull up into one of the huts.
Pull the Switch on the wall to open the door for later and then go up the stairs. Jump across to the window of the next hut and take a running jump across the unstable platform to grab the alcove ahead. Pull up for a Small Medipak.
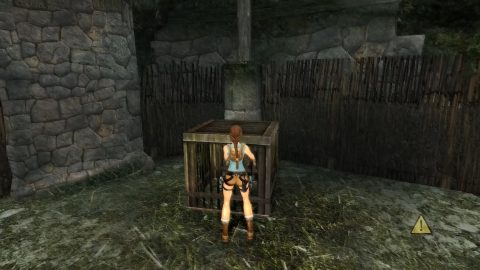
Shoot the lock on the doors to open them and then push the cage out. Follow it through to the next area and run around the corner to the left for the Village Key.
Use the cage to jump up to the ledge and run over the bridge for a Small Medipak and Shotgun Shells. Drop down and push the cage back through to the other room and then out the open doors. Push it all the way to the pole.
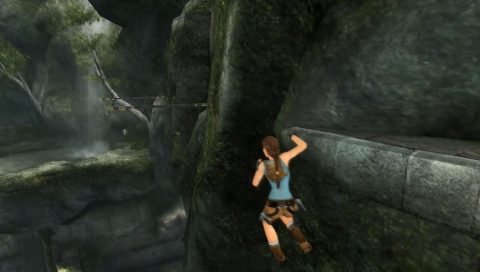
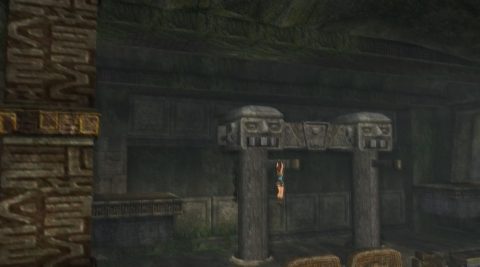
Jump onto the cage and climb up the pole. Grab the rock ledge and pull up. Kill the Bats and swing across the pole to the next ledge. Turn to the left and grapple across to the handhold on the rock wall.
Traverse to the left and swing across the two poles. Once you land on the ledge you should see Artifact #1 in front of you.
Kill another Bat, drop down to the roof and slide down. Another Bat will appear as you’re sliding down. Use the Village Key on the lock to the right of the wooden gate to lower it down and then go through.
Take out the 2 Wolves and then a third as you approach the stairs. The doors are locked on either side so you’ll need to unlock them. Go through the passage on the left side and follow the steps around.
Take a running jump to the first ledge and then to the handholds. Traverse across to the right and then jump backwards to grab the higher ledge. Run through the passage, kill the Bats up the top and jump across the gap. Jump across to grab the door mechanism to unlock this side.
Drop down and go through the passage on the right side. Dive into the water for a Small Medipak and then climb back out. Run up the steps and jump across to the handhold. Traverse to the left and up until you reach the upper passage.
Make your way up the passage, kill the Bats and jump across to the second door mechanism. The large doors below will open.
Drop down and go through the large doors. Run through the passage and drop down the gap. Kill the Wolf and grab the Shotgun Shells. To get back out drag the cage back to where you dropped down and climb out.
Jump across to the sloped rock and jump to the pole. Swing across to the other side. Jump across the top of the pole to bridge then next gap.
Jump down into the next chasm and jump onto the rock on the other side. Jump up to the handhold and then back to swing on the pole to the other side. Grab the handholds, jump up to grab the ledge and traverse across to the left. Don’t get up. Instead backflip to land on the top of the pillar. Jump across to the other side of the gap.
Make your way through the passage and when you see the exit the level will be complete.
Back: Level 1: Mountain Caves Next: Level 3: The Lost Valley