Level 1: Mountain Caves
Back to Tomb Raider: Anniversary
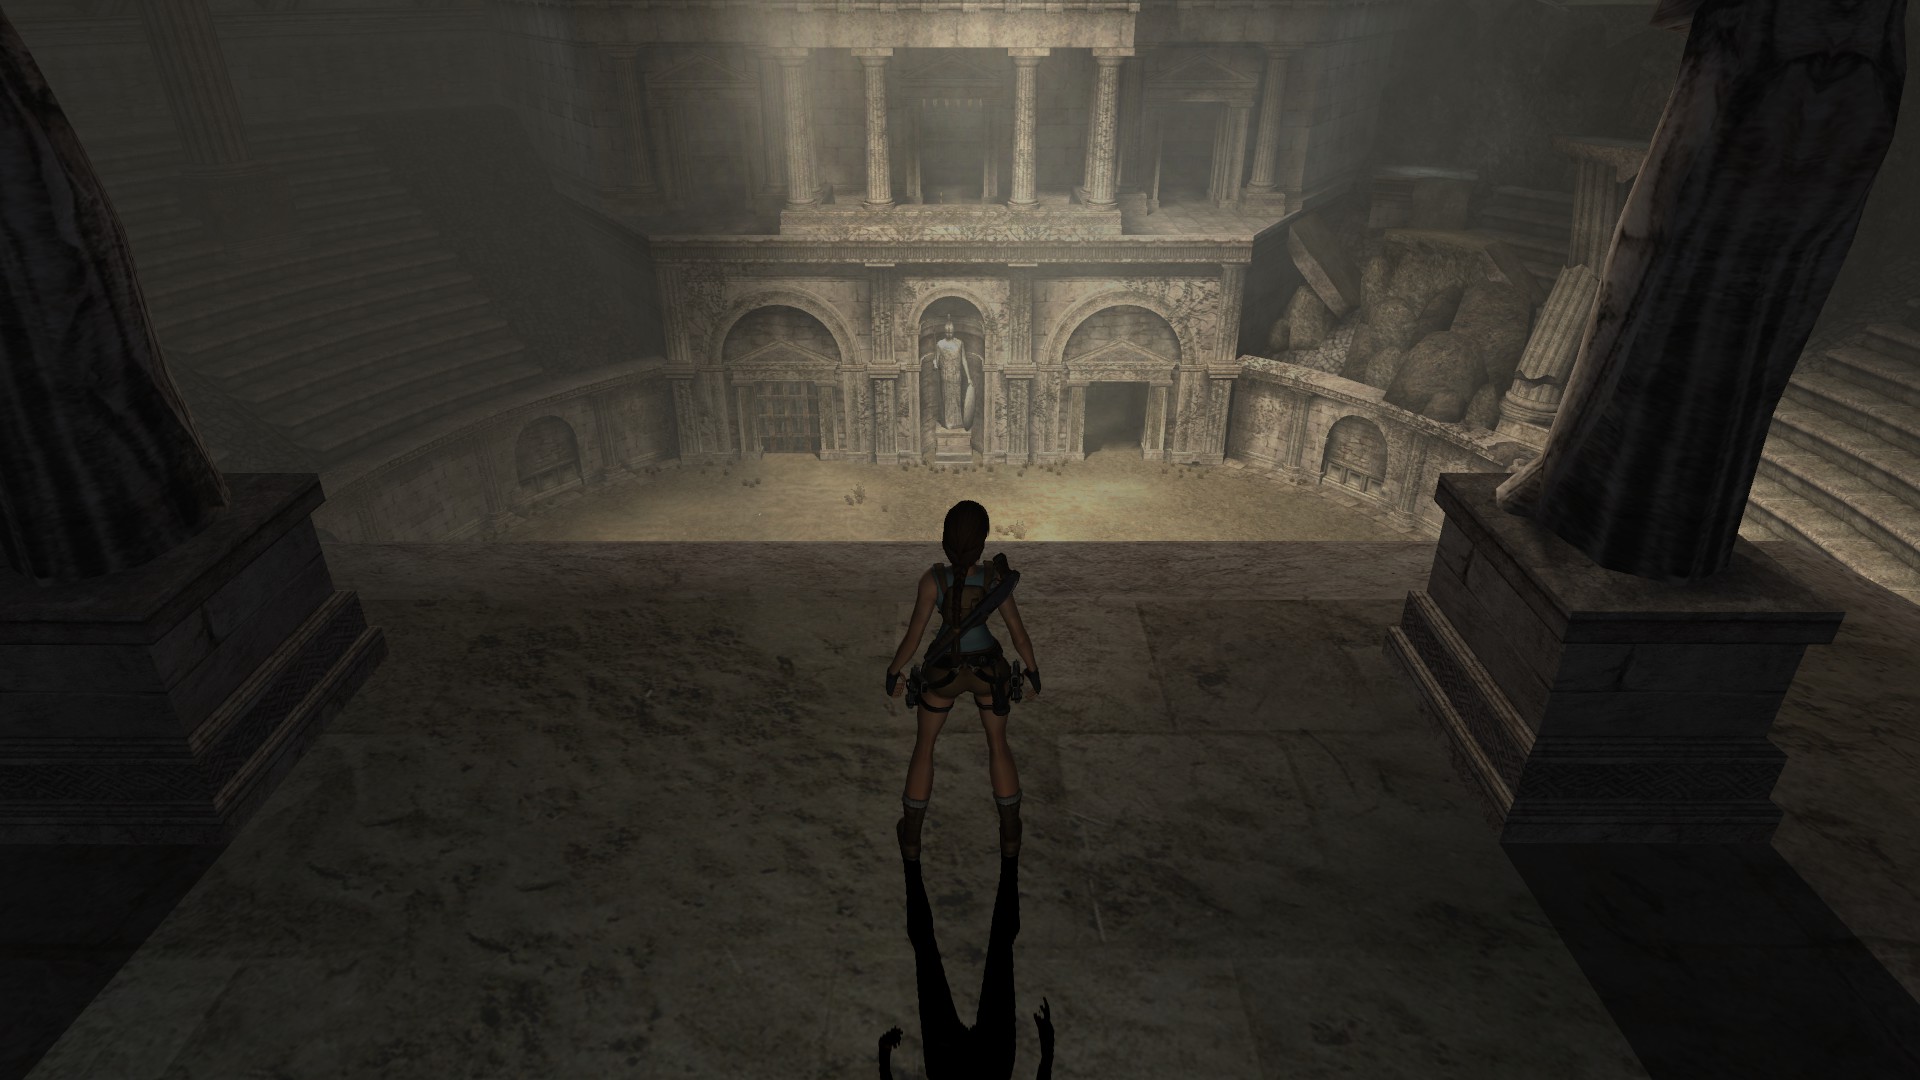
Mountain Caves
Artifacts: 3
Relics: 1
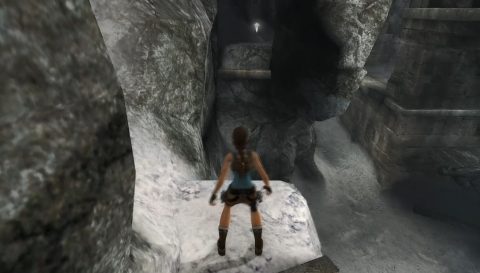
After the cutscene you’ll need to find your own way up the side of the cliff. Jump to the crevice on the wall and traverse across to the right. Jump back to the stone ledge and then jump across the gap. Continue climbing up the wall and then use the grapple to swing across to the steps. See the main page for all of the basic controls.
Walk up the steps to the cave entrance. The doors are shut and the guide doesn’t know how to open them. Climb up on the left side of the doors and swing across to the other side. Jump up to the ledge above the door and press the Button to open them. When the doors open the guide will be killed by Wolves.
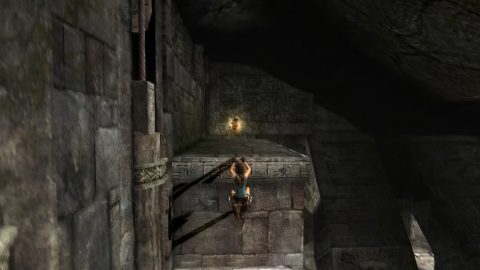
After Lara kills the Wolves you’ll enter into the cave and the doors will close behind you. Run forwards and step on the pressure plate. This activates the arrow trap in the passage ahead. You can run through and dodge the arrows or climb up the walls on the side of the pressure plate to activate the Levers to turn off the trap.
Head up the steps and jump across the gap in the bridge. Jump across the next gap and then turn around. Jump up to the thin ledge and make your way around the broken path to Artifact #1. Slide down the rock ledge and jump across the gap.
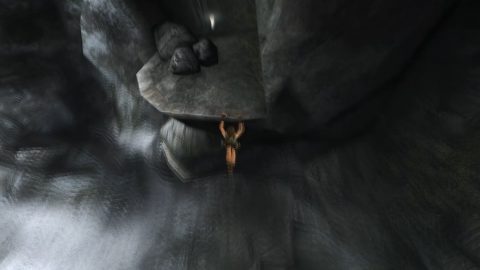
Jump out the other side and grab onto the handholds on the other wall. Climb into the passage and continue forwards. Once you reach the next open cavern you’ll be attacked by Bats. Kill them and then use the grapple hook to swing across the cavern. Turn slightly to the left and swing across to grab the ledge.
Jump backwards, drop down and traverse to the right. Jump backwards again and you’ll grab onto the ledge behind you. Pull up for Artifact #2.
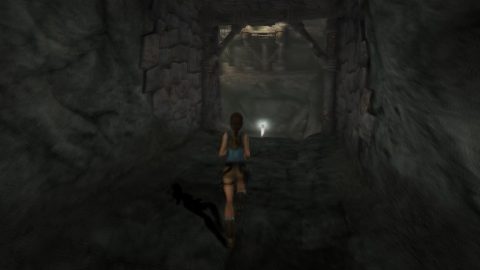
Drop down to the floor below and follow the passage down to the door. Pull the Lever to open the door and go through to the bridge area.
You can shoot the Wolves from the side ledge if you want, or walk across the bridge. The bridge will collapse and you’ll still need to deal with the Wolves.
Climb up the broken bridge and then up the stone wall on the right. Head across the next bridge and then swing on the rope. Turn to the left and swing into the small alcove for a Large Medipak. When you drop down to the floor you’ll be attacked by a Bear. Go through the passage and pull the Lever to open the next door. Run through to find Artifact #3.
Drop down and you’ll be back in the cavern with the broken bridge. Climb up the broken bridge and make your way back around to the rope. This time swing across to the other side.
Pick up a Small Medipak on the left and then go down the ramp. Continue forwards and use the pole to swing across the gap. Make your way up the stairs and through the trapped corridor.
The pressure plate at the end will attempt to open the door to the end of the level but you’ll need to unlock the mechanisms on both side. Climb up on the left and jump up to hang on the weight to pull it down. This unlocks the left side of the doorway.
Turn around and make your way around to the other side. You’ll need to use the 3 poles to swing across the trapped corridor. kill the Wolves and then jump up to the second weight to unlock the right side.
Drop down and stand on the pressure plate to open the door. Don’t go through yet as there’s still a Relic to find. Make your way back around to the right side of the doorway on the upper level.
Climb up on the right side, jump across to the pole and then quickly jump again and Lara will grab onto the handhold on the right side of the door. Traverse across to the left and use the poles and handholds to make your way up. Above the door on the right side you’ll find the Relic (Killer Whale Bottle).
Drop down and go through the large door to complete the level.
Back: Tomb Raider: Anniversary Next: Level 2: City of Vilcabamba