Level 3: The Climb
Back to Ghostrunner
The Climb
Collectibles: 4
You’ll need to climb your way out so look up and use the hooks to grapple your way all the way up the tower. Eventually you’ll make it to a walkway with an unlocked door to the left. Head through the door.
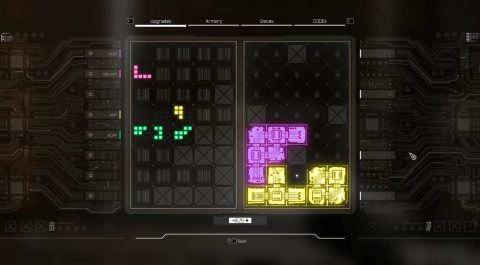
From this point you’ll have access to the Upgrades tab. Press ‘T’ to open it up and have a look. As you enter the Cybervoid you’ll unlock more slots and skills.
Run down the corridor and through another unlocked door. Grapple across the broken walkway and wall run along the panels.
Head up the stairs and follow the arrow to the right. Duck under the pipe and walk to the end of the walkway. Drop down to the walkway below.
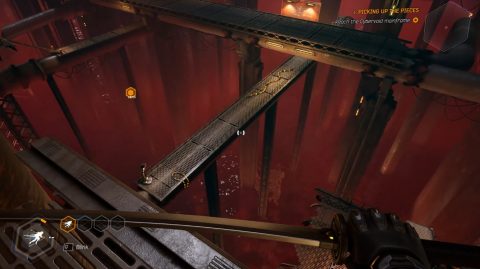
Jump/dash or slide/jump across the gap and follow the walkway to the right. Wall run across the panels and follow the walkway up the stairs.
Climb up the pipe and when you get to the top jump down on the right side instead of the left. Head down the walkway and follow the pipe to the left for a collectible, Audiolog 1/7.
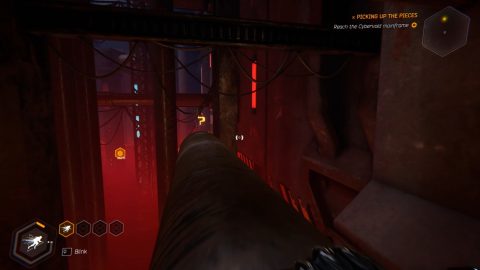
Head back to the pipe and jump over the gap to the other side. Use the panels to wall run and then grapple down to a control panel with a lever. Pull it to lower a walkway.
Continue along the walkway and then grapple across the side panels. At the end you’ll climb through a hole in the wall to the next large room. The enemies here have force fields. You’ll need to destroy the shield before they can be killed.
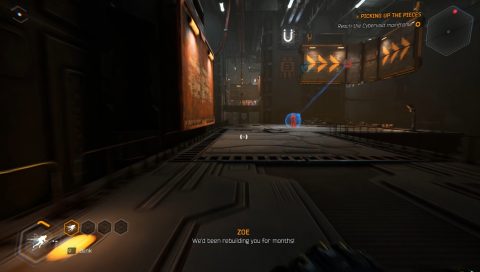
Wall run on the left side, grapple up to the right and wall run until you can destroy the shield. Drop down and take out the guard.
Grapple up to the next room and do it again. This time the shield is protecting 2 guards. Use the control panel to turn the hanging panel around so you can wall run across to the other side of the room.
Once again take out the shield first and then the 3 guards. Once they’ve been killed pull the lever on the control panel to drop down a couple of hanging panels. Wall run across them and then grapple up to a vent. You’ll slide down into the next room.
Grapple up to the platform and you’ll spot a number of shielded guards.
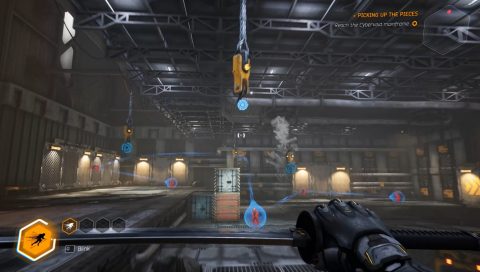
Break the first shield on the left side and take out the guard. Then grapple over to the right for the second shield and finish of the remaining 2 guards.
Grapple up to the highest platform and pull the lever. This will rotate a crane around so you can grapple onto the hook and slide down the vent.
Make your way up the ramps to the next room. There’s a shield just behind the containers so break it first before going after the guards. The second shield is behind the panels at the back of the room. Wall run over to it, break it and finish off the remaining 2 guards.
Wall run back to the platform with the lever and pull it to lower down some panels. Use them to wall run around to the room exit.
From here you’ll need to grapple up a tower. Halfway up you’ll have to avoid the electricity as you wall run from one side to the other.
One of the ledges close to the top has a missing grill on the floor. Drop down for a collectible, the Hood Ornament Earring.
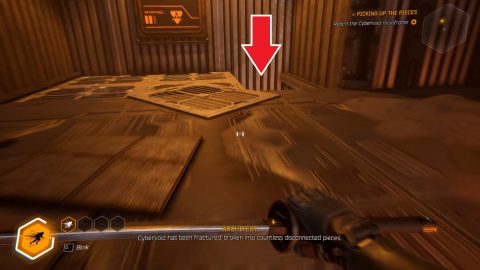
Continue your climb up to the top and crawl through the vent into a large area. Grapple across to the other side and enter the room where 3 guards will be waiting for you.
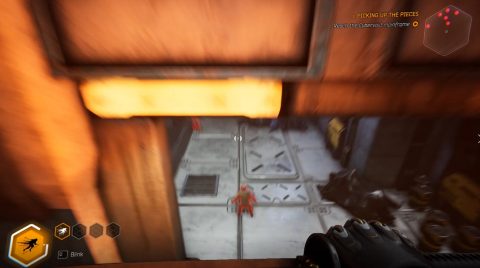
Take them out and then kill the 3 guards on the other side of the wall. Continue around for one last guard by the locked door. Kill him to unlock the door. Go through and enter the Cybervoid.
Cybervoid
This time when you enter the Cybervoid you’ll need to use the buttons to move the tetris-like platforms into the center. Play around with it until they fit together in the center. They’ll then descend and make a staircase leading down.
Follow the staircase down and enter through the passage where you’ll learn the Blink ability. Once you’ve practiced on the guards you’ll be taken back out.
The Climb
Head around the corner and wall run into the next room. Keep wall running to the end of the room to hit the first shield.
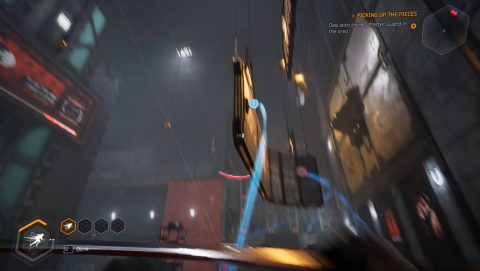
Turn around and grapple up to hit the second shield. Now you just need to deal with all the guards. They only have the standard weapons so you should be able to kill them with sensor boost and blink.
When you’re done climb up the central platform and pull the lever. This lowers a panel so you can wall run and grapple up to the vent in the wall. Slide down into the next room.
Grapple up to another long platform filled with guards and 2 shields. Break the shields first and then deal with the guards. Once you’re done pull the lever on one of the raised platforms and grapple into the vent.
This room is kind of shaped like a figure 8 with 3 shields around the sides and guards in the center. First wall run around the sides to find the shields and break them. Then drop down to the center and deal with the guards.
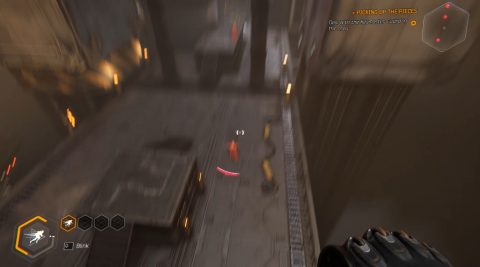
Once the room is clear look behind the boxes at one end to find the collectible, Can of Coffee, behind the boxes.
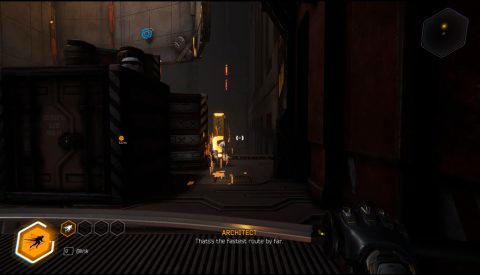
Climb up to the ledge on one side and pull the lever to lower a panel. Use it to get up into the vent and slide down.
Grapple across the large room and through the hole in the wall on the other side. Use the grapple to make your way around and you’ll slide down another few vents before coming out into another large room.
Slide down the ramp and jump over the gaps. Eventually you’ll make your way down to the door leading to the exit. Before going through go to the other side of the walkway and look behind the boxes for a collectible, the TsuruGR-74 Sword.
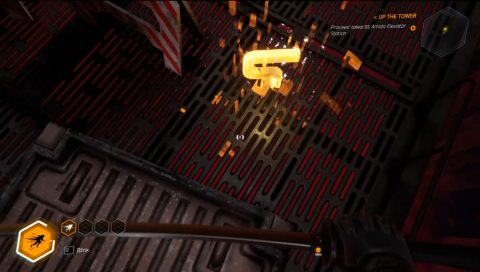
Go back through the door and ride the lift up to end the level.
Back: Level 2: A Look Inside Next: Level 4: Jacked Up


