Level 2: Tomb of the Timekeeper
Back to Lara Croft and the Temple of Osiris
Level 2: Tomb of the Timekeeper
Challenges:
Gold Point Challenge: 75000
Time Trial: 7:00
Collect 5 Red Skulls
Kill 4 Scarabs with a single bomb
Destroy Vases: 50
Don’t grab any timebombs
Down into the Tomb
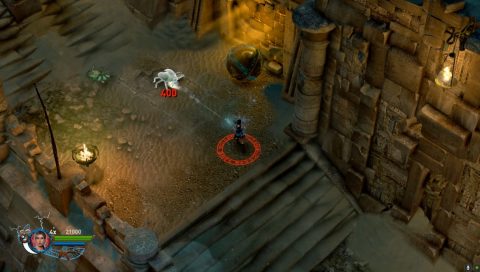
Once again you’ll need to keep the 4x multiplier for most of the level if you want to reach the gold point challenge. From the start head down the stairs and take a small detour to the north for Red Skull #1. Use the hook to grapple up and swing over to it.
First Time Bomb
Continue down the stairs and you’ll spot the first breakable wall. It can only be blown open with a time bomb. If you’re going for the challenge don’t grab a time bomb at any point during this level. You can only move them by placing bombs next to them. Make sure to hold your staff up to slow down the timer.
Let the time bomb explode next to the breakable wall and go through. Swing across the spike pit. Make sure to break as many vases as you can if you’re going for the break 50 vases challenge.
Second Time Bomb
You’ll soon spot the second breakable wall. This one is more difficult to get through. Pull the handle out on the right, this lowers the gate for a few seconds, and go through. Take out the skeletons and drop down the other side. This is where you’ll find the second time bomb.
First use bombs to move the time bomb into the small alcove so you can climb on top of it and grab the Max Health Upgrade.
Wait for it to explode and wait for another time bomb. Pull out the gold handle and bomb the time bomb up the steps. Continue to the left until you reach the next gate. Jump around the upper ledge so you can pull the handle.
Bomb the time bomb past the gate and up the next stairs to the breakable wall. Once you get it into position you will get attacked by beetles. At this point I had destroyed 32/50 vases.
Pull the lever around to lift up the platforms and jump across. Use the hook to grapple onto it and lower yourself down to Red Skull #2.

Staircase with Spiked Balls
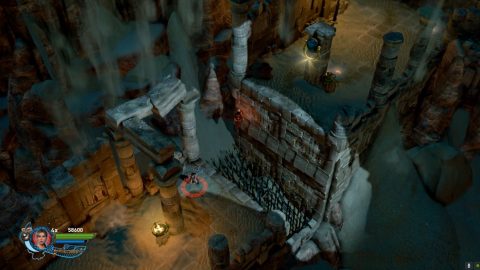
Jump across to the staircase and make your way up to the left while avoiding the spiked balls for Red Skull #3.
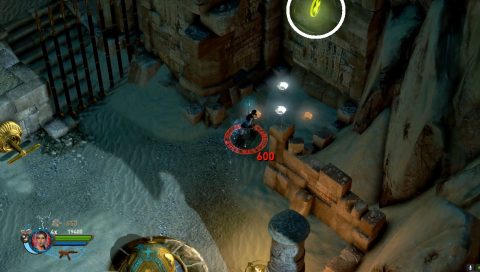
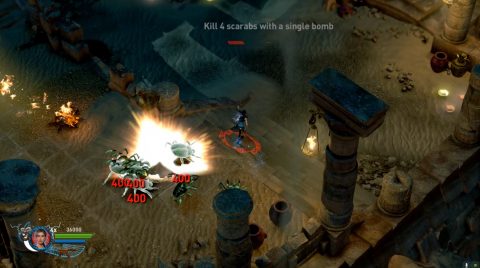
Scarab Battle Arena
Run down the stairs and get ready to fight off a horde of scarab beetles. This is a good time to get the challenge “kill 4 scarabs with a single bomb”.
Walk to the left and you’ll see a gold handle. Just to the left of it is a bag of gems hidden behind the pillar. Make sure to grab it if you’re going for the gold point challenge.
Pull out the handle, lift up the column with the staff and grab the Shotgun behind the bars.
Continue down the next walkway and jump up the wall on the left side to grab Red Skull #4. Make sure you grapple onto the hook above before you fall into the spikes.
Third Time Bomb
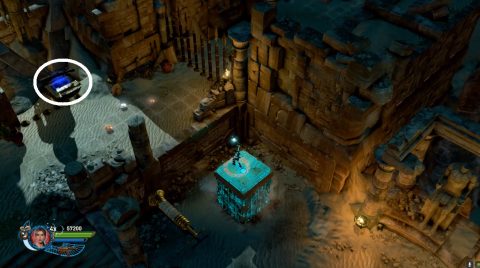
Just ahead is a hole with a pillar in the center. On top of it is a Max Ammo Upgrade. Jump across to grab it and then get ready to blast through the third breakable wall.
After taking out the skeletons head down the stairs to the right. This takes you around to the time bomb. Stand on the pressure plate first to lower the bars. Then use bombs to blast the time bomb up near to the pit. You want to make sure it doesn’t go too far and fall in the pit.
Blast it up the next ledge and near to the breakable wall. When it explodes go through to the next area.
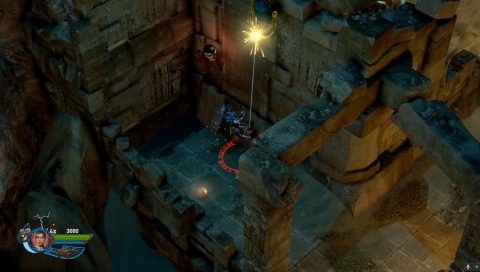
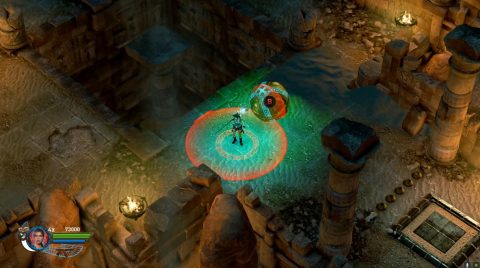
Bridge Trap
The bridge starts retracting as soon as you step on it. You’ll need to shoot the Eye of Horus Switch to release a timebomb. Then raise the staff to push the bomb onto the bridge.
Remember to not grab the timebomb if you’re going for the challenge. Instead use a bomb to knock it over to one of the breakable walls and let it explode.
Wide Staircase with Spiked Balls
Run up the staircase grabbing as many gems as you can. About half way up you’ll see the final red skull. Jump from the ledge slightly higher up and climb onto the pillar for Red Skull #5.
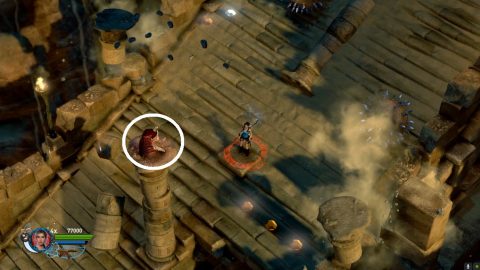
Continue up the staircase and exit the tomb to find another fragment of Osiris.
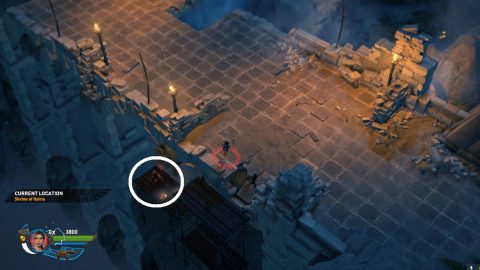
Shrine of Osiris
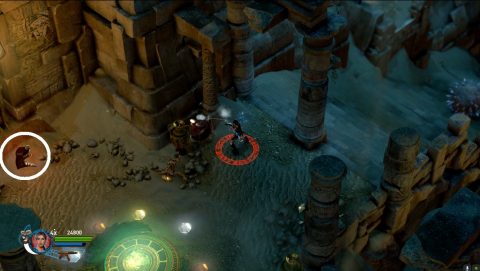
Return to the Shrine of Osiris to add the fragment to the statue. A timebomb will drop down just to the north. Grab the timebomb and use it to get onto the pillar for Red Skull #6 in this area.
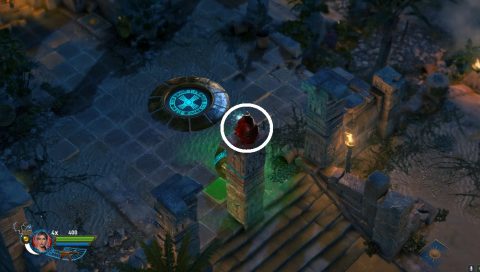
Roll the timebomb to the north and blow up the breakable wall. Run all on the only path to the north and you’ll find the first challenge tomb.
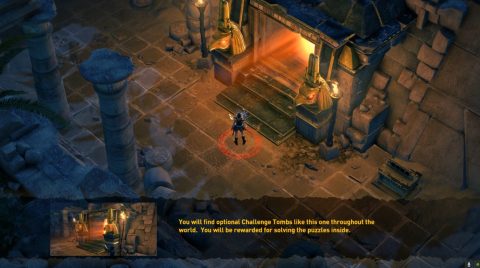
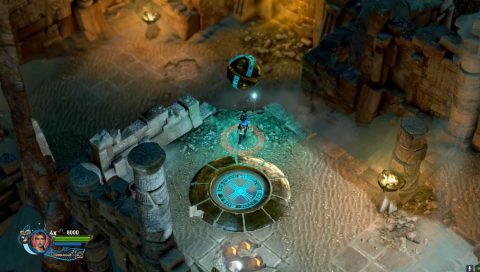
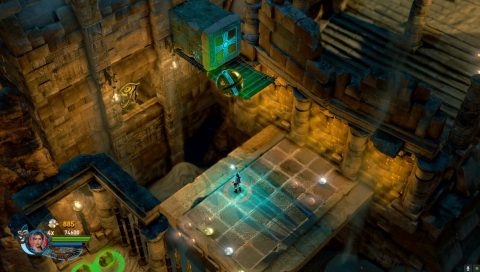
Challenge Tomb #1
This challenge tomb is fairly simple. You just need to stand on all the pressure plates while avoiding the spikes. The spikes will rise up on tiles that you run over but they retract after a few seconds.
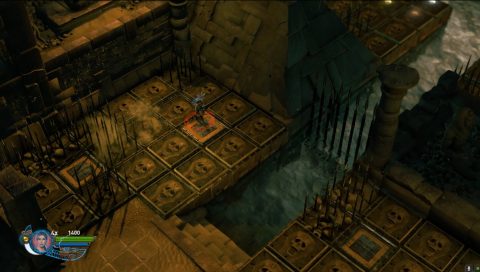
When the gate opens go through to the next area. Do the same thing as before, step on all 4 pressure plates.
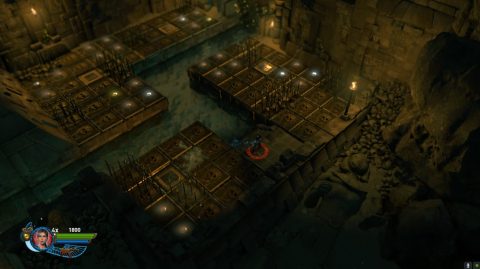
Once the second gate opens you’ll get access to the Bolt Action Rifle and a Max Health Upgrade. Leave the challenge tomb and continue north.
Shrine of Osiris
Watch out for the scaffolding on the left side where you’ll find Red Skull #7.
Continue across the bridge as part of it collapses and you’ll find the Khepri Ampitheater.
Khepri Ampitheater
As soon as you enter you’ll be trapped in an arena fight. Raise your staff to raise up the pillars. Jump on top of one of them and then onto the central platform. Lay a bomb on the Osiris symbol and explode it. You’ll need to do this multiple times and each time will get more difficult with more enemies spawning into the arena.
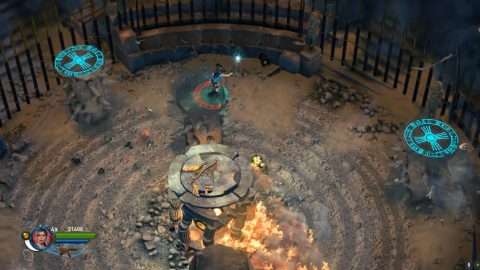
When the central platform explodes grab the fire ball and roll it up the stairs to the right so you can place it in the cage. This opens the Tomb of the Silversmith.
Next: Level 3: Tomb of the Silversmith
Back: Level 1: Pyramid of Osiris