Level 5: Tomb of the Ferryman
Back to Lara Croft and the Temple of Osiris
Level 5: Tomb of the Ferryman
Challenges:
Gold Point Challenge: 80000
Time Trial: 7:00
Collect 5 Red Skulls
Cross spike ball river without touching the water
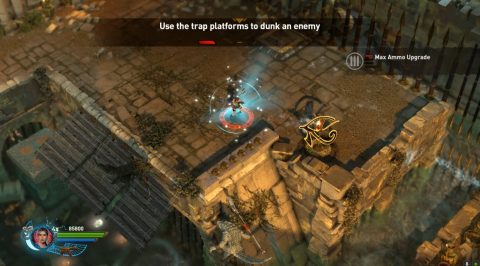
Dunk and enemy with the trap platforms
Destroy the wall without using the timebomb
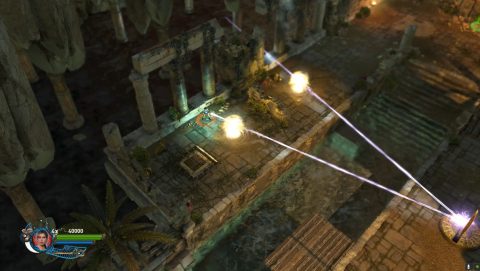
Shoot the lever to open the gate, then place a bomb near it. Go through the first gate, explode the bomb to change the gates and go through the second gate.
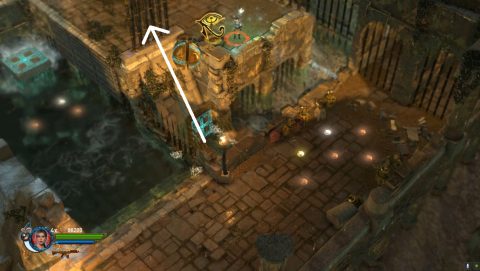
Run around to the river, drop a bomb on the left side and blow it up when it reaches the lever a little downstream. Place another bomb, run past the gate and explode the bomb. The wooden ledge beyond the gate will rise up, letting you reach Red Skull #1.
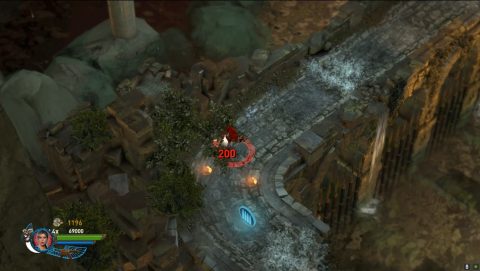
Go down the stairs and take out the enemies. Continue to the east and swing over the spike pit. Head down the next stairs and run across the breakable bridge. Jump across to the right for Red Skull #2.
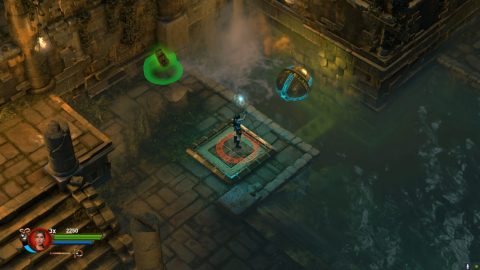
Jump into the water, swim to the north and use the staff to retract the spikes so you can jump up to the landing. When you step on the pressure plate pillars will rise up out of the water. Make your way across to the south while taking out the skeletons along the way.
Kill Sobek’s Warrior Crocodiles and use the staff to lift up the pillar. Jump across to the ledge and head up the stairs.
Jump into the water, place a bomb by the switch and explode it to open the gate and swim through.
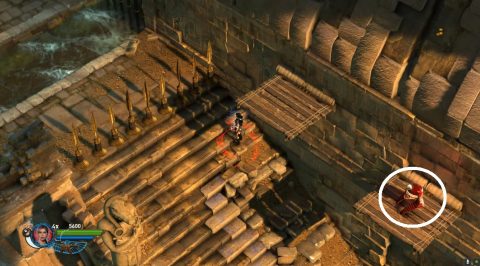
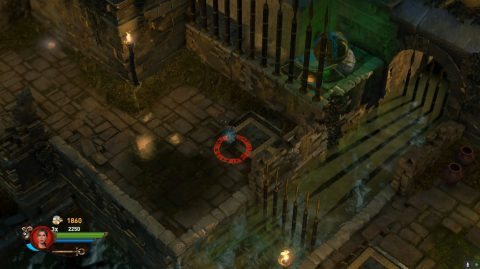
Avoid the spike balls and then head up the stairs. Take out the enemies, trying not to get hit if you want the Gold Point Challenge. Pick up all the gems and head down to the west.
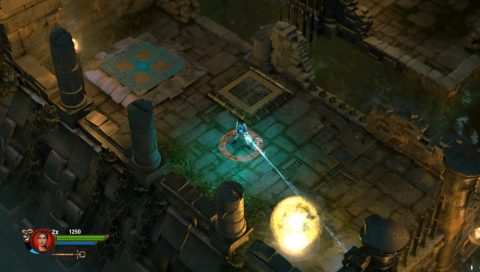
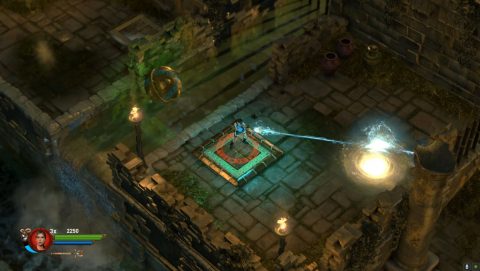
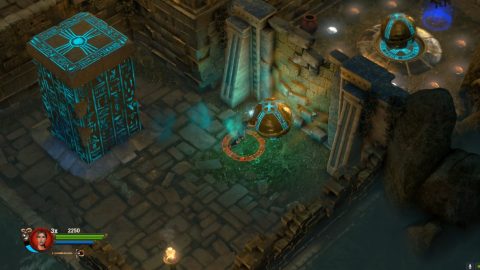
Step on the pressure plate to lift up the wooden ledge, jump across and turn the lever to lift up the mirror. Quickly jump back and use the staff to activate the two Marks of Set.
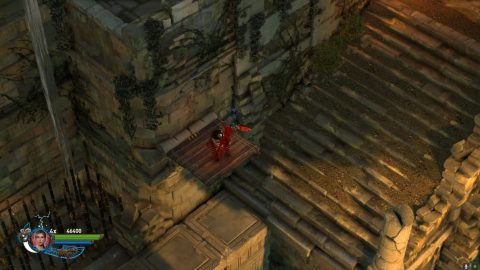
This opens the gate on the eastern side. Go through and head up the stairs. Make your way along, jumping the gaps and swinging across the spike pit.
At the base of the stairs you’ll spot the next red skull but you can’t reach it just yet. Drop into the water and get out the other side.
Move the gold ball onto the pressure plate. This lift up platforms to the red skull. Jump from the stairs to the ledge for Red Skull #3.
To get past the spiked pillars you’ll need to stand on one, jump to the next while using the staff midair to retract the spike on the next column.
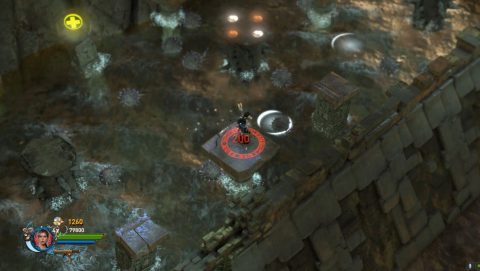
Head all the way across to the other side and into the next bit of water. Swim around to the north and east. Lift up the pillar and jump across the smaller pillars to grab all the gems. Jump to the center platform and take out al the warriors.
When you’re done pull out the handle to lower the bars so you can reach Red Skull #4.
Go through the gate that opened when you killed all the enemies and lift up the pillar to get across to the next area. Follow the stream of water down to the south for a Max Ammo Upgrade.
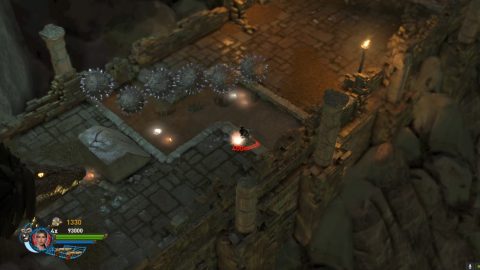
Head up the stairs and jump into the spike ball river or onto the pillar. Make your way upstream without dropping into the water if you want to complete all the challenges. Jump around for the Max Health Upgrade, then continue to the north.
Head into the next area and kill the crocs in the water. Keep the croc warriors on the land alive as you want to lure them so they can get dunked.
Jump into the water, lift up the pillar and jump onto the ledge above. When a croc follows you onto the wooden ledge shoot the switch to dunk it in the water.
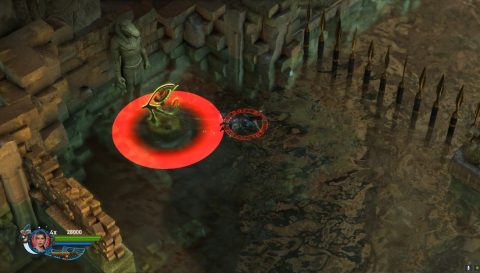
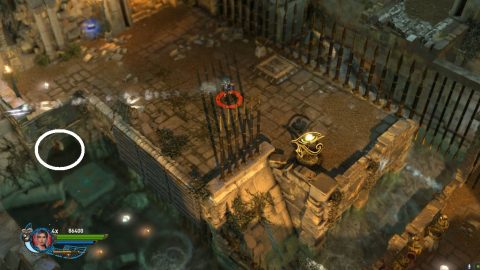
Kill all the warriors, then drop down into the water to pick up Red Skull #5. The gate opens when you hit the switch.
For the next challenge you need to blow up the wall without grabbing the time bomb. Stand on the pressure plate to release the bomb. As it floats down stream lower the staff to let the bomb onto the flinging mechanism. Raise the staff and hopefully the time bomb will get flung to the upper area.
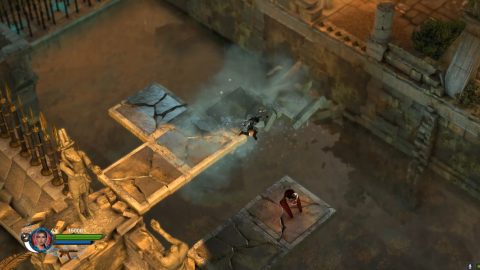
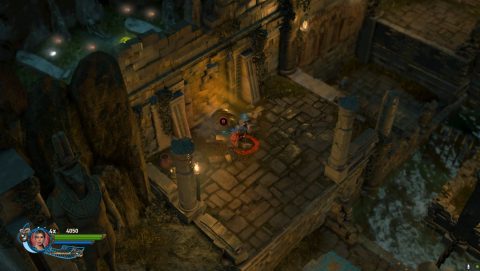
Use bombs to move the time bomb to the breakable wall and let it explode. Head up the stairs and across the bridge. Ahmet has found you so run as fast as you can while avoiding the spiked balls and gaps.
Jump into the river and let the current take you downstream. Try to avoid the spiked pillars and climb up the other side. Jump across the tall pillars and into the next stream.
Fall down the waterfall and swim across to the stairs. Grab the bag of gems and leave the tomb. You’ll find another piece of the statue of Osiris.
Challenge Tomb #4
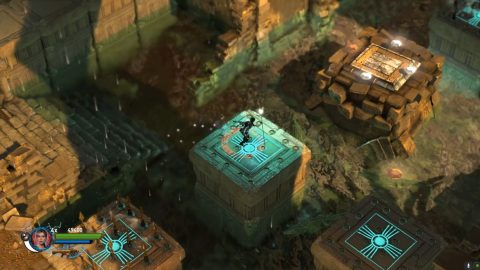
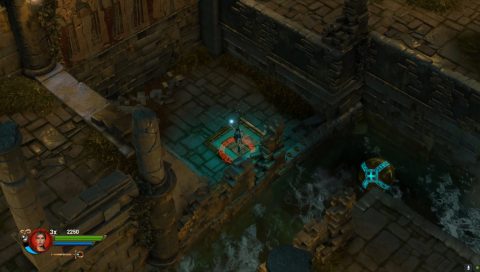
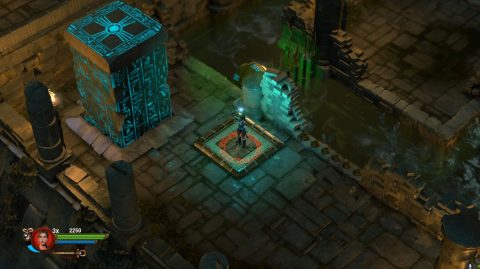
Jump across the pillar that has just lifted up in the water and enter the tomb on the other side.
This is probably the most difficult challenge tomb so far. Head down the stairs and across the water. Lift up the pillar and continue making your way up to the top of the top. Along the way use the staff on the Mark of Set to open up a gate for a shortcut.
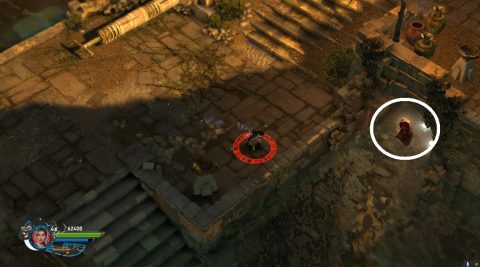
when you reach the top step on the pressure plate to release the first timebomb.
You’ll need to open the gates as the timebomb floats downstream until you can blow up the first breakable wall.
Jump across the river and stand on the pressure plate to open the first gate. Use the staff on the Mark of Set to open up another gate.
Jump across to the west and then north for to open the next gate.
Jump back and then south to open a third gate.
Drop down to open the final gate.
Blow the timebomb to the other side of the pool and roll it to the breakable wall. On the other side you’ll find the Dual Submachine Guns and another time bomb.
Bring the second timebomb down to the southwest and across the pool of water. Bring it up the stairs and blow it up to the higher ledge. Lower the pillar and bring it up to another higher ledge. Roll it to the second breakable wall and let it explode.
Inside grab the Max Health Upgrade. That’s it for this tomb so head back outside. Follow the path back down to the base of the waterfall to the next tomb which has now opened.
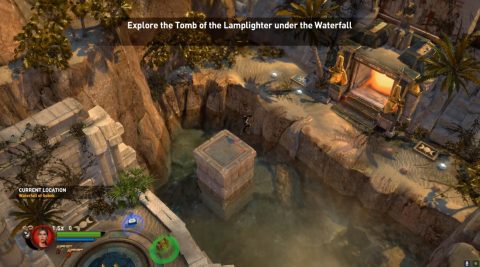
Next: Level 6: Tomb of the Lamplighter
Back: Level 4: Tomb of Khepri