Level 4: Tomb of Khepri
Back to Lara Croft and the Temple of Osiris
Level 4: Tomb of Khepri
Challenges:
Time Trial: 5:00
Dodge all falling meteors
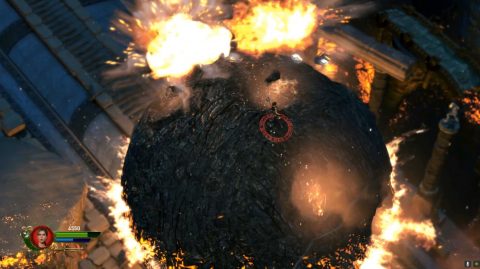
Dodge all lava fissures on Khepri’s ball
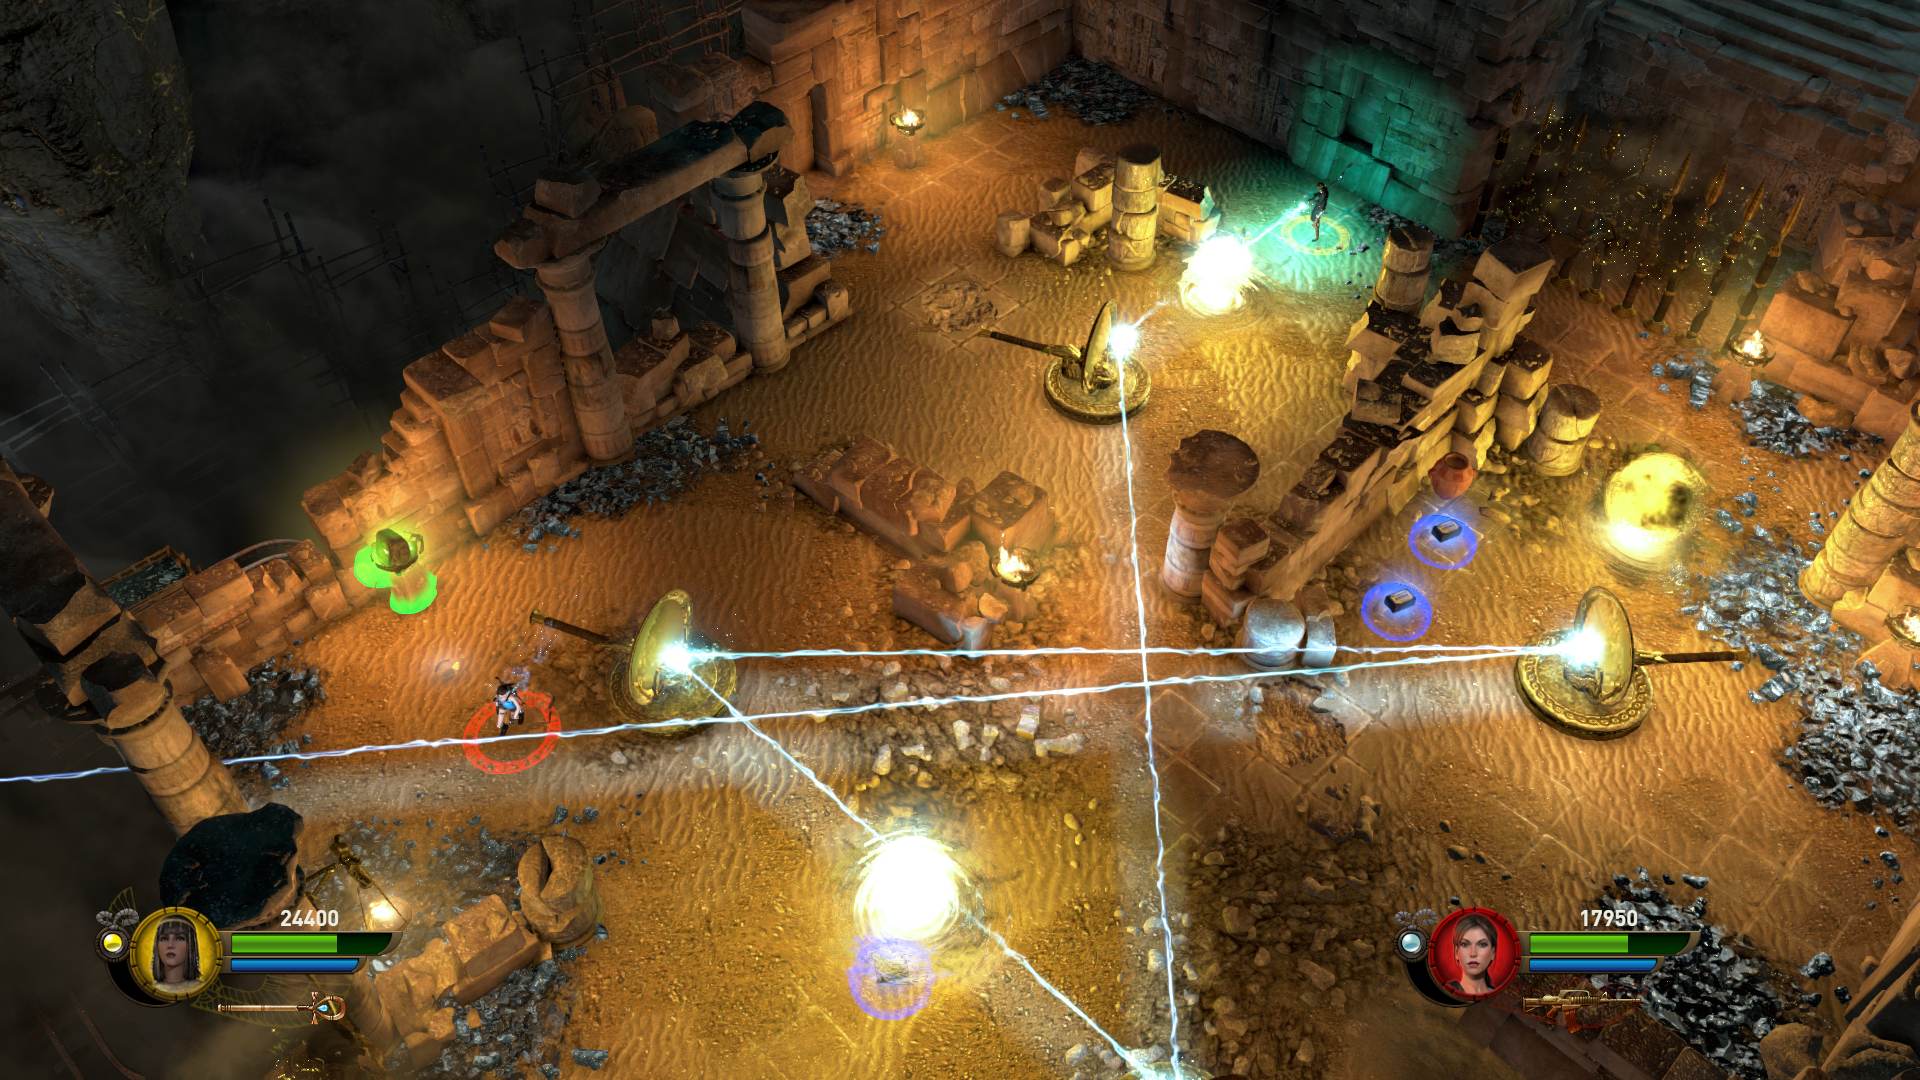
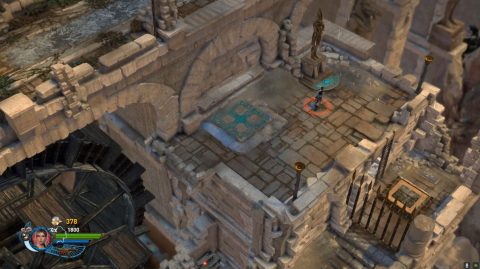
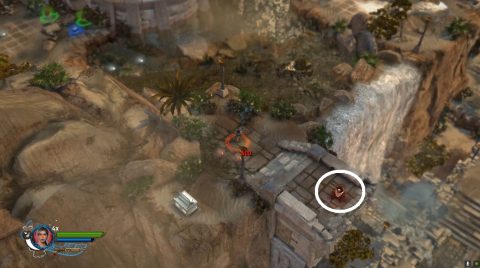
Shrine of Osiris
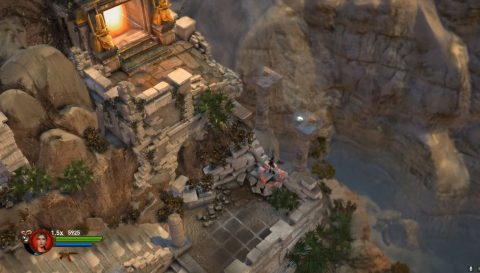
From the Shrine of Osiris head across the bridge to the east. The gate should now be open. Dodge the falling meteors and take out the scarabs along the way. Once you get to the pyramid you’ll be attacked by a skeleton guardian. I used the shotgun to kill him in a few shots.
After the cutscene you’ll see the entrance to a few tombs. Take the path up to the north for the Tomb of Khepri.
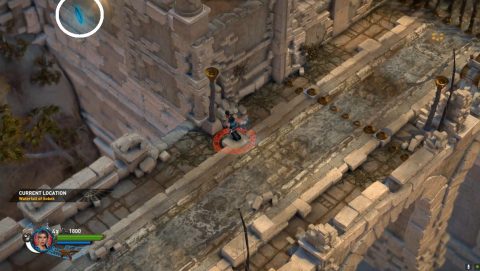
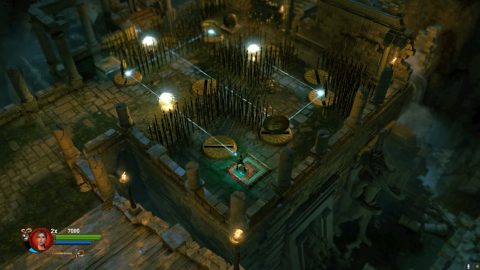
Tomb of Khepri
Place a bomb near one of the claws of Khepri to make him let go. Then shoot at the center torso. I preferred to use high powered weapons for this boss fight.
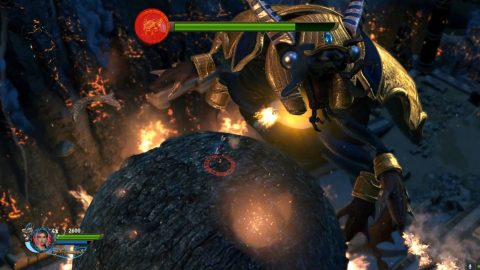
Getting through this fight in less than 5:00 is not too difficult. You will need to be careful in upcoming phases to avoid the meteors and falling into any fissures.
For the second phase plant a bomb by his claw and then shoot him in the torso. Now the ball will start rolling to the south. Watch out for the meteors in this phase.
For the final phase bomb the claw one last time and then shoot his torso until he’s defeated. The ball will roll back to the entrance so head up the stairs and leave the tomb.
Shrine of Osiris
Make your way back to the Shrine of Osiris. Now it’s raining and the water has risen. Raise the staff near a statue to figure out which way to go.
You’ll need to head up the stairs to the north and climb up the waterwheel. Ride the wheel all the way around for Red Skull #8.
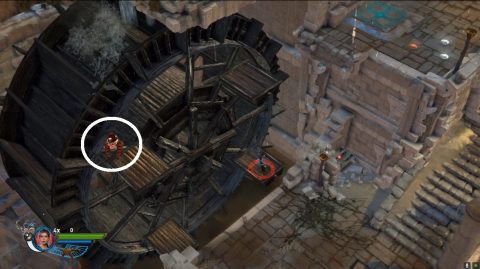
Continue around on the wheel until you can jump off onto the ledge to the top right. From here drop down to the pressure plate to open the shortcut. Then use the staff to raise the pillar and follow the water upstream.
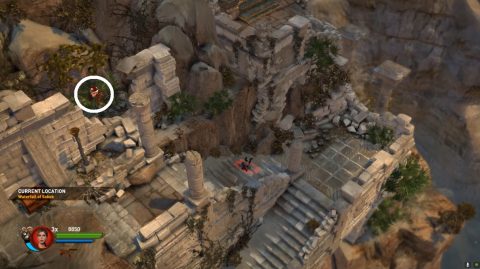
Waterfall of Sobek
When you see the wall on the left grapple up to the hook and swing across for the Max Ammo Upgrade.
Blow up the Arrow Traps further on, then trigger the Mark of Set. Watch out for the row of Arrow Traps at the end of this path. Destroy them and then use the hook to grapple up to the pressure plate.
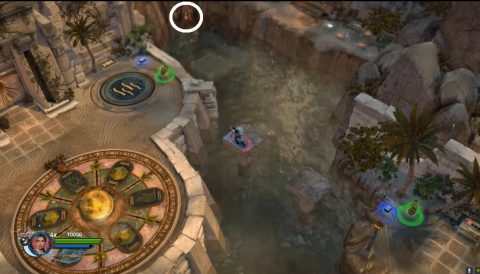
This opens the gate on the left side. Go through, use the staff to lift up the pillar and open the chest if you wish. Continue follow the path upstream, destroying the Arrow Traps along the way. Jump onto the pillars on the left for Red Skull #1 for this area.
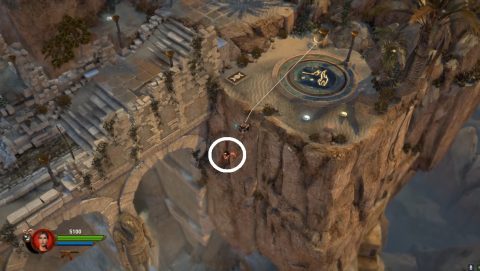
Under the waterfall is an entrance to another tomb but it’s not open yet. Instead continue to the statue and on the right use the grapple to climb down the cliff for Red Skull #2.
Head up the stairs and you’ll notice a Challenge Tomb above. Jump across the pillars to the higher ledge and enter the tomb.
Challenge Tomb #3
This tomb is a mirror puzzle. To complete it in solo play you’ll need to place the ball on the plate in the top comer. Then stand on the plate in the bottom corner. Use the staff to activate all of the Marks of Set.
This opens the gate to the north so you can get access to the Automatic Shotgun and the Max Ammo Upgrade.
Leave the tomb and continue on your way up the stairs. Keep an eye out for Red Skull #3 in the bushes.
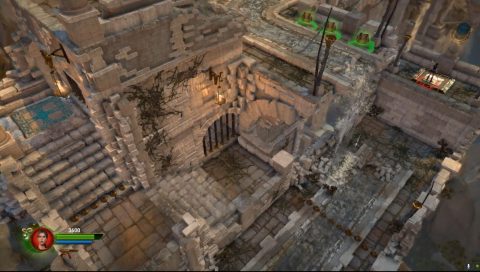
When you reach the top of the waterfall you’ll be attack by Sobek’s Warriors. Dive into the water and grab Red Skull #4 at the back.
Climb out of the water to the south by the waterfall and run up the steps to Red Skull #5.
Jump across or head up the stairs to the roulette wheel. Use the staff to activate it, wait for it to start spinning and place a bomb on the center. Explode the bomb and the wheel will stop.
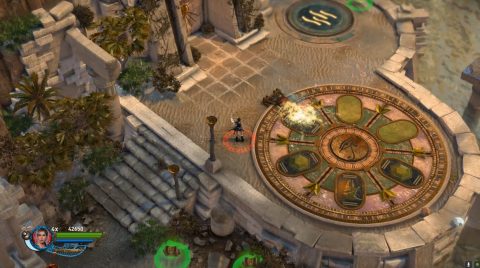
If you’re lucky you’ll get gems, the rest of the panels will give you enemies or open the next tomb. If you reveal all the panels you’ll get a Max Ammo Upgrade and Max Health Upgrade. By now the tomb should be open so go through.
Next: Level 5: Tomb of the Ferryman
Back: Level 3: Tomb of the Silversmith