Firwood Water
Back to Trine 4
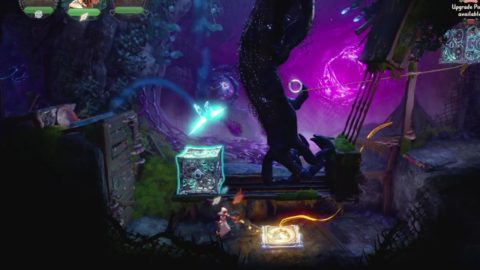
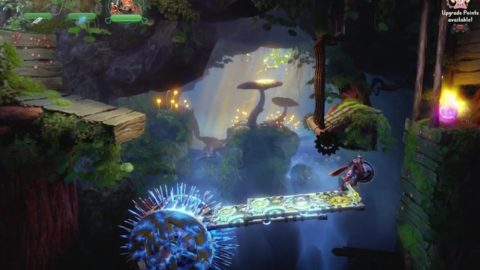
Walk to the right to the river and collect the Orbs around here, including one under the water. Place a box on the floating wooden boxes and jump up to the ledge.
Pull the pine cone of the tree and a Jar will fall down. Place the pine cone on the two logs and you can roll along it across the gap. Use a fire arrow to activate the switch on the ground. This opens up a panel on the wall revealing another switch and dropping a Jar.
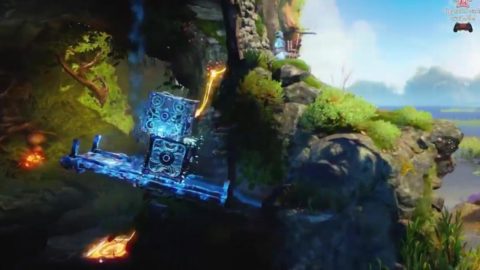
Hit the second switch with a fire arrow to open the door to the right. Use the ring in the roof to swing across and grab the Orbs. Stand on the right side of the see-saw and freeze it in place. This will drain the water. Use a fire arrow on the switch to open the door and then unfreeze the see-saw or use boxes to climb up to the exit.
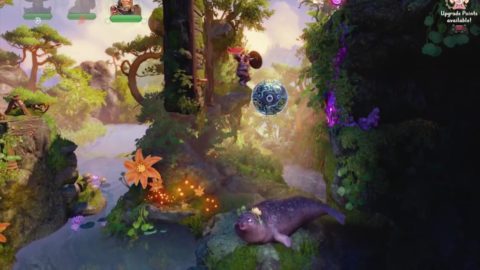
Bounce off the seal to grab the first two Orbs. For the highest Orb you’ll need to place two boxes down on the ledge and jump and dash across the gap to the tree. Jump from the tree up to a large Orb.
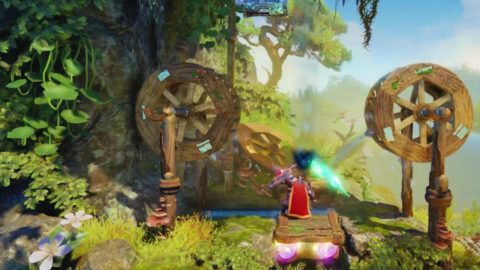
Just to the right you’ll see a wheel with spikes on it. Freeze the wheel and place a box on top so you can jump across.
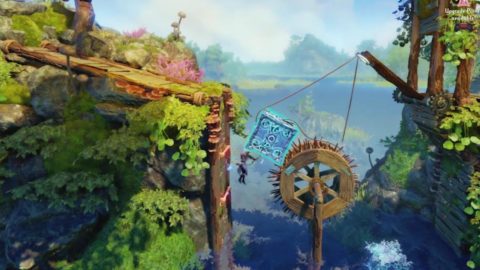
Place a box on the box frame hanging on the wall, attach a rope to it and dangle down. Shoot a fire arrow at the switch and two Jars will drop down. Jump across to the box and jump up for an Orb.
Dive into the water and pick up all the Orbs and Jars. Jump up to the ledge on the other side of the pool and climb out. Place down a steel ball and smash it across to break the crystal wall. Grab the Orbs and then use a box to jump across the spikes to the right.
On the other side of the wood wall you’ll see two spike wheels rotating in different directions. Place a box on top of each of them and freeze the second one. When the box on the first one is facing up jump across both of them to the other side.
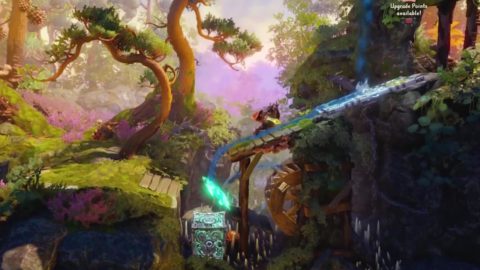
Break the fruit for a Jar and head to the right. You’ll be attacked by Shadow creatures. Walk to the right and place a box down so you can jump onto the wheel and grab the large Orb.
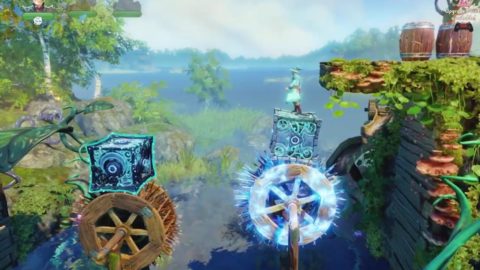
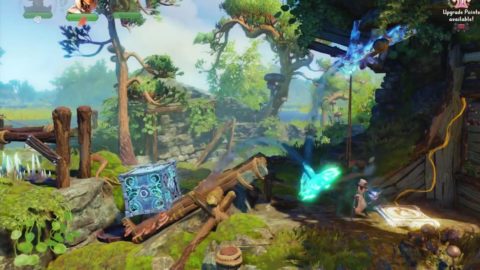
Stand under the water and place a dream shield so that it deflects the water onto the wheel. When the wheel starts turning two ledges will slide out. Use them to jump up to the ledge on the right.
Pull the lever to open the door below. Drop down and go through. Smash the wooden planks for a couple of Orbs and then break the rope holding the Jar.
Dive into the water, pick up the Orbs and come up in a cave to the right. Make an raft and place two boxes on top of it. Climb up the boxes and shoot a fire arrow at the switch to open the door.
Grab the pine cone and use it on the see-saw to get flung up to the ledge above. Place two boxes down and climb on top of them. Jump and dash across to the ledge on the left. You’ll see two water wheels and two large Orbs under a closed hatch.
Stand on the hatch and place a dream shield to deflect half the water to the right and use Pontius to deflect the other half of the water to the left. The hatch will open so you can grab the Orbs. You’ll also find a part for a Globe.
When the wheels have been turned a bridge will slide out so you can walk across the gap to the right. When you get across to the other side you’ll be attacked by Shadow creatures.
Jump on the seal and free the pine cone. Jump on top of the bouncing pine cone so you can get up to the ledge.
Just to the right is a spiked wheel. Place a box on it and when the box is facing up attach a rope from the box to the door. As the wheel turns the door will open.
Freeze the wheel once the door is open and go through. Break the branches above to free the tree and swing across the spikes.
To open the next door you need to bring the water to the drain and then hit the switch with a fire arrow. Pull down the platform above so it drains water to the left and freeze it in place. Put a box on the see-saw so it slides down towards the drain. Place a dream shield so that it deflects the water onto the see-saw.
Shoot a fire arrow at the switch to open the door and go through. Use Amadeus to pull up the box with a stone attached to it and a large Jar will float to the surface. Dive in for more Orbs.
Get out the other side and stomp on the platform. The tree will bend over so you can grab the large Jar. As you head to the right you’ll have a battle with more Shadow creatures.
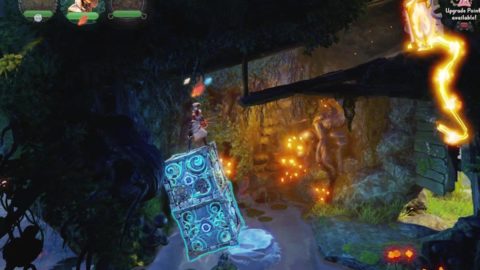
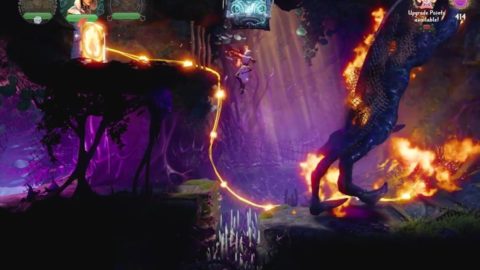
Dive into the water and swim down and to the right. Grab the Orbs and swim up into a glowing cave. Place a box on the spikes above and latch onto it with a rope. Shoot a fire arrow at the switch to set fire to the monsters hand so you can get past.
In the next room run under the hand and place a box on the spikes. Attach a rope from the ring on the finger to the box to hold the monster’s hand in place.
Create a box to the left of the hand and a dream shield above it to deflect water to the drain. This should drain out the pool of water below. Shoot a fire arrow at the switch to get rid of the hand.
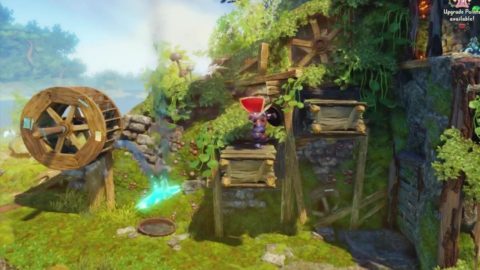
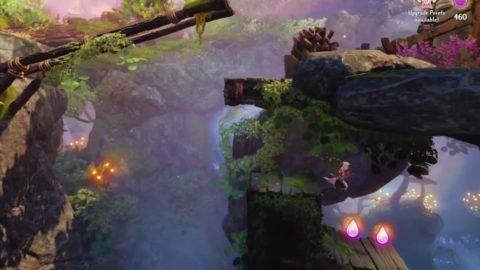
Head to the right and grab the three Orbs. To start climbing up the cliff place a plank on the spikes. Use the plank to jump up to the ledge with the Orb.
Continue up to the top of the cliff and break the fruit for two more Jars. Place down two boxes and climb up them to jump up to the ledge where you’ll find a Letter from the Astral Academy.
Dive into the water for a couple of Orbs. Make an box on the dry land to the left and attach a rope from the ring to the box. Use it as a bridge to climb up to the ledge.
Dive into the next pool of water and bring up the barrel. Break it for a Jar. Bounce on the seal and create a steel ball. Smash it across to the crystal wall to break it.
Inside the small cave you’ll find a large Orb. Use the steel ball to jump up to the ledge above.
Break the barrels and make a dream shield to deflect water to the water wheel. This draws out a ledge but also closes the door. Jump onto the ledge and freeze it. You can also just hang on the bar to the right. Remove the dream shield and jump up to the exit.
To get across the spikes use the same trick as before. Freeze the second one with a box on top. Place a box on the first and jump across to the other side.
Stomp on the platform to lower the tree for a large Jar. Jump across the platforms to the other side and take out the Shadow creatures.
Break the fruit on the tree for a Jar. Place a plank across the gap under the water. Place a box on the spikes and a dream shield above it to deflect water onto the wheel. This opens the door above.
Go through the door and place a box on the spikes. Place another box on the ground and make a bridge so you can run up to the large Orb.
Grab the pine cone and use it to roll across the gap. Place it on the see-saw to the right but don’t use it yet. There’s a secret to find. Place a box down behind the pine cone and drop off over the edge with a rope. Swing into the cave underneath.
Freeze the spiked wheel and stick a plank onto it so it’s sticking out horizontally to the right. Place a second plank to get a little extra length and jump up to the ledge with the Orb.
You’ll also find a treasure here, a Ship in a Bottle. When you pick it up the gate will lower so you can easily get back out. Use the pine cone to get flung up to the ledge above.
Attach a rope to the wooden beam and pull it to the left so you can attach it to the ring on the ground. Run up the bridge to the top and get ready for another battle with Shadow creatures.
For the next puzzle you need to hit the switch with a fire arrow but there’s a stream of water in the way. If the stream stops flowing a barrier slides up and blocks the switch.
You need to curve the water around by placing a plank on the top ledge and a dream shield below. You can now deflect water onto the wheel while keeping the switch open.
Hit the switch with a fire arrow to open the door above. Go through and stomp on the platform at the base of the tree to make it lean over the chasm. Swing across to the other side and jump up.
Place a box on the spikes on either side of the gap. Attach a rope between them to form a bridge and run across.
Jump up the platforms, getting the Orbs along the way and head up the stairs to find the prince. He spawns three evil knights to battle Pontius. They can each be hurt in different ways.
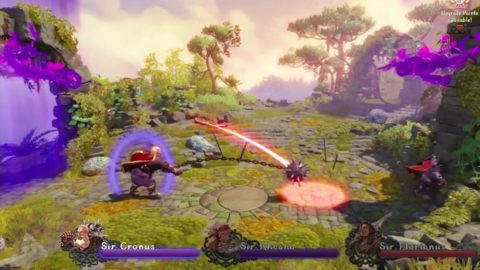
When Sir Cronus appears bash his mace back at him when he attacks. Deflect Sir Rheana’s fireballs back towards him and climb up Sir Florianus’ spear so you an jump up and attack him. Sir Cronus and Sir Rheana can be attacked normally for a few seconds once you’ve stunned them with their own attack.
The knights will continue to appear one after the other, two at a time and then all three of them together. Once they’ve been defeated you’ll carry on to the next level.
Back: Goldleaf Garden Next: The Crackling Mire