Goldleaf Garden
Back to Trine 4
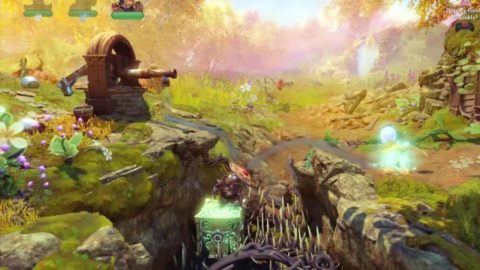
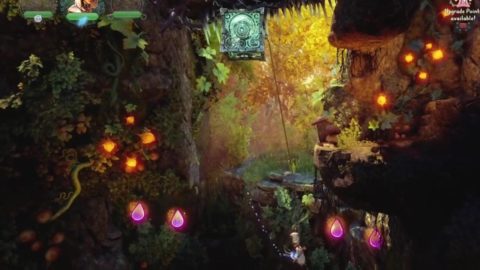
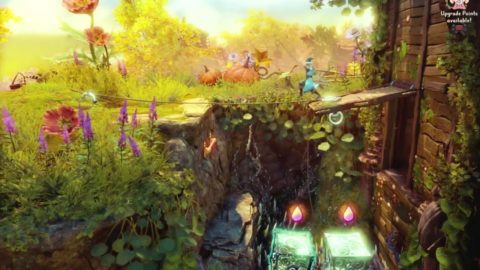
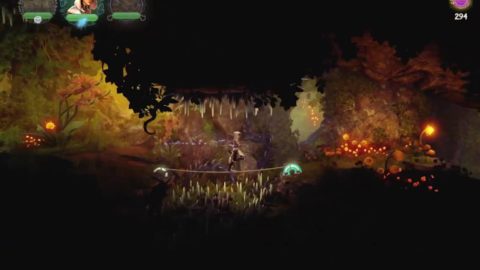
Run across to the right and dash across the pit. Break the branches to release a Jar and lower the tree trunk so water spills onto the ground below. Plants will quickly grow towards the sky.
Jump up and break the fruit on the trees to release a Jar, then swing across the gap using the platform.
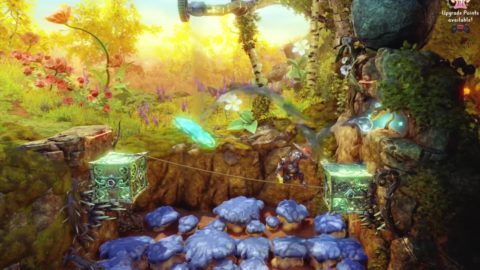
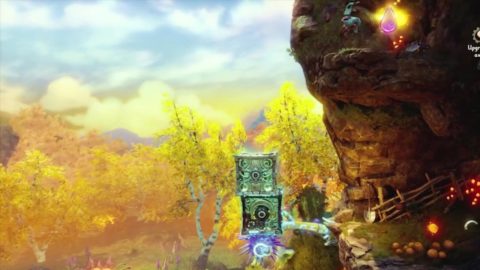
Place a box on the spikes on the wall and make a rope bridge across so you can pick up the Orbs. Stand where the water is falling and use Pontius to deflect the water to the plants to the left.
Jump up the leaves to the ledge above. Break the next fruit for a Jar and then use the boxes and swing to jump across the spike pit. Use the log see-saw to jump up to the large Orb about half way across and continue to the other side.
Move the boxes on the right side and break the branches to get access to a small cave. Inside you’ll find a few Jars.

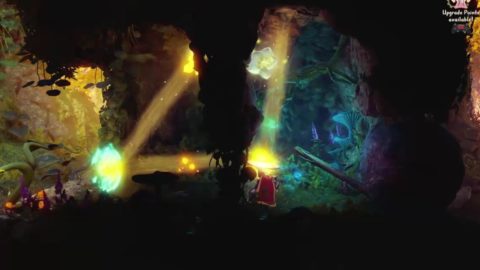
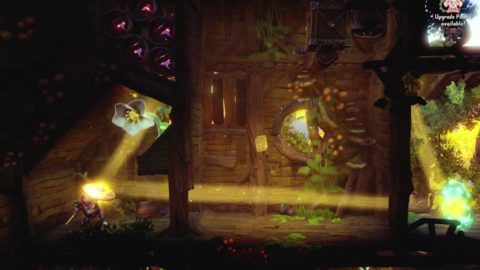
Walk to the right and stand on the leaf. Use Pontius to deflect the light onto the flower bud on the wall. It will break open the wall so you can walk through.
Use the boxes to jump up and break the box above with the Jar. Clear the room of boxes by attaching a rope between the two wooden boxes and attaching one of them to the spikes on the roof. This should clear the path for the beam of light. Deflect the light up to the flower bud to the right to break the wall.
When you walk to the right you’ll be attacked by Shadow creatures. Break the fruit on the tree for a Jar and pick up the other Orbs. Walk into the little house on the left for a few more Orbs.
Head down the path to the right for a short cut-scene with a hedgehog. Continue through the gate to the right. Use the bouncy mushrooms to bounce up and grab the Orbs.
A water pump is spilling out water. You need to bring the water across the spike pit to the plant on the right. Place a box on the left side of the pit and deflect the water across with Pontius.
Before jump up the leaves break the branches and go through the door to the right. Break the box for a Jar and then stomp down on the floor to break it and drop down for a secret area with three more Jars in a wooden crate. Open the treasure chest for a Globe.
Climb back out and jump up the leaves to the ledge above. Head to the right and when you reach the platforms over the spike pit Shadow creatures will spawn. There are no secrets here so head into the cave to the right.
Use Pontius’ new ability to create a dream shield and use it with Pontius to deflect the stream of water twice to reach the plant on the left.

When the plant grows it will push the boulder out of the way. Jump over the pit and use Pontius’ dream shield once again. This time to deflect the light beam to the right. Use Pontius to deflect it up to the flower bud on the wall.
When the flower bud grows the boulder will get pushed out of the way. Don’t follow the boulder out yet. Instead jump up to the flower and climb up to a hidden garden.
Out here you’ll find a letter from the Owl. Break the fruit to find Jars and then drop down and head out of the cave to the right.
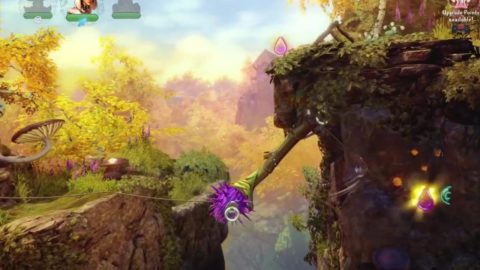
To get to the Orbs above the spike ball attach a rope to it and drag it down to the left. Attach it to the ring to keep it lowered. Jump from the leaf and dash or blink across to grab the Orbs.
Break the rope holding the box to the right and use it to jump across the pit. Bounce up to the ledge with the Orb and break the next two ropes to drop the boxes. Jump across them over the pit and bounce up to the ledge on the right.
Attach a rope to the spike ball and pull it down a little. Attach it to the ring on the rock wall to form a bridge. Place a box on top of the spike ball. Climb up and jump up to the rock ledge on the right.
Create two boxes and stand on top of them with Pontius. Create a dream shield to deflect the light beam down. Drop down and deflect the light beam across to the flower bud on the rock wall to the right.
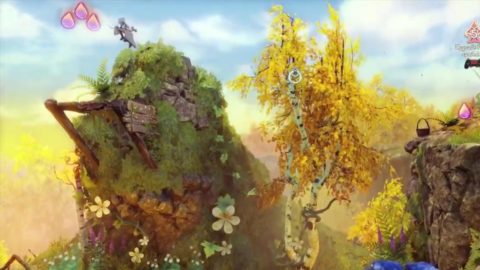
Jump up the leaves to the wooden structure above and break the branches to the right. The tree will fall over creating a bridge. When you walk over it you’ll be attacked by Shadow creatures.
When you’ve dealt with them drop off the ledge to the right and break the branches blocking the cave entrance to the left.
Place a box on the spikes in the roof and use it as an anchor for Zoya so she can swing down and pick up the Orbs.
Climb back out and just to the right you’ll find the Red Poppy Seeds for the Hedgehog.
The next puzzle is easier than it looks. Create two boxes and stick on them on either side of the pit. Attach a rope between them to form a bridge. Create a dream shield and use Pontius to deflect the water over to the plant growing on the wall.
The plant will grow and push away the boulder. Climb up to the ledge and drop down the other side. Place a box on the spikes in the roof and another box on the spikes on the wall to the right. Use the box on the roof to swing over to the other box and climb up to the ledge.
Attach a rope to the spiked plant and pull it out. Attach the rope to the ring on the left to form a bridge. Run across the rope bridge and jump over the spikes. Latch onto the ring in the rock and swing into a secret cave.
Inside you’ll find an Orb and another ring. Swing back to the rope bridge. To get up to the ledge above create a couple of boxes on the edge of the cliff and jump and dash from the top of them across to the ledge above.
Shoot the fruit for a Jar and the next fruit above the bouncy mushrooms. This reveals a ring. Swing from the ring to the wooden platform to the left for three more Orbs.
Swing across to the ledge on the right. You’ll be met by a spike pit and large wooden wall blocking your path. Pull out the wooden door and attach it to the ring on the ground. Place two boxes on it and jump up for a hidden Orb.
Drop the boxes down on the the spike pit so you can jump across and pick up the Orbs. Head through the open door.
As soon as you go through the door into the barn you’ll be attacked by Shadow creatures. Take them out and then pull out the wooden cart at the bottom so you can get the Orb. You can go through the barn door now but there’s still a few more Orbs to collect.
Break the ropes holding up the ledges on either side. The barrels will roll down and the ones with Jars inside will break. When you are done push the cart through the door to the right. Place two boxes on top of the cart and climb up them to jump into the roof of the barn to the left.
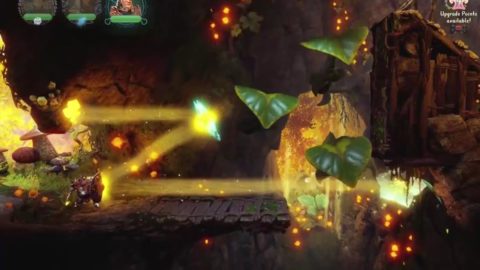
A light beam shines down on the right side and there’s a group of barrels above a flower bud on the left. Attach a rope to the two wooden boxes and place them near the roof on the wooden log. Make a dream shield to deflect the light to the left and then use Pontius to deflect the light up to the flower bud.
When the barrels roll down break them to reveal the Jars inside. Head back down to the right and jump across the leaves. Break the fruit to the right for a Jar and then drop down into the cave.
Once again you’ll need to get the light to the flower bud. Place a dream shield so it shines the light just to the left of the ring in the roof. Place a box on the edge of the ledge and attach it to the ring. Drop the box off the ledge so it hangs in mid air. Pontius can now stand on the box and deflect the light to the flower bud.
The stone hatch above will open. Jump up to the bars and jump out of the cave. You’ll find the White Midsummer Rose Seeds.
Make your way across to the right until you come to a cliff face with a spike plant. Hang onto the plant to drag it down and then freeze it in place. Jump on the bouncy mushroom and dash across to the right to make it up to the ledge behind the plant.
You’re not done with the spiky plant yet. Unfreeze it to let it bend back up and freeze it again. Place two boxes on top of it and climb up them to reach an upper ledge where you can find a large Orb and a Birch Bouquet.
Drop down and head inside the cave. Place boxes on either side of the chasm and form a rope bridge between them. Walk across, grabbing the three Orbs along the way.
Break the branches on the ground to the right to get access to the Orb and a bouncy mushroom. The rock wall to the right is just too high to jump onto. Drop a box on the bouncy mushroom and then jump onto the box. You should be able to jump up to the ledge on the right.
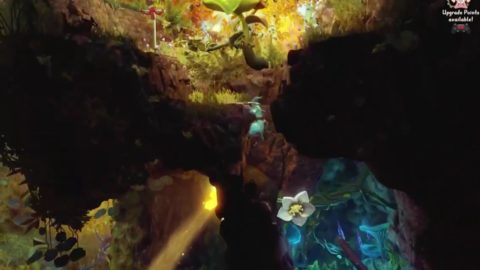
Walk to the right for a battle with Shadow creatures. When you’re done dive into the water to the right and swim down the narrow gap. Swim down and around until you come up into a secret cave.
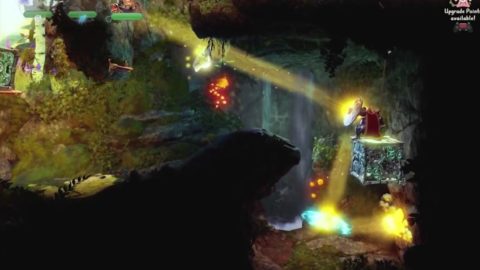
There’s a small waterfall here and you need to get the water up to the plant in the roof. Freeze the spiked plant in the high position. It has a ring on it so you can pull it around. Place a box on top of it and then have Pontius stand on the box and create a dream shield to deflect the water across to the right.
Dash over to the ledge on the right and deflect the water up to the plant on the roof. The rock wall will break and the Jars will come sliding down.
Exit the cave by breaking the branches to the right and jump up to the path above. Break the fruit for a Jar and walk to the right.
Swing across the spikes and place a box down just to the right of the spiked plant. Stand on it and shoot an arrow to break the large fruit to the right. A large Jar will come rolling down. Freeze the plant in the high position and place a box on top of it. Jump across to it to grab the Orb above it.
Drop down into the cave below and use the bouncy mushrooms to bounce across to the right. Break the wooden box for a Jar then make a bridge over the spikes.
Just to the right you’ll need to deflect the light beam up to the flower bud in the roof. Create a dream shield to deflect the light up and to the right. Stand right next to it to immediately deflect the light up and to the left. If you’re standing right on the dream shield you won’t block the light coming from the wall.
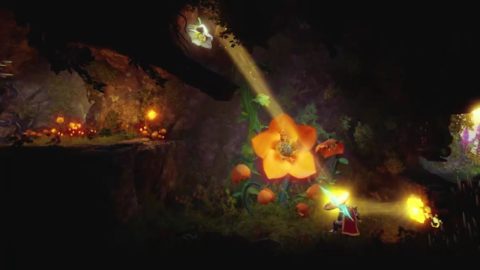
When the flower blossoms the door to the right will open and Orange Trollius Seeds will appear from the orange flower. Grab them and head out to the right.
Freeze the spiked plant and swing around to grab the Orbs. Bounce across the mushrooms to the right and break the fruit for a Jar.
Break the branches holding the tree up and it will fall down making a bridge. Run across and continue to to the right to find the hedgehog and complete the level.
Back: The Badgerborough Next: Firwood Water