Haunted Tombs
Back to Trine 4
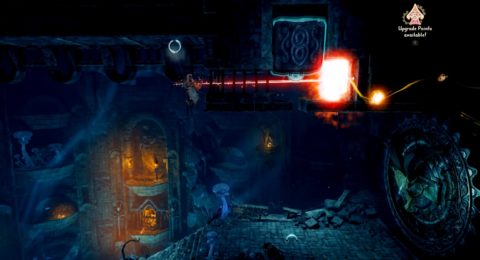
Hit the button above the entrance with a fire arrow to open it and go through.
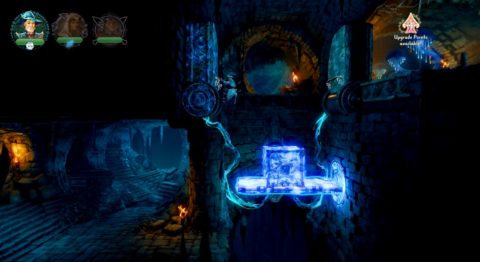
Place a box on the glowing stone to lower the platform so you can drop down. Remove the box so you can get to the Orbs to the left.
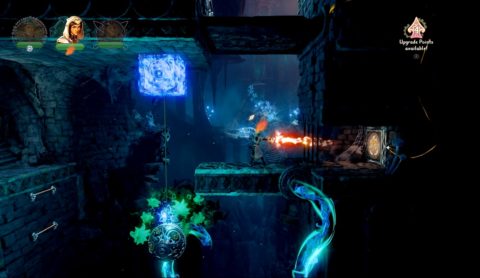
Head to the right and place a plank on the magnetic circle so it hits the glowing stone. This opens the blocks above. Freeze the block to the left and hang off the bar. Remove the plank to lower the block to the right so you can get past.
Break the branches for a few Jars and then push out the coffin so you can get through to the next room. Take out all the Shadow Creatures and plank your way up through the hole on the left side of the room for a large Orb.
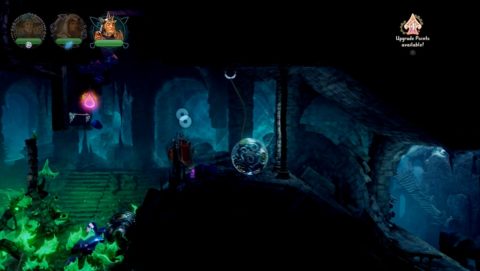
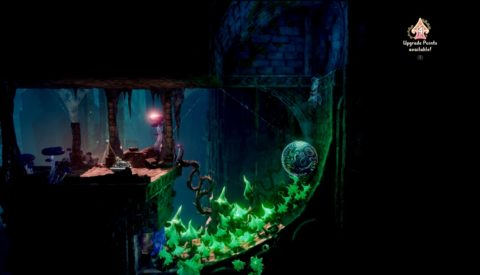
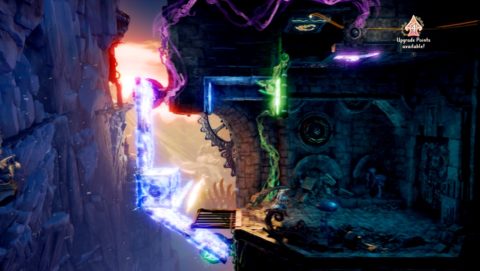
Freeze the spitting plant and use a steel ball to roll across the poisonous plants. You’ll need to jump over the branch in the middle.
For a secret attach a steel ball to the ring and smash it across so it hits the crystal roof above.
Climb up for a few Orbs and a Letter. Drop down and continue down the stairs. Getting to the button behind the block is pretty tricky.
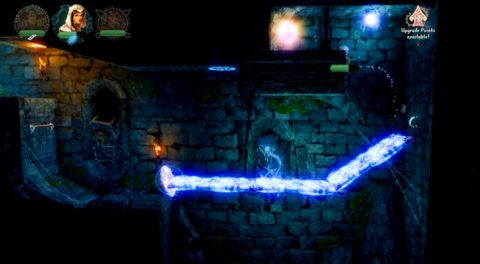
Place a box on the magnetic seal above and create a steel ball at the end of the ledge. Attach a rope between them and push the ball off the edge. It should dangle just over the glowing stone which will lower the block.
Dash across to the block and hit the button with a fire arrow to open the gate above.
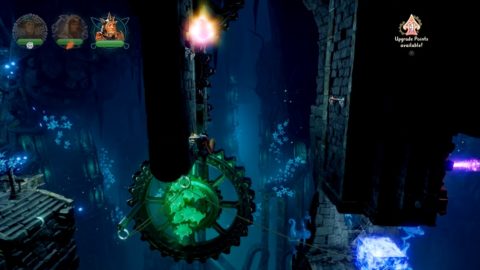
Make your way up through the gap and then up the stairs. Pull up the trapdoor for a Jar and then use the seesaw to fling yourself up to the wheel. Have Pontius stomp on the platform on the wheel to spin it around so he can get high enough to float over to the right.
Use the rings on the next wheel to make a bridge across the gap.
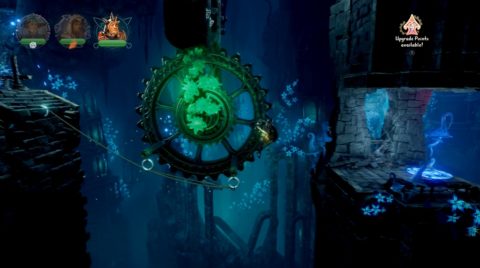
Break the ropes to get the wheel spinning again. Place a box down on the magnetic spot and bridge across to the wheel. Dash across to the bars until you reach the large Orb. Break the branches above for another Orb.
Drop down and use the magnetic spot to plank your way up to the next ledge.
For the next puzzle you’ll need to move the box so it’s on and then off the glowing stone to move the stone blocks around. Keep going until you make your way through to the other side.
There’s a secret when you get to the next wheel. Hang a rope off the ring and swing to the tunnel underneath it to the right. Pull the lever and place a steel ball down so you can ride it up to the alcove above.
Inside you’ll find a few Orbs and an Antique Burgundy Cloak. Head back to the wheel and stomp on it so you can ride it up to the next ledge.
Freeze the spitting plants and pull out the steps. Push back the lowest cart so you can get into a secret area behind them with a chest with another part for the Archivist’s Filing Cabinet.
Head back and climb back up the steps. Take out the Shadow Creatures and use a Dream Shield to attach a box to so you can dangle a steel ball underneath. Bash it up to the roof for more Orbs.
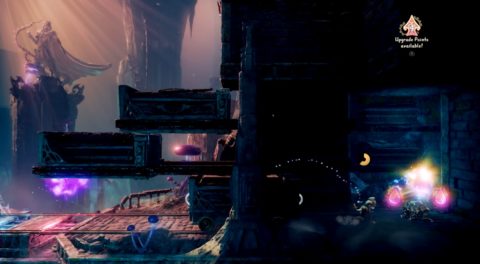
The next gap is very large but you can use a Dream Shield and three planks to make it all the way across.
Float over to the next room and glowing stones will slide out. Place out a Dream Shield to attach a box to and then use two planks to reach the two glowing stones.
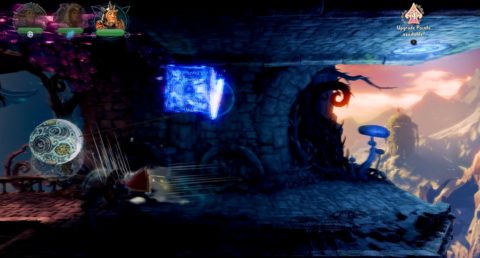
Shoot a fire arrow up at the button to open the door to the right. On the other side freeze the spitting plant and drop down a steel ball. Attach it to the larger wheel and drag it across to the right. Jump over it and use another steel ball to roll along into the secret tunnel to the left.
Drop down and use a Dream Shield and planks to make your way across the gap. Freeze the plant so you can jump up for a large Orb.
Make your way back up and roll across the poisonous field of plants. Jump up the other side and head up the stairs. There’s just one more puzzle for this level.
Attach a rope to the ring on the ground and use it to lift up the stone block above. Hang off the ring to the left and shoot the button with a fire arrow.
The door to the right will roll open. Go through to end the level.
Back: The Nightmare Academy Next: The Nightmare Prince