The Nightmare Academy
Back to Trine 4
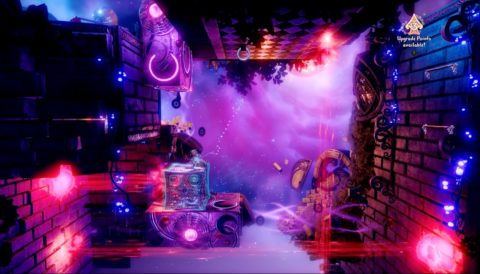
Run to the right, place a box on the ground and attach a rope from the box to the ring on the roof to make a bridge. Run up the rope and jump up to the balcony above for a few Orbs.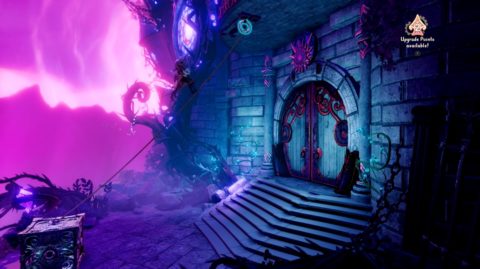
Drop down and attach a rope to the ring. This time pull on the ring to lower it and lift the door up. Head through the door for a battle with Shadow Creatures.
When you’ve taken care of the creatures place planks or boxes on the magnetic wall to the right to make it across the gap. Make sure you pick up all the Orbs along the way.
Once again use metal objects to make your way up the tall magnetic wall. Use a plank and box up the top to reach the large Orb and then continue to the right.
Pull the ring down to reveal three more Orbs and then jump over to the wall on the right.
Hit the next two walls to open them. Hang off the ring and shoot an arrow at the second wall to raise it again so you can swing under it.
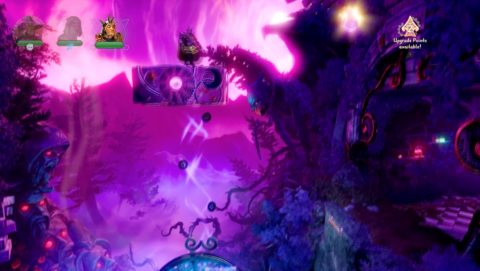
Place a plank on the magnetic wall to the left and drop down. Shoot an arrow at the wall to lower it and then blink or dash across. Continue across the misty river for a battle with Shadow Creatures.
Place boxes on the metallic wheel so that you can jump up to the top and over to the ledge. Hit the block above the wheel to make it lower and jump over to it. Hit it again and then dash across for a large Orb.
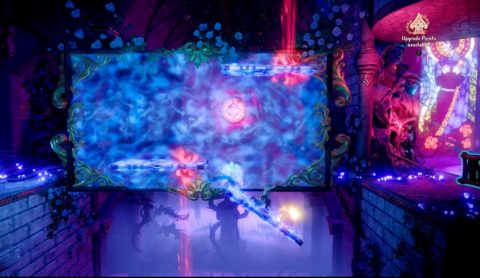
Head into the building to the right and deflect the light up to the sensor to release a few experience Jars. Hit the wall to the right and go through. Place a block on the red light and dash across.
Deflect the red light to the red sensor for a Jar and then place two blocks on the red light emitters to block the red light so you can jump across.
Use planks on the magnetic wall to block the red light and so you can pick up all of the Orbs.
Continue to the right for a battle with Shadow Creatures, then use the Dream Shield and Shield to deflect the light to the sensors so the gate on the platform to the right opens.
Climb up but don’t go through yet. Instead upgrade Pontius to the Magnetic Dream Shield and use it to make a bridge up to the ledge above.
When you get up place a box down and place a Dream Shield down while standing on top of it. Place planks on the dream shield to block the red light and another one on the moving magnetic wall to make a lift. Take the lift to the top where you’ll find a large Orb and Eerie Puppet.
Head back down and continue to the right. Once again use a dream shield and planks to block the three red light emitters. This time one of them is on the left. Then use the ring to swing up to the ledge above.
Run to the right to meet the Prince. After the cut-scene continue to the right and place boxes on the magnetic wheel so you can make it up to the ledge to the right.
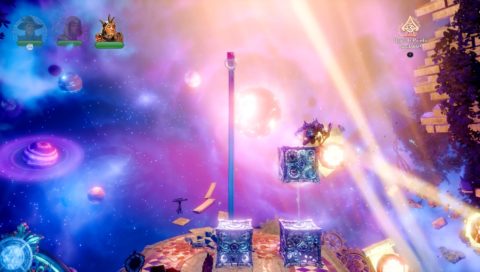
Next use Pontius to slam down through the portals to gain height so he can pick up Orbs and make it up to the next ledge. Before continuing on place two boxes on the magnetic field just above. This will lower a trapdoor so you can climb through.
Place a steel ball down and attach a box to it with a firm rope. Stand on top of it and hit the button with a fire arrow. The ball will get pushed along and you’ll float to the other side.
Jump up the bars and up to the Orbs, Letter and lever. Drop back down and continue along your way.
Float a steel ball from the ring to block the two red light beams and then pull out the large block so you can climb up.
Make your way across the broken bridge and then place a box on the block so you can rope up to it for an Orb.
Hit the block to lower it and then hang from the ring. Use arrows to raise the same block again and then bring out the horizontal block. Lower the vertical block, stand on it with Amadeus and place a box on the horizontal block.
Hang from the ring again, raise the vertical block and move the horizontal block. Drop down behind the box so you can safely pick up the Orb next to the light emitter.
Take the horizontal block back and climb up the bars to the top. Place boxes on the magnetic circles on the wheel and use another box to get it spinning. Jump onto the wheel and across to the platform.
Take out the Shadow Creatures and then use the ring at the top of the pole to swing up for a large Orb.
Deflecting the light to the three sensors is a little tricky. Use a Dream Shield and floating blocks to get the right angles.
Go through the open door and before taking the lift break the branches in the hole in the wall. Climb through and place a Dream Shield. Make a walkway with three planks so you can reach the large Orb.

Go back through the hole and take the lift down. At the bottom you’ll be attacked by Shadow Creatures. Take them out and continue to the right.
Place a steel ball on the magnetic wheel and bash it so that the wheel aligns with the crescent. Place planks on the wheel so you can climb up to the ledge above.
Head to the right for a tricky puzzle with a light beam and 8 sensors. There are a few ways to hit all of the sensors. I place the portal to the top left, have a Dream Shield top left and have Pontius stand top right.
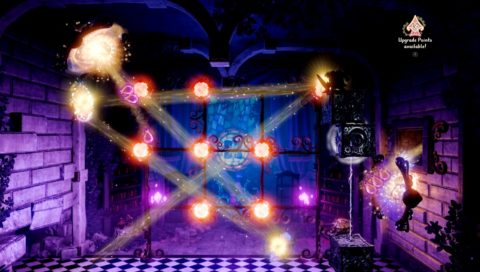
Once you hit all the light sensors a stream of Jars will flow down from the trapdoor on the right wall, as well as a chest with a part for the Archivist’s Filing Cabinet.
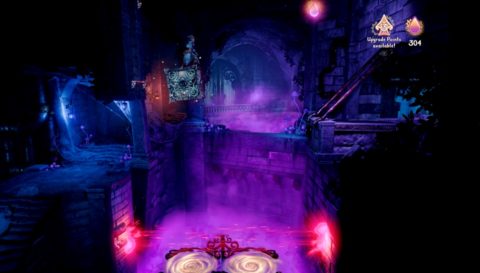
Head back down and go through the gate to the right. Make your way down the steps and use planks on the magnetic wall to make your way down the gap. Hit the block to the right for a few hidden Orbs and then drop all the way down.
Place planks on the two spinning wheels so you can either stop them or jump across while they’re still spinning.
Drop a box through the second portal and ride it up as it comes up the first portal. Blink across to reach all of the Orbs.
Make your way down through the passages and use planks to make your way across the gaps with the light beams.

Head down the stairs, hit the door and go through to complete the level.
Back: Snow-Topped Heights Next: Haunted Tombs