Level 8: The Tallest Tower
Back to Trine 5
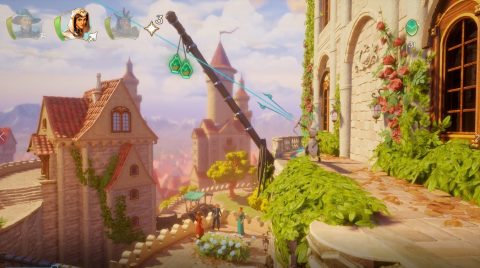
Beginning
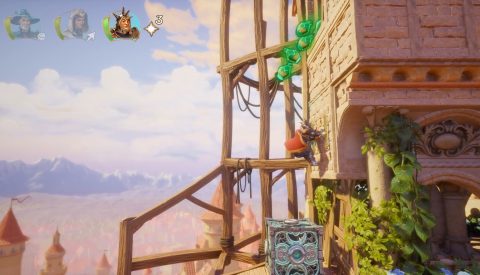
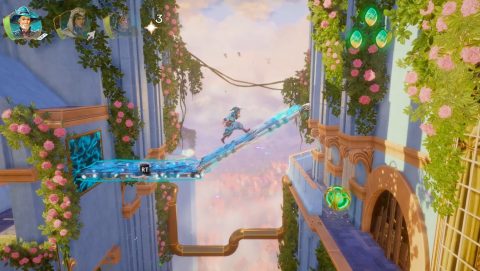
Swing up to the ledge under the first building, grab the Experience on the platform and jump up to break the box above for another Experience.
Ride the platform down and continue to the right. Hit the crystal to lower the platform and shoot an arrows of the wall to hit it again and raise the lift.
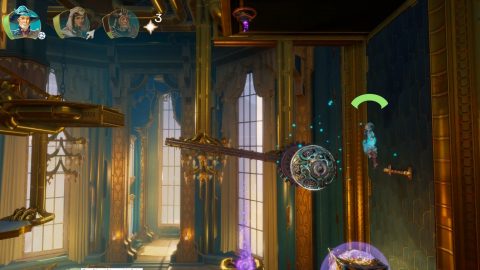
Hit the gravity box in the next room to make it float. Jump onto it and up to the lever which opens the door below.
In the next room hit the first gravity box and use Amadeus to lower it into the hole. Bring the second box out. You can now maneuver the first box out as well.
Hit both boxes so they float and press the buttons above. Jump up the moving platforms and out the exit above.
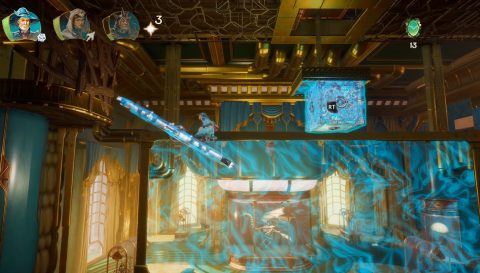
Grab the 2 x Experience above and then another 2 x Experience as you bounce across the tops of the stalls.
Place a plank on the wooden beams and use Zoya to shoot through the fire and light the exploding barrel.
Jump up to the checkpoint.
Checkpoint 1
Place ball on the attach point and ride it down to the other side. Grab the Experience and then climb up the outside of the wall using a plank or boxes. Grab the Experience on the ledge and then shoot down 2 x Experience from the pole.
Drop down and go through the door. Shoot the grav box on the left so it lowers and place it under the button on the roof. Place two boxes under the ring on the right and attach a rope to the top one. Remove the lower box so the top box pulls the ring down.
Dangle from the ring on the left and shoot an arrow at the grav box so it lifts up and presses the button, opening the door to the right.
On the bridge you’ll face the Bridge Guardian. Bounce back its bombs a couple of times and then go in for a melee attack.
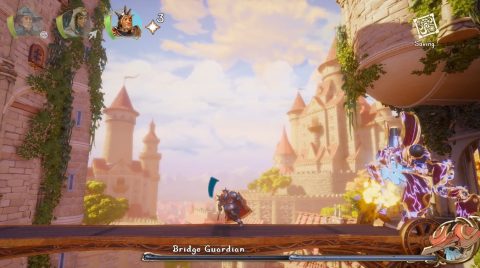
The second phase is the same as the first but there’s more bombs and a fireball attack. Once the boss is defeated it will run away.
In the next room bounce up for 5 x Experience.
Checkpoint 2
Place a plank on the tines of the lift and ride it up. Do a Wind Leap to reach the Experience near the ceiling above and then jump across to the stairs to the left.
Break the box for Experience and bounce up to the chain bridge above. Bounce off the cushions twice to the right. Up the top place planks on the attach points to form a moving bridge. Grab the 2 x Experience along the way.
Use Wind Leap to get up on the other side.
Checkpoint 3
The wheel has a couple of grav boxes attached. You can hit them to change gravity and move the wheel around, or slam down on one of them.
Move the wheel to grab the 2 x Experience above, then jump across to the left. Shoot the vines around the grab pole to the left and climb across.
Place a box before the planks blocking the path forwards and pull on the grab pole. This releases 5 x Experience from above.
Break the planks and continue to the right. Under the building you’ll find a Letter in a chest. Do a big dash across for the 2 x Experience and then drop down to take out the Clockwork Machine.
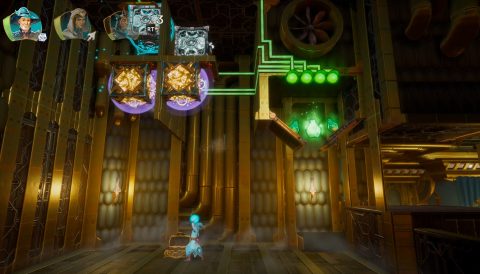
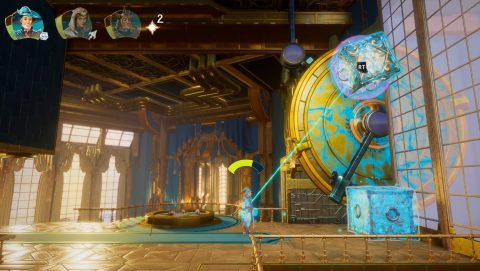
Break the box for Experience and head to the right. Shoot the grav box so it drops and presses the lower button. Place a plank vertically on it to hit the top button. This opens the door below. Shoot the crystal behind the door.
Wind Leap up through the door that opens to the top right or change the grav box so it floats and jump across.
Take out the Drones and bounce up for the Experience. In the next room shoot up to hit the grav boxes under the lift so the lift lowers. Stand on the lift, shoot the grav boxes to make them float and ride it up. Grab the 2 x Experience along the way.
Checkpoint 4
Bounce up and take out the Clockwork Machine. Grab the Experience above. Make 2 balls and place them on the attach points. Use them to get across the gap, grabbing the Experience along the Way.
To open the next gate shoot the first grav box and use it to deflect an arrow onto the frozen button.
Raise up the other grav box and jump across. You’ll face the second boss, the Gate Guardian. This one shoot out fire. Step out of the way and use the fire to shoot a fire arrow at the beast.
Grab the Experience and then the Experience on the inner wall held up by vines.
Place a ball on the attach point and turn it around to ride it up. Grab the Experience above the platform to the left and jump to the left and up to the higher platforms for another 2 x Experience.
Jump across to the right, hit the grav box to make it float and use it to jump up to the grab pole. Place a ball on the attach point and ride it across to the left.
Place boxes on the magnet window to climb up, grabbing the Experience along the way.
Do the same thing in the next room but attach a box on the top magnet to lower down 2 x Experience. Then bridge over to the boards and left and break through.
Inside you’ll find 2 x Experience and a chest with a Paper Hat. To get the extra Experience float the grav boxes up to the buttons and place 2 boxes on the buttons in the alcoves above.
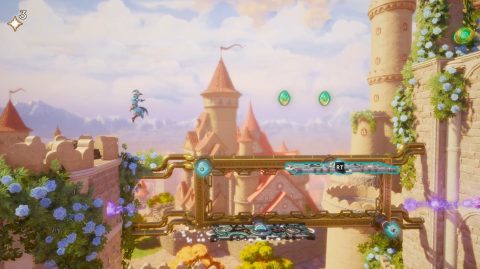
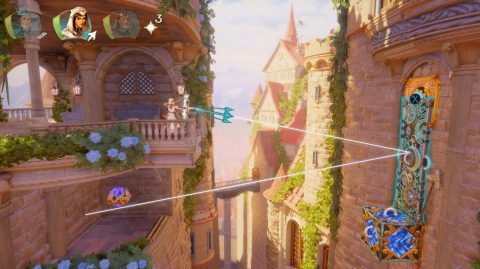
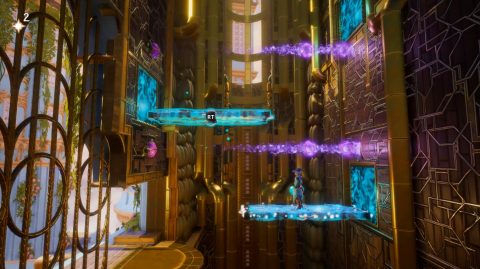
Head back and bridge over to the opening to the top right. Grab the Experience and place a ball on the rails above. Grapple on with Zoya and ride it across. Grab the 3 x Experience along the way.
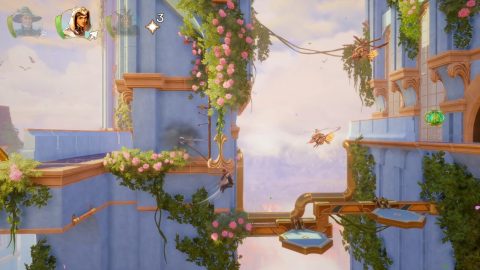
To get past the next gap place the Sword on the wall and use it to swing under the wall to the platforms. Watch out for the drones.
Checkpoint 5
Take out the drones and use the magnet windows to bridge across to the left for 2 x Experience, then over to the right for another 3 x Experience.
Break through the boards and break the vines above the door on the inside for Experience. Box across the spike pit and plank up or Wind Leap to the ledge on the right.
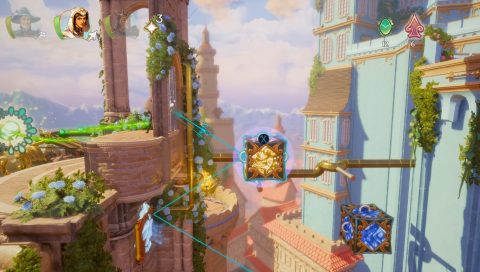
Take out the Clockwork Machines and Drone. Then use the grav box on the magnet wheel to turn it around. Change the direction of the grav box to make the wheel turn. Place another box attached to it on the ground so the wheel doesn’t spin back. Remove the grav box and place it on the ground so it can turn the wheel again. Do this a few times until it lights up.
Before leaving this room place a plank on the magnet window above. Grapple up to it and climb up for a chest.
Inside the chest you’ll find a Tidbit. Break the vase for Experience, then drop back down. Climb up above the wheel using boxes attached to it and grab the Experience above.
Ride up the next wheel with a grav box and jump across to the left first for 2 x Experience, then the right to continue on your way.
Use Planks to climb up the shaft, removing the lower one and replacing it in a higher position.
Checkpoint 6
As soon as you head out you’ll be attacked by the Terrace Guardian.
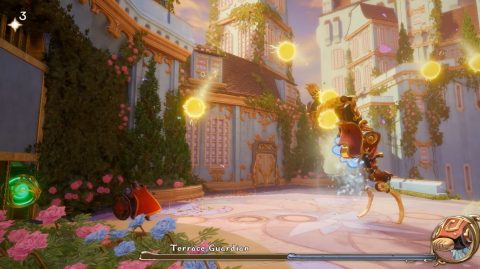
Dodge his attacks and hit back the bombs when he throws them out. Once you’ve got past his armor go in for a melee attack to finish him off.
Bridge up on the right for 3 x Experience and the checkpoint.
Checkpoint 7
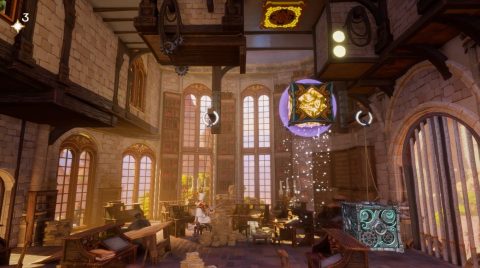
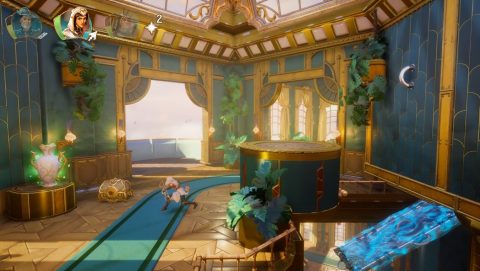
Bash through the walls in the library, grabbing the Experience along the way. Then box up to the gap to the right.
Grab the 2 x Experience as you bounce up to the next checkpoint.
Checkpoint 8
Break the box for the Experience and place the grav boxes under the left. Change the direction so they float and use a plank to stop the fireballs hitting the grav boxes and changing the direction.
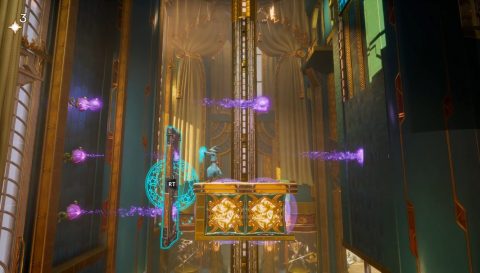
Ride it up and attach a box to the magnet door to open it. Grab the Experience in the box and hit the crystal to open up a ledge. Grab the 2 x Experience to the left and climb up.
To hit the next crystal place the box in the slot on the right and shoot an arrow to deflect it onto the crystal.
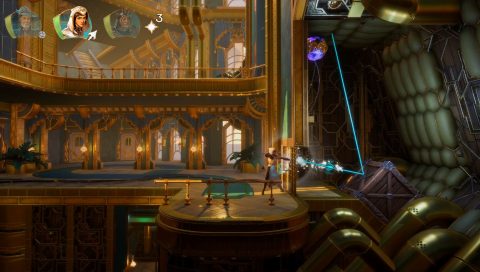
Climb up the next bookshelf and place the sword in the wall. Bounce off it to the platforms above and grab the 2 x Experience. Drop down and head to the left for the checkpoint.
Checkpoint 9
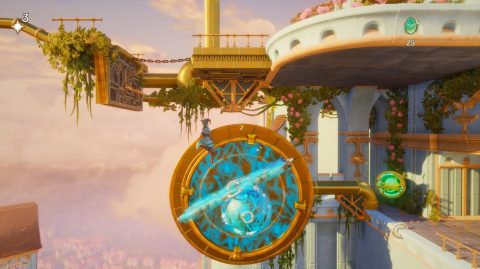
Place a ball and plank on the magnet wheel to quickly jump across to the grab pole. You can grab the Experience along the way.
Climb up and run along the pipe to the left for Experience. Then bounce up and jump up the platforms to the top. Grab the Experience along the way. Hit the crystal to lower the lift above and ride it up.
Grab the Experience up the top and head up the stairs. Ride the next lift up to the final checkpoint.
Checkpoint 10
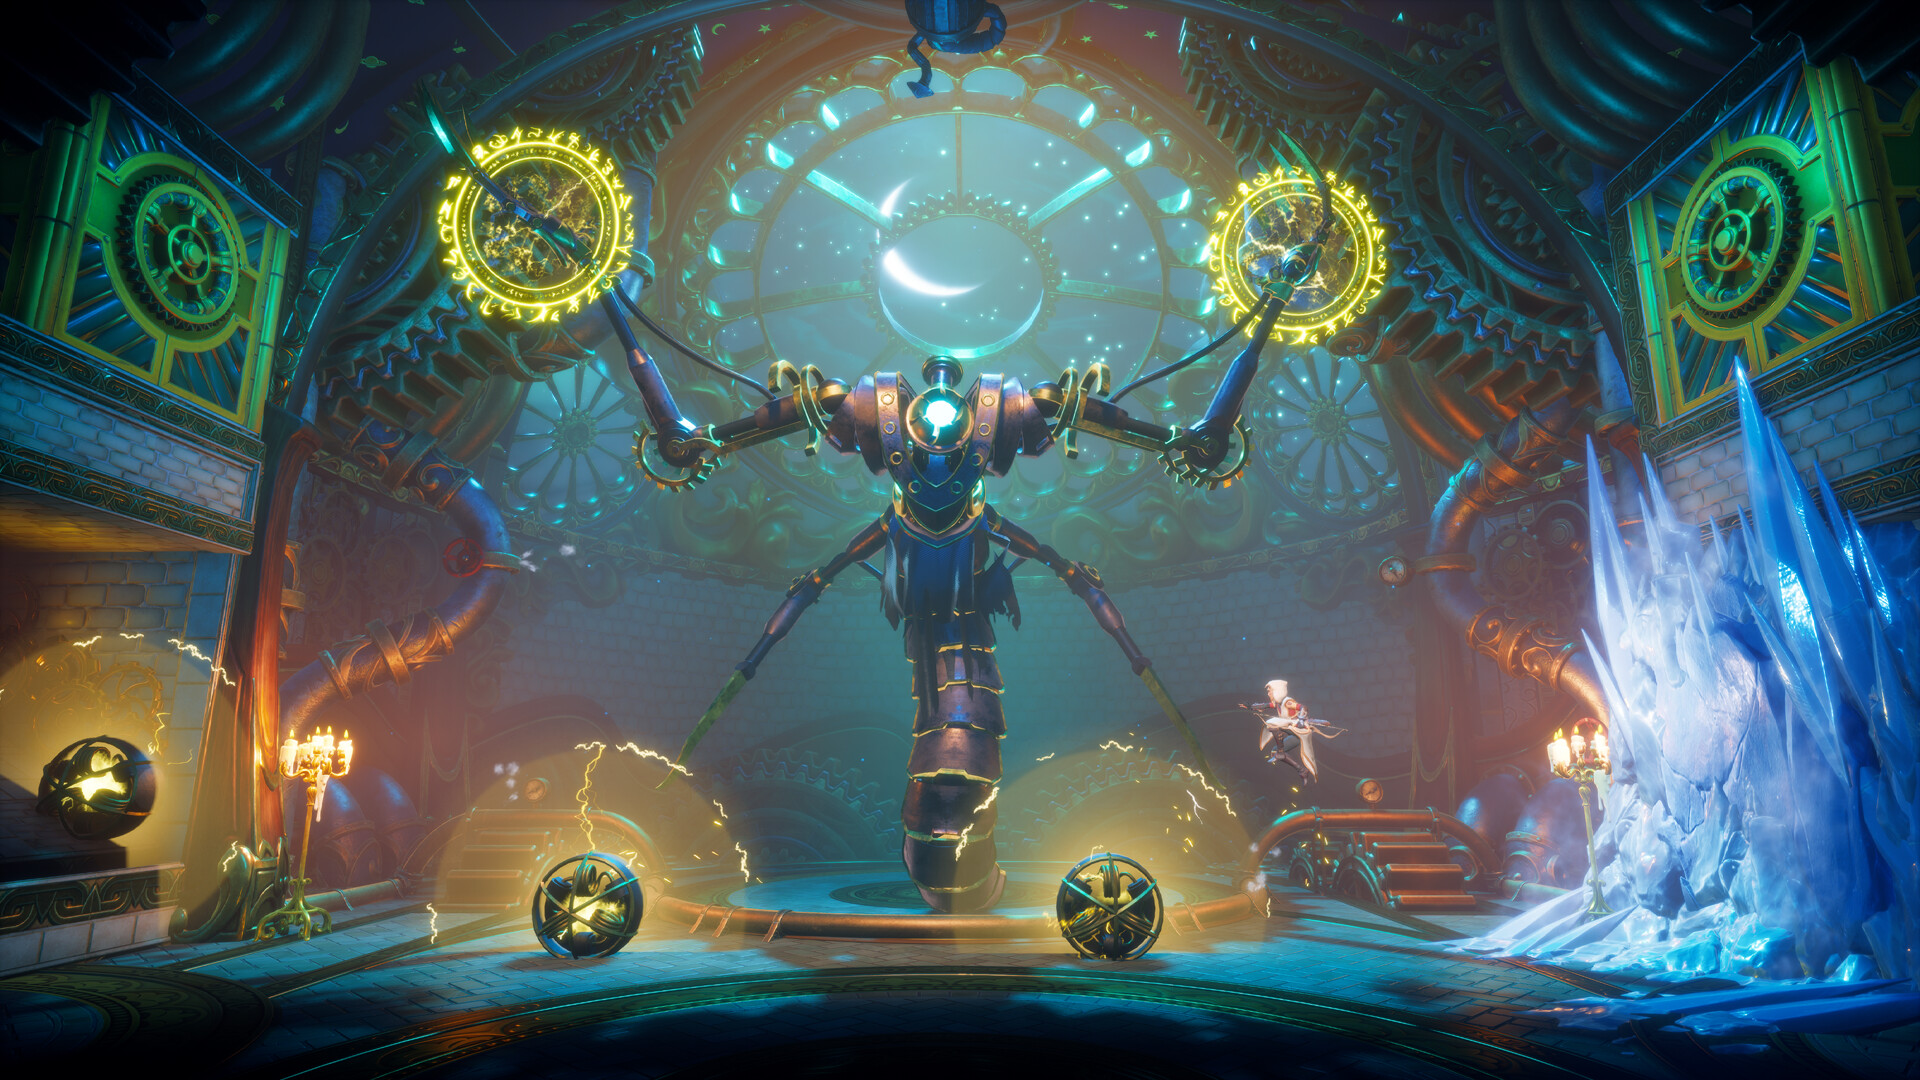
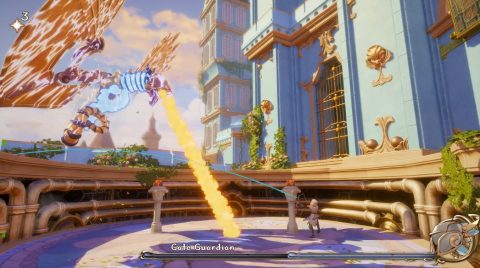
The three bosses will join together and form the Tower Guardian. This has aspects of all of the bosses combined.
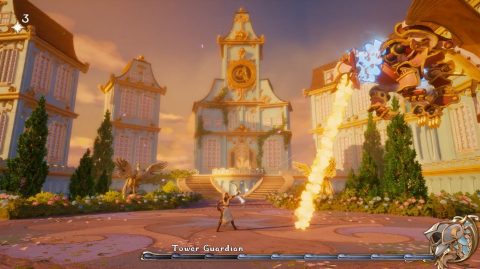
Deflect bombs back at it when it’s on the ground and shoot arrows through the flames when it’s flying. This boss has quite a bit of health but once it’s defeated the level will end.
Next: Level 9: Dungeons and Sewer Rats
Back: Level 7: The Royal Castle