Level 9: Dungeons and Sewer Rats
Back to Trine 5
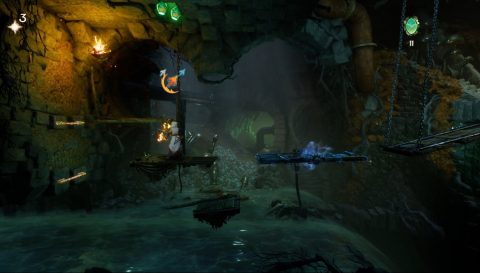
Beginning
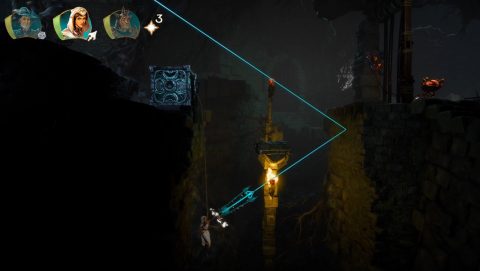
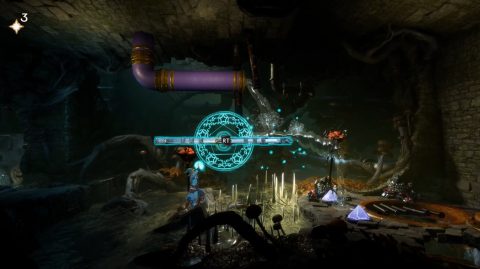
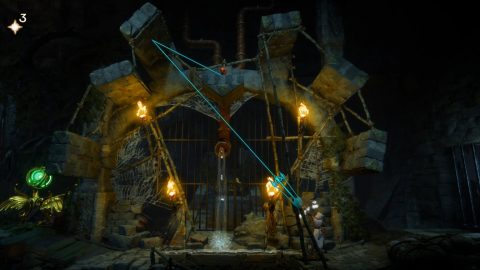
When the gate opens grapple up to the ring and swing across to it. In the passage beyond shoot through the torch flame to light the brazier behind the gate and the gate will open. This is a mechanic you’ll need to do a few times throughout this level. Swing over to the see-saw and grab the 4 x Experience around it.
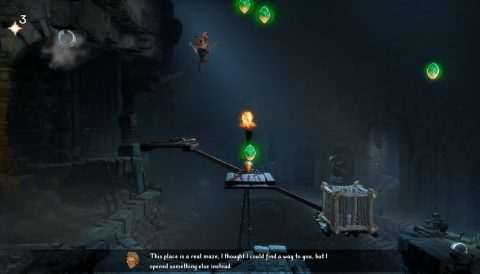
Use Pontius to charge across the spike pit to the other side. Place a box on the ground under the first ring and attach a rope to it. Push it into the pit so the first ring is pulled down. Zoya can hang on the second ring to open the gate, then swing through before it closes.
Grab the Experience before the next checkpoint.
Checkpoint 1
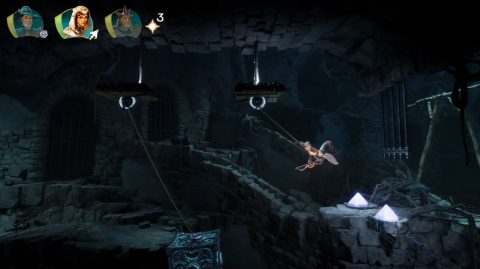
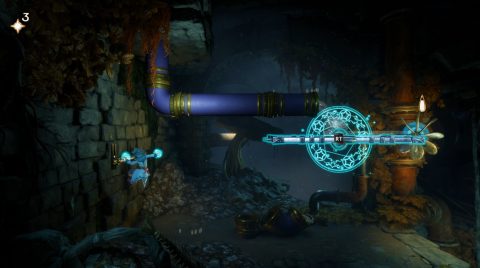
Jump up to the chain rope and then Wind Leap to the grab pole on the wall. From here you can jump across for the 3 x Experience.
Jump across to the lift and grab the 2 x Experience above it and the 2 x Experience below it. Create a ball and bash it into the wall to break it.
Break the boards in the ceiling just behind it for Experience. Break all the boards over the next pit, then place a box behind the posts. Zoya can hang off them to shoot an arrow throw the flame to light the torch above.
Climb up and shoot an arrow through the higher torch to light the brazier and open the gate.
Checkpoint 2
Drop down and take out the Shaman and Skeletons. Once you kill the Shaman the skeletons will fall apart.
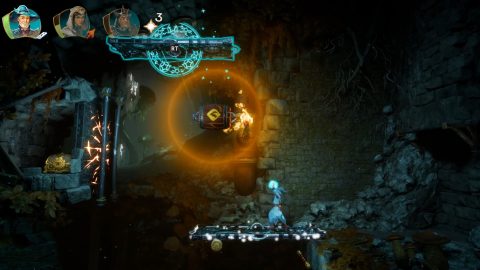
Pull the lever to drop down an exploding barrel. Amadeus can grab it and hold it over a torch to light it. Quickly bring it to the breakable tile on the floor before it explodes. Drop down the hole to the next checkpoint.
Checkpoint 3
Smash a steel ball into the wall on the left to break it and go through. When the spike ceiling lifts up dash across for the chest with a Letter.
To grab all the Experience attach a plank to the spikes and have Zoya swing from them. Head back to the checkpoint when you’re done.
Dash across the spikes and take out the 2 Rats on the other side. Stomp down near the wall to bounce up an Experience, then drop down the hatch, grabbing the Experience along the way.
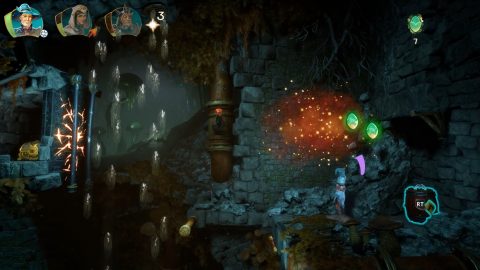
Shoot the button to drop down an explosive barrel. Place it just in front of the button, hang from the grab pole and shoot an arrow through the torch and into the barrel.
Quickly switch to Amadeus and move the barrel over the breakable floor.
Drop down and make your way down the grab poles to the next checkpoint. You’ll pass an Experience along the way.
Checkpoint 4
Place a box in the lift to lower it down, then smash a steel ball into the breakable wall to the left. Behind it you’ll find Experience.
Drop onto the lift for Experience and onto the platforms on the left side for another 2 x Experience. Swing across to the right for 4 x Experience on the various platforms, then take out the Rat.
Checkpoint 5
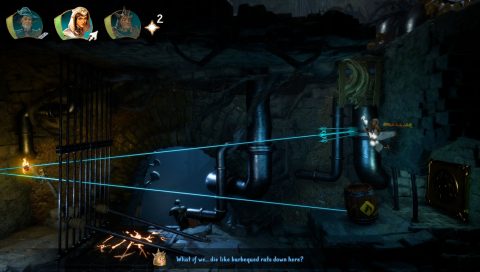
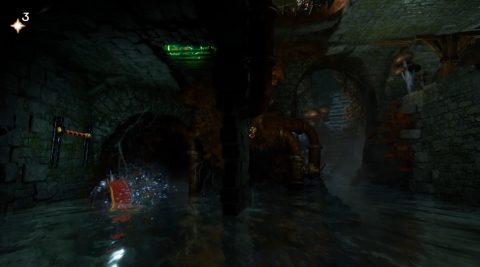
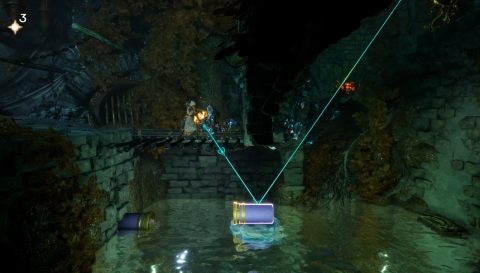
Kill the Rats and break the box for Experience. Watch out for the spikes in the water. To open the gate below you’ll need to extinguish the flames. Bring the curved pipe and the straight pipe over, then use a plank to reach the furthest fire.
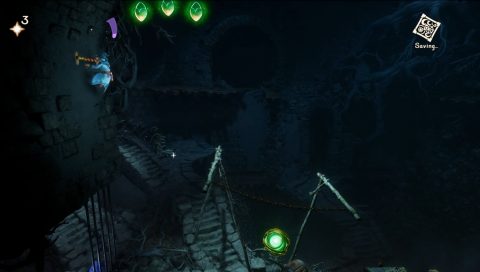
Drop down and swim under the wall to the left. Pull on the grab pole on the wall to release the 3 x Experience above.
Swim back and jump over the wall on the right. Press the button to light the flame. You’ll need to light the brazier on the right but the water poses a problem.
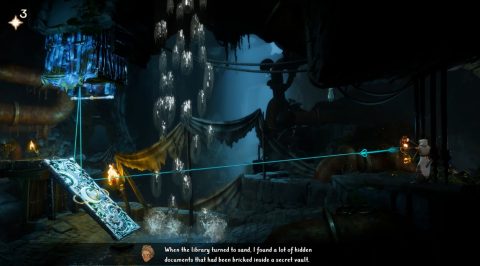
Use the pipes to block up the right water flow and then a plank on the thorns above to stop the left water flow. Zoya can then fire an arrow through the flames to light the brazier.
Continue to the right and Zoya will go off on her own.
Checkpoint 6
Pull the box out and jump up the chain bridges. Grab the Experience above and the one hidden behind the spiky ball.
Shoot an arrow off the roof to break the rope on the ground on the other side. Pull out the box and quickly jump through the gap in the wall before it slides back.
Make a bridge between the box and the ring so you can grab the Experience, then swing across to the other side.
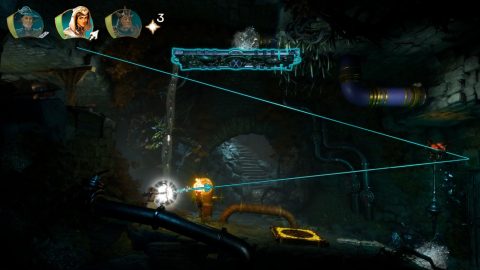
Grab the Experience as you climb up on the right. Grapple the ring above and shoot the rope so it slides to the right. Swing across to the checkpoint.
Checkpoint 6
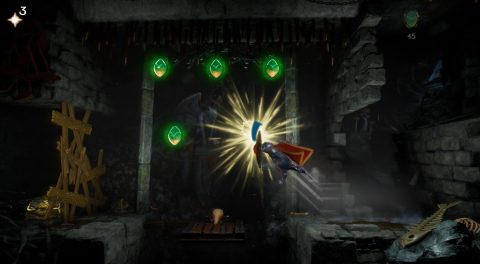
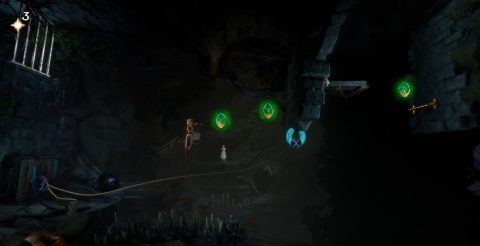
You’ll need to find the right angles to light all of the 5 torches. Bounce the arrows off the stone slabs until you find the right direction.
When the gate opens Zoya will discover Elemental Arrows, giving you the options of using fire and ice arrows. use the fire and ice arrows to light and put out the torch, opening and closing the next two gates so you can get through.
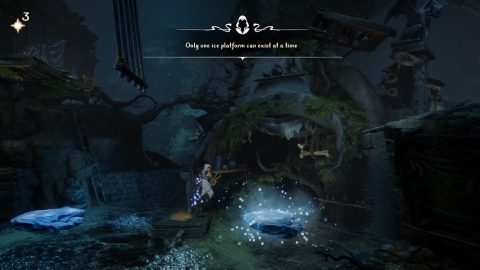
Use the ice arrow to make ice in the water below and jump down to it, picking up the Experience along the way. Jump across to the ledge and pull the lever to raise the level of the water.
Make and iceberg to the right and use it to climb up.
Checkpoint 7
Grapple onto the ring high above the checkpoint and swing to the grab pole on the right for Experience. Then swing high to the left for another 2 x Experience.
Make a bridge between the two rings by the checkpoint and walk across, jumping over the spike ball.
Jump over to the right side of the seesaw and freeze it with an ice arrow. Jump to the grab pole on the left, unfreeze the seesaw and freeze it in the other direction so you can climb up on top of it. Once again make it lean up to the left, climb up to the chain bridge and across to the right for 2 x Experience high up.
Swing across the gap, light the torches as you go and enter through the cave.
Checkpoint 8
Jump up to the right, using Wind Leap or Zoya’s iceberg. Attach a rope to the ring and a box and hang it over the wooden boards to make a bridge. Use it to get up to the 2 x Experience.
Jump up the poles on the right and pull the one on the rock ceiling down to open the gate. Drop down and go through. Before continuing light the brazier to the top left and 2 x Experience will drop down.
If you want to keep any of these platforms still you can freeze them with an ice arrow. Use planks to get up to the area above.
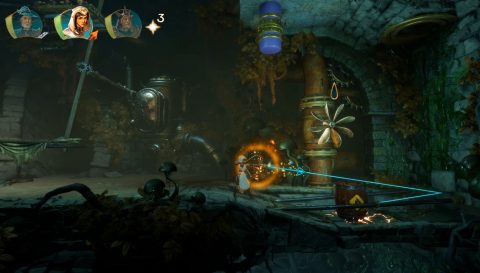
Grab the Experience and then build the pipes to bring water over to the fan. You’ll need to use a plank to make it reach.
Once the fan is spinning a chest will rise up with a Tidbit inside.
Head across to the right and grab the Experience in the breakable box. Use the swing to get up to the Experience above and over to the next fan.
Remove the stopper from the pipe and have Pontius deflect the water to the fan. A large Experience will drop down from the roof.
Drop down and stop up the water using the stopper. Zoya can light the barrel with a fire arrow and destroy the breakable floor.
Checkpoint 9
Break the boards to the lower left to free one of the pipe pieces. Attach the pipes on the left side so they connect. Pull the lever. This lowers the water on the right side.
Pontius can smash a steel ball into the wall to break it. Head through to a large water area.
Grab the 2 x Experience just by the entrance. Swim to the right until the Turtle swims to the surface. The water level will rise. Then climb up the wall on the left using Wind Leap to reach the higher bars. Grab the large Experience hanging above.
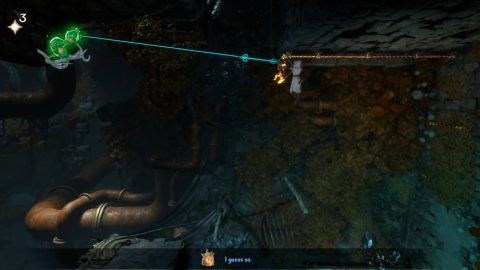
Climb up on the right side and jump up to the grab pole above. Shoot the vines holding the 3 x Experience.
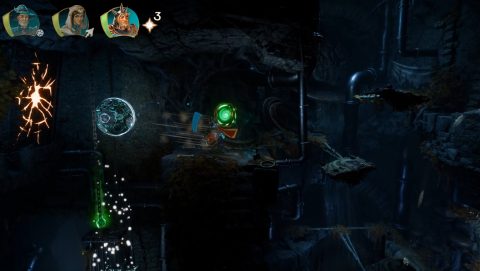
Drop down and pull out the stopper from the wall. Place an iceberg down and put the stopper on top of it. Deflect a fire arrow off it to light the torch and open the grating.
Put the stopper back on the pipe to raise the water level and climb up on the right.
Checkpoint 10
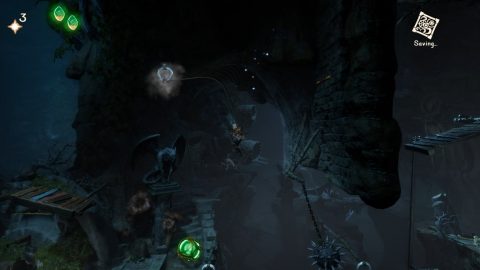
Defeat the Skeletons, Rats and Necromancer. After the battle the platforms will start moving. Climb up them for 3 x Experience.
Climb up at the top left first for 5 x Experience and a puzzle for the final chest.
Place a plank down and attach a rope to the plank and explosive barrel. Light the torch and move the plank over to the left, with the barrel dangling underneath. The barrel will get lit by the torch and then explode next to the wall.
Dash across for the chest. Inside you’ll find the Fashion, Sidonius’ Tricorne. Drop down to the platforms and jump up to the right.
Checkpoint 11
Wind Leap across the gap and pull the grab pole down. Freeze it in place. Light the torch and place a plank on the beams. Stand by the gate to the right and fire an arrow to deflect off the plank and unfreeze the pole.
This opens the second gate and closes the first. Climb across to the checkpoint.
Checkpoint 12
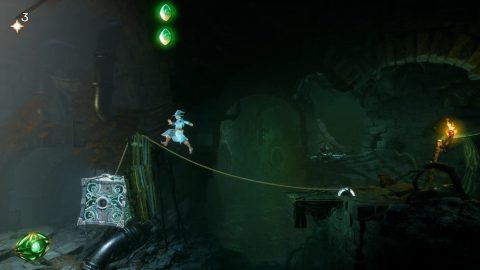
Shoot the arrow and glide down the platform across the chasm. Swing across on the other side. Grab the Experience by the spiky ball and jump across to the other side. Jump up, grabbing the 2 x Experience high above.
Navigate up the wheel with the spiky ball and platform, grabbing the 2 x Experience by lift on the right. Ride it up and jump across to the checkpoint.
Checkpoint 13
Pick up the Experience by the lift and and ride the grab pole across to the right by putting a box on the lift. Grab the Experience on the other side, light the torches to drop down 2 x Experience and continue right to finish the level.
Next: Level 10: Smuggler’s Way
Back: Level 8: The Tallest Tower