Level 11: Gemstone Caverns
Back to Trine 5
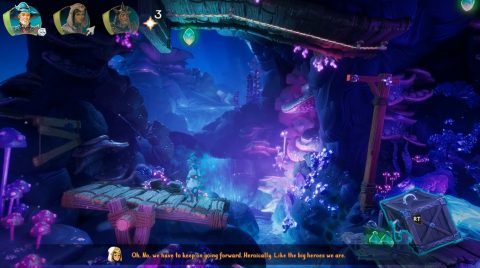
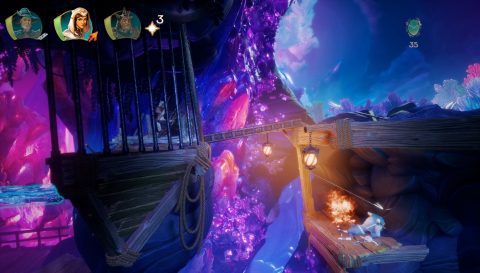
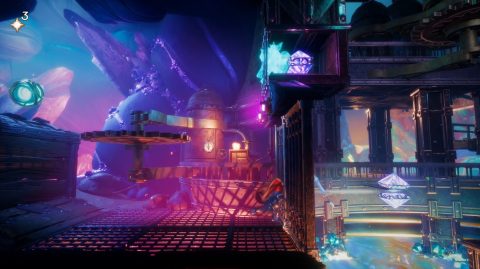
Beginning
Run to the right and swing up to the Experience. Grab the Experience on the ground to the right and climb up to the right.
Grab the Experience by the grab pole above and another 2 x Experience on the ground.
Wind Leap up to the next 2 x Experience or use planks and the magnet. There’s another Experience on the ground just beyond it.
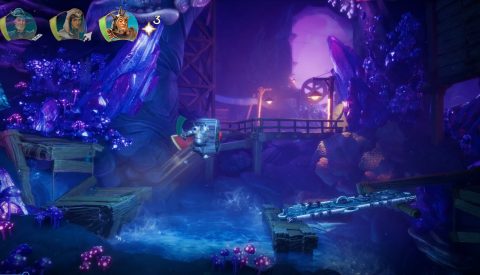
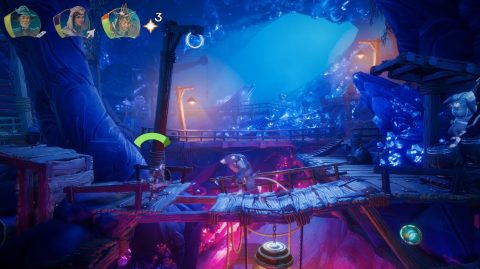
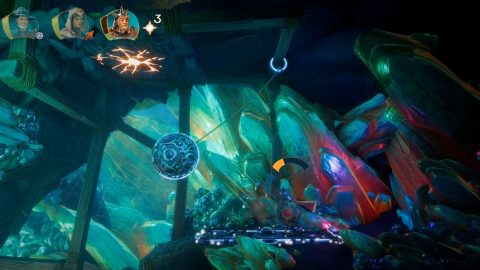
To get across the water stand on the first ledge. The ledge on the far side will lift up. Put a plank on it and charge across to the other side.
Hit the lamp to knock off the Experience.
Checkpoint 1
Break the box to the right with the Experience and pull out the cart. Jump behind it and drop into the cavern. Make your way across the platforms, grabbing the Experience along the way. On the other side you’ll find a chest with the Fashion, Miner’s Kit.
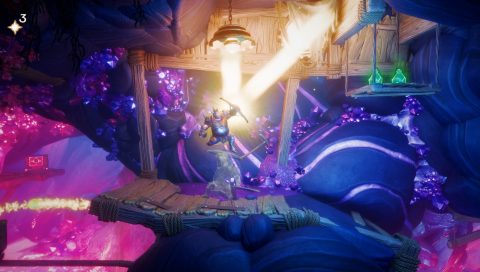
Use the magnet on the cart to plank up to the left so you can reach the 2 x Experience and jump up to the ledge above. Hit the lamp to turn it on and deflect the light to the round gem.

When the door opens head through. Take out the Rat Ogre in the next room before continuing to the right.
Checkpoint 2
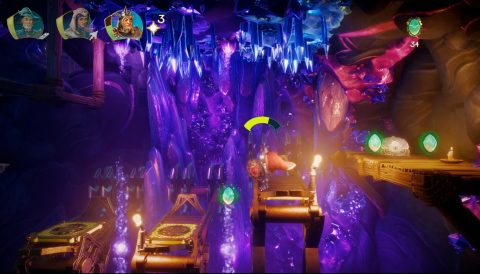
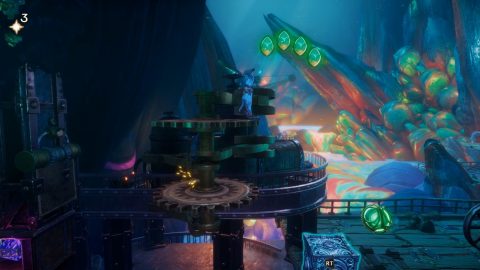
Wind Leap up to the rock ledge jutting out from the wall above the checkpoint for Experience. Then up to the left for another 3 x Experience.
Just to the right of the checkpoint put a sword in the wooden wall and a box on the ground. Make a rope bridge between them so Pontius can deflect light to the gem. Jump out the exit when the hatch above opens.
Place a plank on the magnet to the top right so you can climb up for the 3 x Experience. From here you can look through the bars to shoot the Rat on the other side.
Before dropping down grapple onto the ring to pull it down. Swing on top of it for 3 x Experience. Place a plank on the lower magnet so Zoya can swing under the rock wall to where you killed the Rat. Jump up to the next checkpoint.
Checkpoint 3
Swing across the river to the other side. Place a plank down on the rocks so you can deflect light to the gem, releasing 2 x Experience from the ledge above.
Break the roots over the magnet, put a box on it and swing across to the other side.
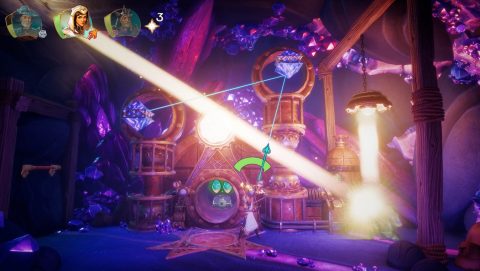
Shoot the rope holding the mirror cube and place it near the center of the room. Plank up so you can deflect the light onto the mirror to hit the gem.
Head through the gate and Pontius will take a walk by himself.
Checkpoint 4
Push out the box and use it to fling yourself up to the cart with the ledge. Bash it across to the right so you can use it to jump up.
Grab the Experience on the other side and then the 2 x Experience above the jump pads, just watch out for the fireballs.

Jump up to the grab pole, place the sword in the wall and jump up to the gears to the left. Use the sword to hit the crystal and lower the bucket so you can jump back across to the right for the Experience.
Checkpoint 5
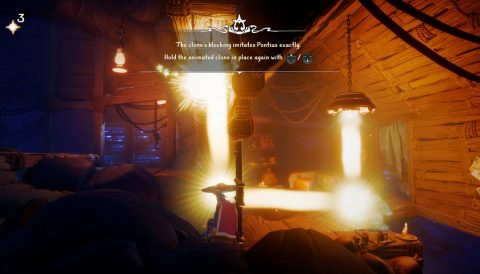
Pontius will find the ability to make a clone of himself. Head to the right and make a clone so you can press down both buttons. Stand on the shield of the clone to jump up to the bucket above.
Jump up to the grab pole and shimmy across to the right for 2 x Experience. Drop a clone down through the grate and have it stand on the button.
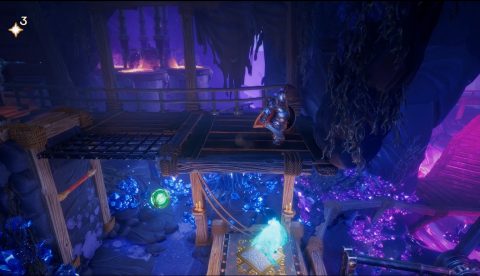
Checkpoint 6
Drop onto the pump mechanism on the left side and place a clone to hold it down. Grab the Experience in the center and jump up on the right side to the ledge above.
Checkpoint 7
Make a clone and use it to jump up to the ledge above. Have the clone and Pontius both hit the crystals at the same time. Jump down and across the revolving platform.
Break the boards on the ground to reveal a button. Have the clone stand on it so Pontius can walk under the small gate to the right. Grab the Experience in the box, then stomp down the rock floor for more Experience.
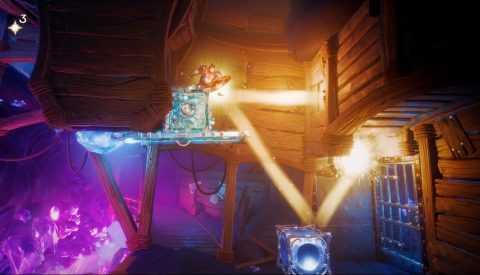
Head out and jump up to the gear for Experience. Walk to the right and place a clone through the gate to deflect the light. Pontius can deflect it up to trigger the gem.
Continue to the right to end Pontius’ solo section.
Checkpoint 8
Move the stone blocks so a clone can drop onto one of them through the grate. Jump across to the other stone and climb up through the grate on the right. Break the boards stopping up the gate so Pontius can get through and defeat the Rat.
Plank up to the 2 x Experience above the wheel mechanism, then charge across to the other side, grabbing the Experience under the bucket and 3 x Experience in the air on the right side.
Swing across to the ledge for 2 x Experience then deal with the Rats as they appear.
Send the clone through the gate to the right to stand on the button. This opens the little hatch above. Jump up for the 2 x Experience attached to the chains.
Remove the board on the ground below and drop down to the next checkpoint.
Checkpoint 9
Jump across to the left, putting a plank on the magnet to reach the 4 x Experience. Then jump across the carts to the right. Hit the lamp and deflect light the gem to lower the board with the 2 x Experience.
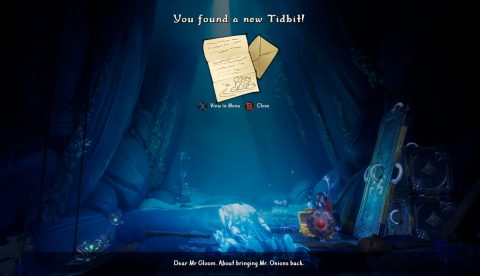
Jump onto the board and up through the hole. Open the chest for a Tidbit.
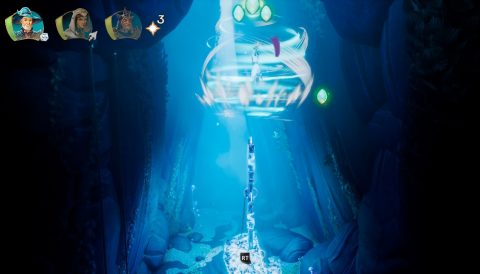
Use the magnet on the ground and planks and boxes to climb up the center of the chamber as high as you can go. At the top you’ll find 3 x Experience but you’ll need to Wind Leap to reach them.
Drop back down through the hole and place the stone in the water. Drop down and put the sword in the wall. Rope bridge across and jump up to the next checkpoint.
Checkpoint 10
Make a clone and jump onto the gear. Jump across to the top crystal. The clone will be able to climb inside. Leave the clone there and drop down. Throw your sword to hit both crystals at the same time and open the gate.
Jump across for the 2 x Experience and then climb up to the checkpoint.
Checkpoint 11
First jump up to the revolving gears and then up to the 4 x Experience above.
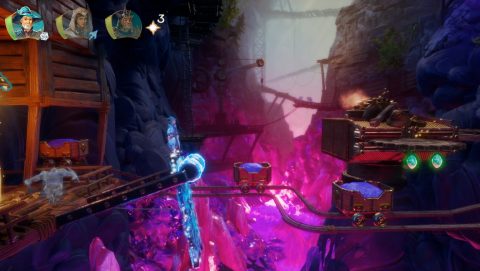
Bash the Rat into the river and grab the wheel. Place the wheel on the cart and move the whole cart into the river. Stand on the button to ride the cart across.

Jump up the other side and grab the Experience from the box. Drop a clone down the grate and pull the lever to open the grate.
Destroy all the boxes for the Experience. Then use the clone to deflect light to the gem in the center. Shoot an arrow to deflect off one crystal to hit the other.
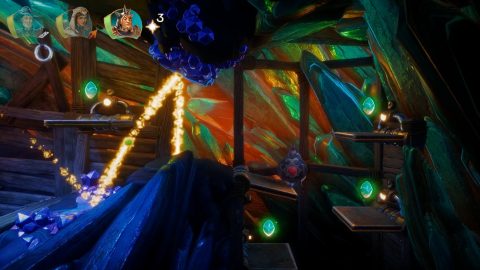
Once both crystals are hit about the same time the chest will come out. Open it to find a Letter. Climb back out and continue up, breaking the vines to reach the next checkpoint.
Checkpoint 12
Attach a plank to the attach point and tie it to the ring grab the 2 x Experience above and the 3 x Experience further up.
Continue to the right and enter the hidden room to the right with 3 x Experience on the platforms.
Continue up, grabbing the Experience along the way. Use a steel ball to break the wall to the right for 2 x Experience. Then attach a rope to the steel ball from the ring and bash it up to the breakable wall above.
Take out the two Rats then jump up to the checkpoint.
Checkpoint 13
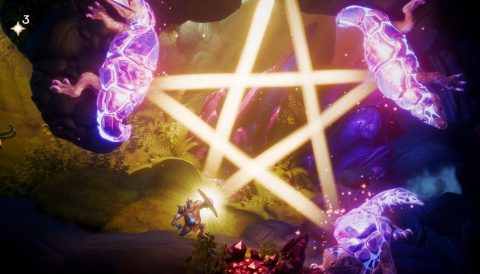
Deflect light from the backs of all three little creatures and one of them will move out of the way.
Head to the right for a battle. Take out the Skeletons, Necromancer and Rat Ogre. Send in the clone to the right and push out the crate from the other side. Jump over it so you can reach the 2 x Experience.
Jump up the platforms to the ledge above and send the clone to pull down the grab pole above. Freeze it in place.
Have the clone drop down and deflect light backwards. Pontius can deflect it up to the gem to open the gate.
Checkpoint 14
Place a box down and have Zoya swing down for the 2 x Experience below. Then jump across to the carts, picking up another 2 x Experience under the gear.
Dash or jump across to the grab pole and jump up. Break the box for Experience, then jump straight up using a box or plank for more Experience. Shimmy across to the left and use the ring to swing across to the gear for another Experience.
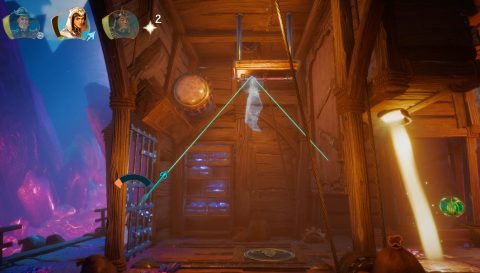
Enter the little wooden room to the left where the carts are appearing for more Experience, then jump up, put a plank to stop the seesaw and jump up to the grab pole on the cliff.
Climb up and pull the lever to call a cart. Ride it to the right and get off on he other side. Stomp on the machine a few times to break the wall. Grab the 2 x Experience and continue through the cave, picking up more Experience as you go.
Once you make it out of the cave the level will end.
Next: Level 12: Brackenridge Path
Back: Level 10: Smuggler’s Way