All Letters
Back to Trine 5
Act II
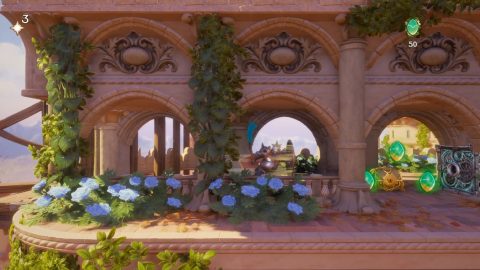
Letter #1 – The Astral Academy Gardens
After the 6th checkpoint drop down for a puzzle. Before completing it place a box on the spikes below, drop down to it and enter the hidden room on the left.
Inside you’ll find a golden chest with Letter #1.

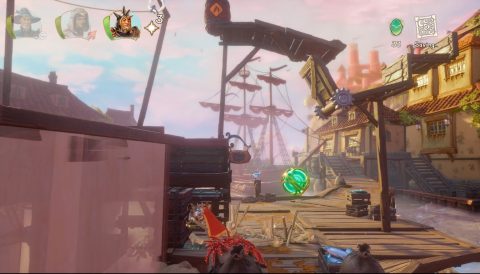
Letter #2 – The Long Way to Town
After the 2nd checkpoint have Zoya swing down from the platform wheel. Jump into the cave below.
Inside you’ll find a chest with Letter #2.
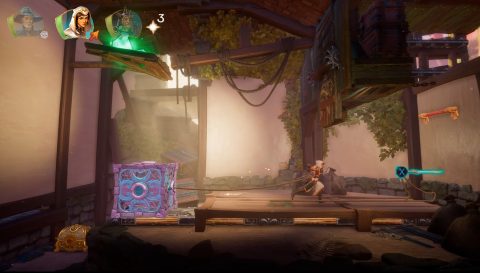
Letter #3 – Sinister Back Alleys
After the first checkpoint once you climb up the pipes throw a sword at the wall on the left. and climb up.
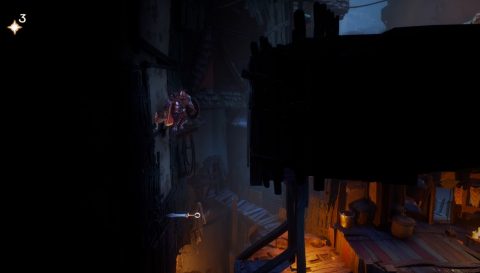
Place the stone on the bounce pad and charge it into the breakable wall. Behind it you’ll find a chest with Letter #3. Use the stone and a plank to reach it.

Letter #4 – The Royal Castle
After the 11th checkpoint swim under the wall to the right.
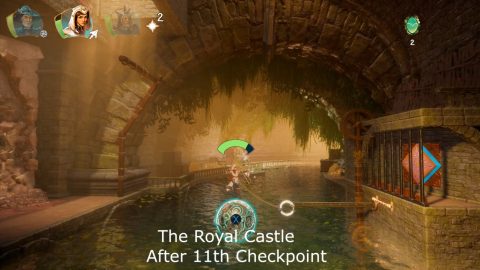
Climb out and drop down into the room on the right. For this tricky puzzle you’ll need to use the two buttons to move a ball from the left into the receptacle on the right. The two buttons move various platforms.
Place a box on one button with Amadeus on the other. This allows you to quicklyl press and unpress the buttons.
once the ball enters the receptacle the chest with Letter #5 will appear.
Letter #5 – The Tallest Tower
After the 3rd checkpoint make your way up the side of the tower and break the boards under the building. The chest is to the right along the path you need to take to progress with the level.
Act III
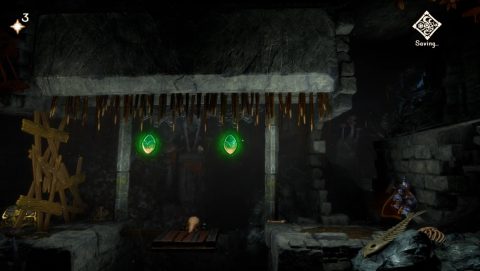
Letter #6 – Dungeons and Sewer Rats
After the 3rd checkpoint use a steel ball to break the breakable wall to the left and drop down. Dash across the gap when the spikes are up, break the boards and grab the chest with the letter.
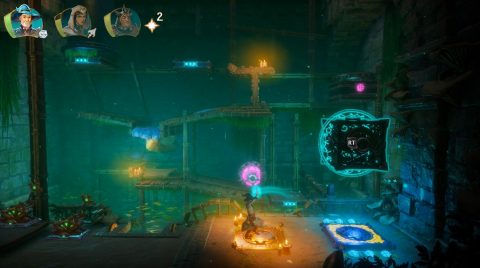
Letter #7 – Smuggler’s Way
After the 6th checkpoint push the button under the water to open the secret room to the left. Inside you’ll need to pull the lever and press the 1st, 3rd, 5th and 6th buttons. Deflect the water on to the fan and the chest will appear.
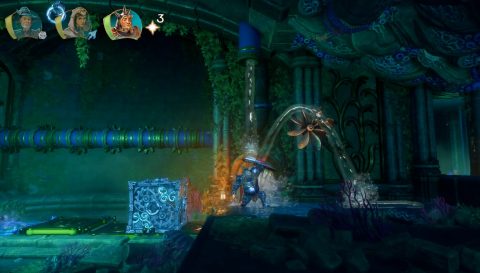
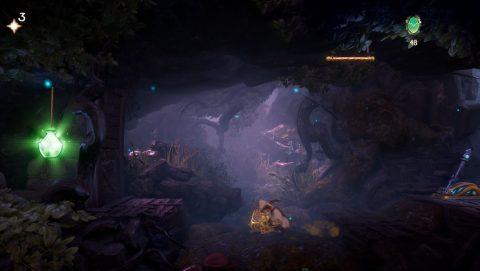
Letter #8 – Gemstone Caverns
After the 11th checkpoint drop the clone through the grate and pull the lever.
When the grate opens drop down and hit the lamp to make the light appear. Deflect the light to the gem and two crystals will appear. Deflect an arrow off one crystal to hit the other.
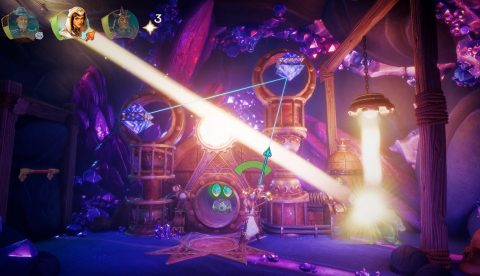
Once both crystals are hit about the same time the chest will emerge from the pipe.
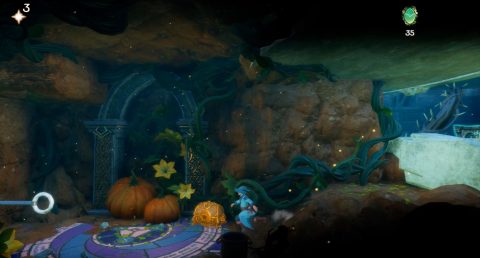
Letter #9 – Brackenridge Path
After the 4th checkpoint float into the cave below the gap between the cliffs.
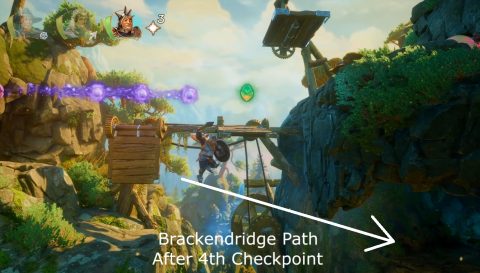
Inside you’ll find the chest with the Letter.
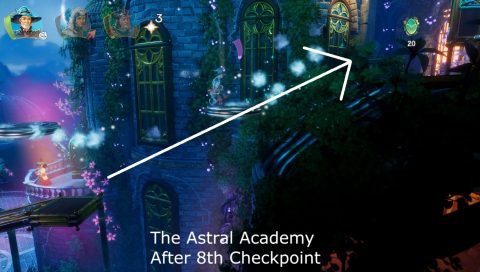
Letter #10 – The Astral Observatory
After the 8th checkpoint use the moving platforms and wind leap or charge dash to make it up to the courtyard on the rooftop where you’ll find the chest with the letter.
Act IV
Letter #11 – Autumn Woods
After the 11th checkpoint box up and use the sword to bounce up the side of the barn so you can enter the window above.
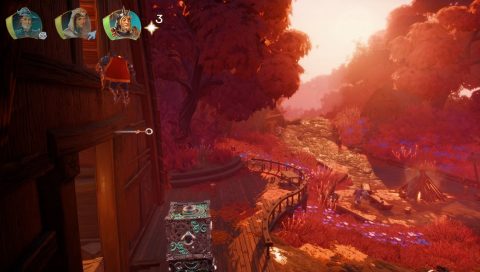
Once inside clear out the room and pull the seesaw to the right, Attach it to the ring so you can reach the breakable tile. Break it with a steel ball and open the chest with the letter.
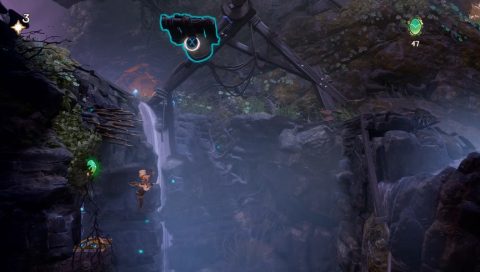
Letter #12 – Petrified Marshes
After the 4th checkpoint plank up the side of the cliff.
Have your clone pull the lever and then Pontius can bash the steel ball. This turns on both lights and lowers the chest with the Letter.
Letter #13 – The Bastion of Hope
Once you reach the 2nd checkpoint push in the boxes to the left so you can drop down.
Put a sword in the wall and then a box on the plank. Fuse the box to the plank, pull it to the right and attach it to the sword.
Put a second box by the wall and fuse it. Remove the first and pull the second box to the right. Eventually you’ll by able to reach the chest with the letter.
Act V
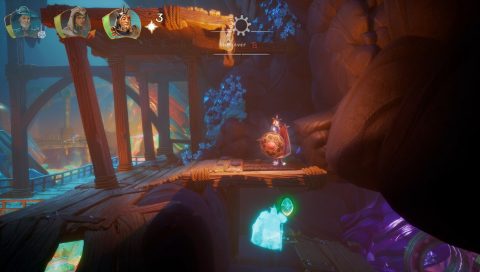
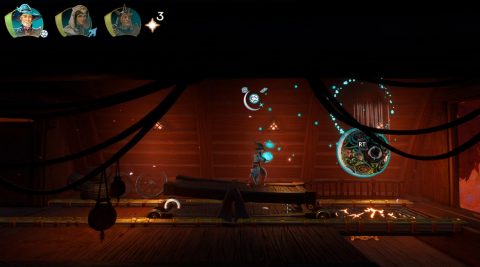
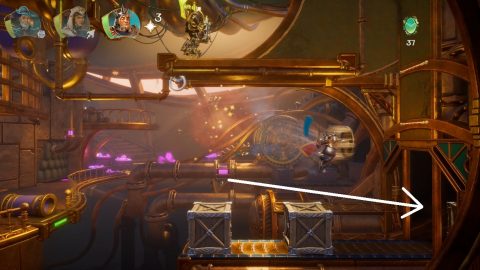
Letter #14 – The Magnificent Airship
After the 2nd checkpoint dash through the hole the crates are coming out from and climb up the wall into the next room.
Send the clone through the gate and use him to hit the crystal, changing the air flow. Bring a ball into the receptacle to open the gate.
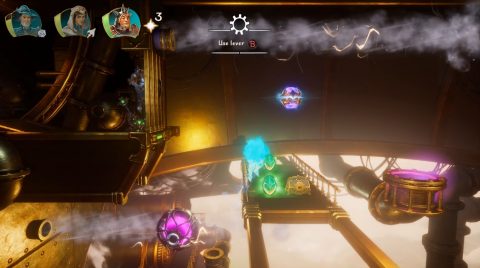
Sometimes the clone will just open the chest when you try to hit the crystal. I’m not sure if this is a glitch or a feature. Either way you’ll find the letter inside the chest.
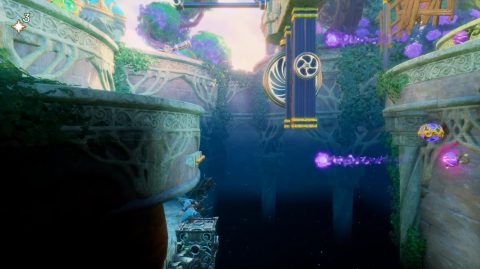
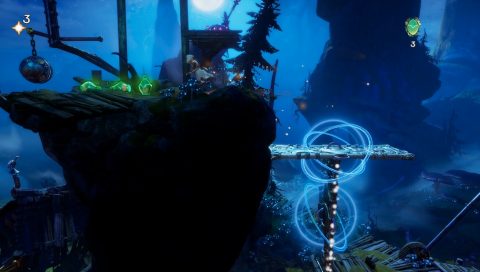
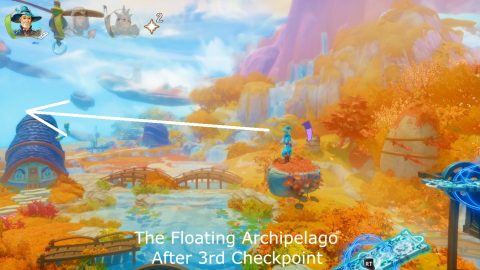
Letter #15 – The Floating Archipelago
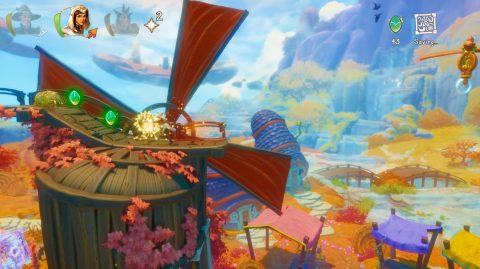
After the third checkpoint plank up to the small floating island and swing across to the left using the floating rings.
Eventually you’ll find the chest with the letter on top of a windmill.
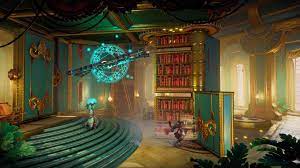
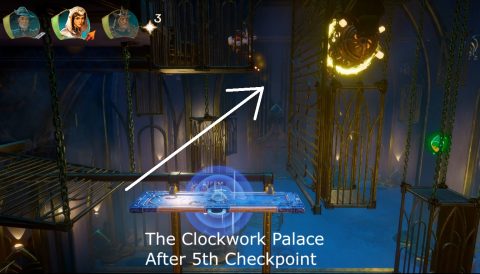
Letter #16 – The Clockwork Palace
From the 5th checkpoint place a plank with inverted gravity on the attach point so you can jump up to the cage above.
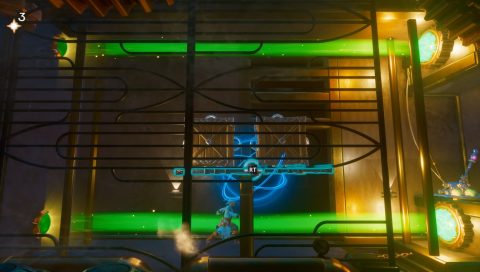
Climb up to the room above and break the boxes. Place a plank on the pipe and put the unbreakable boxes on top of it. Once the green lasers are hitting the gemstones pull the lever and the chest will appear.
Next: All Tidbits
Back: All Fashion Accessories