All Fashion Accessories
Back to Trine 5
Act II
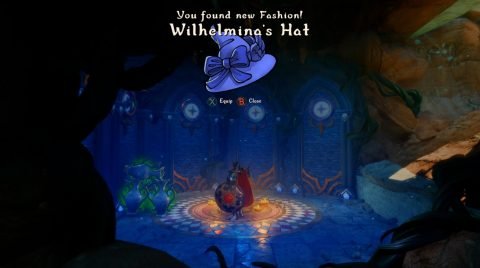
Wilhelmina’s Hat – The Astral Academy Gardens
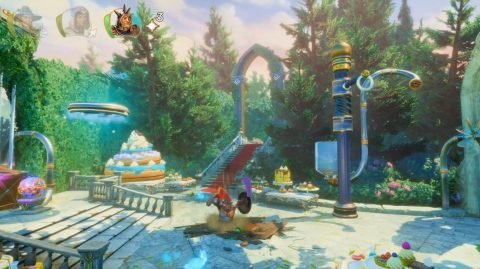
From the first checkpoint after climbing over the large hedge wall. Smash the ground to break the boards coving the hole. Drop down to find a secret room with the chest. Inside you’ll find Wilhelmina’s Hat.

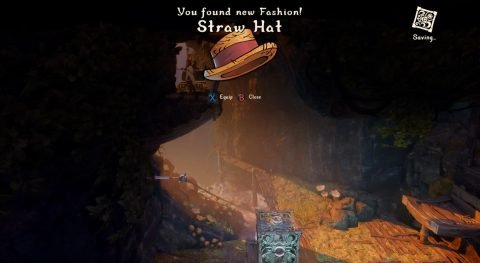
Straw Hat – The Long Way to Town
Once you drop down the gap from Checkpoint 9 after Pontius learns his Sword Throw ability deflect a fireball into the wall on the left to destroy it.

Bridge between the sword and a box so you can climb up to the chest. Inside you’ll find a Straw Hat.
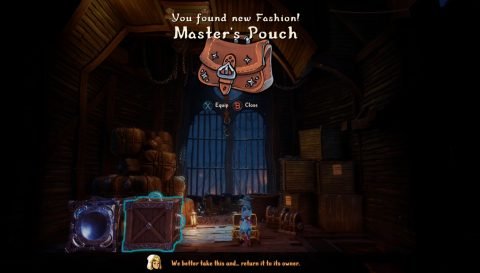
Master’s Pouch – Sinister Back Alleys
After the 7th checkpoint when you reach the Rat Gang coming out of the tavern place a couple of boxes down so you can climb up into the roof.
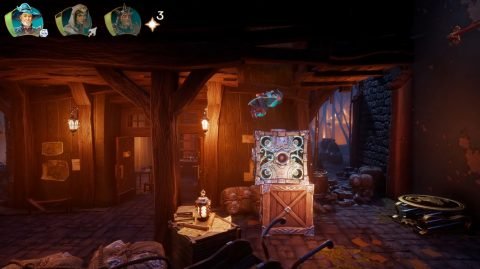
Once inside you’ll find a chest with the Master’s Pouch.
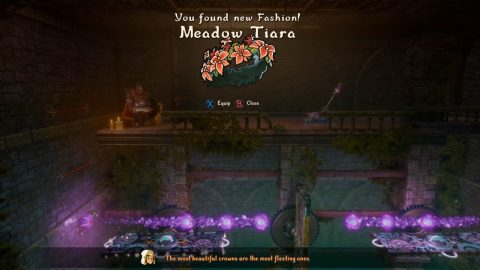
Meadow Tiara – The Royal Castle
After the 9th checkpoint place two boxes on the pressure plates in the middle of the garden. They can be a little hard to spot at first.

Ride the lift down to the room below. Place planks on the attach points and make your way across to the other side where you’ll find the chest. Inside is the Meadow Tiara.
Paper Hat – The Tallest Tower
In the room with the large magnet window after the 6th checkpoint blank up to the boards in the top left and break through.
Open the chest for the Paper Hat.

Act III
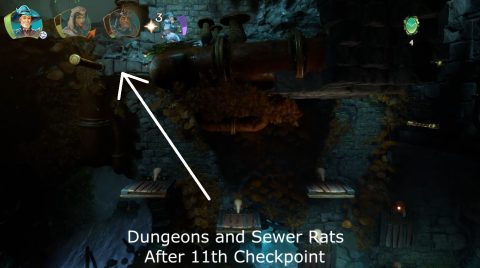
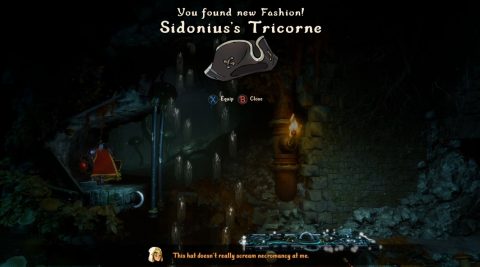
Sidonius’s Tricorne – Dungeons and Sewer Rats
Deep in this level after the 11th checkpoint climb up the collapsing platforms to the top left.
To get to the chest past the water and breakable wall first place a plank on the ground to stand on. Then attach a rope to another plank and the explosive barrel. Light the torch and lift the plank up with the barrel underneath so the barrels get lit by the torch.
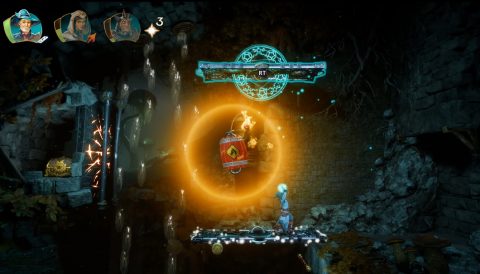
Move it over to the breakable wall to explode and jump across for the chest. Inside you’ll find the Sidonius’s Tricorne.
Smuggler’s Gear – Smuggler’s Way
After the 11th checkpoint instead of going through the door to the right drop down the hatch in the center of the lift.
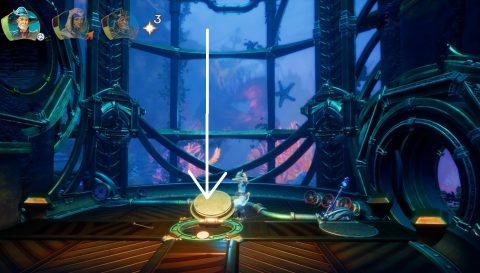
Swim to the left and place planks on the buttons. The air pressure will hold them in place. Up the to you’ll find a chest with the Smuggler’s Gear.

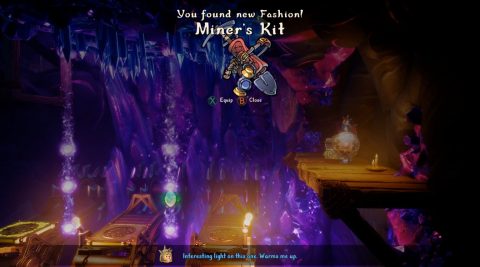
Miner’s Kit – Gemstone Caverns
After the 1st checkpoint pull the cart out and enter through the hole behind it into a crystal cavern. Jump across the platforms to the chest with the Miner’s Kit.
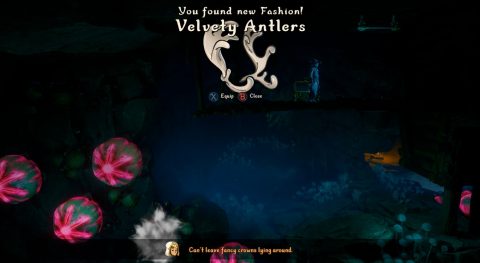
Velvety Antlers – Brackenridge Path
After dropping down to the 11th checkpoint blow up all the explosive plants below, then quickly run through the door to the lower left.
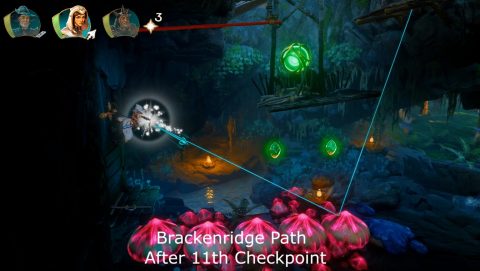
Use Wind Leap to jump up the plants to the chest above. Inside you’ll find the Velvety Antlers.
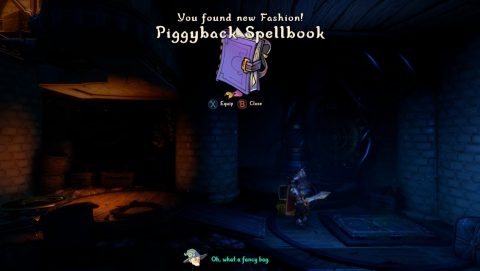
Piggyback Spellbook – The Astral Observatory
Before you’ve reached the first checkpoint and in the room with the stars you can push up the gate with a plank and run underneath.
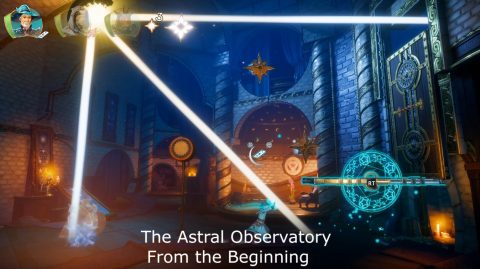
Break the box on the grate behind the shelves and drop the clone down. Push the shelving to the left so Pontius can climb over. Stomp down to open the hatch and drop down to the chest. Inside you’ll find the Piggyback Spellbook.
Act IV
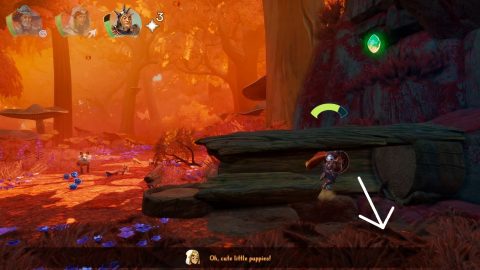
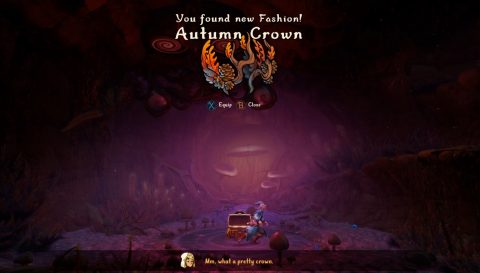
Autumn Crown – Autumn Woods
Once you pass the 2nd checkpoint you’ll see a tree with a ram sign on it. Bash it over and run inside. Drop down the hole to the room below.
Place a box down in the center and have Amadeus wind leap up to the round buttons above. The wind will push both buttons in at the same time and the chest will appear. Inside you’ll find the Autumn Crown.
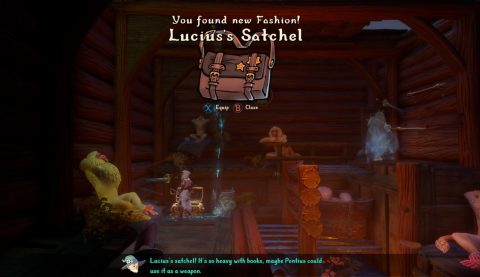
Lucius’s Satchel – Petrified Marshes
Towards the end of the level after the 15th checkpoint have Pontius drop the clone down the grate.
Place a sword in the wall and have Zoya teleport down to it so you can open the chest. Inside you’ll find Lucius’s Satchel.
To get out deflect water into the basket and ride the bubbles up.
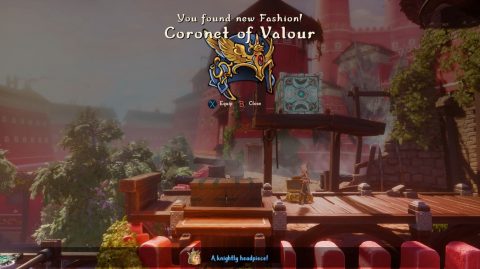
Coronet of Valour – The Bastion of Hope
Once you reach the 8th checkpoint place a plank on the attach point above the garden and jump up to the rooftop above. Inside the chest you’ll find the Coronet of Valour.
Act V
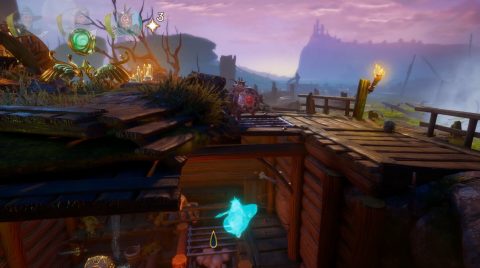
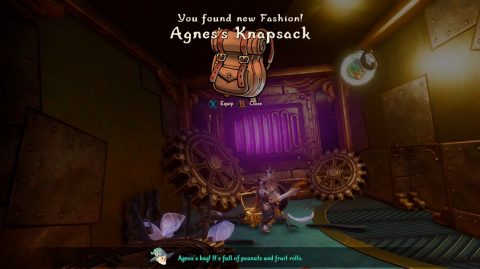
Agnes’s Knapsack – The Magnificent Airship
To find Agnes’s Knapsack break through the boards under the ramp once you lower it after the 7th checkpoint.
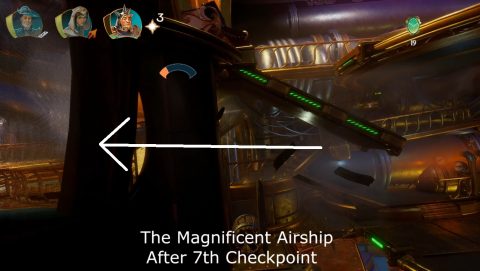
Head all the way to the left until you find the chest.
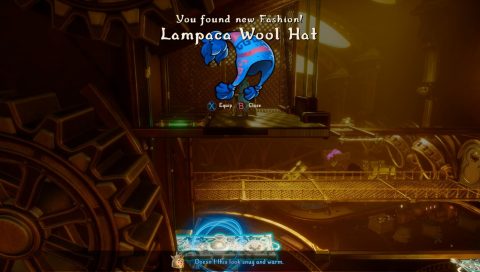
Lampaca Wool Hat – The Floating Archipelago
From the 11th checkpoint plank up so you can ride the gear up to the little ledge.
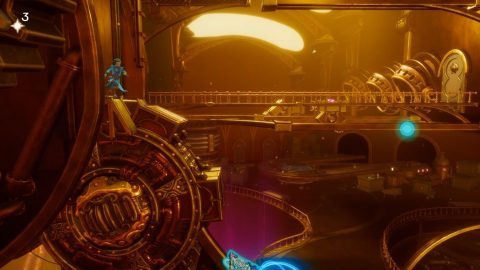
Put a plank on the attach point and ride it across to the bar on on the right wall. Jump up to the higher bar and shoot the button to ride it back to the left. Wind leap up to the chest. Inside you’ll find the Lampaca Wool Hat.
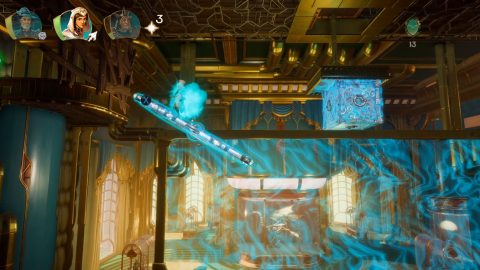
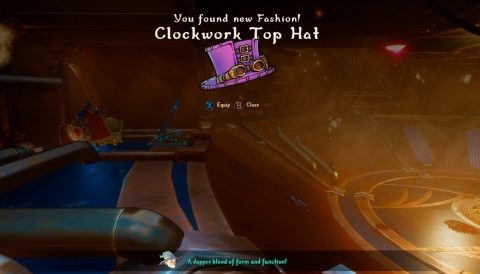
Clockwork Tophat – The Clockwork Palace
From the 3rd checkpoint break the glass covering the gem to free it and light it with the light shield. Ride the ring up after it descends. Dash across the revolving lasers to the chest with the Clockwork Top Hat.
Next: All Letter Locations
Back: All Bosses