Level 16: The Bastion of Hope
Back to Trine 5
Beginning
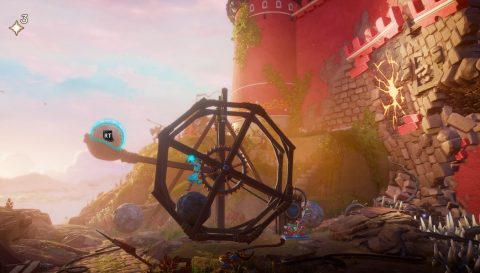
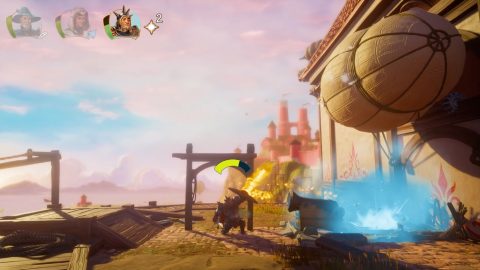
Break the vines holding the platform and jump across. Roll the boulder on the wheel to set the catapult. Place the second boulder in the basket and pull the lever to fire the catapult and break through the wall.
Grapple up to the ring and swing across. Grab the bar above for a large Experience, then take out the enemies to the right. Head through the next wall to the first checkpoint.
Checkpoint 1
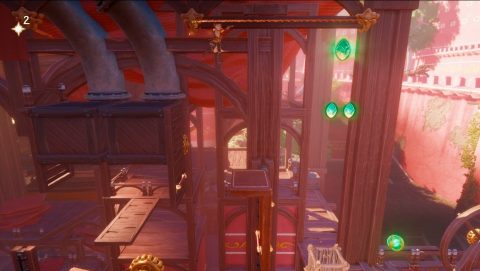
Grab all the Experience and then get ready for a puzzle. Have the clone use light and Amadeus pull the middle gate down into the light, holding it in place. Then freeze it.
Pull down the first gate and it will get stuck in the light. Zoya can grapple up to the ring and shoot the rope holding the third gate.
Release the first two gates and run through. Take out the Clockwork Knights and grab the Experience.
Checkpoint 2
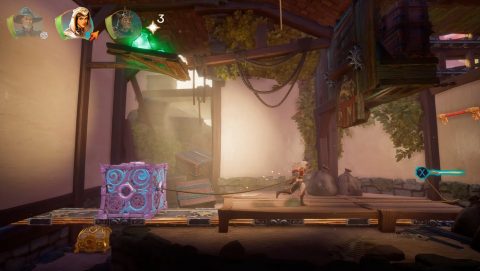
Push the boxes to the left of the checkpoint so you can drop into the building. Grab all the Experience. The chest is hidden underneath a long plank.
To pull the plank to the right place a sword in the wall and attach a box on the left side. Pull the box, and plank, to the right and attach it to the sword. Place a second box as far to the left as you can and attach it to the plank. Remove the first box and pull the second box to the right. Repeat until you can access the chest.
Inside the chest you’ll find a Letter. Grab it and climb back to the checkpoint.
Bash into the ram’s symbol on the pole to spin it around and place a plank on top. Use it to jump through the upper window in the building to the right.
Smash through the door on the other side. Bash the Clockwork Knight over the edge and swim under the building to the lower floor where you’ll find some Experience.
Step on the button to open the door and head out to the wheel.
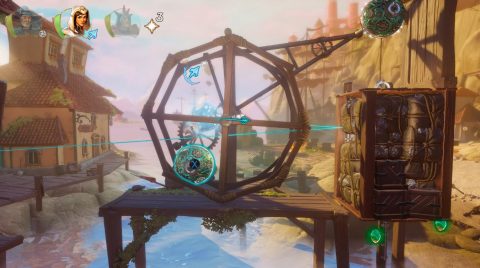
Place a ball on the attach point and attach it to the ring. Place another ball in the wheel and roll it until the lift raises up, then freeze it in place.
Drop down and swim underneath.
Checkpoint 3
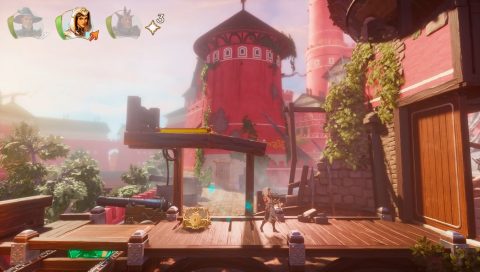
Climb up the ledges, bashing the ram sign along the way to spin around the attach point. Place a plank on the attach point and continue up.
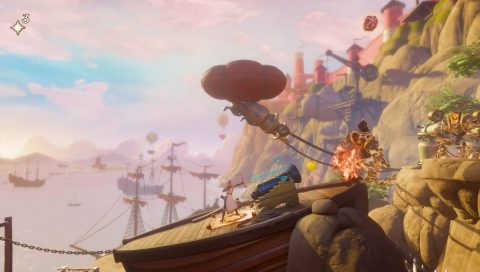
Up the top jump on the button on the boat to fire the cannon and kill the Clockwork Knights.
Bounce on the plates to the right to inflate the balloon. Jump across to the balloon and bounce up.
Have the clone directing light upwards and place the mirror cube diagonally to deflect the light to the right. Then place the explosive barrel in the light and shoot a fire arrow to light it.

Before activating the lift by lighting the gem climb up through the hole to the top right.
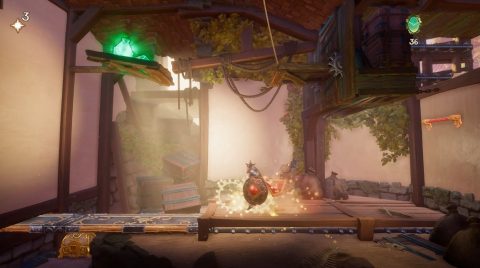
Press the button to release a flaming ball. Use Pontius to bounce it across to the right and break the breakable wall.
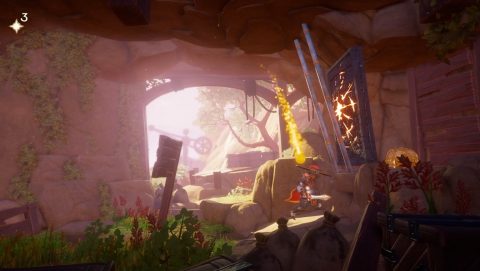
Behind it you’ll find a chest with a Tidbit. Head back out, activate the gem and ride the lift up.
Checkpoint 4
Jump up the moving platforms to the airship above. Slam down to open the hatch and grab the Experience inside.
Pull the Lever to make the wooden beams revolve around and put a plank on them. Swing up and jump onto the balloon. Take out the Drones and bounce up to the grabbable bar.
Place a clone on the button to fire the cannon. Then stand in front and bounce the cannonballs into the balloon.
Jump through the window and take out the Clockwork Knights. Press the button on the wall to fire the cannons and deal with them quickly. Have Zoya hang on the ring to open the gate and swing through.
Checkpoint 5
Make your way across the wooden platforms, avoiding the spiky balls. Grab the pole on the right side to lower it down and freeze it in place. Jump on top of it and release it so you can jump up to the grabbable bar above.
Jump across to the Experience and then down to the next checkpoint.
Checkpoint 6
Place a ball in both of the wheels and have Pontius and the Clone roll the balls along at the same time. The wooden beams will rotate around so you can climb up them.
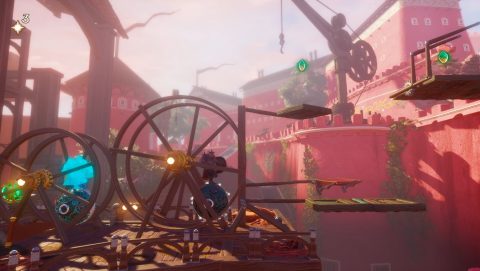
Take out the Clockwork Knights and head through the gate.
Checkpoint 7
Head through the vegetable garden, stomping the ground to make a couple of Experience jars bounce up from the holes.
Place a plank on the beams as they move up and down and climb up. Jump across to the top of the wall where you’ll find a Chest.
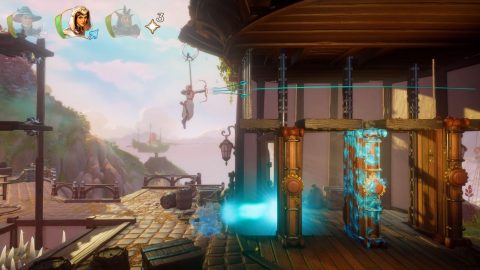
Inside you’ll find a fashion, Coronet of Valour. Press the button above to start an archery challenge. Shoot all the balloons as they float past and the Experience below will be released.
Grab a spiked ball and use it to press the button above the gate to open the gate. Jump across the gap to the checkpoint.
Checkpoint 8
Take out all the Clockwork Knights and get ready for the next puzzle. Have the clone shine a light towards the wall. Bounce a steel ball up to it using the seesaw. Then move the seesaw to the left and attach it to the ring. Remove the clone to let the steel ball break the breakable tile above.
Use the ring to grapple up to the checkpoint.
Checkpoint 9
Drop down on the other side and slash your way through the spikes to the boss.
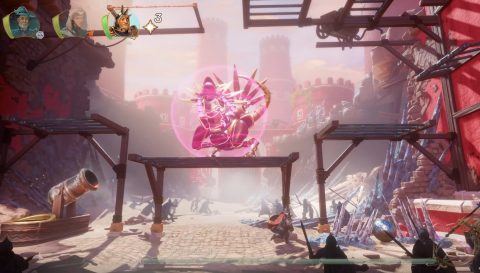
Valeribot Boss Fight
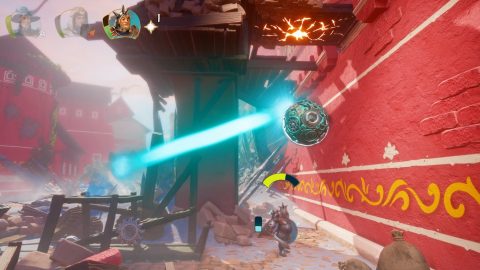
For the first phase place the steel ball in the hole by the cannon to load the cannon. Then use a Fire Arrow to fire the cannon when Valeribot is standing in the way.
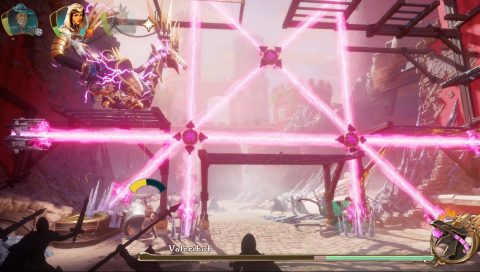
This will stun the boss for a few seconds giving you a chance to deal damage. Just watch out for the revolving laser that you’ll need to roll past or block.
For the second phase grab a cabbage and let the laser light it. Place it in the cannon and light the fuse to fire it into the boss.
For the third phase use the bomb to break the rock casing around the cannon. Then use an Ice Arrow to put out the bomb and load it into the cannon. Fire the cannon and deal damage to the boss.
For the final phase the boss will no longer have a force shield so you can just do damage normally.
Next Level 17: The Magnificent Airship
Back: Level 15: Petrified Marshes