Part 12: Owl Tower
Back to Owlboy
Owl Temple
Head to the left until you get a cutscene. Solus appears and tells you he’s the one who stole the artifacts. Continue left and jump up the tower.
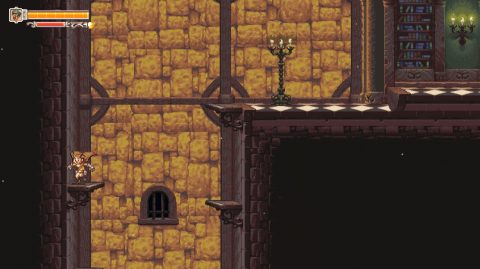
Spin on the lift to bring it up. Sometimes you need to adjust your position slightly before it will work. After catching up with Solace spin up the next lift.
Jump across the floating platforms to the right. You can do a double jump and float down to make it across large gaps. Enter the next building to the right and use the chandeliers to make it up to the exit to the top left.
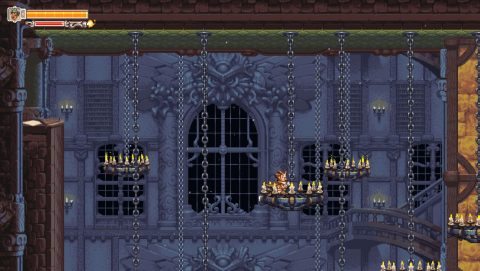
Ride the lifts up in the next room and take the path up on the left side. You’ll need to push a button on the left before going through a door on the right side.
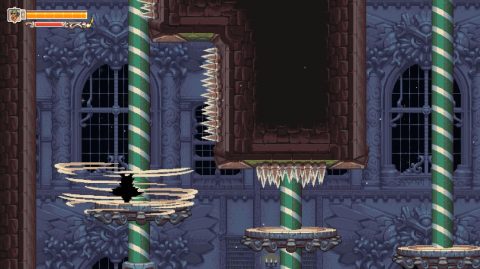
In the next room you’ll see 3 books on pedestals. You can read each of them for lore regarding the owls but it’s not necessary.
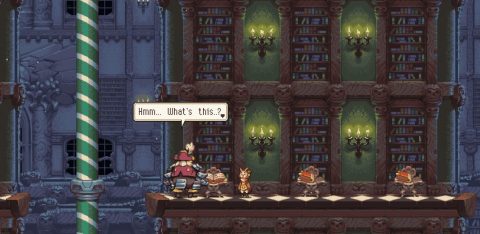
Ride the lift up just to the right of the books. Go to the left first and push the button. This opens the door to the right. Head to the right and ride the lift up.
Go right and drop down. Push the button to the right. This opens the door at the top left. You’ll need to jump over the flying rocks as you make your way back to the lift.
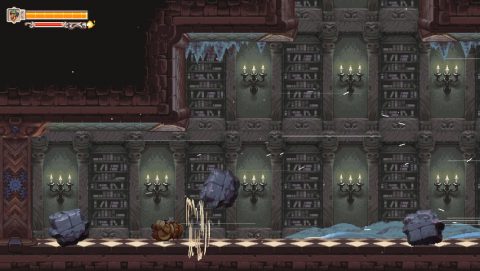
Ride the lifts up and go through the door to the top left. Continue up the next lift and then down another lift to the left. Jump across to the floating platforms.
Eventually you’ll make it to a lift that you can ride up. From here you can go to the left or right. If you want all of the Gold Discs go to the right first.
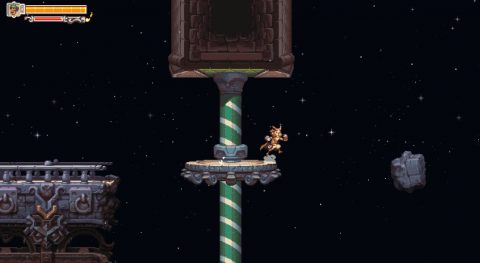
Jump across the rocks and platforms and you’ll find a building with the Gold Disc inside.
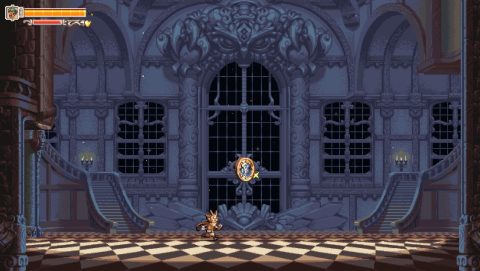
Go back the way you came and this time continue to the left.
When you meet your friends you’ll need to stay on the platforms as they rise and fall away. Use the double-jump and glide to maximize the time you’re in the air. When you land on a rock it will fall away after a few seconds.
Eventually you’ll get the ability to fly back and you’ll need to dodge the rocks and platforms as they rise. After the short dialogue fly up the tower until you find Solus.
Solus Boss Fight
Spin attack Solus to distract him from what he’s doing. He’ll activate the relics and attack. You’ll need to hit each of the three relics with each of your friends. They can only damage one type of relic each. Once one of the relics is knocked away switch to a different character.
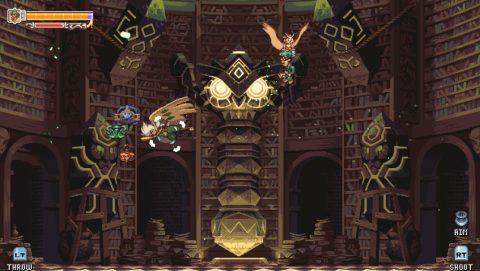
Solus has a few attacks, including a whirlwind attack. You’ll need to use Twig to dash to grapple through it if you don’t want to take damage.
Once all the relics have been knocked off Solus will be stunned for a few seconds. Shoot him before he recovers. The phase will start again and you’ll need to knock off the relics again…
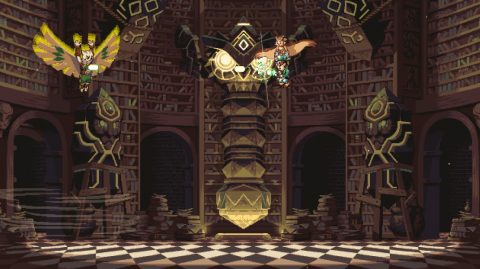
For the final phase Solus will get some different attacks, including launching pink fireballs, in addition to the whirlwind attack.
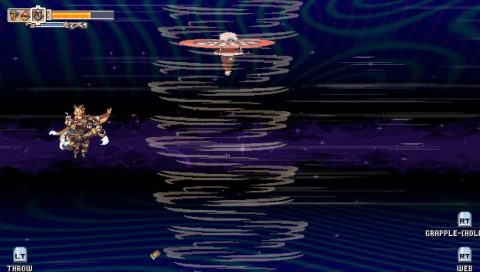
This time you don’t need to worry about the relics, you can hit Solus with any of the characters and he’ll take damage. Once he’s taken enough damage the battle will end.
After the cutscene Molstrom will appear. All you need to do is crawl towards the pillar and when you have the chance hit the sections until the symbols line up.
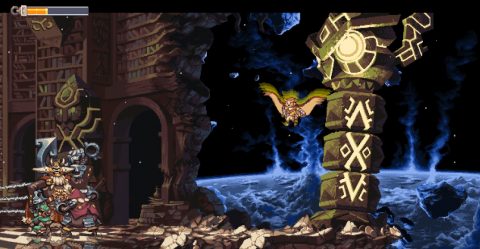
For the ending sequence you’ll be flying or running along the town of Vellie like in the starting scene. Talk to all the characters along the way if you want. Eventually you’ll find your teach who’ll explain what really happened and tell you that you did a good job.
Congratulations on completing Owlboy! If you want you can go back to Vellie after the credits to place the Gold Discs and explore the final secrets.
Next: Gold Discs
Back: Part 11: Boguin Challenge


